4 Channel Relay Module DIY operating Panel pcb circuit boards
If you connect with "KC868 Voice Assistant" module, controller can control voice control by Amazon Alexa or Google Home Speaker or Amazon Al
2
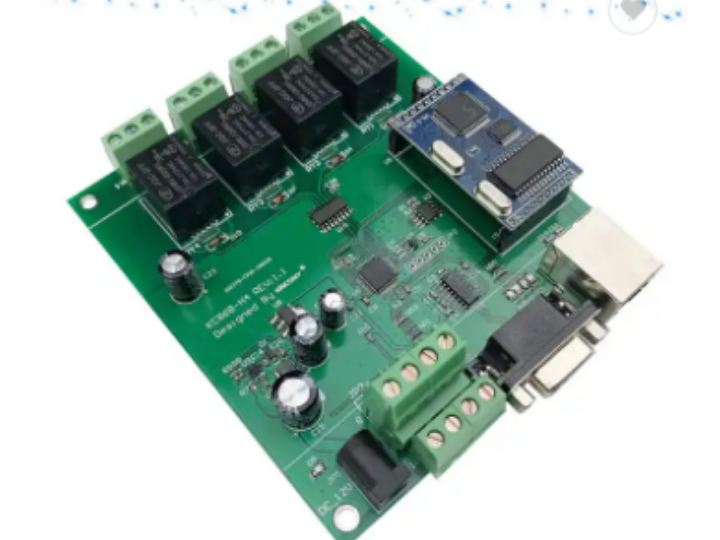
Components
Hardware components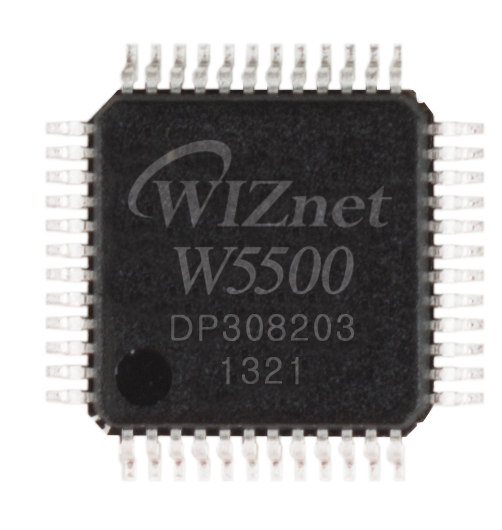
WIZnet - W5500
x 1

Project description


KC868-H4W smart control box is the WiFi version of KC868-H4 smart control box. Both functions and interfaces are identical.
KC868-H4W connects the Internet through WiFi wireless, and KC868-H4 connects the Internet through Ethernet interface.

Dimension | 108x117mm |
Working Voltage | DC 12V |
Material | Fire resistance ABS、metal shell |
Working Temp | -20℃~70℃ |
Working Humidity | 20%RH ~ 80%RH |
Output Load | each 250V/10A |
Communication mode | Ethernet/wifi/RS232 |
Input port qty | 4 ports |
Output port qty | 4 ports |


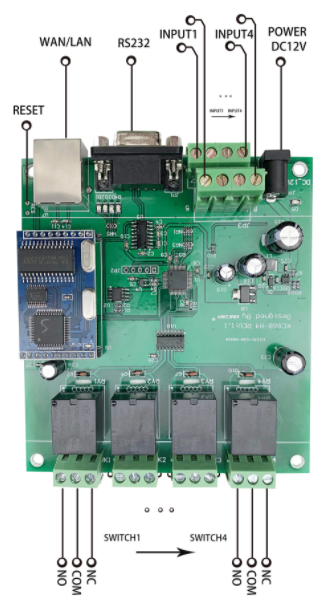
Relay Module 5v 4 Channel
Products Function:
1. Supporting RS232 and Ethernet communication mode
2. Remote controlling the opening/closing of 4 routes or 4 groups’ circuits.
3. Supporting 4 ports input of sensor switching value.
4. Supporting secondary development
5. Supporting APP remote controlling
6. Widely used for lights controlling of kinds of occasion (like Indoor, theater or Amusement Park etc) and switching of mechanical equipments, and management of the computers in the cyber bar and so on.
Products Features:
1. Highly reliable connection column, independent and isolated route,Make sure the products more stable and safe.
2. Each route is equal an independent switch.
3. Adopting ARM core chip as the core processor, industrial stability and good anti-jamming.
4. Professional shell design, fixed through the positioning hole, or fixed on the guide rail directly.
5. Perfect power input filter, ensuring adequate capacitance.
6. Adopting advanced and stable communication protocol, providing reliable and smooth communication procedures.
7. Providing the upgrade tool, the products can be upgraded by the users; Or can be upgraded by the device supplier through the network.
8. Providing 1 year technical maintenance and free new edition host computer software
Products Usage Instructions
Wiring and Installation
1. Connecting network line or RS232 serial port
2. Connecting the lamp and power into the corresponding output pole, according to below diagram.
3. When need to control one group or groups lights, connecting the line into the corresponding output poles.
4. Connecting the 12V power adapter to charge.
5. When the detection sensors are available, connecting them into the input port.

