Attach Ethernet Shield W5100 | WebClientRepeating
.
4
Project description
This example shows how to repeatedly create and send an HTTP request using an Ethernet shield. In addition, when connecting Ethernet, MAC address and IP address were assigned as fixed values and DNS server was used. The HTTP request is made by reading the http://www.arduino.cc/latest.txt file, and the connection progress and readout are displayed on the Arduino IDE’s serial monitor.
1. Materials and circuits
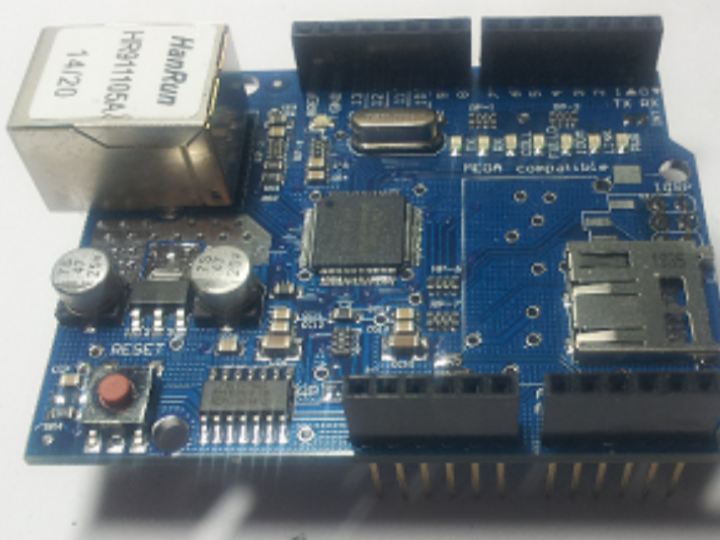
You will need an Ethernet shield board, an Arduino board or a mega board. You must have an Internet router (router or DHCP server) to be assigned an IP address.
Materials
=====
• Arduino board
• Ethernet shield board
• Internet router
• Internet line
Circuit configuration
=====
The circuit configuration is not required, but the Ethernet shield is attached to the Arduino board and connected to the Internet.
For reference, the Ethernet shield uses the SPI bus, which uses digital pins 11 to 13 of Arduino and digital 10 pin for selecting the Ethernet controller chip. Also, to use the SD card, the digital pin 4 is used to select the SD card.

