Surf 5 - Web server example in KEIL 5
Surf 5 - Web server example in KEIL 5
7

Project description
This project builds the Web example of Surf 5 in VS Code. It shows the process of flashing the extracted binary file to Surf 5 in boot mode using the ISP Tool and conducting a Web server test with Hercules.
If you are experiencing difficulties with the process mentioned above, please refer to the link below.
Hardware requirements
Before starting this project, prepare Surf 5 and a micro 5-pin cable, as well as an Ethernet connected to the internet.
Step 1: Prepare Software
The following serial terminal program is required for making web server , download and install from below links.
Step 2: Prepare hardware
- Connect ethernet cable to Surf 5 ethernet port.
- Connect Surf 5 to desktop or laptop using 5 pin micro USB cable.
Step 3: Setup Web Server Example
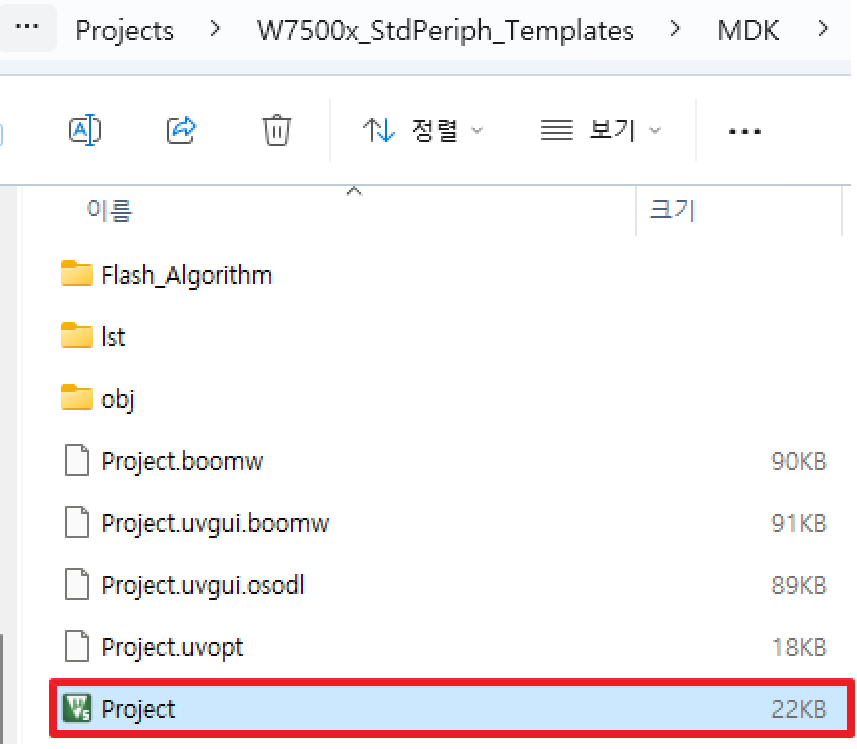
To test the Web Server example, Open the project file located at 'D:\projects\W7500x-Surf5\Projects\W7500x_StdPeriph_Templates\MDK' path.
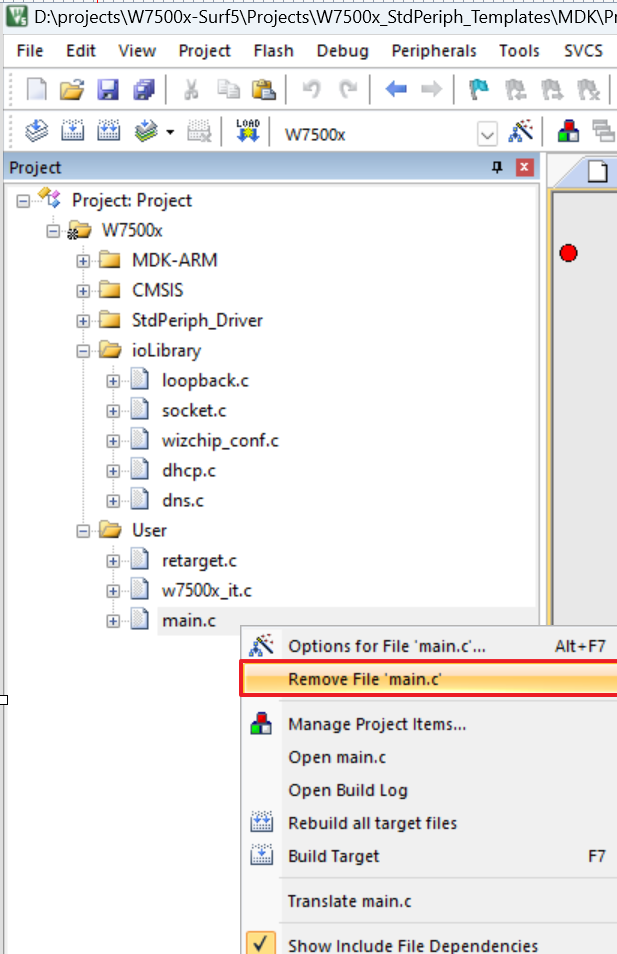
- In the project, right-click on main.c and press 'Remove File 'main.c'' to remove 'main.c'.
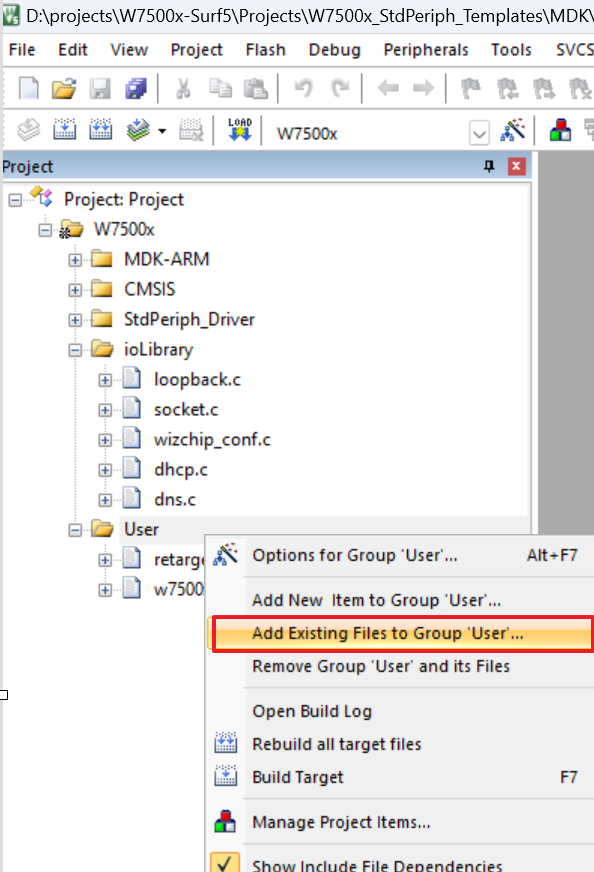
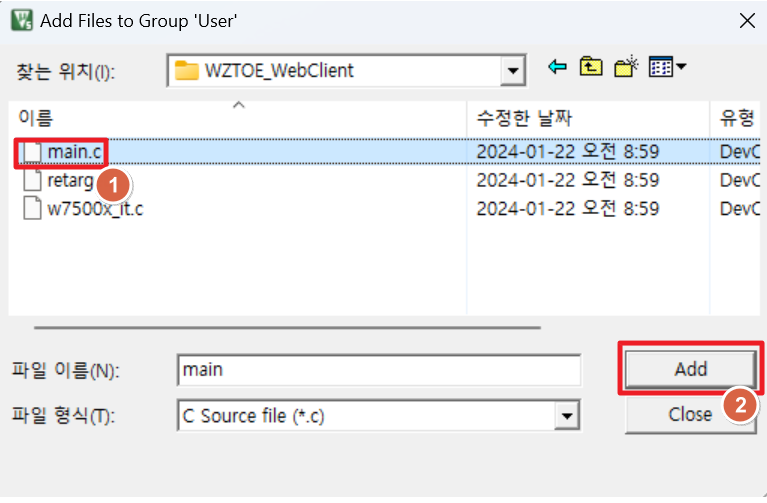
- Right-click on the 'User' folder and click 'Add Existing Files to Group 'User'...'.
- Add main.c from the 'W7500x-Surf5\Projects\W7500x_StdPeriph_Examples\WZTOE\WZTOE_WebServer' directory.
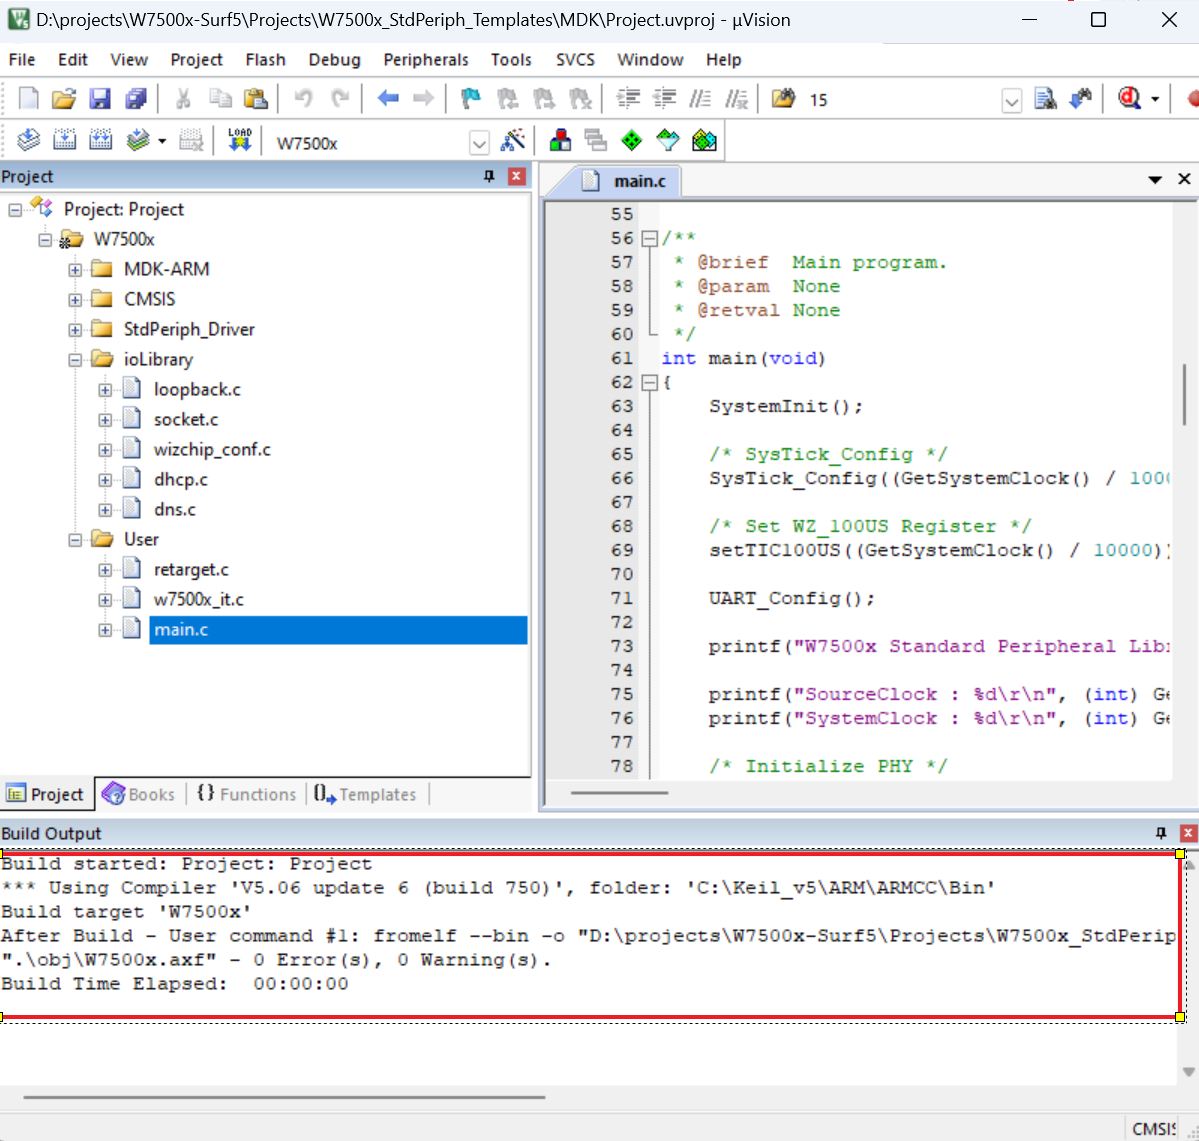
- Press the 'F7' button to build.
Step 4: Upload and Run
Web Server Mode
- Please turn on the 'W7500 ISP Tool' for flashing.
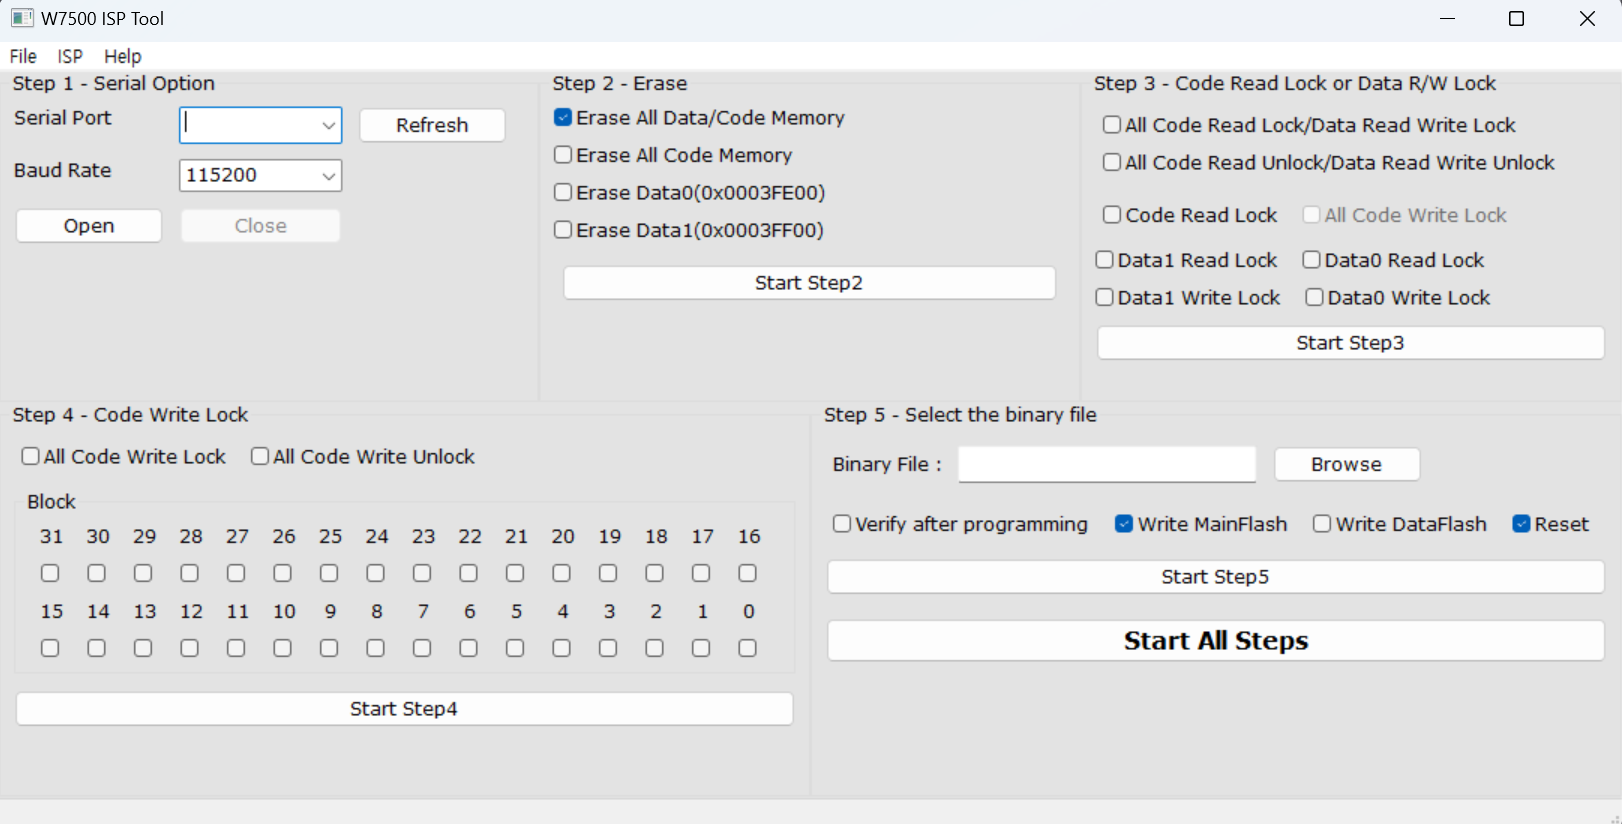
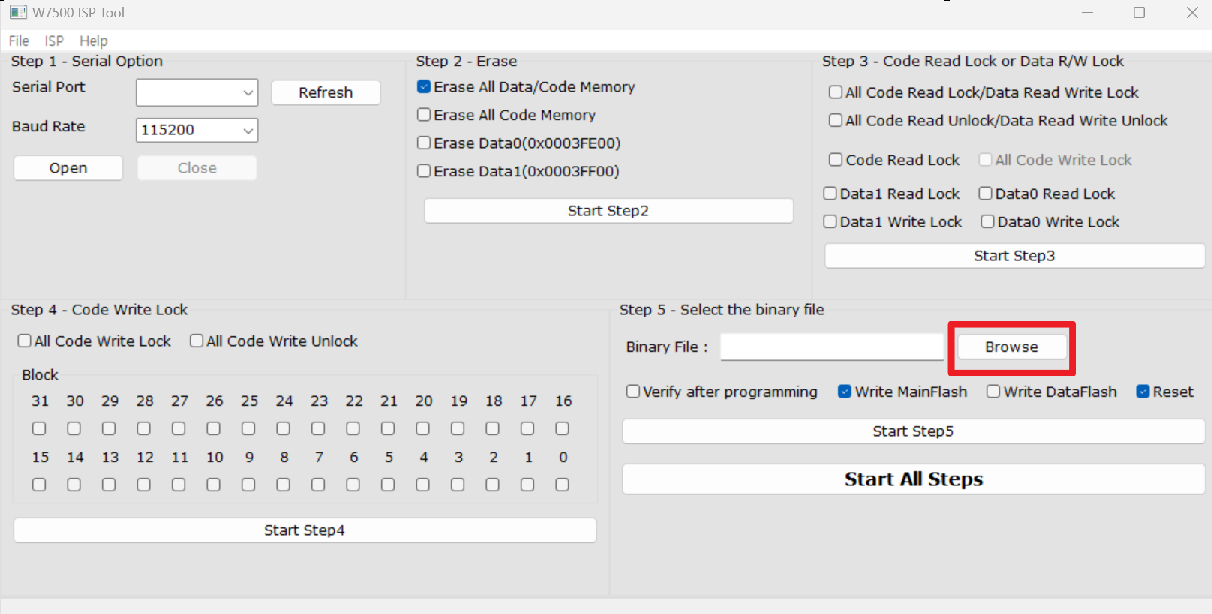
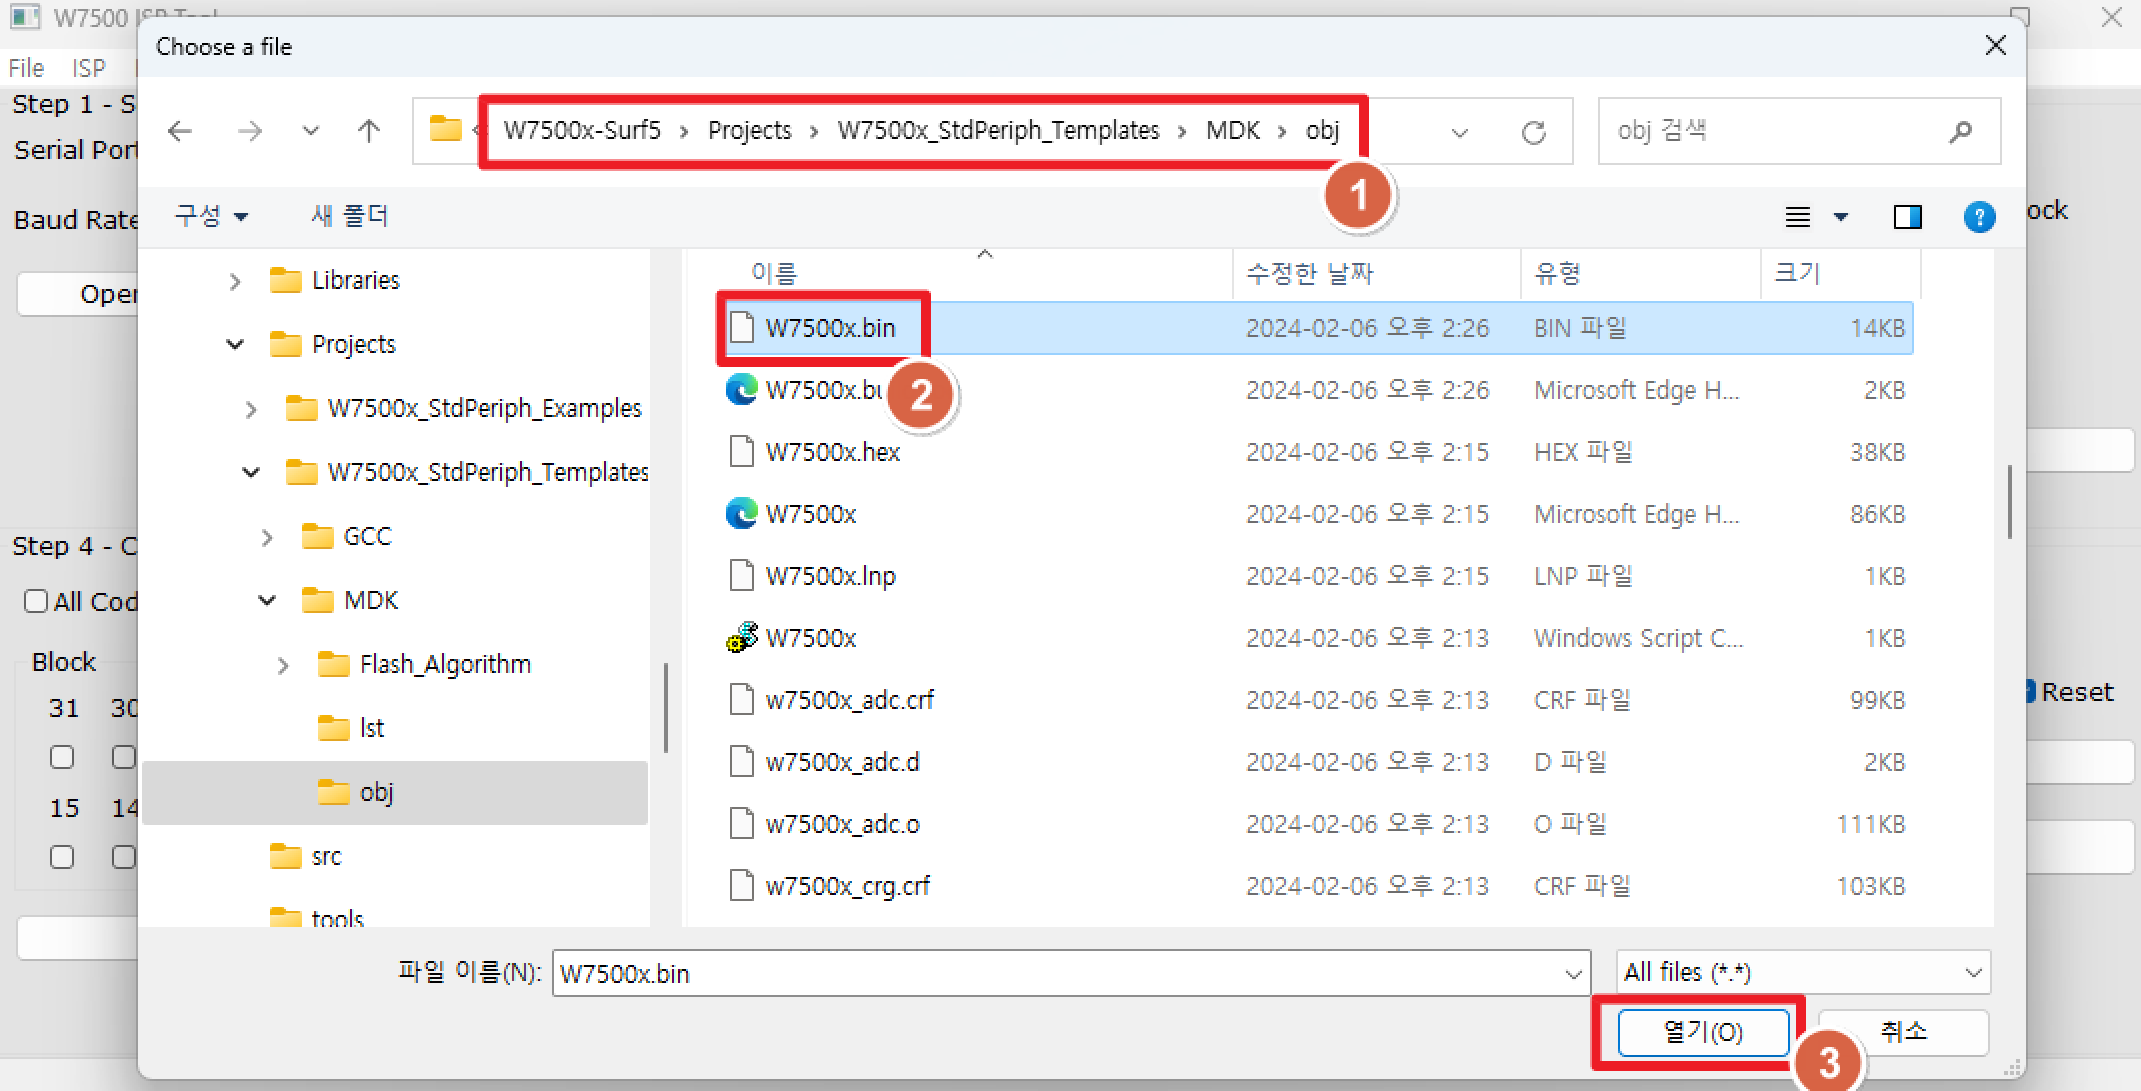
- Click the 'Browse' button in Step 5 of the tool. Then, select W7500x.bin located in the '...\W7500x-Surf5\Projects\W7500x_StdPeriph_Templates\MDK' path.
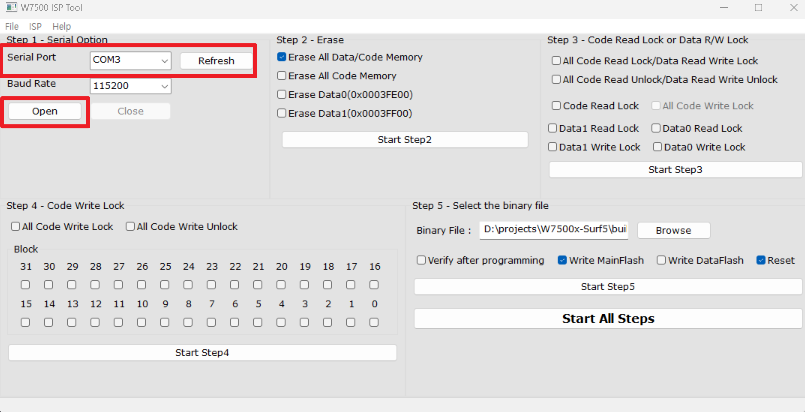
- Enter Surf 5 into boot mode and search for Surf 5's serial port, then press 'Open'.
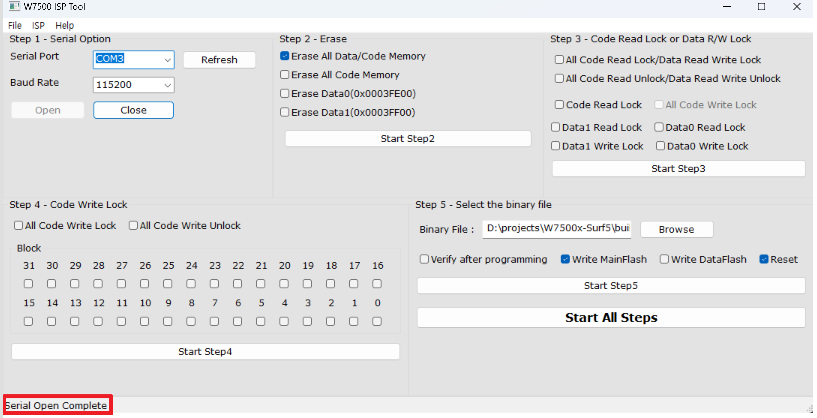
- If the connection to the tool is successful, a successful connection message will appear as below.
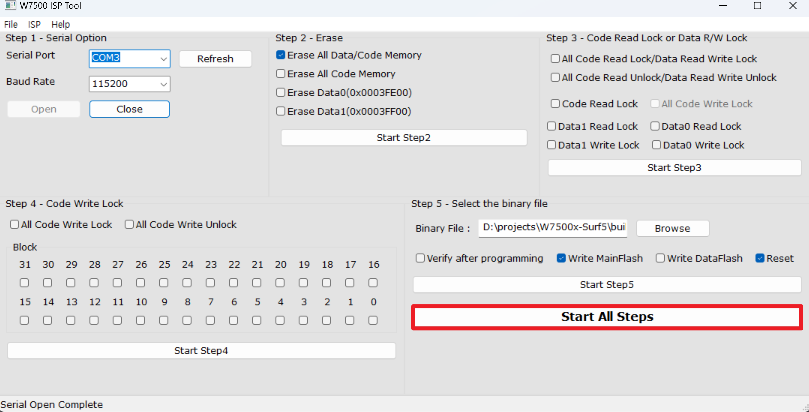
- Press the 'Start All Steps' button to start flashing.
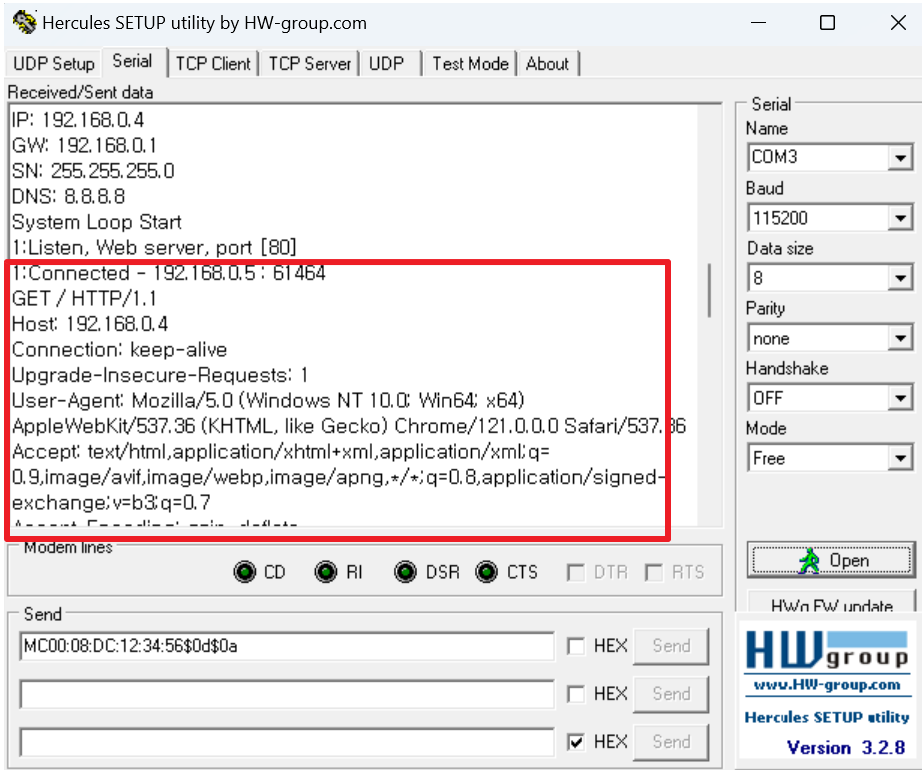
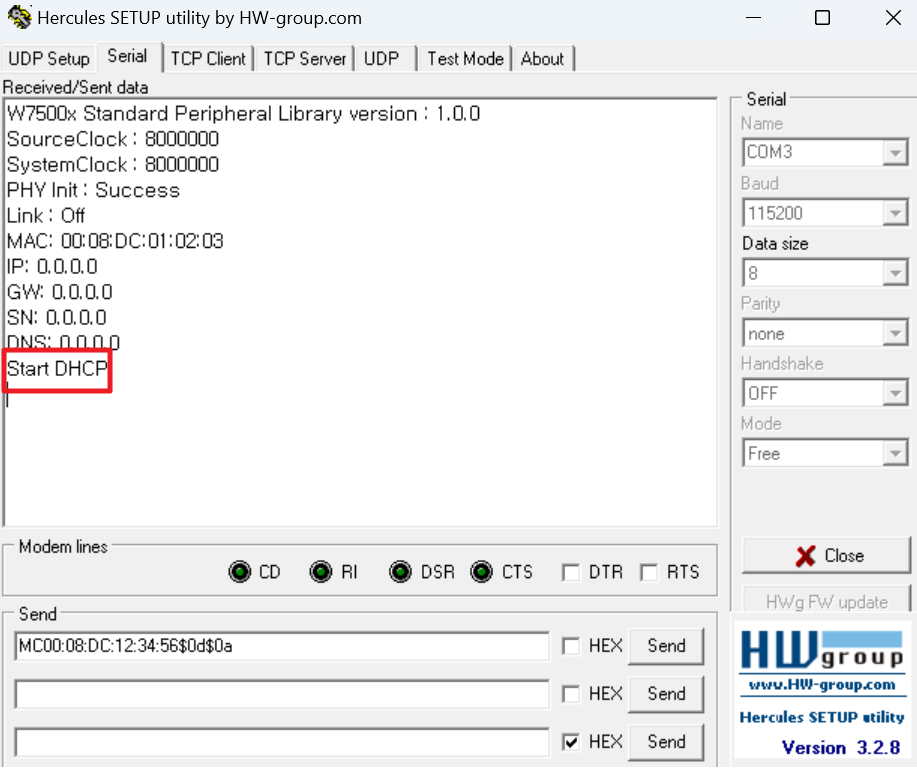
- Use Hercules to connect to Surf 5 and verify that the message indicating DHCP has started appears.
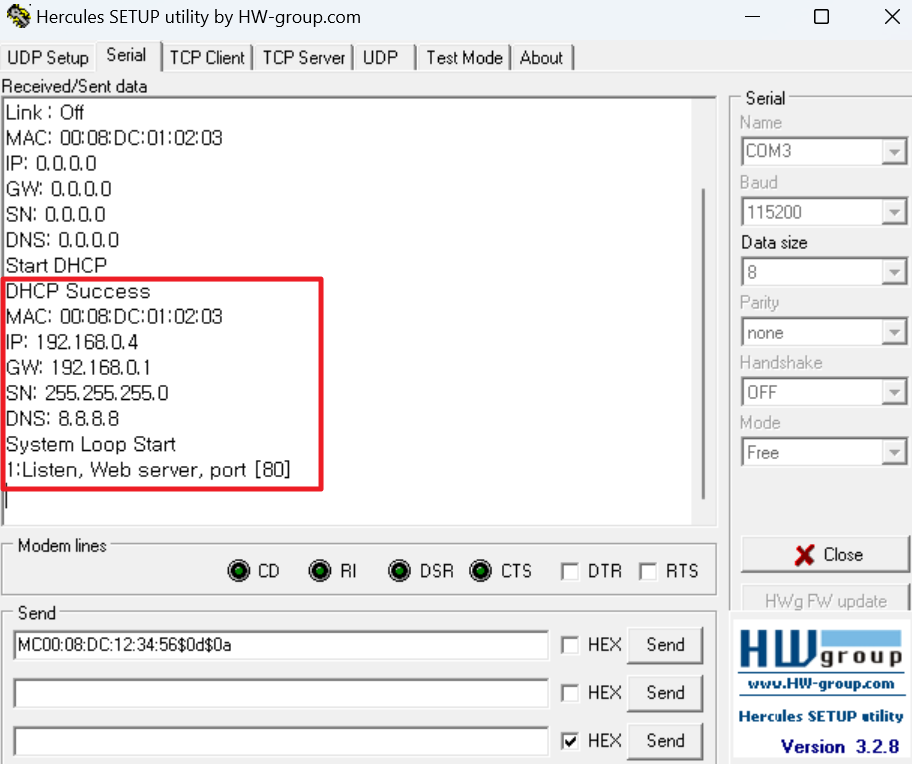
- After a slight delay once DHCP assignment is made, the message 'DHCP Success' will appear along with the creation of the web server's address (IP: 192.168.xxx.xxx).
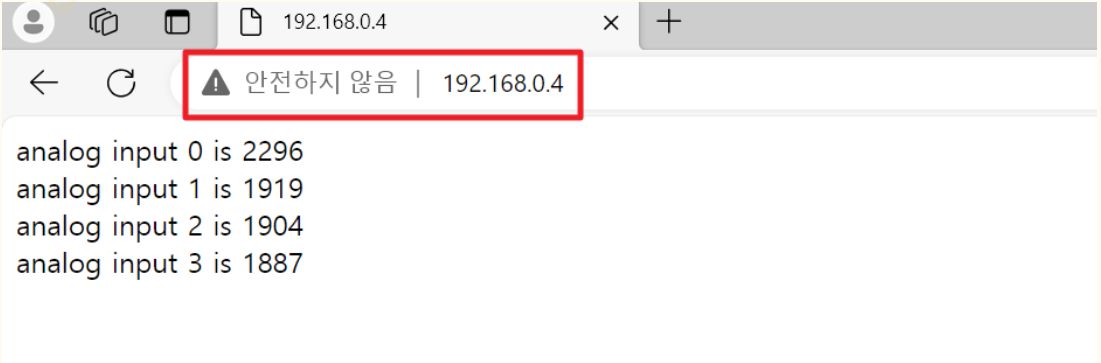
- By entering the IP address assigned by DHCP into a web browser window, the ADC values will be displayed as follows. (The ADC port is GPIO port C, pins 12 to 15.)
- The information of the client that accessed the web server from Hercules can be verified as follows.