W5500 TCP/IP Ethernet
The W5500 is a popular Ethernet controller chip manufactured by WIZnet.
0
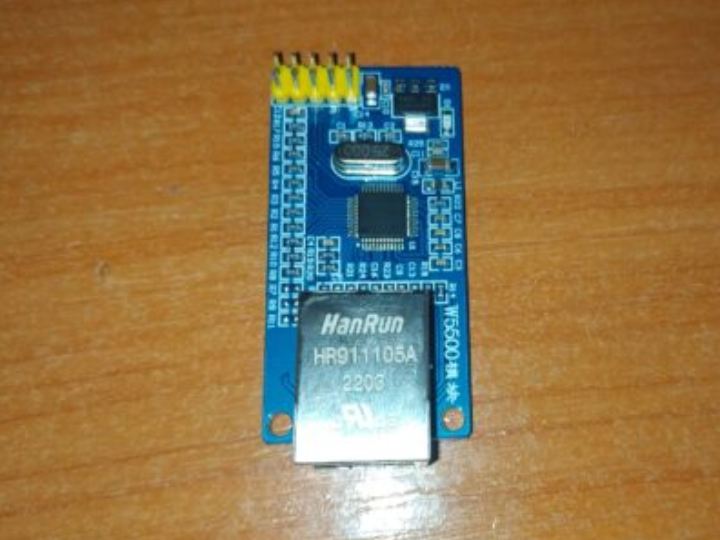
Components
Hardware components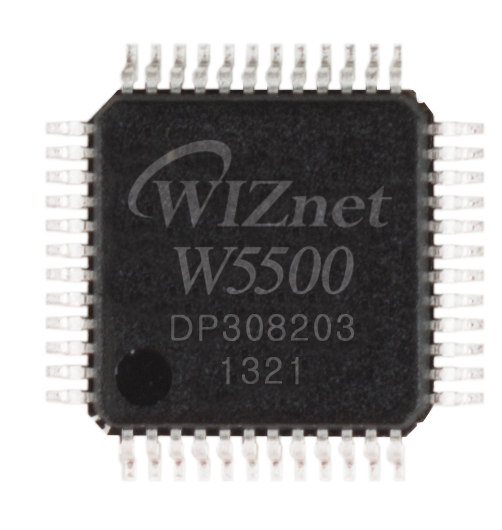
WIZnet - W5500
x 1


Raspberry Pi - Raspberry Pi Pico
x 1
Arduino - Arduino IDE
x 1
Project description
Original : https://smartlogig.com/w5500/
Author : Smartlogig
Published On : 2023-08-06
This content was created with the assistance of ChatGPT, an artificial intelligence language model developed by OpenAI.
W5500 TCP/IP Ethernet
The W5500 is a hardwired TCP/IP embedded Ethernet controller produced by WIZnet. This chip is known for its low power consumption, high performance, and suitability for a variety of IoT projects.
W5500 Overview:
- The W5500 is an Ethernet controller chip made by WIZnet.
- It facilitates TCP/IP communication over an Ethernet network.
- Hardwired TCP/IP Stack: The W5500 comes with an integrated hardwired TCP/IP stack, supporting major internet protocols such as TCP, UDP, ICMP, IPv4, ARP, IGMP, and PPPoE.
- SPI (Serial Peripheral Interface): The W5500 communicates with various microcontrollers via the SPI interface. This simplifies design and offers fast data transfer speeds.
- 8 Independent Sockets: The W5500 supports 8 independent hardware sockets, allowing it to manage multiple network connections simultaneously.
Setting up a TCP server with W5500:
- Hardware Setup:
- Connect the W5500 to a microcontroller or microprocessor.
- Ensure proper pin connections and use necessary external components.
- Connect the chip to the Ethernet network using an RJ45 connector.
- Software Setup:
- Use the WIZnet iolibrary driver or any other suitable library.
- Initialize the W5500 and set its network configurations.
- Set the chip in TCP server mode.
- Implement logic to handle incoming connections and data processing.
- TCP Server Operation:
- The W5500 monitors for incoming connection requests.
- On a new connection, read data from the client and respond accordingly.
- Handle the data and manage the connection.
Security Consideration: Secure the TCP server if exposed to untrusted networks.
W5500 Applications
The W5500 is versatile and has applications in:
- Web servers
- IoT devices
- Industrial automation
- Networked sensors and data loggers
- Home automation
- Remote monitoring and control
- Robotics
- Ethernet-to-Serial bridges
- Networked audio/video streaming
- Networked gaming and multimedia
W5500 with ATMEGA328P
Steps to use W5500 with ATmega328P:
- Hardware Setup: Connect the W5500 to the ATmega328P using SPI pins and other necessary connections.
- Library Setup: Download the WIZnet Ethernet library for Arduino.
- Code Implementation:
- Include necessary libraries.
- Define network settings.
- Initialize the Ethernet library.
- Set up a TCP server and handle client connections.
I've refined the code using ChatGPT and introduced a few improvements:
1. Function Modularization: I'll break down the code into smaller functions to improve readability and maintainability.
2. Consistent Commenting: I'll ensure comments are clear and consistent throughout the code.
#include <SPI.h>
#include <Ethernet.h>

// Network configuration constants
const byte MAC_ADDRESS[] = { 0xDE, 0xAD, 0xBE, 0xEF, 0xFE, 0xED };
const IPAddress IP(192, 168, 0, 100);
const IPAddress GATEWAY(192, 168, 0, 1);
const IPAddress SUBNET(255, 255, 255, 0);
const uint16_t SERVER_PORT = 80;

EthernetServer server(SERVER_PORT);

void setup() {
  initializeSerial();
  initializeEthernet();
  startServer();
}

void loop() {
  handleClientConnections();
}

void initializeSerial() {
  Serial.begin(9600);
}

void initializeEthernet() {
  Ethernet.begin(MAC_ADDRESS, IP, GATEWAY, SUBNET);
}

void startServer() {
  server.begin();
  Serial.print("Server started at IP: ");
  Serial.println(Ethernet.localIP());
}

void handleClientConnections() {
  EthernetClient client = server.available();

  if (client) {
    Serial.println("New client connected");
    processClientData(client);
    client.stop();
    Serial.println("Client disconnected");
  }
}

void processClientData(EthernetClient& client) {
  while (client.connected()) {
    if (client.available()) {
      char c = client.read();
      Serial.print(c);
    }
  }
}
W5500 with Raspberry Pi Pico
Steps to use W5500 with Raspberry Pi Pico:
- Hardware Setup: Connect the W5500 to the Raspberry Pi Pico using SPI pins and other necessary connections.
- MicroPython Setup: Ensure MicroPython is installed on the Raspberry Pi Pico.
- Code Implementation:
- Copy the W5500 MicroPython driver to the Raspberry Pi Pico.
- Create a new MicroPython script and implement the necessary code.
I've refined the code using ChatGPT and introduced a few improvements:
1. Utilized functions to enhance the code structure and increase reusability.
2. Managed network configurations within a single function.
3. Segregated client handling into a separate function.
import machine
import w5500

def initialize_w5500():
    # SPI setup
    spi = machine.SPI(0)
    cs = machine.Pin(5, machine.Pin.OUT)

    # Initialize the W5500
    w5500.init(spi, cs)

def set_network_config(ip, subnet_mask, gateway, mac):
    w5500.set_ip(ip)
    w5500.set_subnet_mask(subnet_mask)
    w5500.set_gateway(gateway)
    w5500.set_mac(mac)

def handle_client(conn):
    try:
        while True:
            # Receive data from the client
            data = conn.recv(1024)
            if not data:
                break
            print("Received data:", data)
            # Send a response back to the client if needed
            # conn.send("Hello from Raspberry Pi Pico!")
    except Exception as e:
        print("Error:", e)
    finally:
        conn.close()
        print("Client disconnected.")

# Network configuration
ip = '192.168.0.100'
subnet_mask = '255.255.255.0'
gateway = '192.168.0.1'
mac = (0xDE, 0xAD, 0xBE, 0xEF, 0xFE, 0xED)

initialize_w5500()
set_network_config(ip, subnet_mask, gateway, mac)

# Create a TCP server socket
sock = w5500.socket(w5500.SOCK_STREAM)
sock.bind(80)
sock.listen()

print("Server is running.")

while True:
    # Wait for incoming connections
    conn, addr = sock.accept()
    print("New client connected from:", addr)
    handle_client(conn)
Thank you for reading.


