WizFi360 & Arduino Mega IoT Demo - MQTT
Introduces how to use MQTT with WizFi360-EVB-Shield & Arduino Mega 2560
4
Components
Hardware components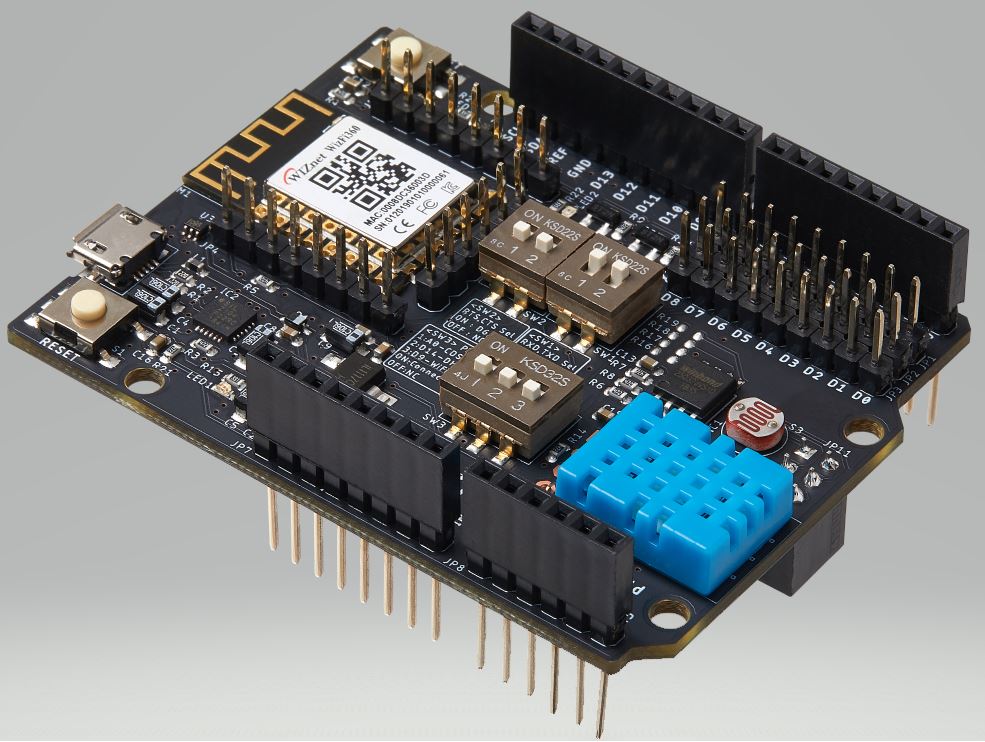
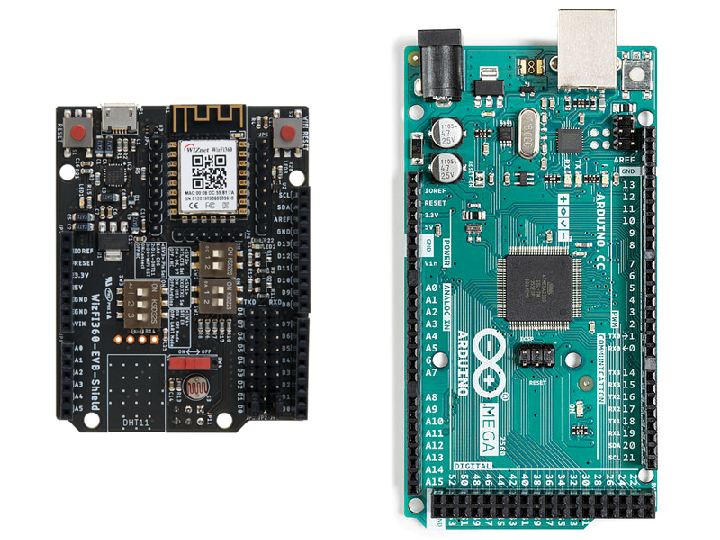
WIZnet - WizFi360-EVB-Shield
x 1


Arduino - Arduino Mega 2560
x 1
Arduino - Arduino IDE
x 1
Project description
In this document I will provide instructions how to use MQTT with WIZnet's Wi-Fi product - WizFi360-EVB-shield and Arduino Mega 2560.
I used WizFi360_arduino_library provided by WIZnet.
And for the MQTT test, the example below was used.
1. Development environment Preparation
To use the WizFi360 Arduino library & examples, the development environment must be configured to use Arduino platform.
Please note that in this guide examples were configured and tested using Arduino IDE in Windows environment.
Before starting, download and install the Arduino IDE from the link below.
2. H/W Preparation
① Combine WizFi360-EVB-Shield with Arduino Mega 2560.
② Setup DIP switch on WizFi360-EVB-Shield.
- SW1 : Off
- SW2 : Off
- SW3 : On
③ Connect WizFi360-EVB-Shield and Arduino Mega 2560 with jumper cable.
- WizFi360-EVB-Shield : D7 - Arduino Mega 2560 : 18
- WizFi360-EVB-Shield : D6 - Arduino Mega 2560 : 19

④ Connect Arduino Mega 2560 to desktop or laptop using USB type B cable.
3. S/W Preparation
The following Mosquitto to use as MQTT broker and serial terminal program are required for example test.
Serial terminal program is okay to use whatever you prefer.
Download and install from below link.
4. Example Settings
To test the MQTT example, minor settings shall be done in code.
① Setup device setting according to device you use.
Serial port configuration is different depending on the board used.
- Arduino Mega 2560 : ARDUINO_MEGA_2560
- WizFi360-EVB-Pico : WIZFI360_EVB_PICO
Set it to ARDUINO_MEGA_2560 because it uses Arduino Mega 2560.
// setup according to the device you use
#define ARDUINO_MEGA_2560
② Setup Wi-Fi configuration.
/* Wi-Fi info */
char ssid[] = "wiznet";       // your network SSID (name)
char pass[] = "0123456789";   // your network password
③ Setup broker IP.
// Note: Local domain names (e.g. "Computer.local" on OSX) are not supported
// by Arduino. You need to set the IP address directly.
char broker[] = "xxx.xxx.xxx.xxx";
5. Example Build & Upload
① After completing the configuration, click Verify button.

② When the build is completed, click Upload button to upload the firmware to Arduino Mega 2560.

6. Running Example
① Connect to the serial COM port of Arduino Mega 2560 with Tera Term.

② If the MQTT example works normally on Arduino Mega 2560, you can see the Wi-Fi connection log, information such as IP address, RSSI, etc... and connecting to broker.


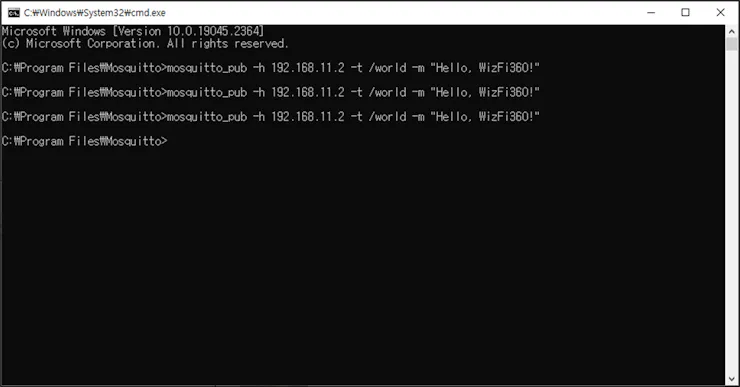
③ You can see that the subscriber receives the message that Arduino Mega 2560 sends every 10 seconds.

④ If you send a message from the publisher, you can see that Arduino Mega 2560 receives it.