W5300-TOE Arduino Web Server
This example uses a STM32 Nucleo-144 board with W5300-TOE to create a web server that responds to client requests.
1
Components
Hardware components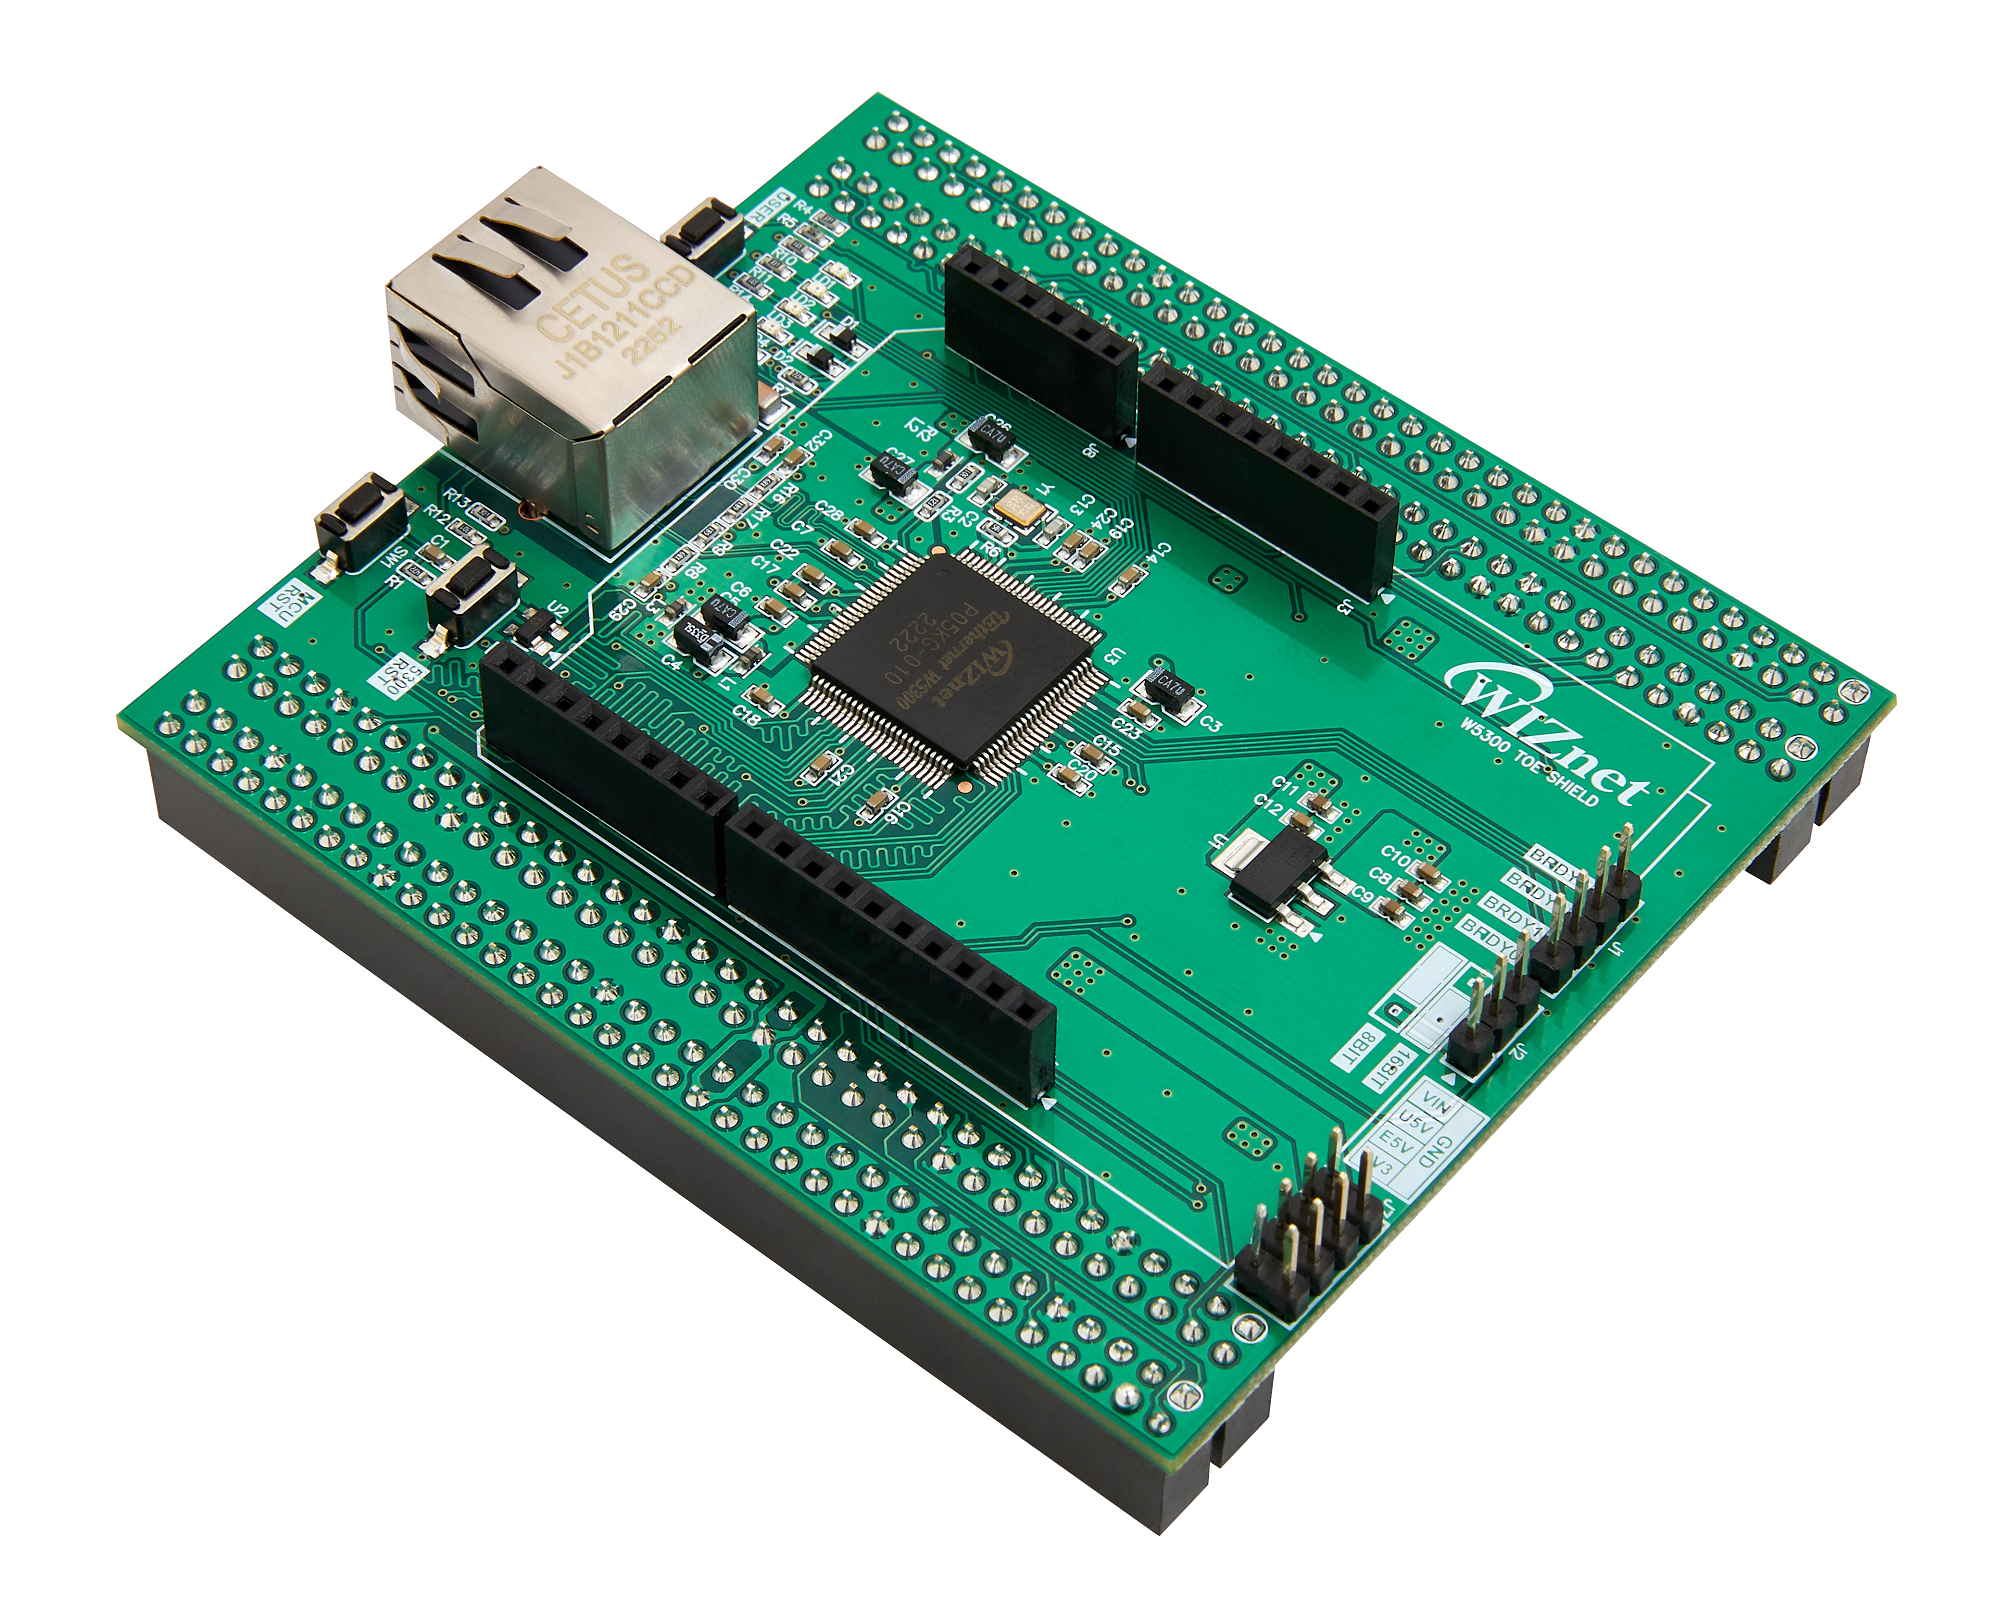
WIZnet - W5300-TOE-Shield
x 1

Arduino - Arduino IDE
x 1
Project description
How to Web Server Example
This example uses a STM32 Nucleo-144 board with W5300-TOE to create a web server that responds to client requests.
Step 1: Prepare software
The following serial terminal programs are required for WebServer example test, download and install from below links.
Step 2: Prepare hardware
Combine W5300-TOE Shield with STM32 Nucleo-144 board.
Connect ethernet cable to W5300 TOE Shield ethernet port.
Connect STM32 Nucleo-144 board to desktop or laptop using 5 pin micro USB cable.
Step 3: Setup WebServer Example
* Please refer to the following [Getting Start] page for instructions on configuring the Arduino IDE
https://github.com/Wiznet/W5300-TOE-Arduino/blob/main/Static/documents/getting_started.md
To test the WebServer example, minor settings shall be done in code.
- Setup network configuration.
Setup network configuration such as IP and UDP Port in 'WebServer.ino' in 'Ethernet/examples/WebServer' directory.
byte mac[] = { 0xDE, 0xAD, 0xBE, 0xEF, 0xFE, 0xED};
IPAddress ip(192, 168, 11, 111);
To set the port for the web server.
#define SERVER_PORT 5000
Step 4: Build and Download
After completing the WebServer example configuration, build in the IDE you are using.
When the build is completed, download the firmware to the STM32 Nucleo-144 board.
Step 5: Run
- Connect to the serial COM port of STM32 Nucleo-144 board with Tera Term.

2. If the WebServer example works normally on STM32 Nucleo-144 board, you can see the network information of STM32 Nucleo-144 board and the WebServer is open.

3. Connect to the WebServer using Web browser. When connecting to the WebServer, you need to enter is the IP and port that was configured in Step 3, the port is 5000 by default.


