Simple 3 Phase Arduino Energy Meter With Ethernet Connection
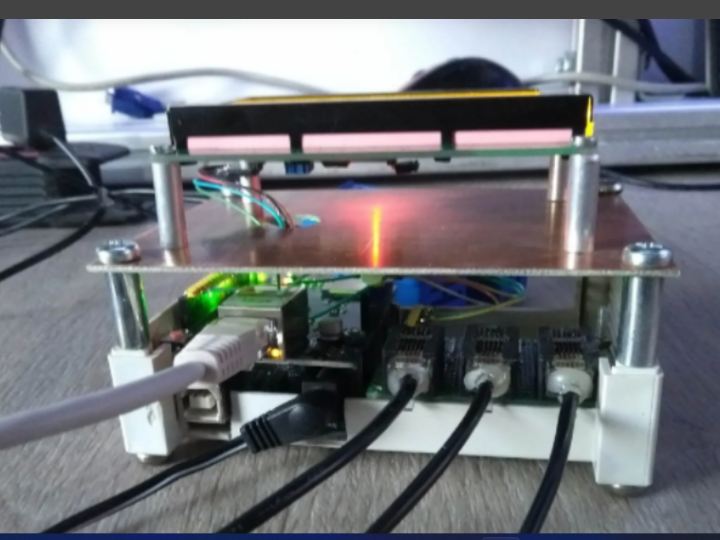
Filip Ledoux built his own 3 phase energy meter which is based on our original Simple 3 Phase Arduino Energy Meter. He however took.
3
Components
Hardware components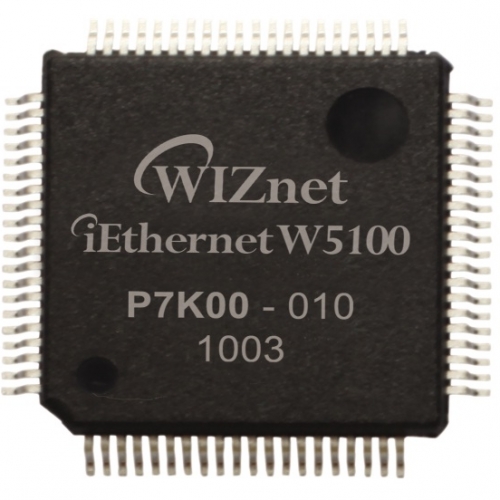
WIZnet - W5100
x 1

Project description
DETAILS How To Make The Energy Meter There are essentially three elements to this project which you will need to assemble, the LCD screen, the Ethernet shield and finally the current sensors. The Ethernet shield simply plugs into the Arduino board and picks up on the pins required through the pin headers. The LCD screen can be mounted onto a board or breadboard. Filip has built a neat box around his Arduino and Ethernet shield with a panel on the front on which the LCD screen is mounted. The LCD screen is driven using the Arduino’s built in library and can be connected by following this…
Keep reading with a free account
Guests can read 15 projects per visit. Log in or create a free account to read the full description, open the documents and join the comments.

