Arduino Smarthome and IoT Networking Framework
Arduino Smarthome and IoT Networking Framework
0
Components
Hardware components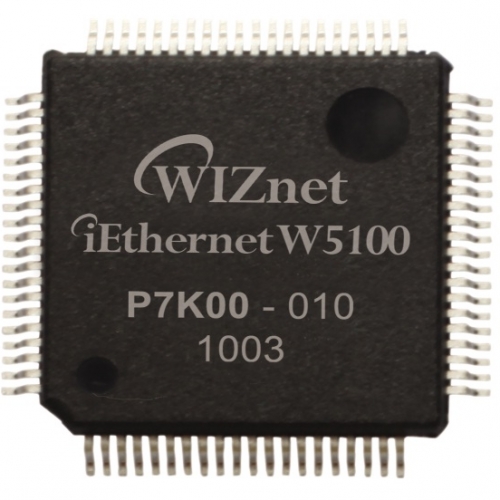
WIZnet - W5100
x 1

Arduino Duemilanove/UNO or compatibles
x 1
ENC28J60
x 1
nRF24L01
x 1
AT86RF230
x 1
Arduino boards with relay
x 1
Project description
DESCRIPTION
Souliss is a framework that turns Arduino boards into smart objects in 50 lines of code sketch, interconnect your nodes over Ethernet, Wireless, RS485 and control them directly via SoulissApp Android application or into openHAB.
Nodes communicate in p2p using an event-based communication, report data and their functionality to the user interface and discovers automatically the network path.
It share a similar approach of ZWave and Zigbee, but works on multiple communication interfaces (and not only on Wireless 2.4 GHz). Souliss is completely open-source, runs on open-source hardware and is free to use.
DETAILS
Souliss is a flexible and powerful framework, it basically does two things: gives a networking tool that interconnect all your boards; introduce standard logic to handle your interconnected Things.
Once your board runs Souliss, is able to communicate with others and let them know what it can do (lets say control your garage door, but can be anything else). You are free to have multiple nodes, those can communicate in peer-to-peer between them-self and report to an user interface the actual state.
Souliss create a local network, your devices doesn't relay on Internet connection even if can be controlled via Internet. Your data doesn't travel around the world.
You have the freedom to scale from one, a couple of several tens of boards. Mixing Souliss with commercial products for home automation is possible through openHAB.
An overview on how make?Smart Home with Arduino and Android?and how use?Arduino as Smart Home Product?are available on the blog.
COMPONENTS
- 2×Arduino Duemilanove/UNO or compatiblesAny Arduino compatible board that use ATmega328P or higher
- 2×TransceiverW5100, ENC28J60, nRF24L01+, AT86RF230 and others
- 1×Relay with embedd driverOr an Arduino boards with relay, like DINov2
- 1×Pushbutton and resistors
PROJECT LOGS
?Collapse logs
-
Marco's Power Socket
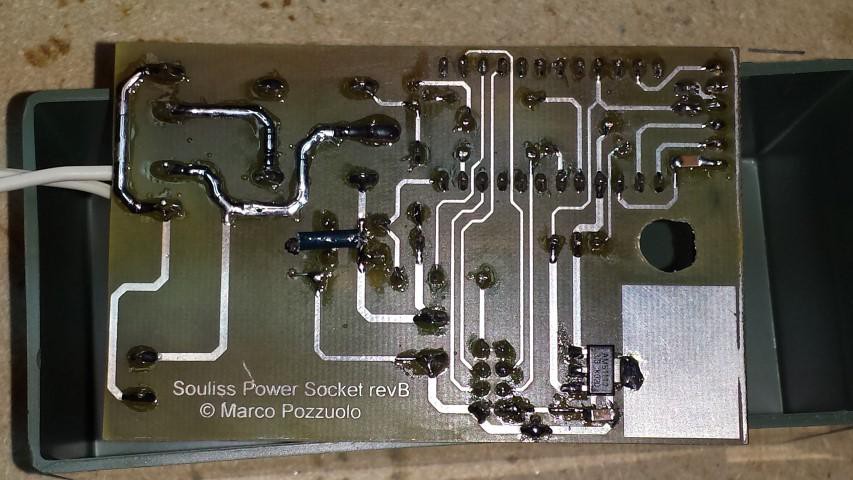
plinio???01/18/2015 at 09:58???2 commentsOne of the best features of Souliss is the flexibility, so that you can distribute your nodes over the home. Marco has build a set of Power Socket, an all-in-one device that plugs directly into a power socket and give control over Souliss. Similar to WeMo, but cheaper.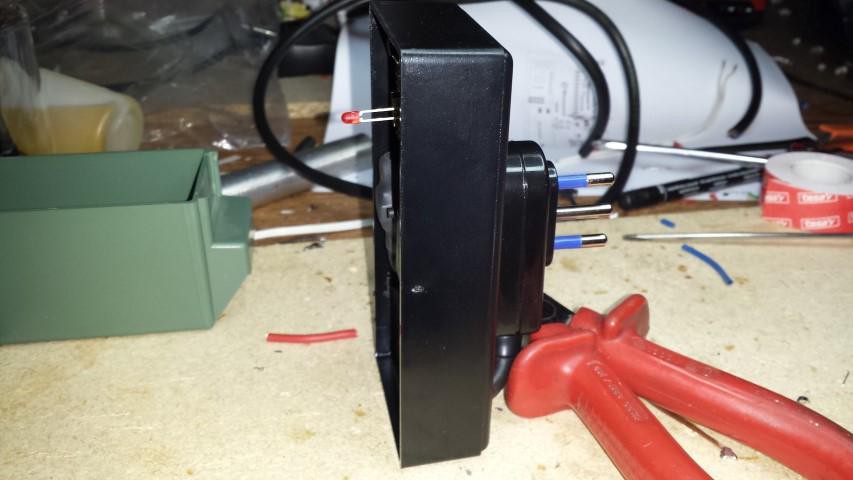 The LED gives indication on the status and on the left side there is the input plug.
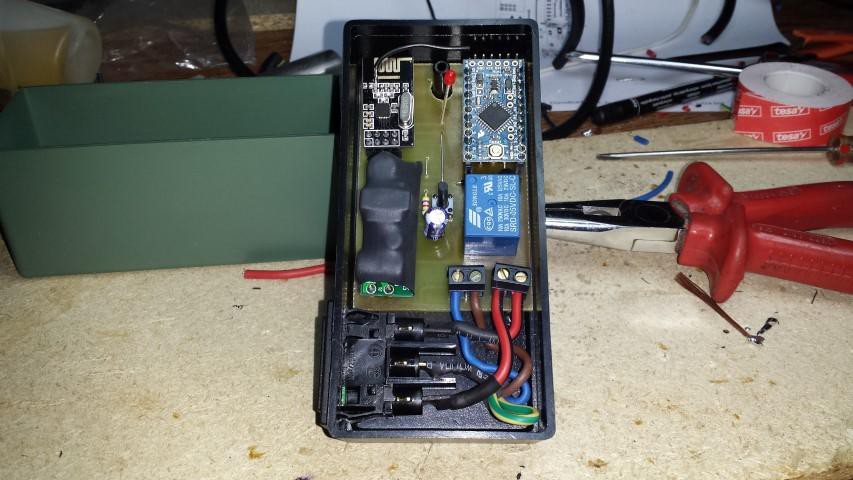 Inside and Arduino, an nRF24L01+ radio with a small 220 VAC/ 5VDC power supply and a relay with a small circuit to drive it.
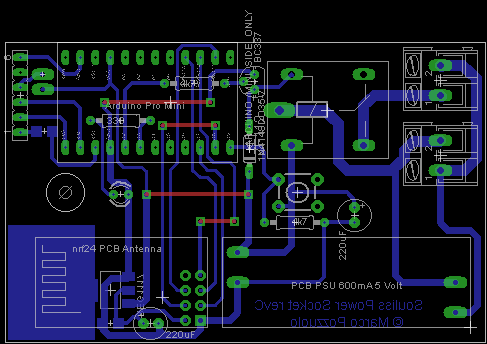 The PCB is handmade and straightforward, the input 220 VAC supplies the PSU module and then goes through the relay to give power at the output socket, so that you can control this socket and power on and off anything (have care for the maximum current of the relay) attached to.
-
Arduino, Souliss and openHAB empower this home
plinio???12/14/2014 at 11:05???0 comments This picture shows the cabinet that control most of the automation of the Fulvio's home, nodes are interconnected in RS485 and then join an openHAB server via Ethernet.
Nodes runs Souliss that cares for networking and execution of logics, those are locally executed and doesn't depend on openHAB.
This picture shows the cabinet that control most of the automation of the Fulvio's home, nodes are interconnected in RS485 and then join an openHAB server via Ethernet.
Nodes runs Souliss that cares for networking and execution of logics, those are locally executed and doesn't depend on openHAB.
-
Get Souliss in openHAB
plinio???12/12/2014 at 14:22???0 commentsFulvio's home is controlled though Souliss and now has openHAB as automation server.
BUILD INSTRUCTIONS
?Collapse instructions
-
1Step 1Read the?wiki?to have a general overview of what Souliss does, the most important are?Your First Upload?and?Getting Started.
-
2Step 2Start from an Arduino Ethernet, an Arduino with official Ethernet Shield or ENC28J60 Ethernet Shield. The?Hello World?example is the right one to start with, use?SoulissAppto control your board and turn ON and OFF an LED. Read carefully how setup the board.
-
3Step 3Once you get the Hello World working, is time to define a network of nodes. Have a look to the supported?Hardware Boards?and start your design. You can mix Ethernet, Wireless and RS485 communication as you like.

