Skip to content

Getting Started with Arduino Ethernet3 Library on W55RP20

Getting Started with Arduino Ethernet3 Library on W55RP20

mason

Published September 05, 2025

Original author: Mason Lee · South Korea

Getting Started with Arduino Ethernet3 Library on W55RP20

Components

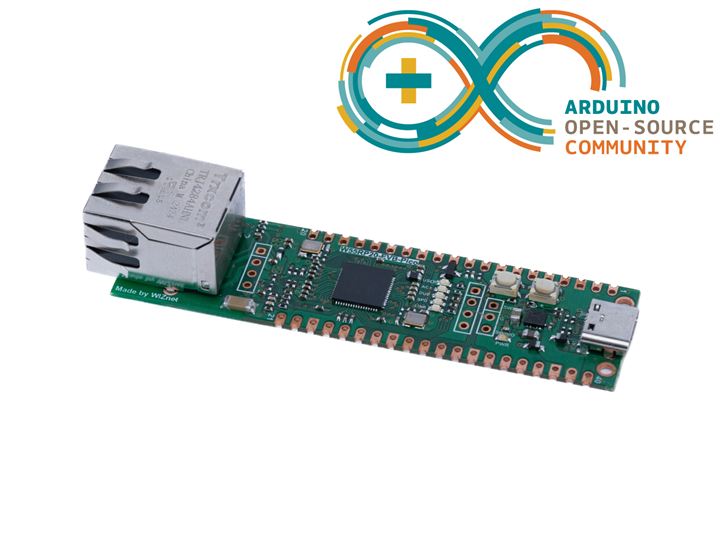
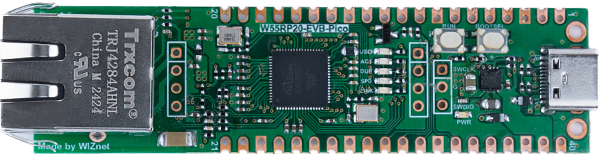
Hardware components

Project description

This guide provides instructions on how to build the W55RP20-EVB-Pico on Arduino. The Arduino version used is 1.8.19, which can be downloaded from the link below.
https://www.arduino.cc/en/software

Additionally, this post is based on and works with earlephilhower's arduino-pico.
https://github.com/earlephilhower/arduino-pico


  1. Installing Raspberry Pi Pico/RP2040/RP2350 Boards
    Open Arduino, go to File -> Preferences -> Additional Boards Manager URLs:
    Input https://github.com/earlephilhower/arduino-pico/releases/download/global/package_rp2040_index.json
    Getting Started with Arduino Ethernet3 Library on W55RP20

    And go to Tools -> Board -> Boards Manager, search for 'RP2040', and install Raspberry Pi Pico/RP2040/RP2350 (version 4.2.0 or later).
    Getting Started with Arduino Ethernet3 Library on W55RP20
     
  2. Download W55RP20-Ethernet3 Library
    Clone or download it from the following W55RP20-Ethernet3 GitHub link (https://github.com/WIZnet-ioNIC/W55RP20-Ethernet3) into your Arduino libraries folder (e.g., Documents/Arduino/libraries), and then run DhcpAddressPrinter.ino from the examples folder.
     
  3. Build example and check
    Go to Tools -> Board -> Raspberry Pi RP2040 -> WIZnet W55RP20-EVB-Pico
    Getting Started with Arduino Ethernet3 Library on W55RP20
     
  4. Upload
    Press and hold the BOOTSEL button on the board, then press the RUN button. After that, click the Upload button in Arduino to build the firmware, and verify it through the Serial Monitor

    Getting Started with Arduino Ethernet3 Library on W55RP20
     Getting Started with Arduino Ethernet3 Library on W55RP20

Documents

Comments

Comments