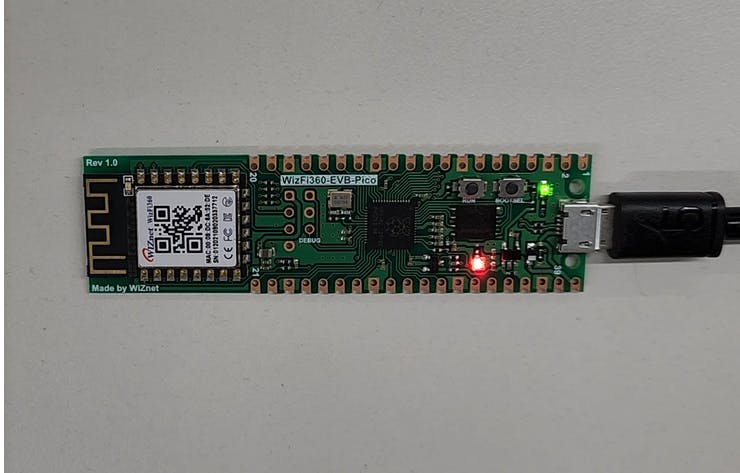
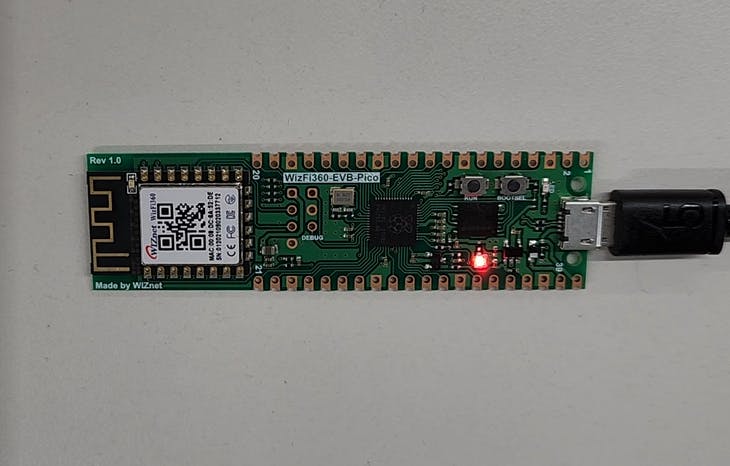
TCP Client LED ON & OFF for Raspberry Pi Pico with WizFi360
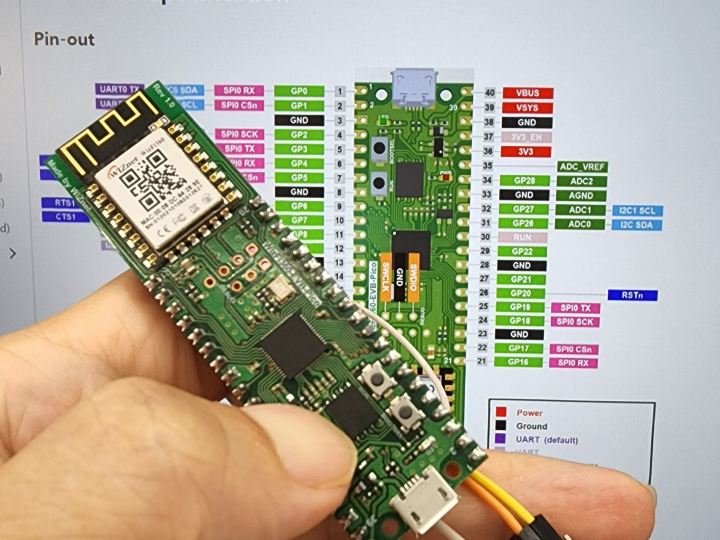
WizFi360-EVB-Pico board is based on Raspberry Pi RP2040 and adds Wi-Fi connectivity using WizFi360 (FreeRTOS, ARM CMSIS).
14
Components
Hardware components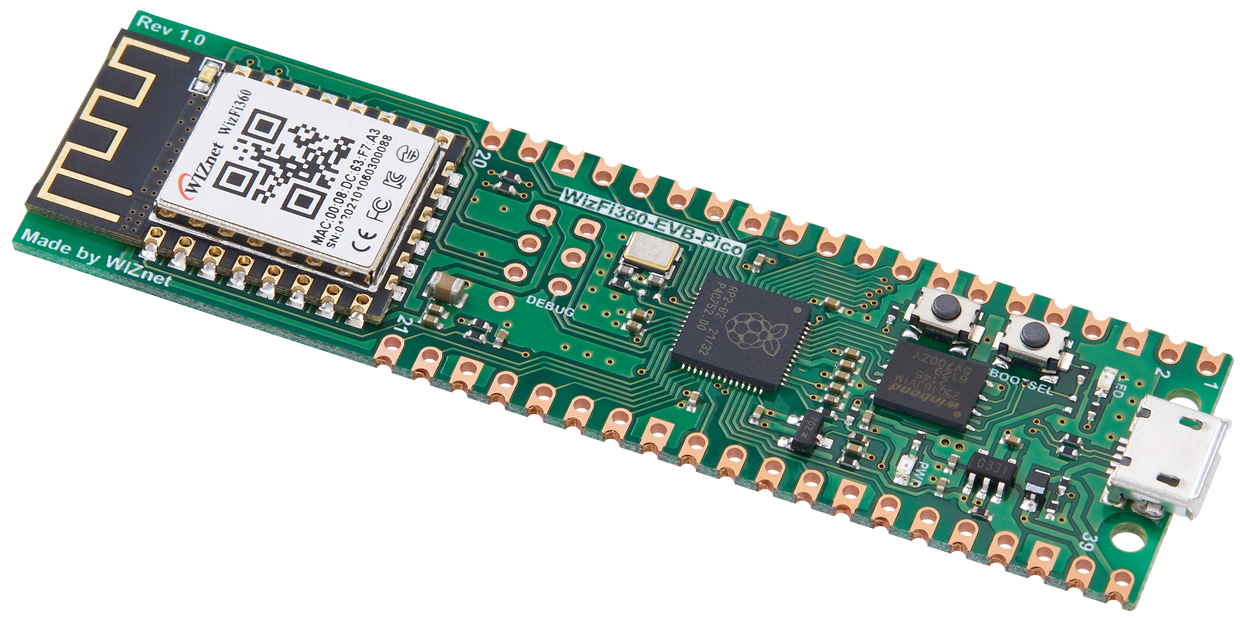
WIZnet - WizFi360-EVB-Pico
x 1

ARM - KEIL5
x 1

Project description
Story
How to Test TCP_Client_Demo Example
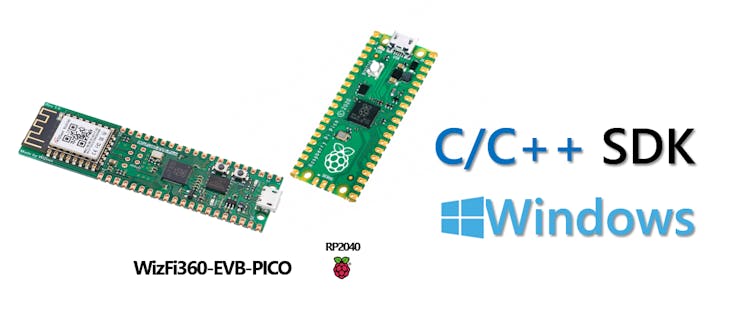
Step 1: Prepare software
The following serial terminal programs are required for TCP_Client_Demo example test, download and install from below links.
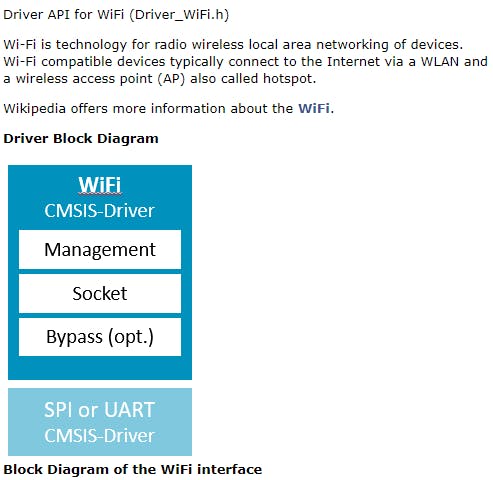
https://arm-software.github.io/CMSIS_5/Driver/html/group__wifi__interface__gr.html
- WizFi360-EVB-Pico git hub:
https://github.com/Wiznet/WizFi360-EVB-Pico-C.git
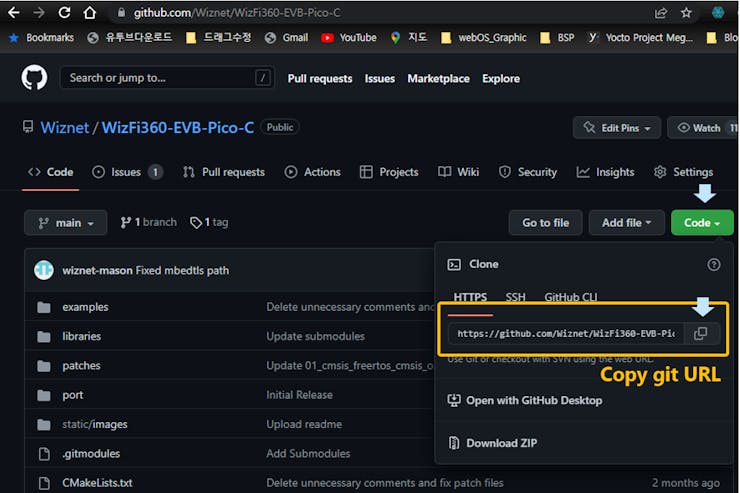
- Development Env:
Step 2: Prepare hardware
- Connect WizFi360-EVB-Pico to desktop or laptop using 5 pin micro USB cable.
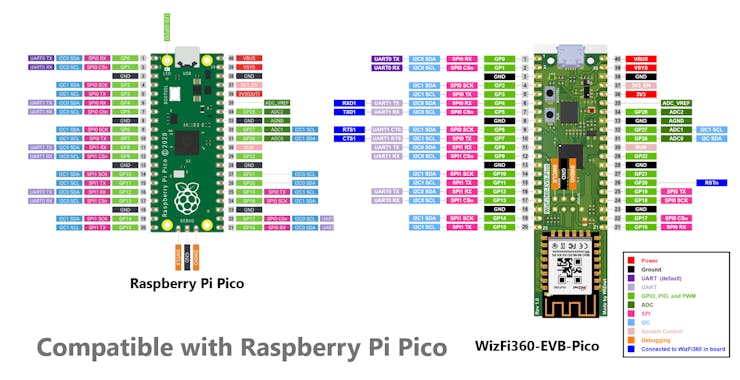
Step 3: Setup TCP_Client_Demo Example
To test the TCP_Client_Demo example, minor settings shall be done in code.
- Setup SSID information in 'socket_startup.c' in 'WizFi360-EVB-Pico-C/examples/TCP_Client_Demo/' directory.
Setup the SSID infomation.
/* SSID */
#define SSID            ""
#define PASSWORD        ""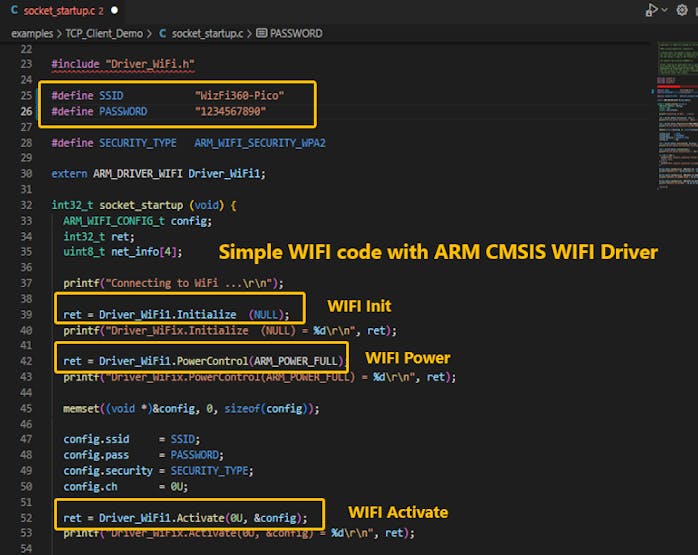
- Setup network configuration such as IP and PORT in 'iot_demo.c' which is the TCP_Client_Demo example in 'WizFi360-EVB-Pico-C/examples/TCP_Client_Demo/' directory.
Setup IP and PORT settings to suit your network environment.
/* TCP */
#define TARGET_PORT 6000
static uint8_t g_tcp_target_ip[4] = {192, 168, 2, 101};- Open the hercules in your desktop or laptop. Set the port to the same number as the TARGET_PORT in your firmware and click listen on the tcp server tab. 📷
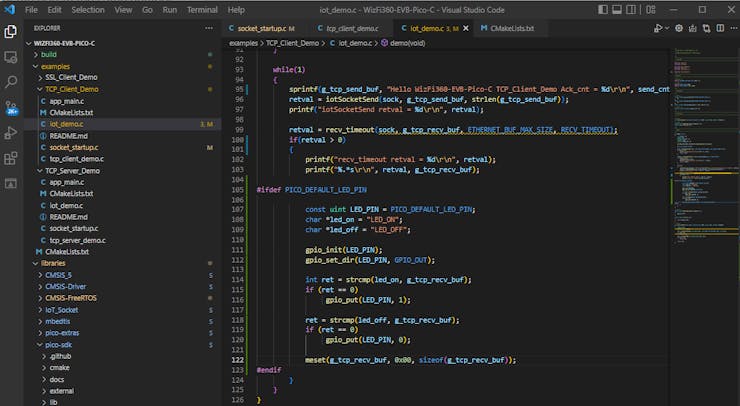
- Additional Code "LED ON & OFF"
Step 4: Build
After completing the TCP_Client_Demo example configuration, click 'build' in the status bar at the bottom of Visual Studio Code or press the 'F7' button on the keyboard to build.
- After completing the TCP_Client_Demo example configuration, click 'build' in the status bar at the bottom of Visual Studio Code or press the 'F7' button on the keyboard to build.
When the build is completed, 'tcp_client_demo.uf2' is generated in 'WizFi360-EVB-Pico-C/build/examples/TCP_Client_Demo/' directory.
- When the build is completed, 'tcp_client_demo.uf2' is generated in 'WizFi360-EVB-Pico-C/build/examples/TCP_Client_Demo/' directory.
Step 5: Upload and Run
- While pressing the BOOTSEL button of WizFi360-EVB-Pico power on or reset the board, the USB mass storage 'RPI-RP2' is automatically mounted.
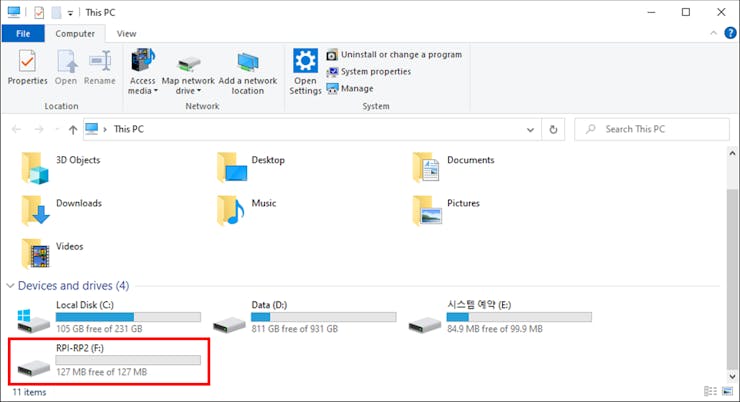
Drag and drop 'tcp_client_demo.uf2' onto the USB mass storage device 'RPI-RP2'.
- Drag and drop 'tcp_client_demo.uf2' onto the USB mass storage device 'RPI-RP2'.
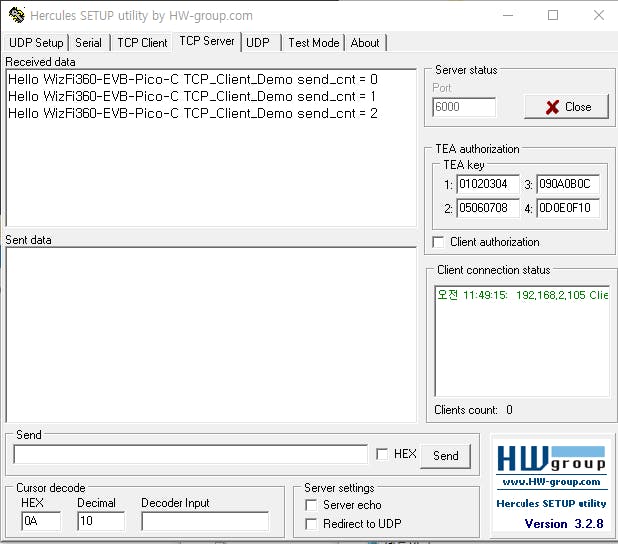
If the TCP_Client_Demo example works normally on WizFi360-EVB-Pico, you can see the TCP Data in hercules.
- If the TCP_Client_Demo example works normally on WizFi360-EVB-Pico, you can see the TCP Data in hercules.
_AkBZdEJyS8.png?auto=compress%2Cformat&w=740&h=555&fit=max)