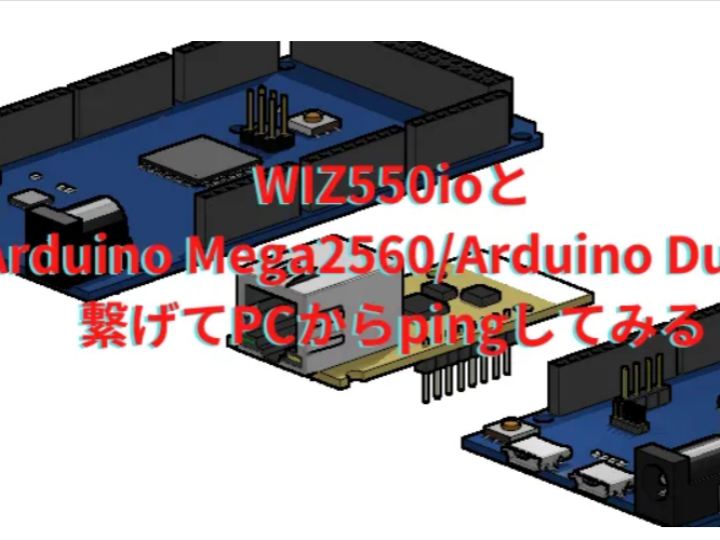
Connect WIZ550io and Arduino Mega2560 / Arduino Due
Among the various LAN modules, there is WIZ550io. WIZ550io is a module that implements the W5500 Ethernet controller chip and has a legitima
0
Components
Hardware components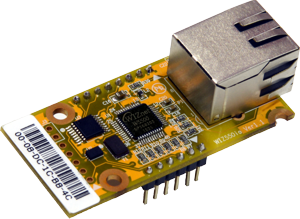
WIZnet - WIZ550io
x 1

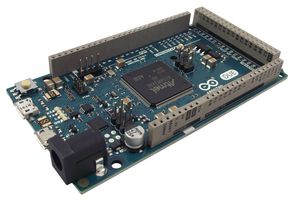
Arduino - Arduino Due
x 1
Arduino - Arduino IDE
x 1
Project description
Original post: https://hobnote.net/wp/2020/12/1556/
Among the various LAN modules, there is WIZ550io. WIZ550io is a module that implements the W5500 Ethernet controller chip and has a legitimate MAC address written to it.
It seems that there are several types of modules that implement W5500, but at the time of writing this article (December 2020), only this WIZ550io could find the MAC address written. Later W5500 implementation modules will need to set the MAC address themselves. As for the MAC address, I think I was able to use a test address that can be used in a closed local network, but I purchased a MAC address in consideration of duplication problems because it may be used outside the range that I can manage for general purposes. I remember I had to do it.
The photo of the main body of WIZ550io is as follows. I bought it at Switch Science this time.
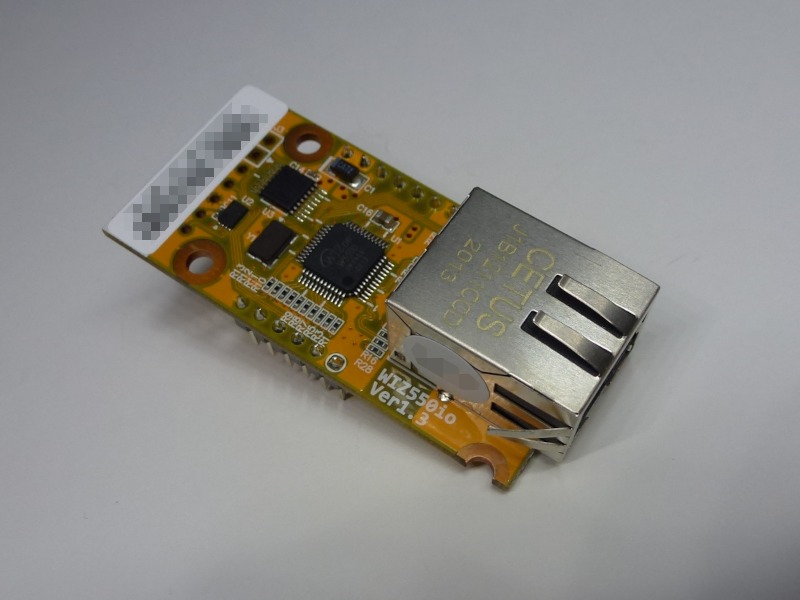
In the above photo, the MAC address written on the board where the mosaic is applied on a white background is shown.
So, as for the main subject, I would like to connect this WIZ550io and Arduino and ping from the PC to make it respond.
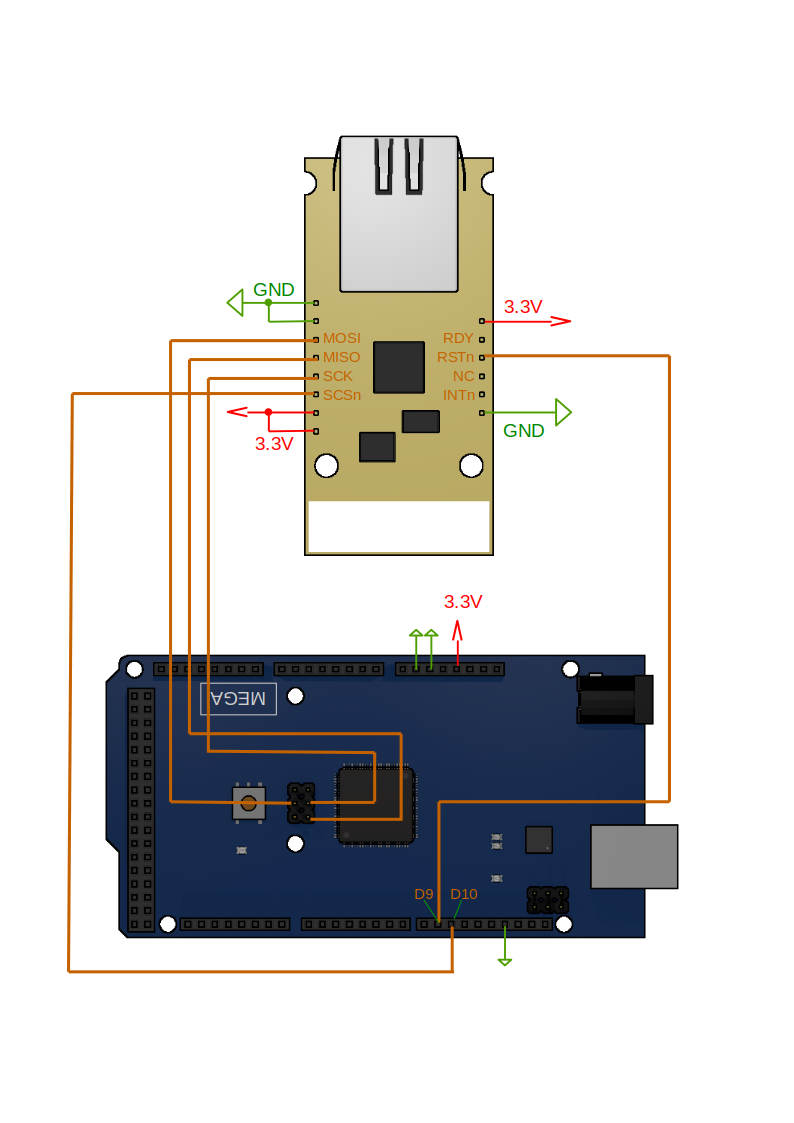
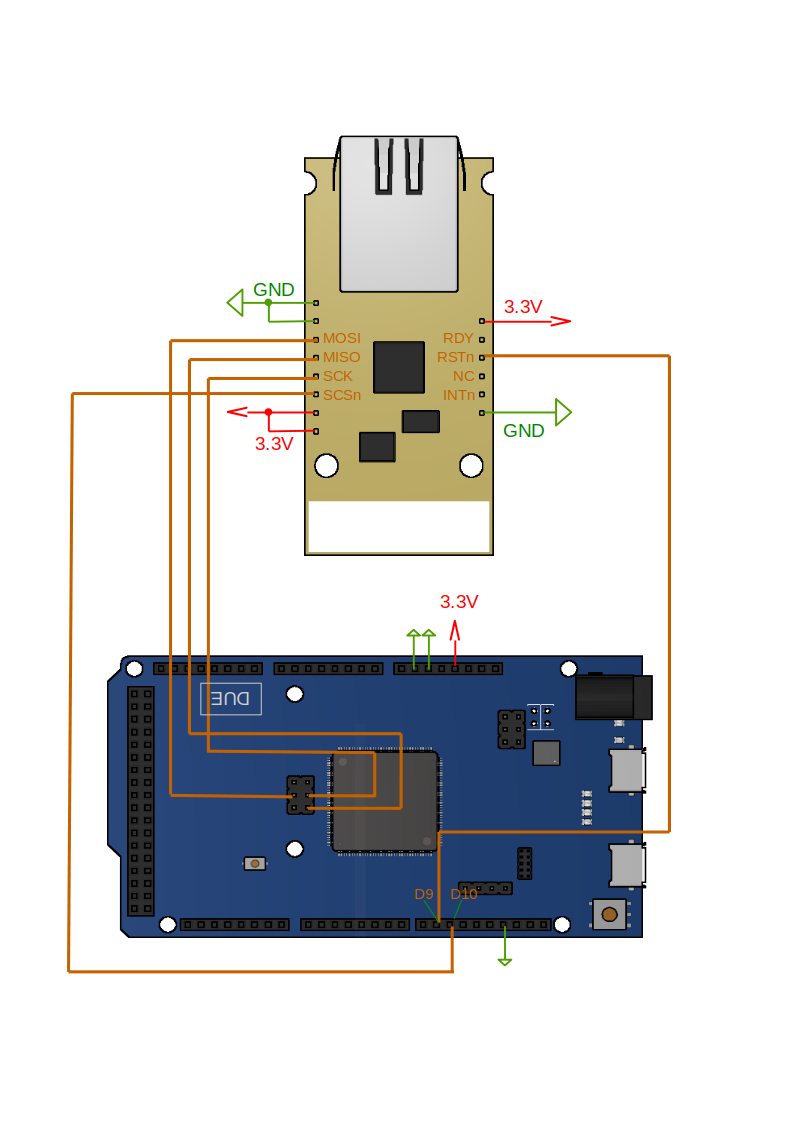
I tried the Arduino used this time with two models, Mega2560 and Due. Well, the pin arrangement is almost the same (although not perfect), so the wiring is the same.
The connection diagram of Arduino Mega 2560 and WIZ550io is as follows.
The connection diagram of Arduino Due and WIZ550io is as follows.
The Arduino program is common to Mega2560 and Due as follows.
#include <SPI.h>
#include <Ethernet3.h>

 byte u_ip[] = {xxx, xxx, xxx, xxx};
 byte u_subnet[] = {255,255,255,0};
 byte u_gateway[] = {xxx, xxx, xxx, xxx};
 byte u_dns[] = {xxx, xxx, xxx, xxx};

 void setup()
 {
   Ethernet.begin(u_ip, u_subnet, u_gateway, u_dns);
 }
 void loop()
 {
 }
Here, Ethernet3.h cannot be installed from the management of the library of the IDE (as of the writing of 2020.12), so you need to google with “Arduino Ethernet3”, download it from GitHub, and install it.
Also, when using WIZ550io, it is necessary to add one line of Ethernet3.h as shown below after installation.
* For this, I referred to the page of Arduino Network Communication-Network .
........
#include "IPAddress.h"
#include "EthernetClient.h"
#include "EthernetServer.h"
#include "Dhcp.h"

//ヘッダーファイルのインクルード文の後に以下の1行を追記
#define WIZ550io_WITH_MACADDRESS
Here is the code xxx, but
byte u_ip [] = {xxx, xxx, xxx, xxx}; Please rewrite the common 192.168… to an IP address that is free in your network.
By the way, in the setup () function
Ethernet.begin(u_ip, u_subnet, u_gateway, u_dns);I think that the following IP address only description will work.
Ethernet.begin(u_ip);However, since there are cases of various network settings, I think it will be easier to describe them with full settings later.
byte u_subnet [] = {255,255,255,0}; is not xxx, but if your network’s subnet mask is different, rewrite it.
Replace byte u_gateway [] = {xxx, xxx, xxx, xxx}; with the IP address of the default gateway.
Replace byte u_dns [] = {xxx, xxx, xxx, xxx}; with the IP address of your DNS settings.
Once you’ve done that, compile and write to Arduino.
Open the console terminal of the PC with (for example, if the u_ip (IP address) written to Arduino is 192.168.0.50) and enter ping 192.168.0.50
hoge$ ping 192.168.0.50
PING 192.168.0.50 (192.168.0.50) 56(84) バイトのデータ
 64 バイト応答 送信元 192.168.0.50: icmp_seq=1 ttl=128 時間=0.287ミリ秒
 64 バイト応答 送信元 192.168.0.50: icmp_seq=2 ttl=128 時間=0.082ミリ秒
 64 バイト応答 送信元 192.168.0.50: icmp_seq=3 ttl=128 時間=0.077ミリ秒
If the ping comes back like this, the communication is successful. (The above is the notation when inputting from the GNOME terminal of Linux)
Below is a picture of the actual connection between the WIZ550io and Arduino Due. It is not necessary to use a separate breadboard for connection only, but I wanted to monitor the SPI line with an oscilloscope, so I inserted the WIZ550io into the breadboard and checked the operation.


