Creating a New Project with W5100S-EVB-PICO Board and Custom Board Creation in Zephyr
Creating a New Project with W5100S-EVB-PICO Board and Custom Board Creation in Zephyr
0
Components
Hardware components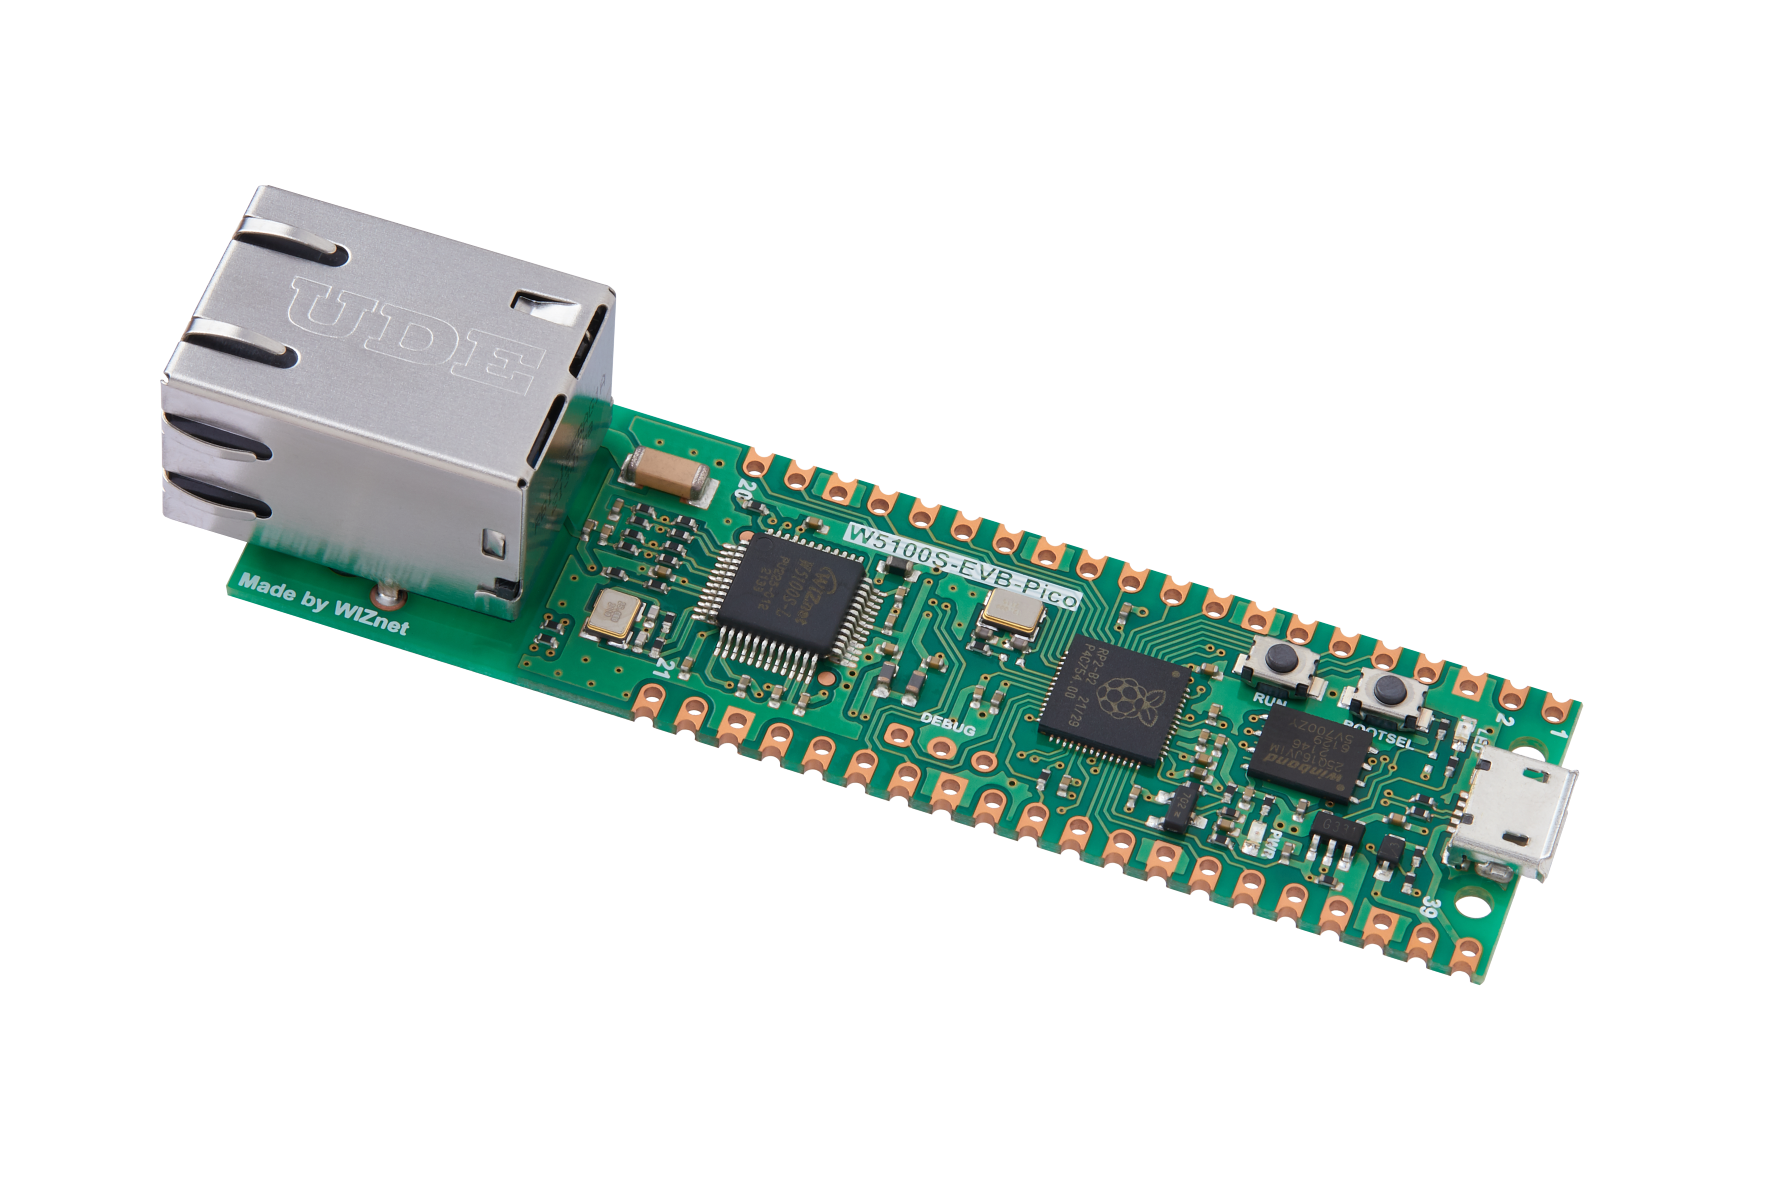
WIZnet - W5100S-EVB-Pico
x 1

Project description
Recently, I embarked on a new project using the W5100S-EVB-PICO board. This article details the process and how to create a custom board in the Zephyr environment.
Starting the Project
First, I installed Zephyr, Zephyr SDK, and the required Python dependencies. I also added the Zephyr path to the environment variables to complete the installation.
To create a new project, I generated the following folder structure and populated each file with the appropriate content.
/ProjectName
├── CMakeLists.txt
├── prj.conf
└── src
    └── main.c
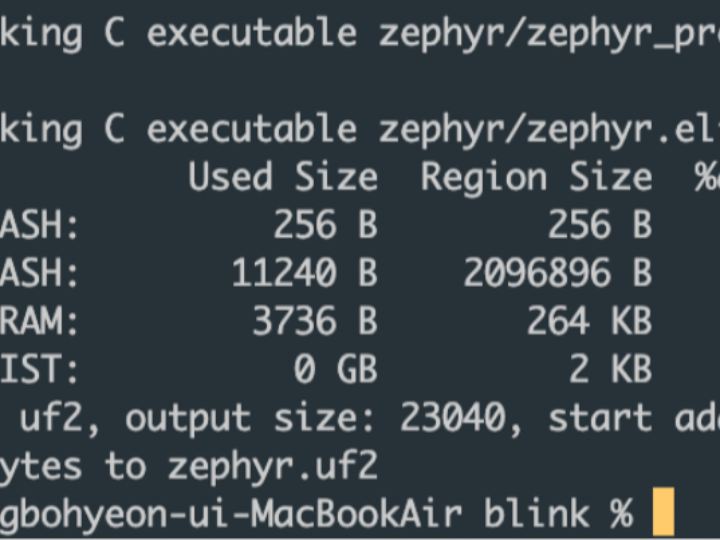
Building the project was done using the west build command, and I copied the generated uf2 binary file to the W5100S-EVB-PICO board.
The Issue with Partial Setup
In the initial setup, I used rpi-pico as the board name in the CMakeLists.txt file, but W5100S-EVB-PICO is not registered in Zephyr, making it a partial solution. Therefore, we need to create a new custom board in Zephyr.
Reference Link: https://docs.zephyrproject.org/latest/hardware/porting/board_porting.html#board-porting-guide
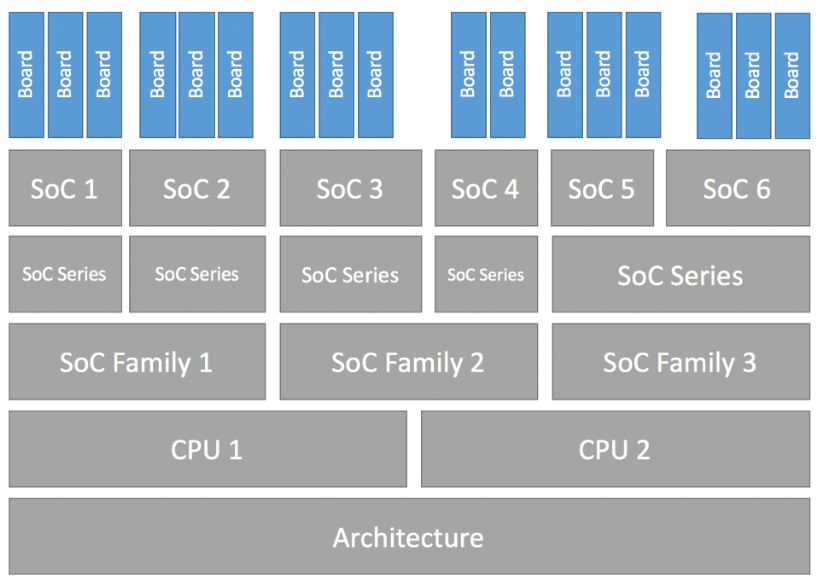
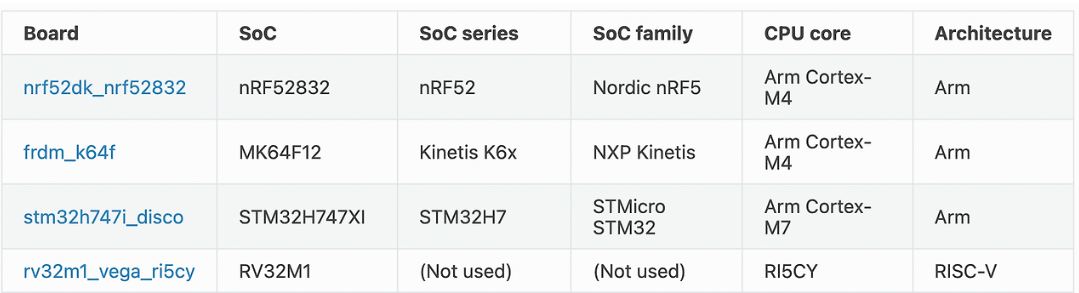
Zephyr Configuration Structure
The Zephyr configuration is structured as follows:
Creating a New Custom Board in Zephyr
The main specifications for the W5100S-EVB-PICO board are as follows:
- Architecture: Arm
- CPU Core: Arm Cortex M0
- SoC: RP2040
To create a new board, I created the zephyr/boards/arm/w5100s_evb_pico/ folder and prepared the following files.
boards/arm/w5100s_evb_pico
├── board.cmake
├── CMakeLists.txt
├── doc
│   ├── w5100s_evb_pico.png
│   └── index.rst
├── Kconfig.board
├── Kconfig.defconfig
├── w5100s_evb_pico_defconfig
├── w5100s_evb_pico.dts
└── w5100s_evb_pico.yaml
The w5100s_evb_pico.dts file is particularly important as it defines the hardware components attached to the board. Fortunately, the W5100S-EVB-PICO hardware is almost identical to the rpi_pico, so we can copy and modify the rpi_pico files.
Reference Link: Introduction to devicetree — Zephyr Project Documentation
Copy the entire zephyr/board/arm/rpi_pico folder and rename it to w5100s_evb_pico as follows.

Also, change the file names inside the folder to match the board name.
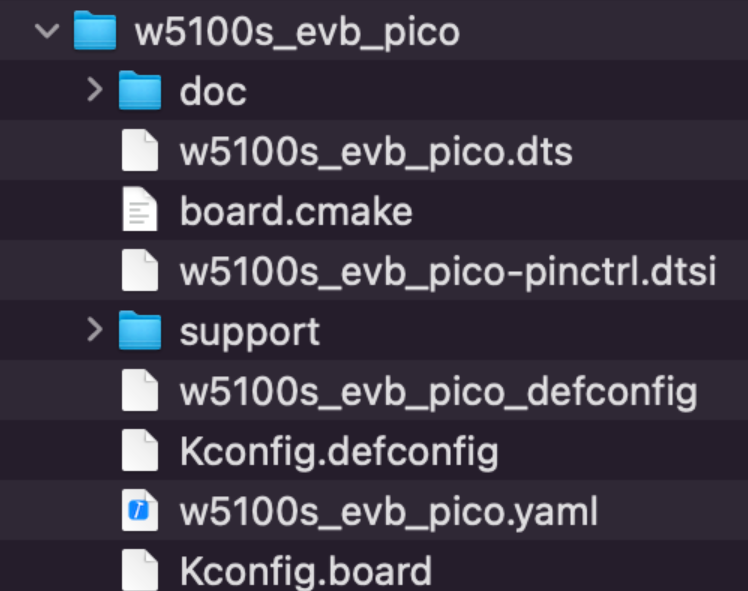
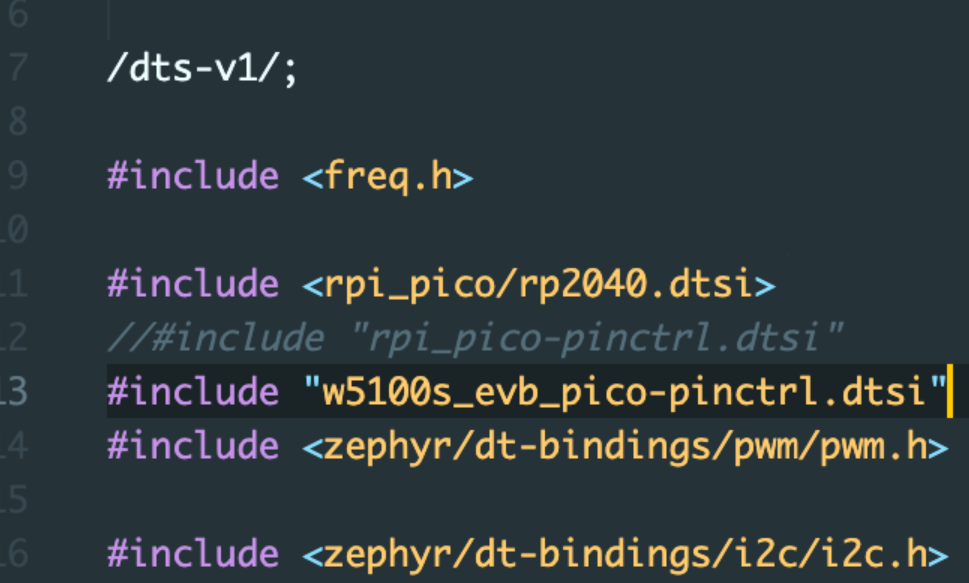
You also need to make some changes inside the files. The settings for w5100s will be done later. Change the include file in w5100s_evb_pico.dts.
Modifying Configuration Files
Edit Kconfig.board
config BOARD_W5100S_EVB_PICO
    bool "WIZnet W5100S EVB PICO Board"
    depends on SOC_RP2040
Edit Kconfig.defconfig
if BOARD_W5100S_EVB_PICO

config BOARD
    default "w5100s_evb_pico"

config RP2_FLASH_W25Q080
    default y

if I2C_DW

config I2C_DW_CLOCK_SPEED
    default 100

endif #I2C_DW

endif # BOARD_W5100S_EVB_PICO
Modifying Project Files
Next, I went back to the project folder and edited the CMakeLists.txt file to change the board name.
cmake_minimum_required(VERSION 3.20.0)
set(BOARD w5100s_evb_pico) # Change from rpi_pico to w5100s_evb_pico

find_package(Zephyr REQUIRED HINTS $ENV{ZEPHYR_BASE})
project(myapp)

target_sources(app PRIVATE src/main.c)
Build and Test
west build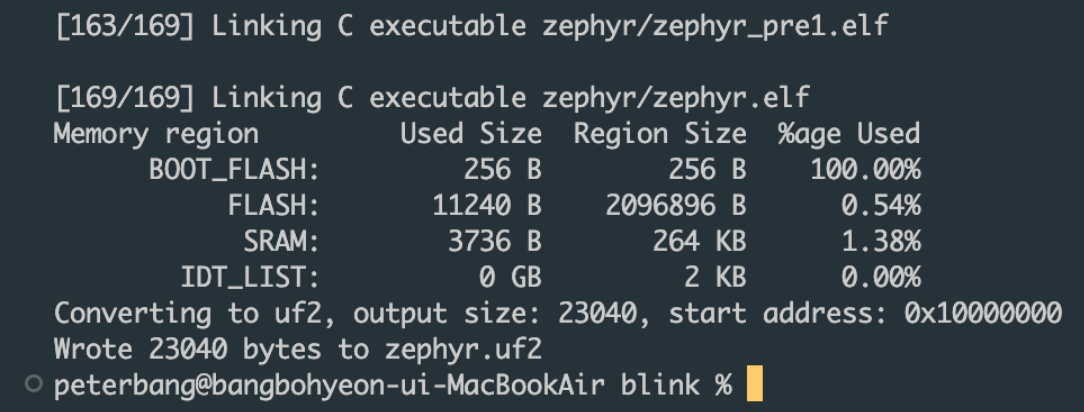
After successfully building the project, I flashed the binary to test its functionality on the board.
This process outlines how to set up the W5100S-EVB-PICO board in Zephyr and create a custom board configuration. This approach can be utilized for various future projects.

