At last, you can make projects using W7500 in VS Code!
We have been creating W7500 projects in Keil so far. However, from now on, we can also create W7500 projects in VS Code. Let's find out how.
0
Components
Hardware components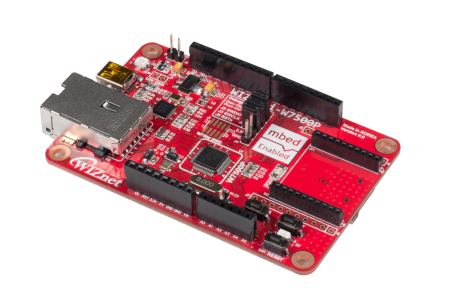
WIZnet - WIZwiki-W7500P
x 1


microsoft - VS Code
x 1
Project description
- Software Download
W7500P PROJECT LINK: https://github.com/theoim/W7500P
(1) ARM GCC Compiler
(https://developer.arm.com/downloads/-/gnu-rm)
(2) CMake
(https://cmake.org/download/)
(3) Build Tools for Visual Studio 2019
(https://visualstudio.microsoft.com/ko/downloads/)
(4) Visual Studio Code
(https://visualstudio.microsoft.com/downloads/#build-tools-for-visual-studio-2019)
(5) Xpack Build Tools
(https://github.com/xpack-dev-tools/windows-build-tools-xpack/releases/)
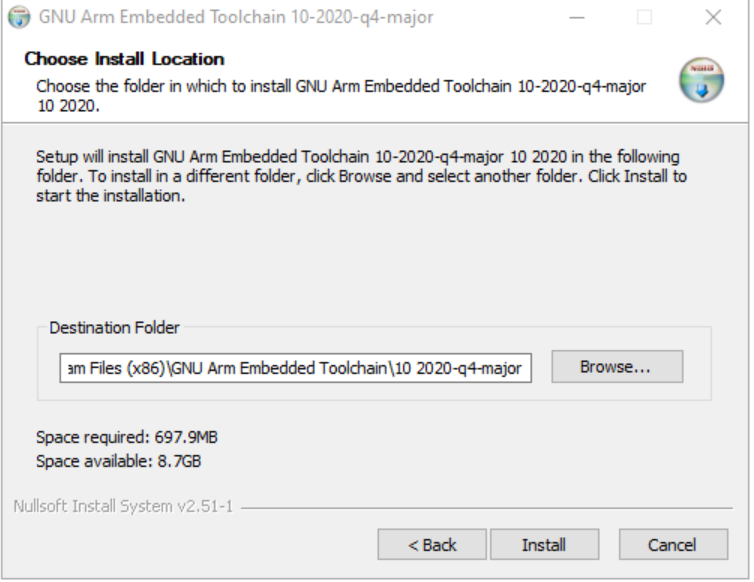
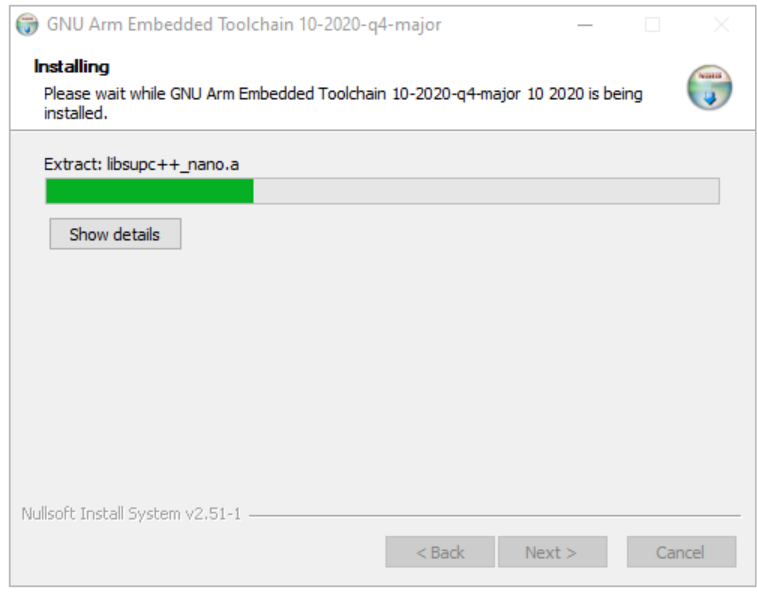
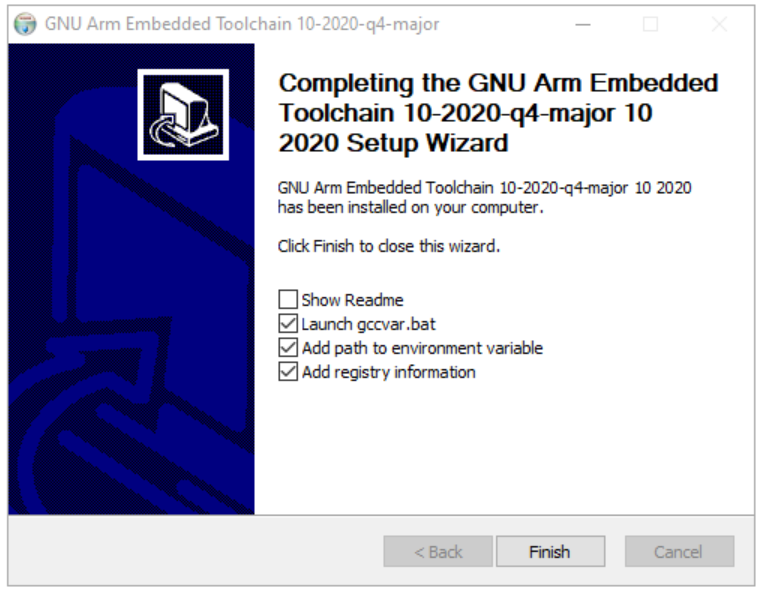
(1)Installing ARM GCC Compiler
- Open the installer
- Use the default installation folder
- Add path to environment variable and add registry information
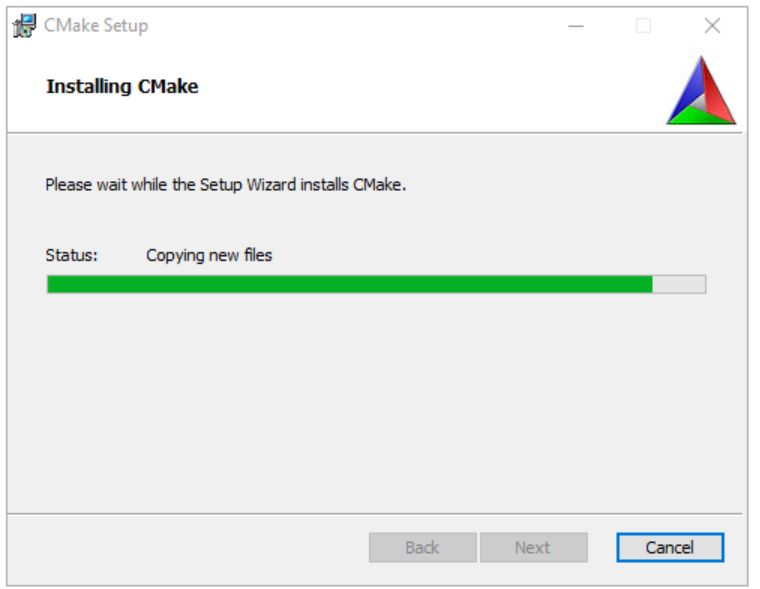
(2)Installing CMAKE
- Open the installer
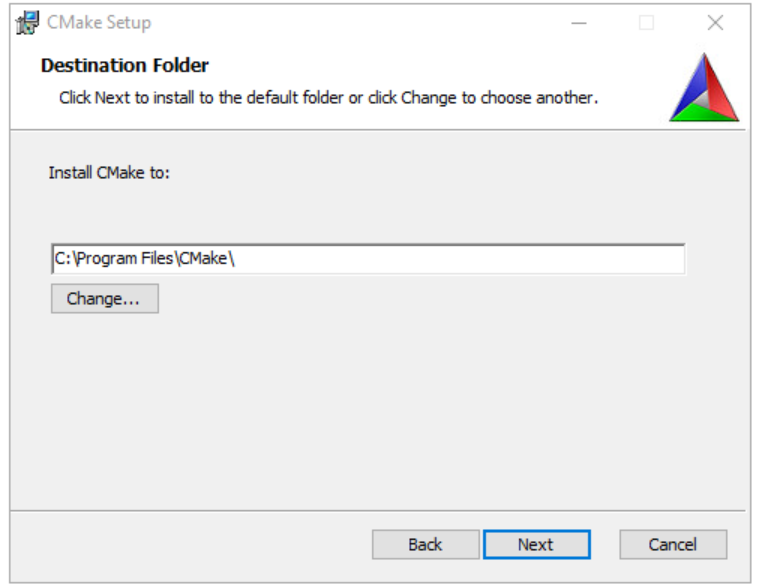
- Use the default installation folder
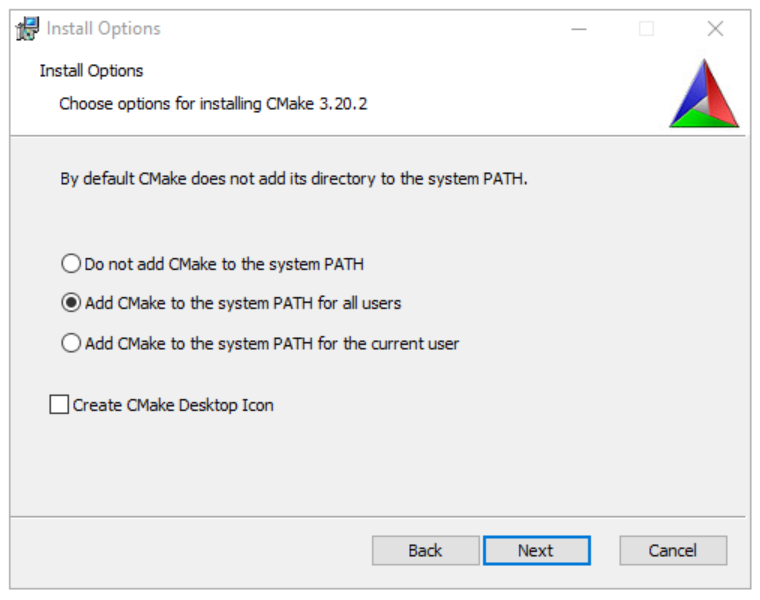
- Add CMake to the system PATH for all the users
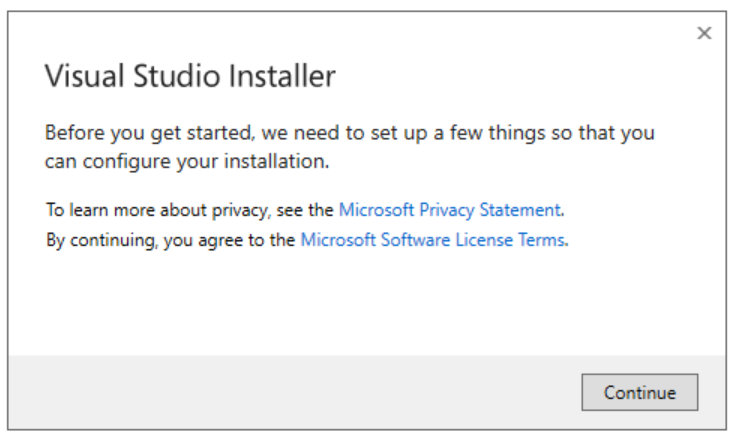
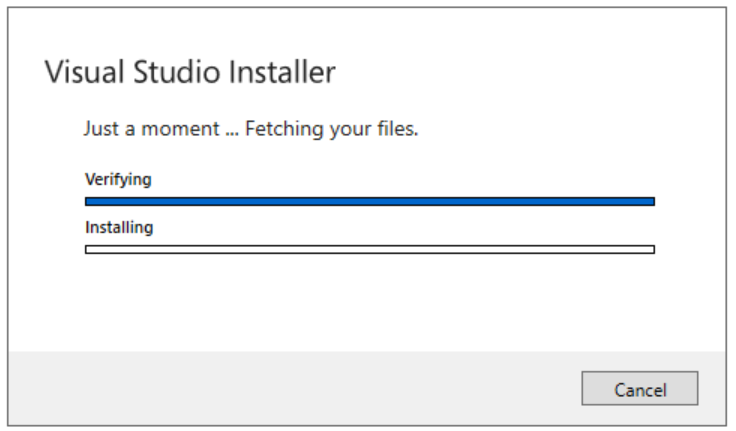
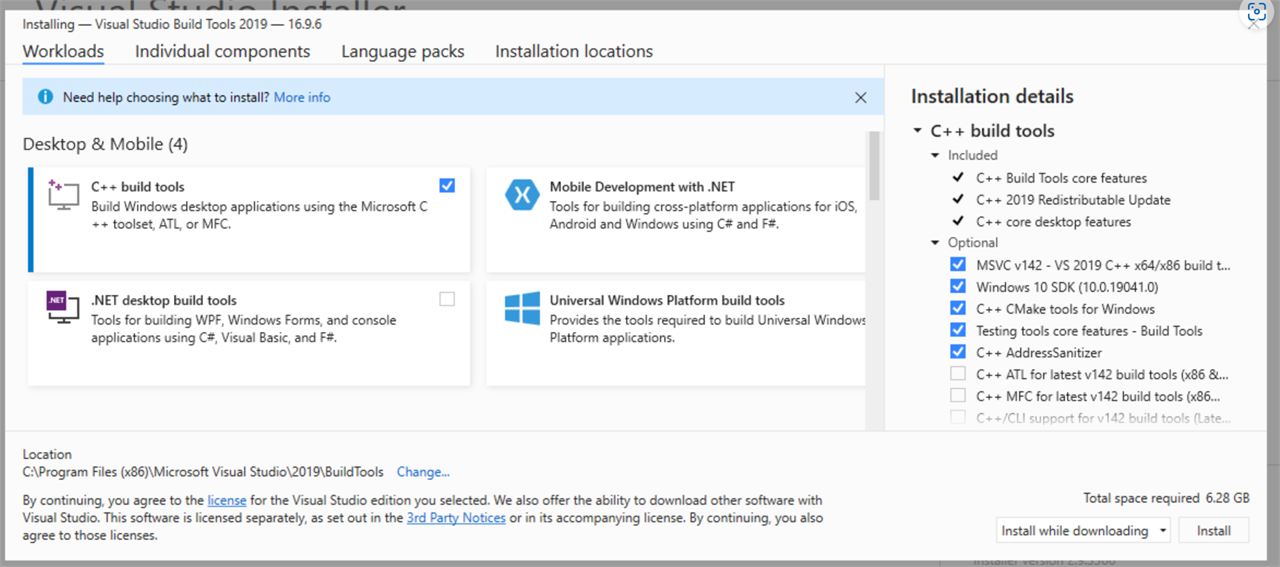
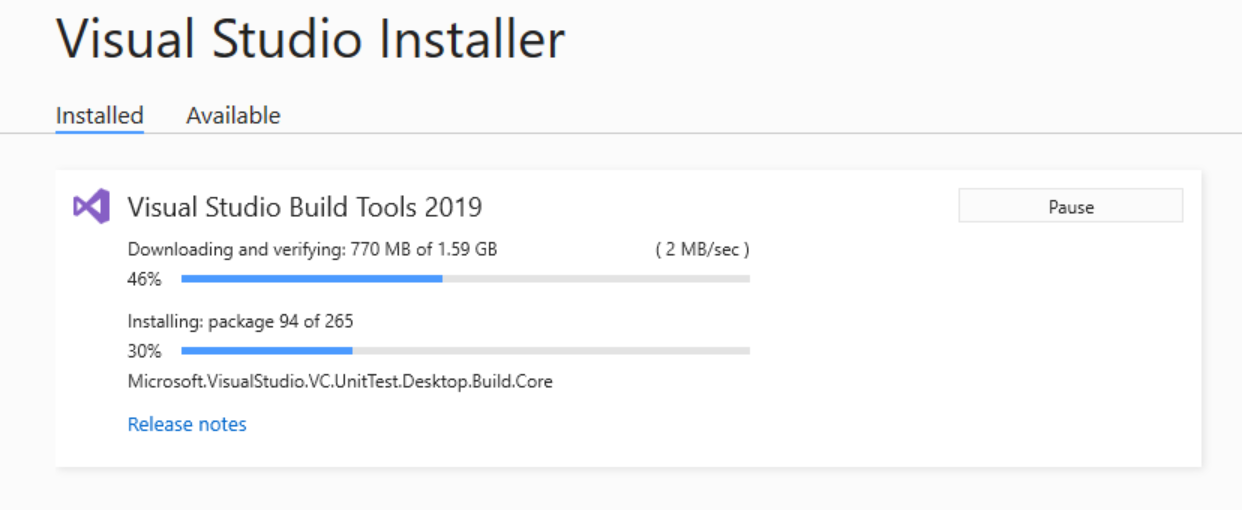
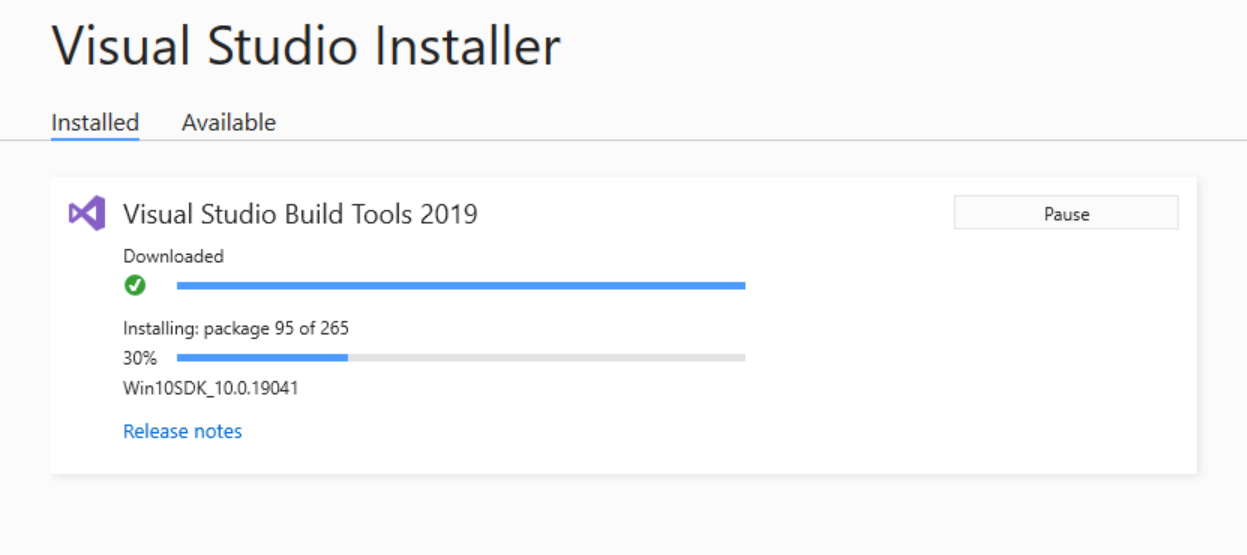
(3)Installing Build Tools for Visual Studio 2019
- Open the installer
- Use the default installation folder
- Select the C++ Build Tools only
- Don’t change any other selection
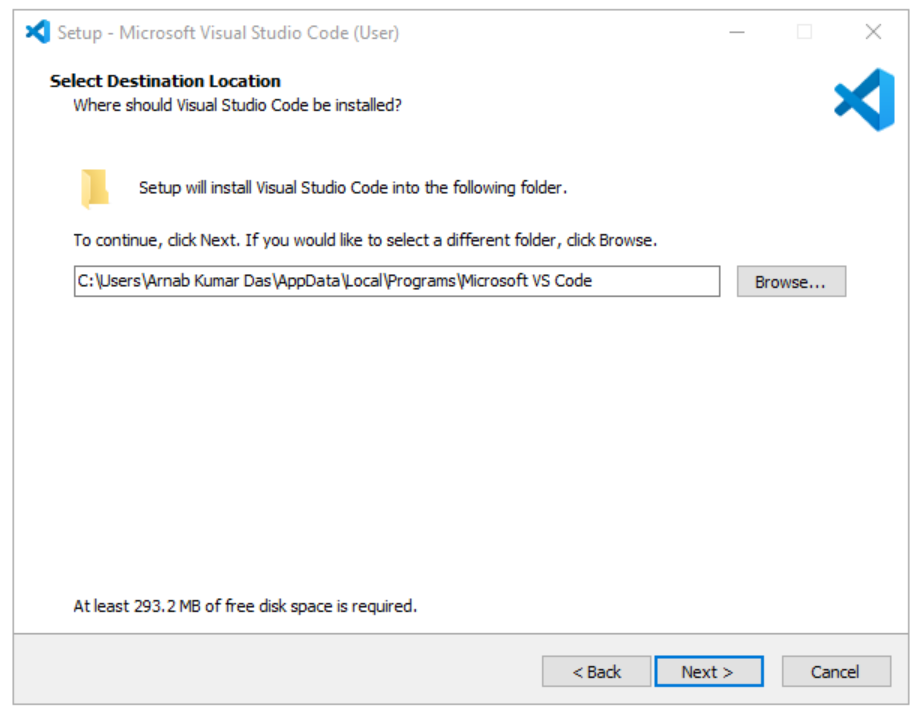
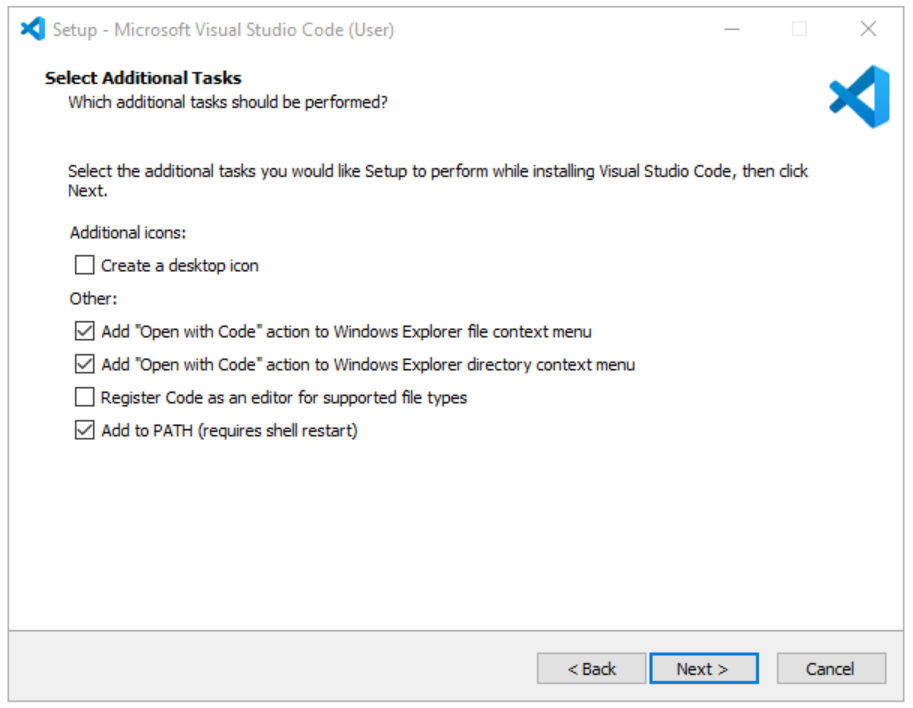
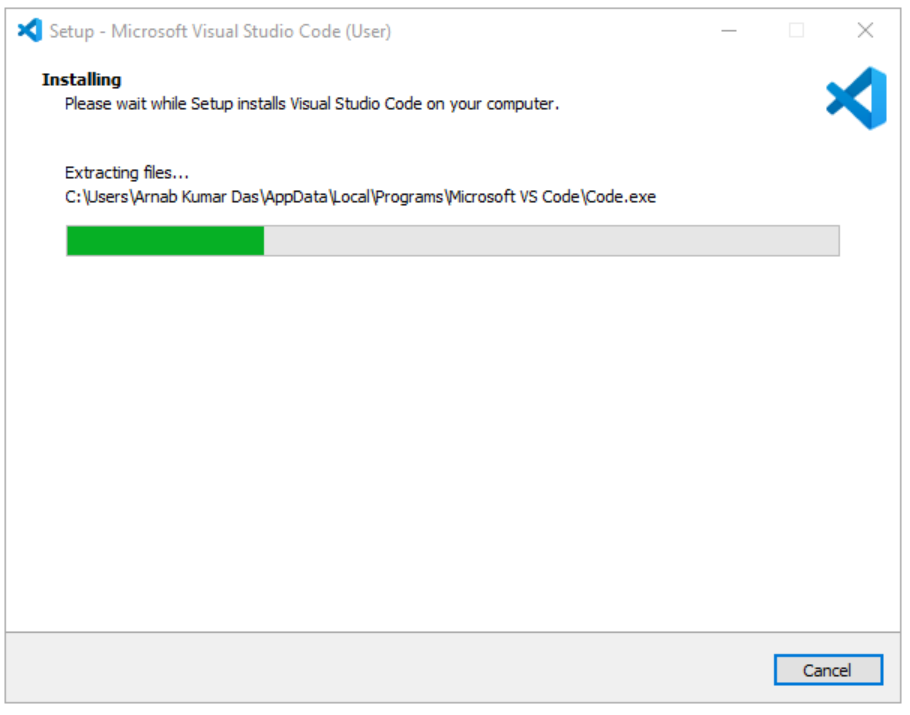
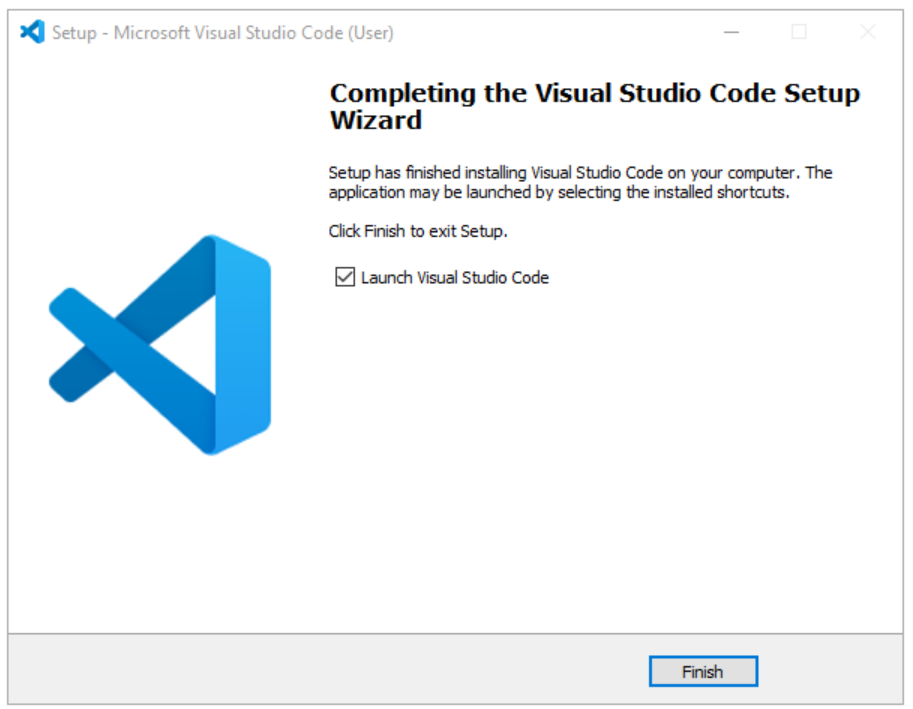
(4)Installing Visual Studio Code
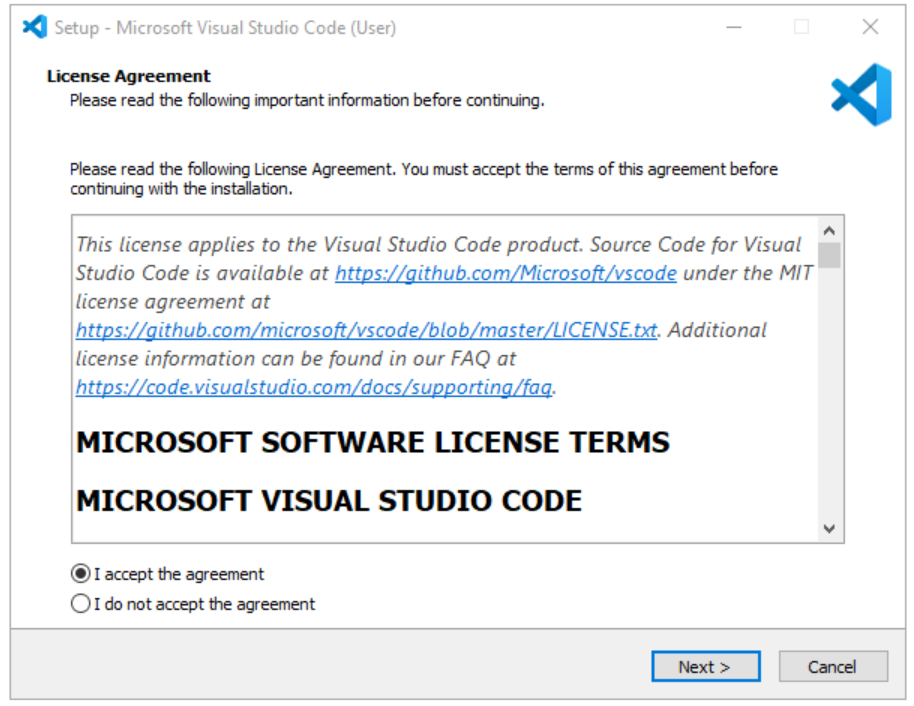
- Open the installer
- Use the default installation folder
(5) Xpack Build Tools
- Click “Download Now” Button
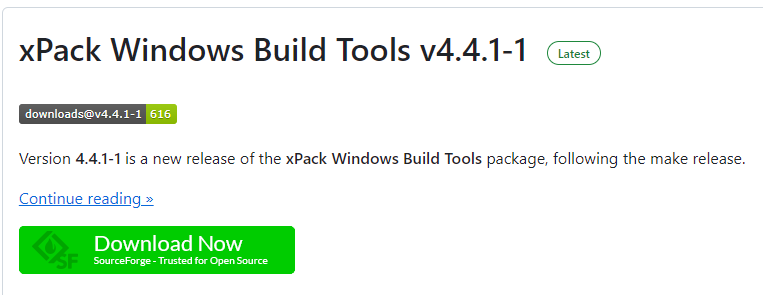
2. Extract xpack-windows-build-tools-4.x.x.x

Extract the xpack-windows-build-tool-4.x.x.x.zip archive. Save the extracted folder to the recommended path below.
Recommended storage path for the xpack-windows-build-tools folder: C:\Program Files (x86)\xpack-windows-build-tools-4.x.x.
3. Create a New Workspace (Prevent Changes to Existing Settings)
Create a new workspace. The reason for creating a new workspace is to prevent changes to the existing settings.
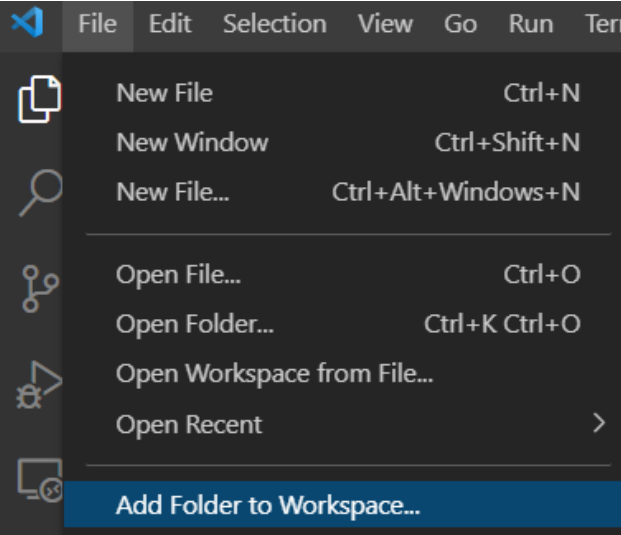
First, select "File -> Add Folder to Workspace."
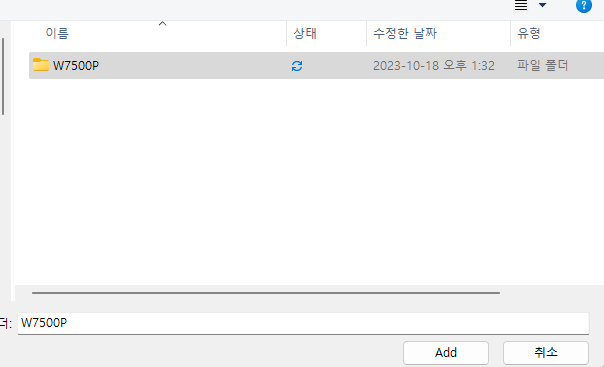
Select the "W7500P" project folder as the target for the workspace, and then click the "Add" button.
(The "W7500P" should be the top-level directory.)
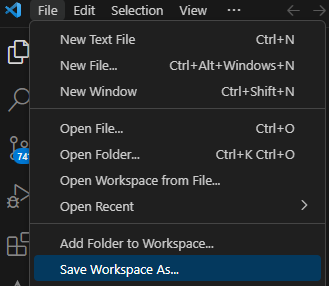
If you've added the workspace with the W7500P folder path, then click on "File -> Save Workspace As..." again.
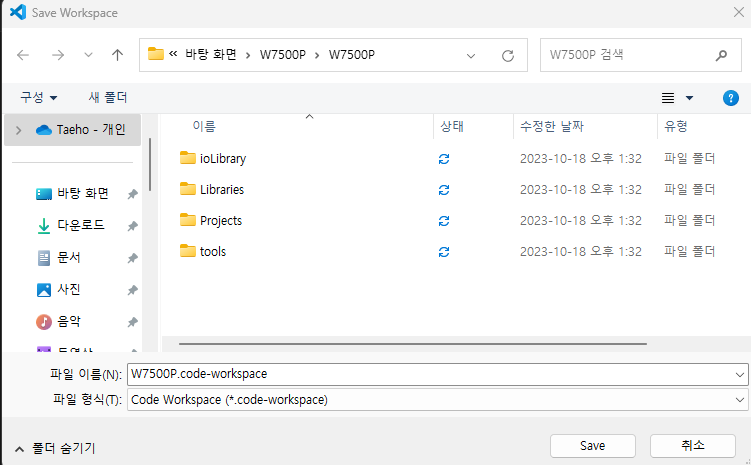
Simply press "Save" with the same file name.
4. Save the CMake Extension Settings for the stored workspace.
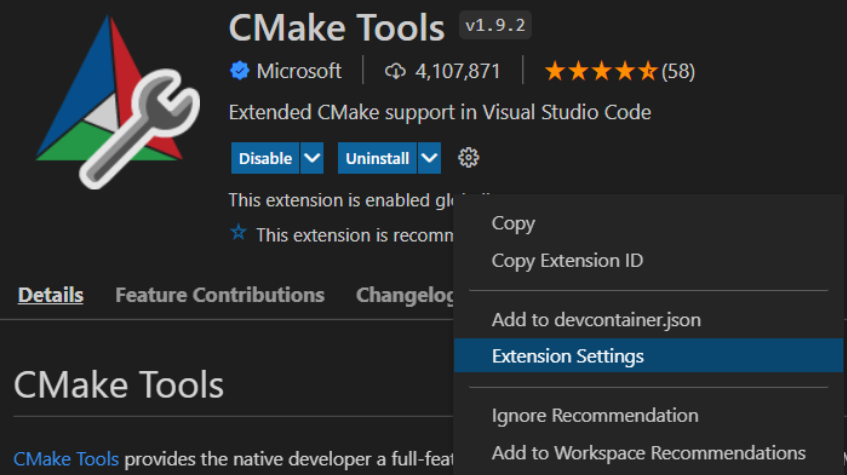
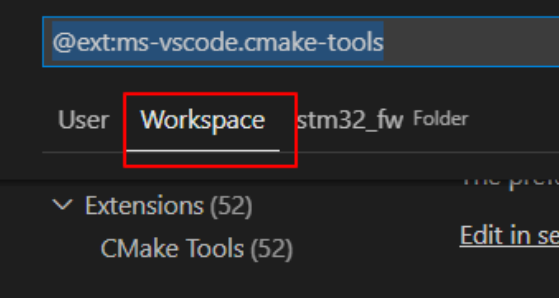
In CMake Tools, go to the gear icon (settings) -> Extension Settings -> Navigate to the Workspace tab. In the top search bar, type "@ext:ms-vscode.cmake-tools" to search.
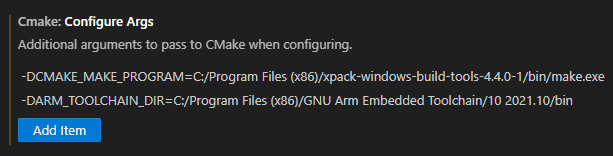
In the options, press "Add Item" in the Configure Args section and add the following two definitions:
CMAKE_MAKE_PROGRAM is the location of the make executable (inside the previously extracted xpack folder).
ARM_TOOLCHAIN_DIR is the location of the GNU Arm compiler's executable files that you previously downloaded.
For example, the author used:
-DARM_TOOLCHAIN_DIR=C:/Program Files (x86)/GNU Arm Embedded Toolchain/10 2021.10/bin
-DCMAKE_MAKE_PROGRAM=C:/Program Files (x86)/xpack-windows-build-tools-4.4.0-1/bin/make.exe
Adjust the Configure Args to match your own file paths according to your setup.
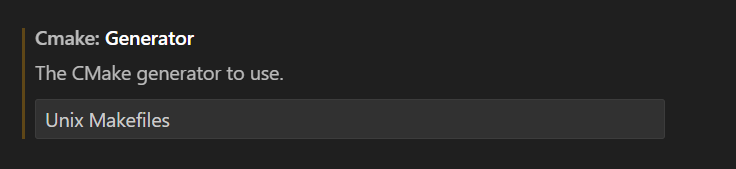
Once you have completed the path configuration, enter "Unix Makefiles" in the "CMake: Generator" field.
5. Build Project in VS Code
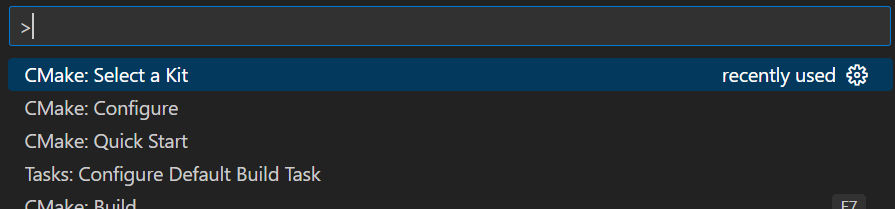
Press the F1 key, and then click on "CMake: Select a Kit."
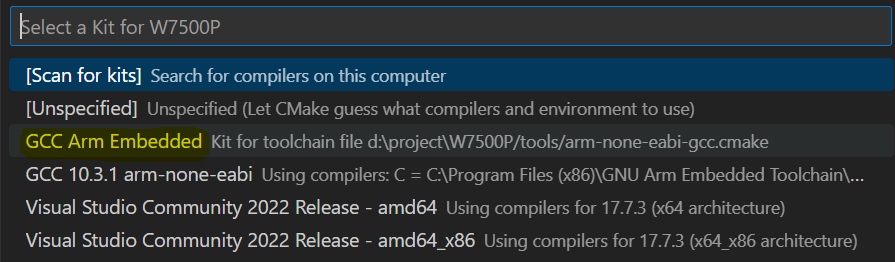
Select "GCC Arm Embedded" to configure the kit.
 .
.
Click the "Build" button at the bottom or press F7 to start the build process.
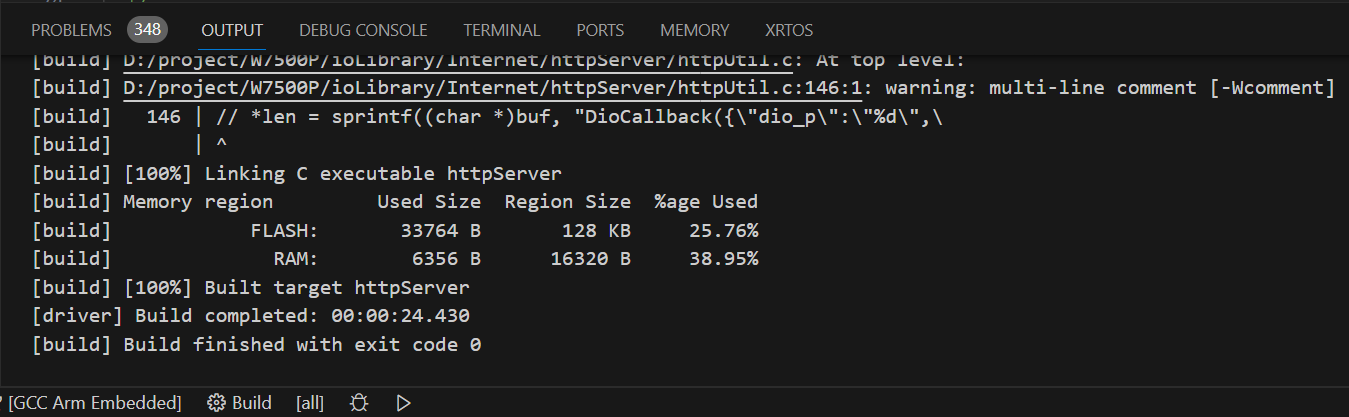
Once the build is completed, you will see a message like the one above in the OUTPUT window.
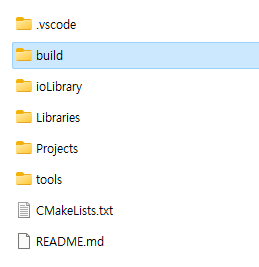
You will also be able to confirm that the Build directory has been created. The project folder within the Build directory contains the generated bin files. You can save these bin files to the W7500 device and use the project.

