RP2040 wifi Loopback server (use wizfi360+micropython)
loopback server simple macropython example using raspberry pico + wifi module. (rp2040 + wizfi360 module)
6
Components
Hardware components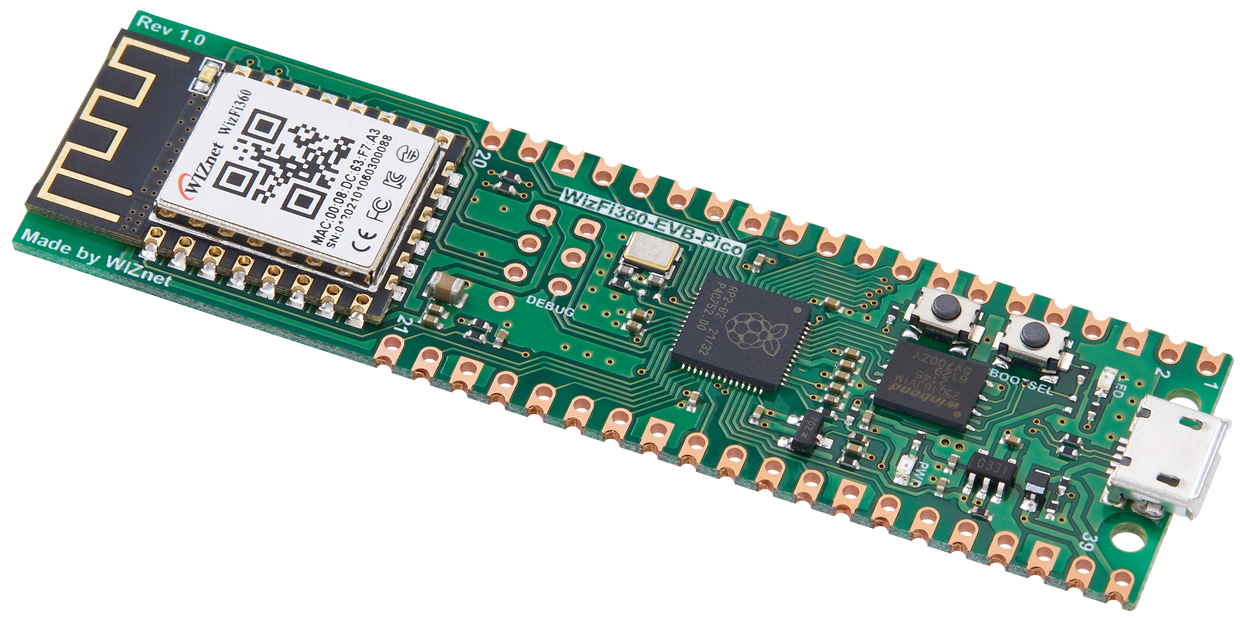
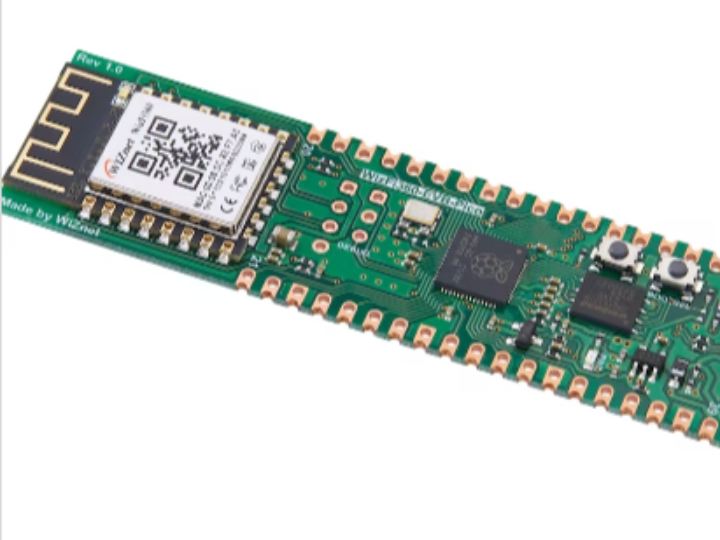
WIZnet - WizFi360-EVB-Pico
x 1
micropython - MicroPython
x 1

Project description
Step 1: Prepare software
The following program is required for Tcp Loopback example test, download and install from below link.
Step 2: Prepare hardware
If you are using Wizfi360-EVB-Pico, you can skip '1. Combine...'
1. Combine Wizfi360 with Raspberry Pi Pico.
2. Prepare AP Modem which is connected to Raspberry Pi Pico or Wizfi360-EVB-Pico.
3. Connect Raspberry Pi Pico or Wizfi360-EVB-Pico to desktop or laptop using 5 pin micro USB cable.
Step 3: Setup Tcp Loopback Example
To test the Tcp Loopback example, minor settings shuld be done in code.
Setup AP Modem configuration such as SSID, Password in 'secrets.py' which is the secret settings file in '/lib' directory.
secrets = {
    # Wi-Fi
    "ssid": "my access point",
    "password": "my password",
}- Setup UART port and pin in 'loopback.py' in 'examples/loopback' directory. (Wizfi360-EVB-Pico Using Uart1, Rxpin5, Txpin4)
PORT =1
RX   =5
TX   =4
also, setup the Reset pin at the next line (Wizfi360-EVB-Pico Using ResetPin20)
resetpin = 20- Setup TCP server IP and PORT to suit your network environment. You should set the required informaion in 'loopback.py'file.
TARGET_IP = "192.168.11.100"
TARGET_PORT = 5000
Step 4: Upload and Run
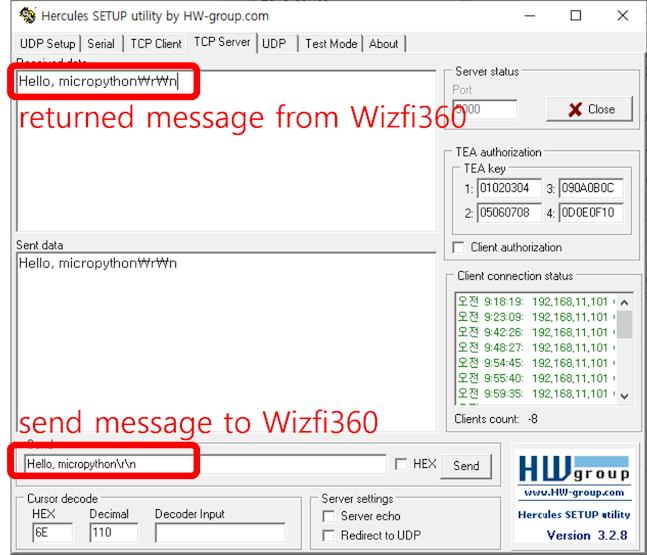
1. Open loopback server using Hercules. You need to enter the port that was configured in Step 3. (5000 by default)
2. After completing the code example configuration, open 'loopback.py' file on Thonny.
3. Click the 'RUN' button on bar or press the 'F5' button on the keyboard for Run program.
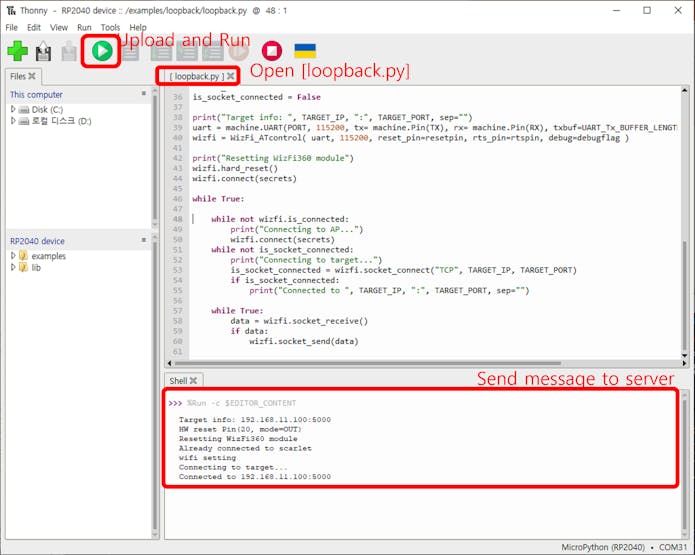
You send data to the wizfi360, you should be able to receive back the sent message.