Weather Lamp
Weather Lamp A IoT based 3D Printed Weather Simulating Lamp
0
Components
Hardware components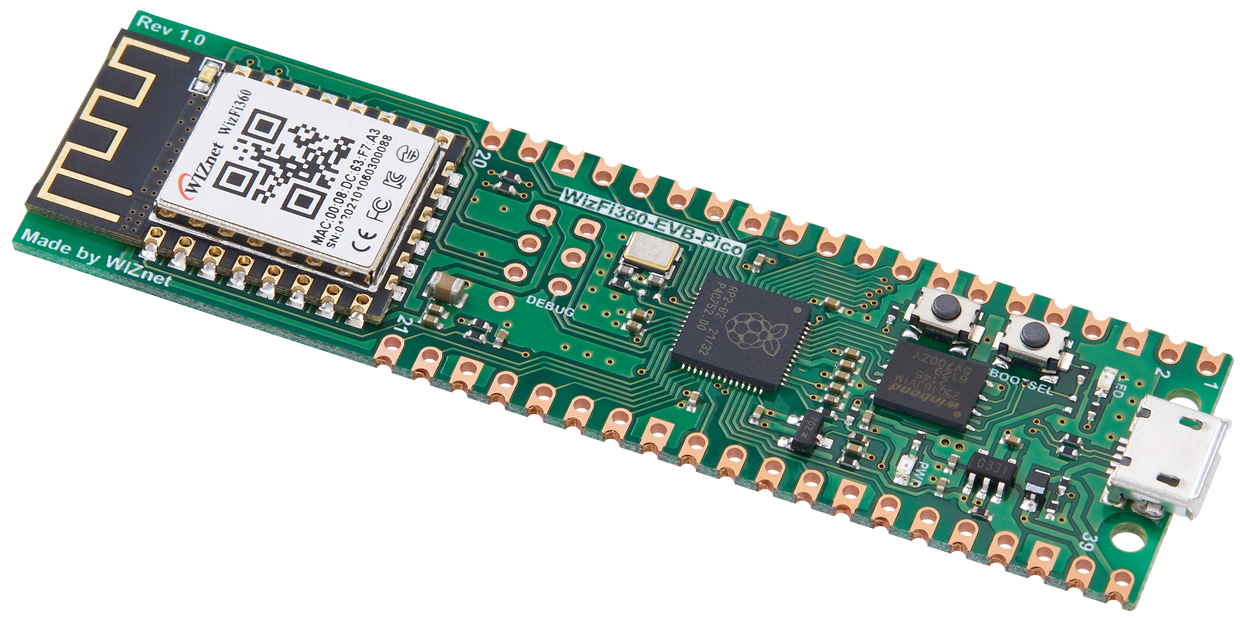
WIZnet - WizFi360-EVB-Pico
x 1
Seeed Studio - WS2812B Digital RGB LED Flexi-Strip 144 LED
x 1
Arduino - Arduino IDE
x 1

Autodesk - Fusion 360
x 1
Project description
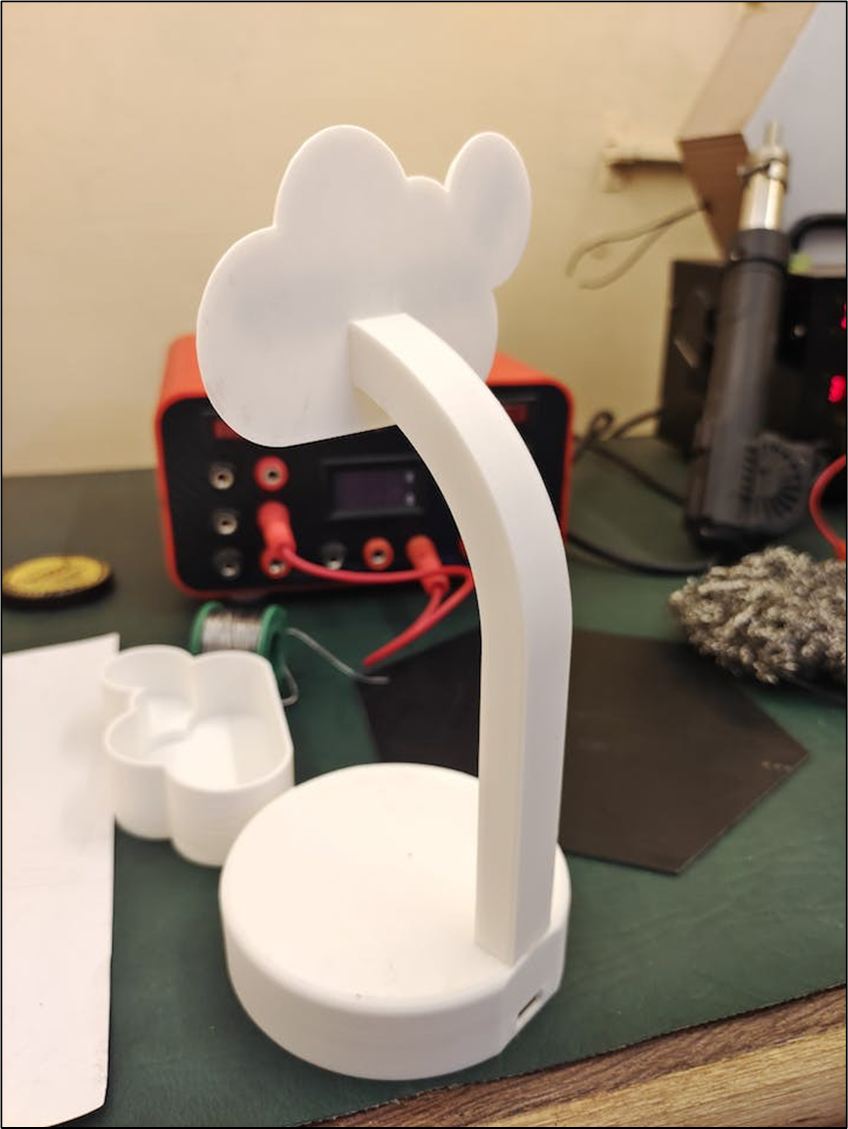
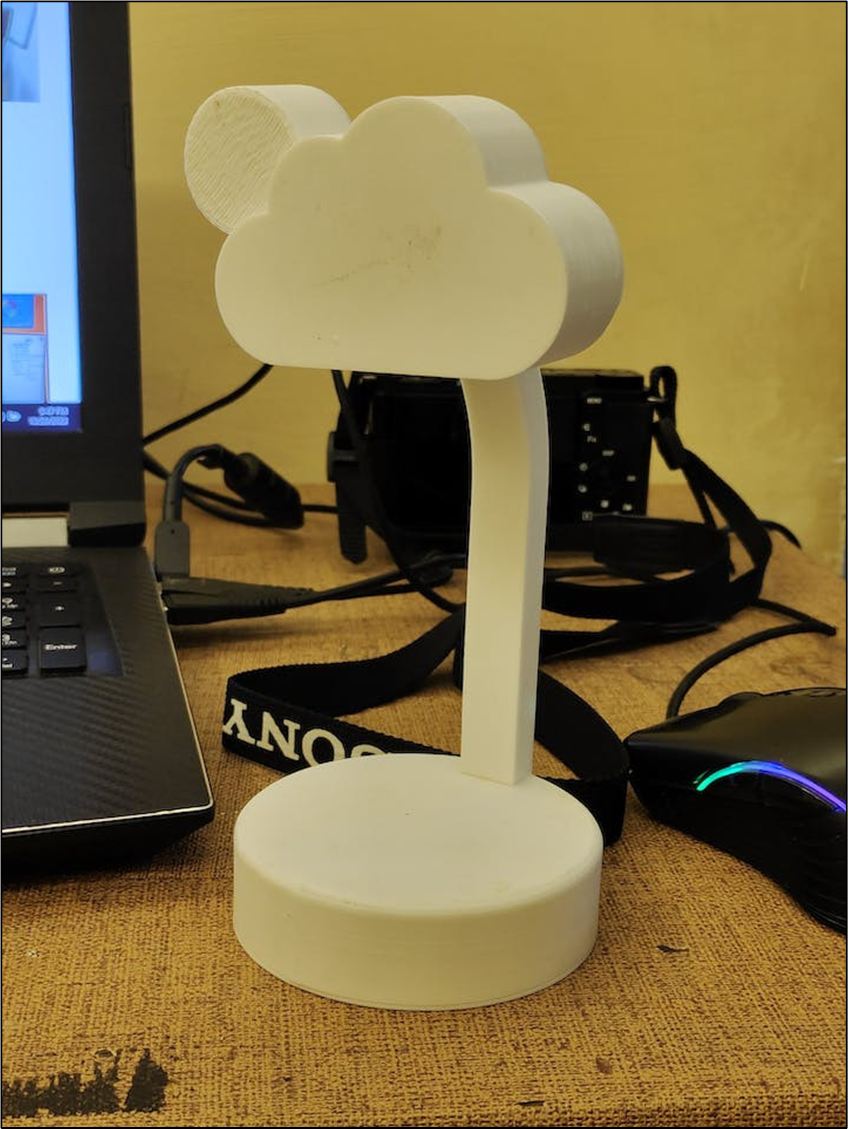
Weather Lamp is a RGB lamp made using WizFi360-EVB-Pico and WS2812B LED's. The lamp simulates the real-time weather using the openweathermap.org API. It read parameters like cloud intensity, temperature, time and try to mimic the cloud colors, sun/moon and change the base color as temperature range.
# Step 1: Designing & 3D Printing
① I have designed the model in Fusion360.
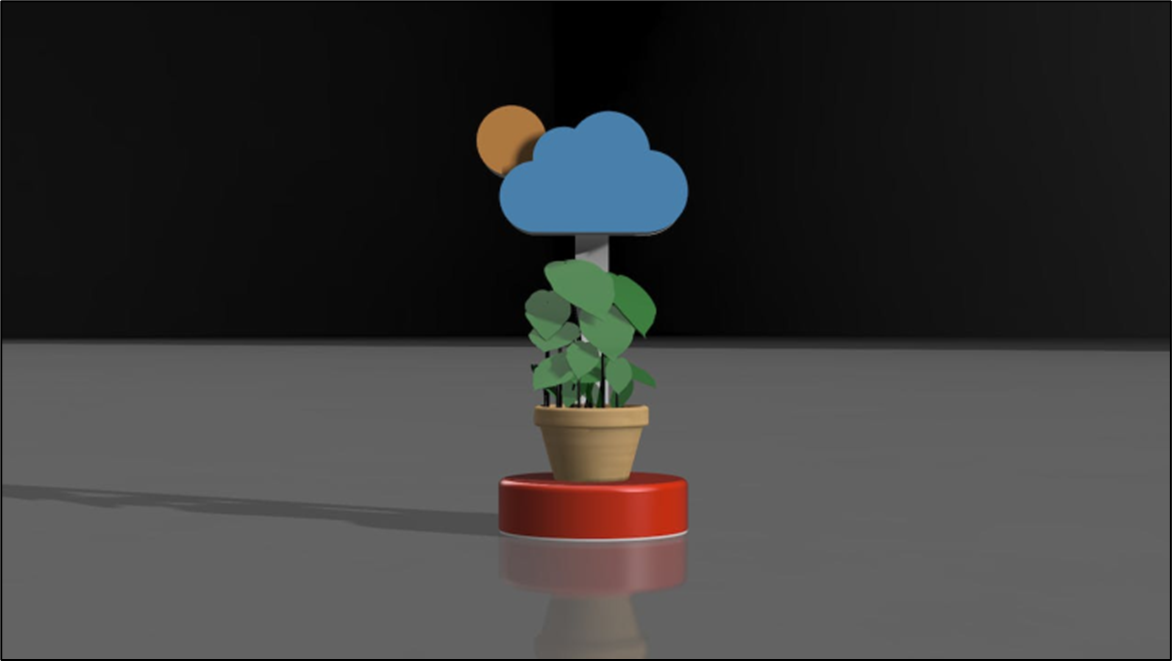
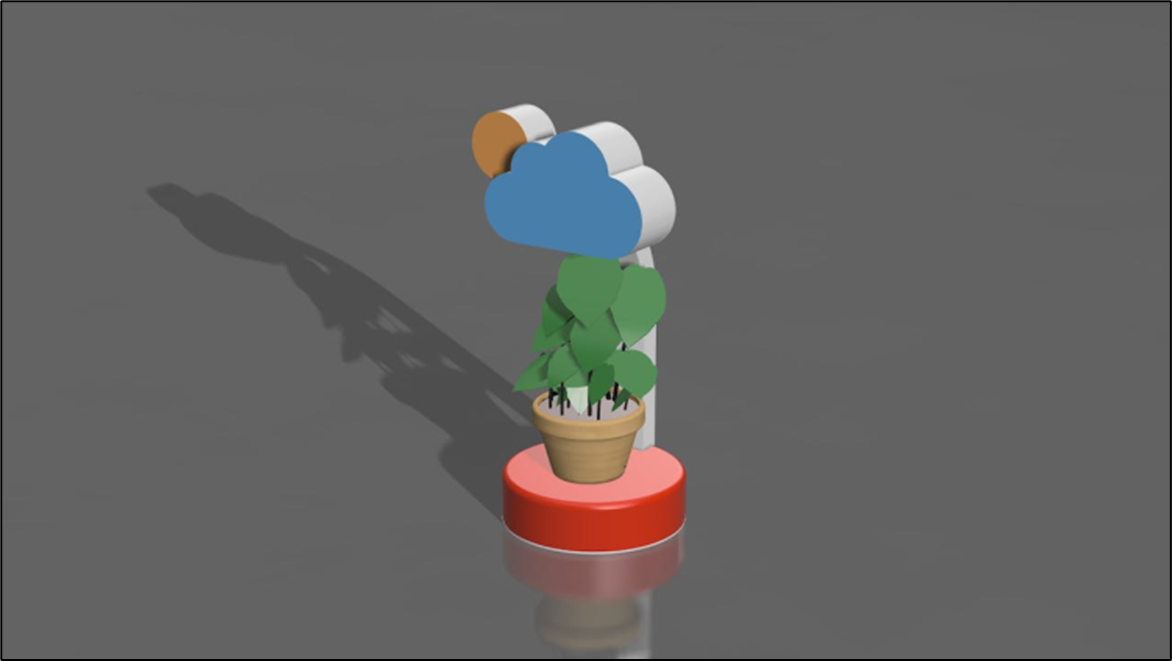
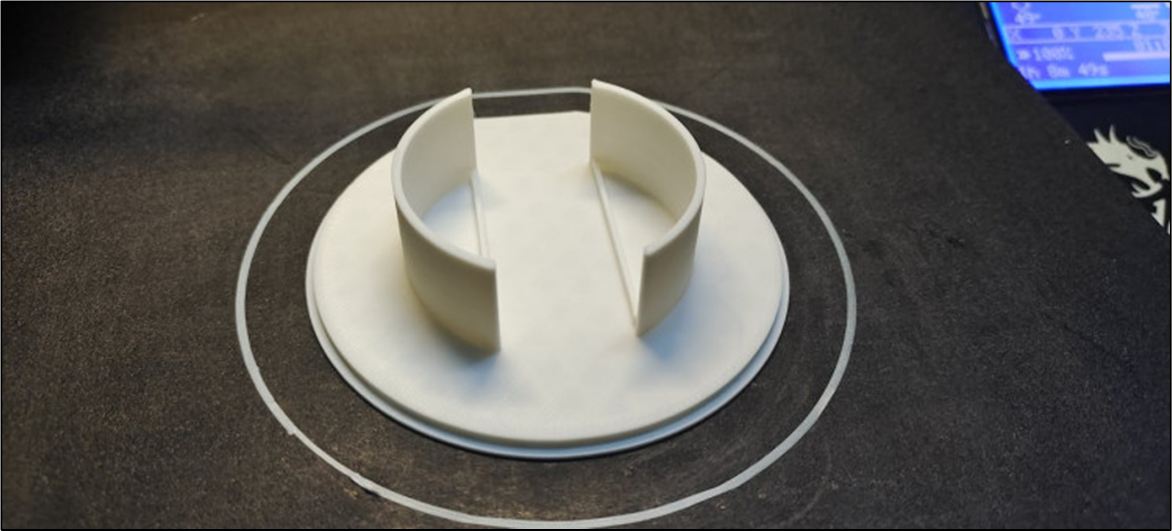
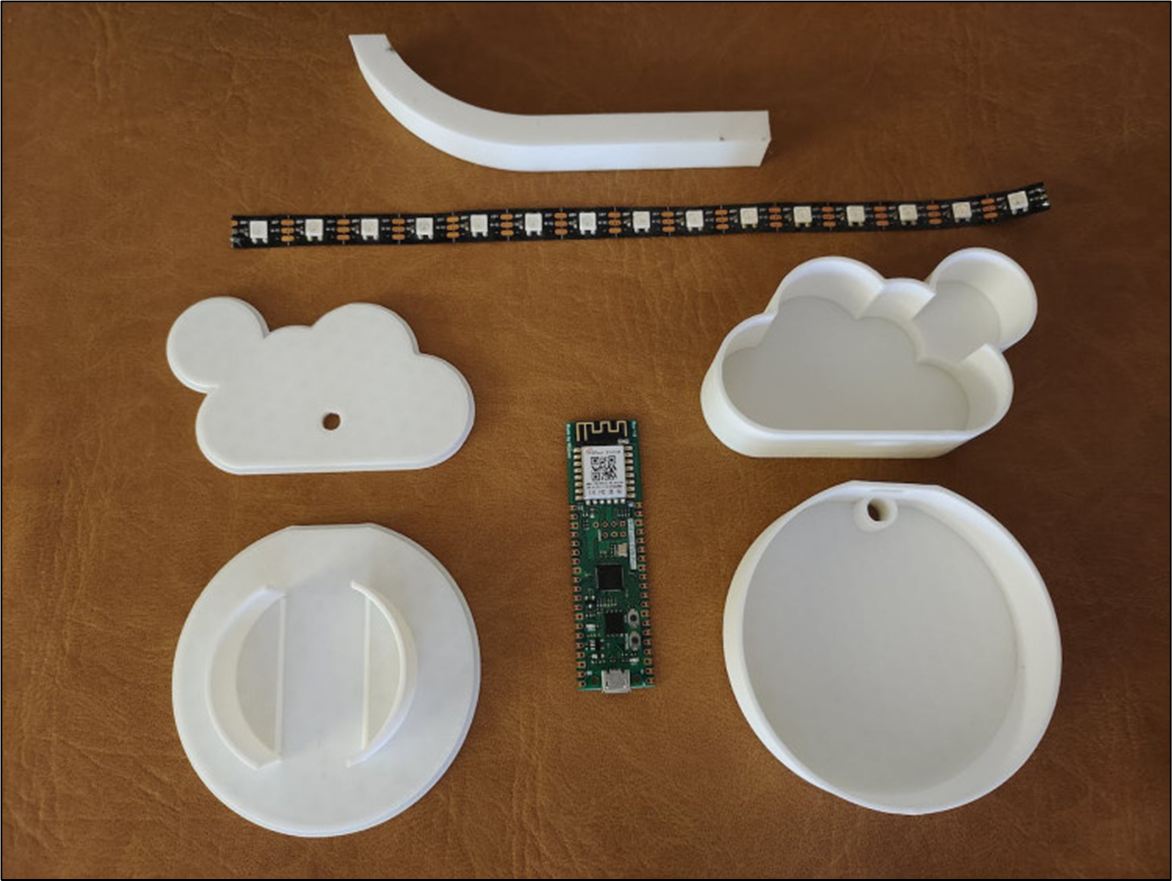
② Download the STL files and 3D print them.
③ By clicking on the 3D model link you can view the model in your PC/mobile browser and the model can be edited in Fusion360 software.
# Step 2: Circuit Connection
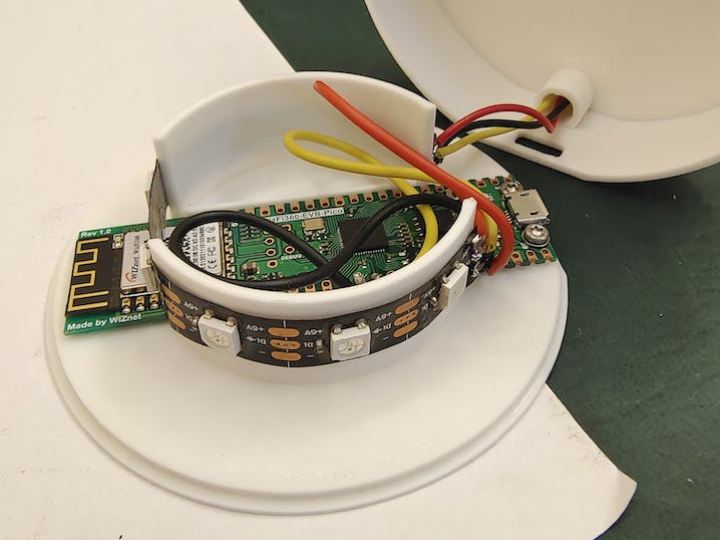
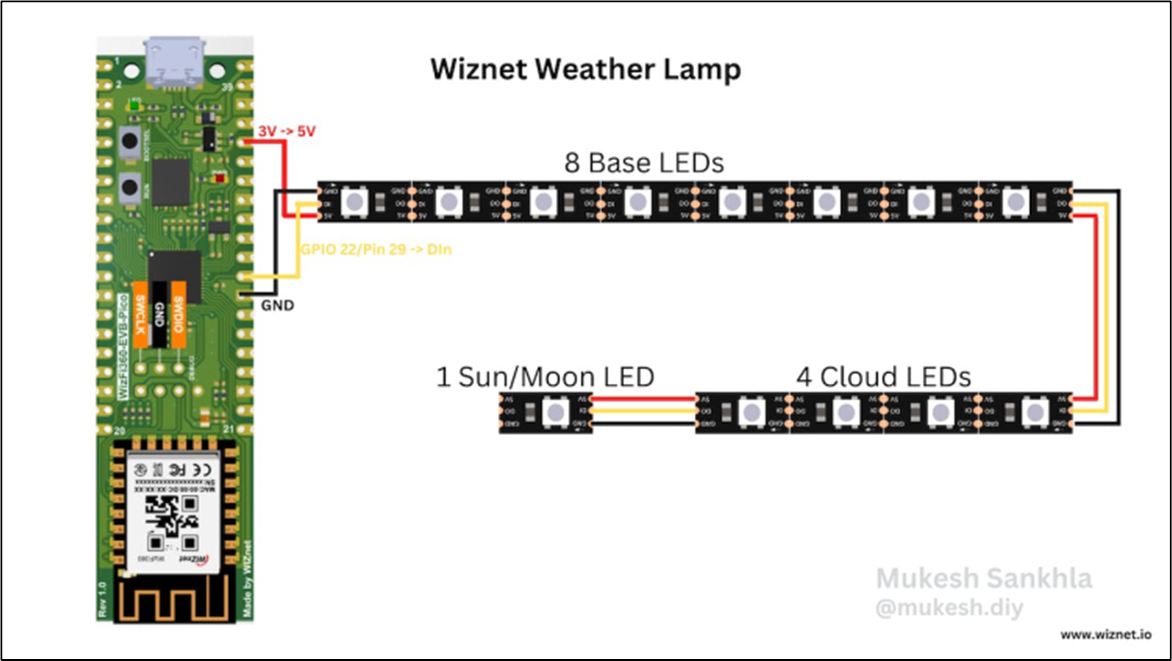
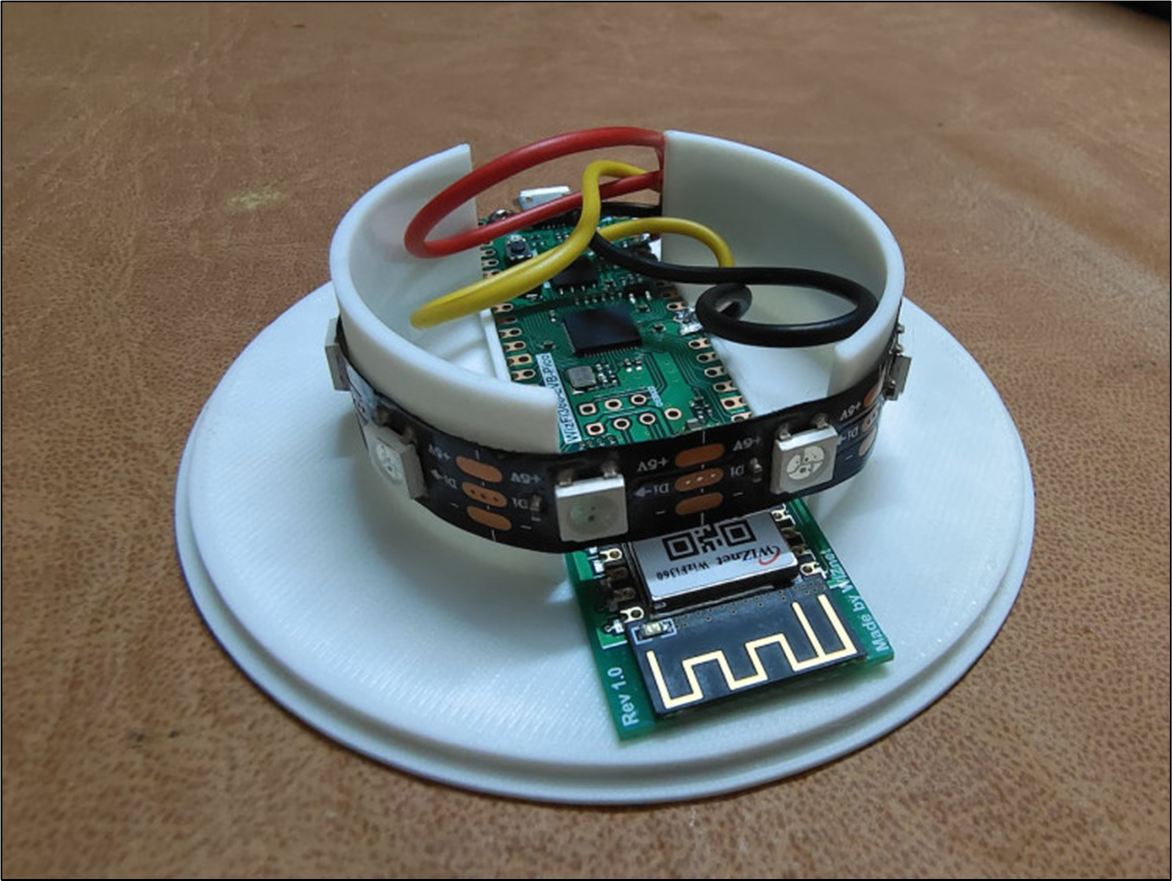
① Connect the WizFi360 and WS2812B LEDs as shown in circuit diagram.
# Step 3: Assembly
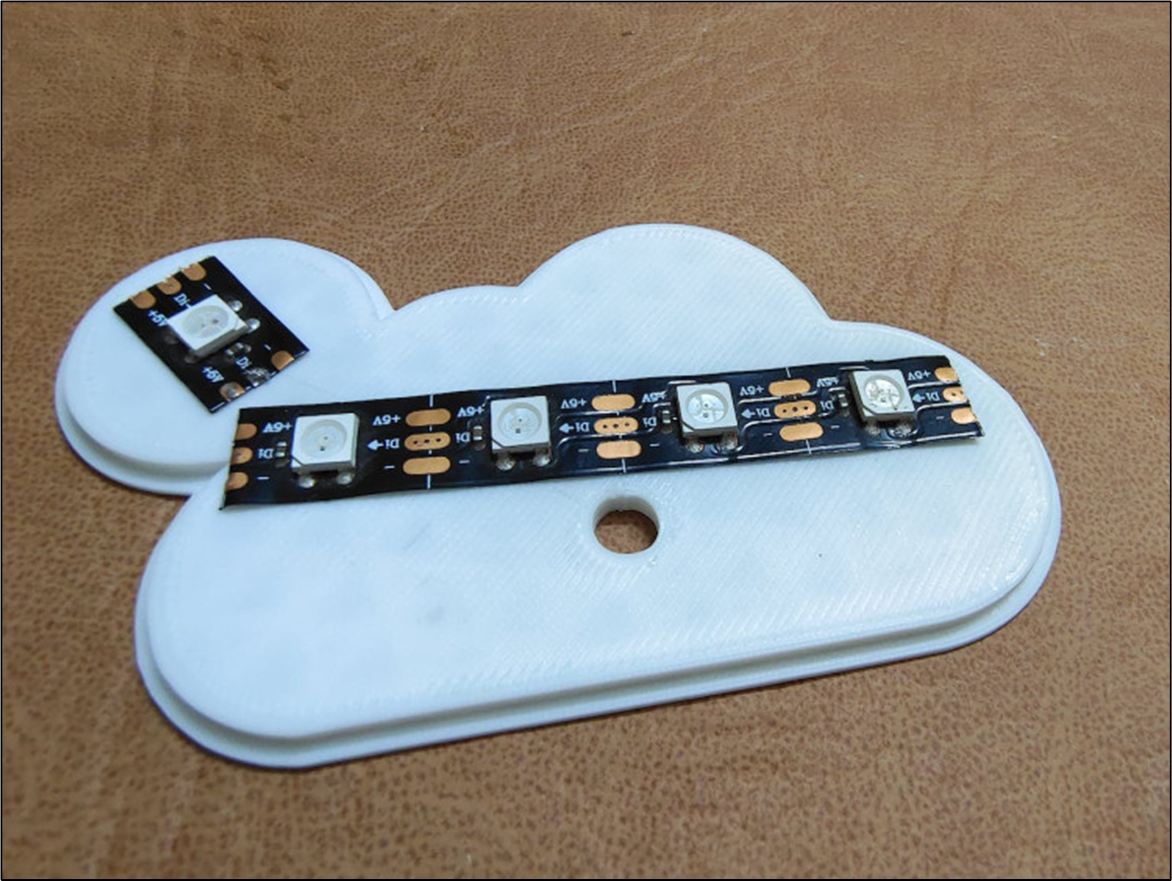
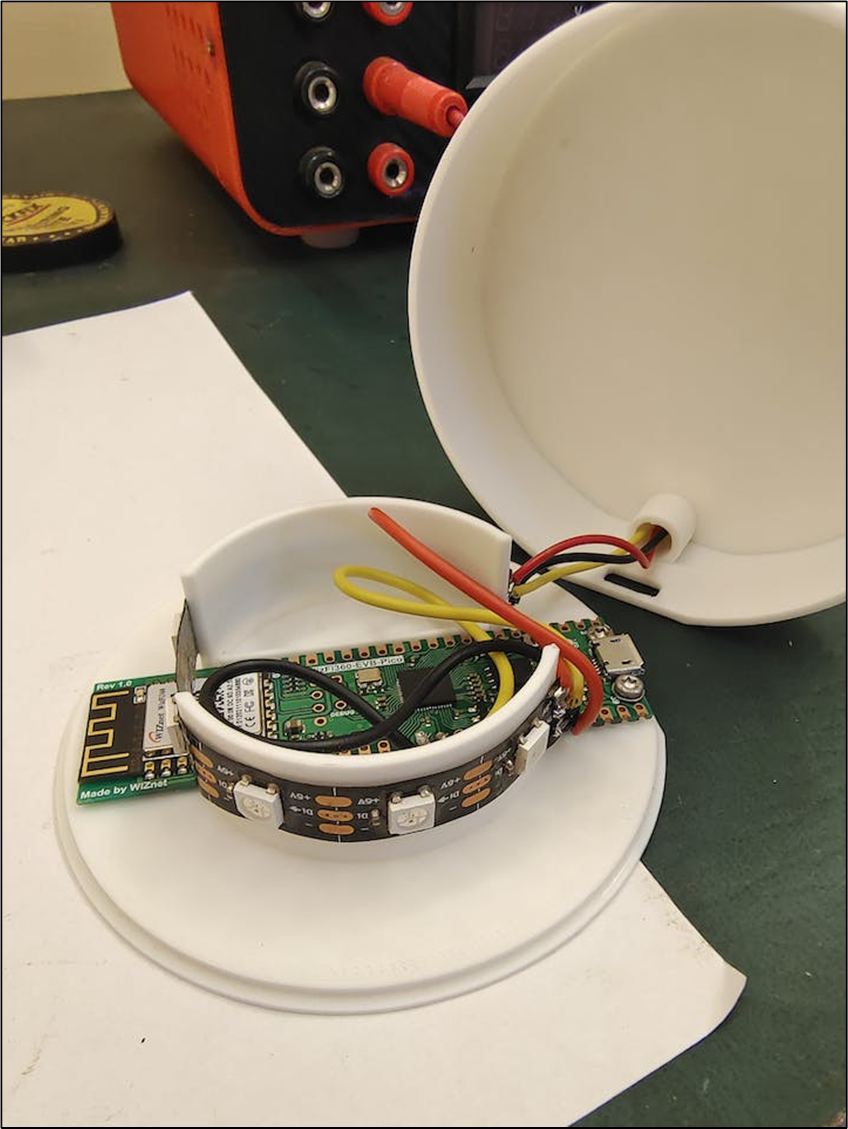
① Assemble all the parts together using quick glue.
# Step 4: Getting Openweathermap API Key
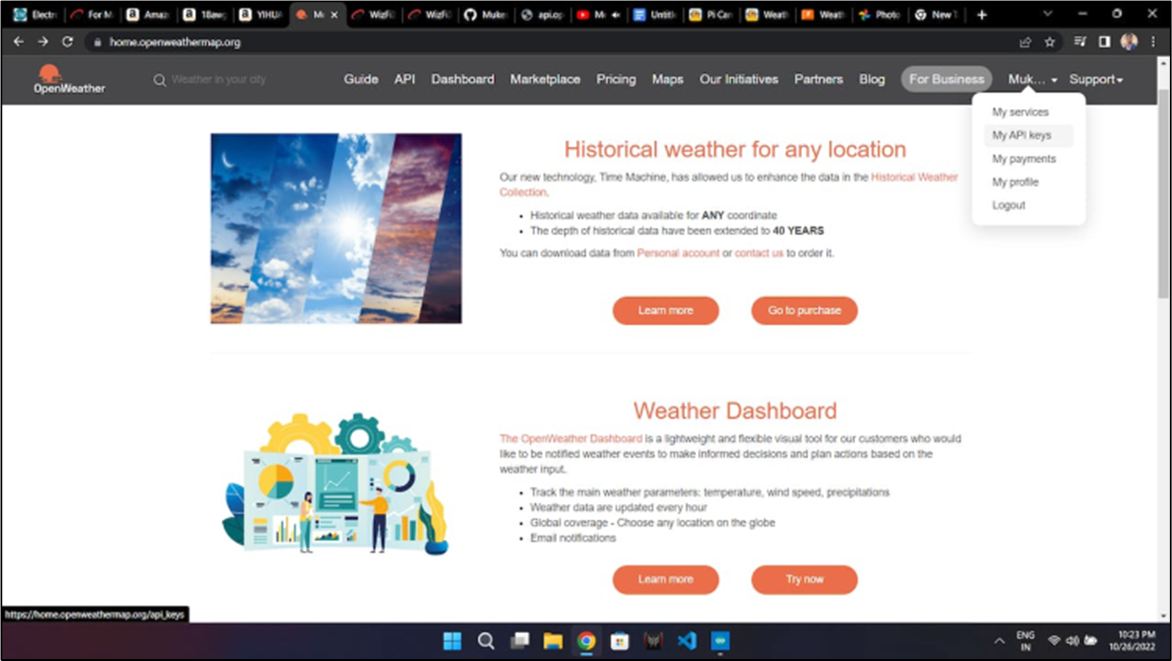
① Go to openweathermap.org and create your account and verify it.
② Now login to your account and click on you profile or right-top corner and go to My API Keys.
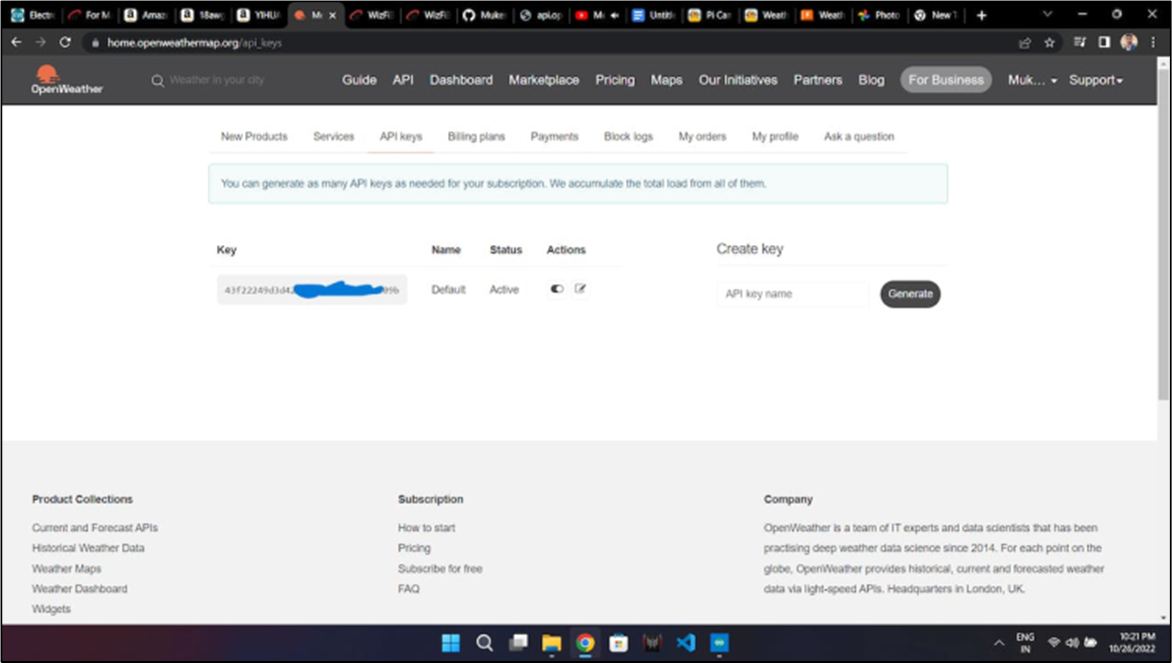
③ Copy the API key that you see this will be used later in Step 6.
# Step 5: Arduino Libraries Setup
① First go to Files → Preferences and copy & paste the following URL in Additional Boards Manager URLs :
https://github.com/earlephilhower/arduino-pico/releases/download/global/package_rp2040_index.json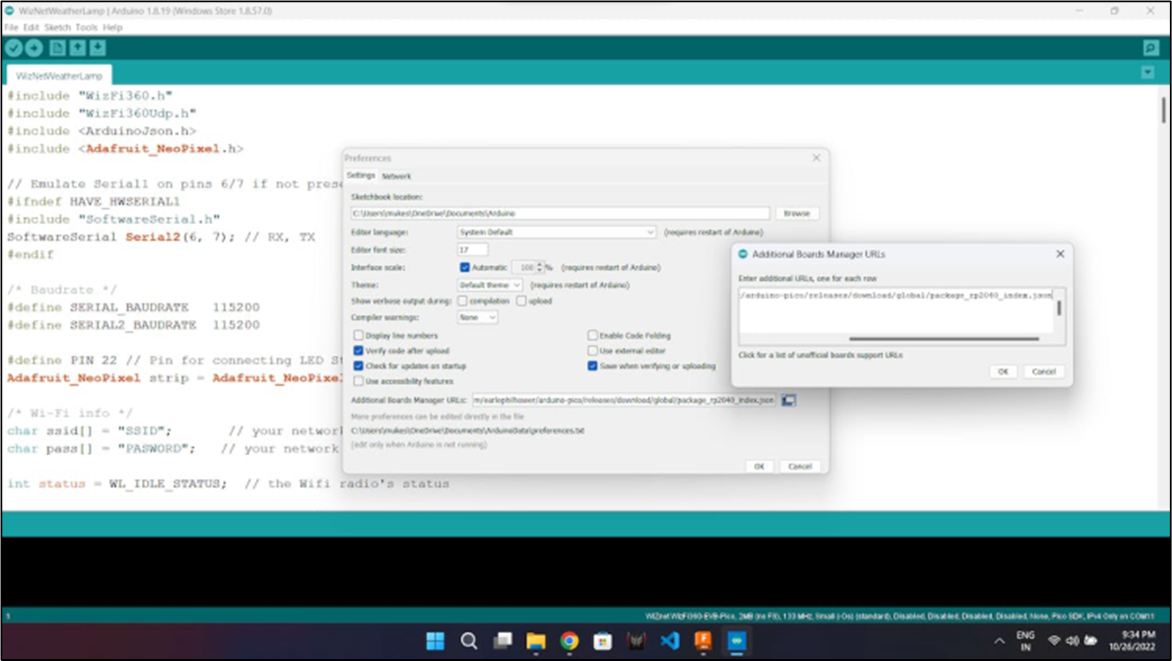
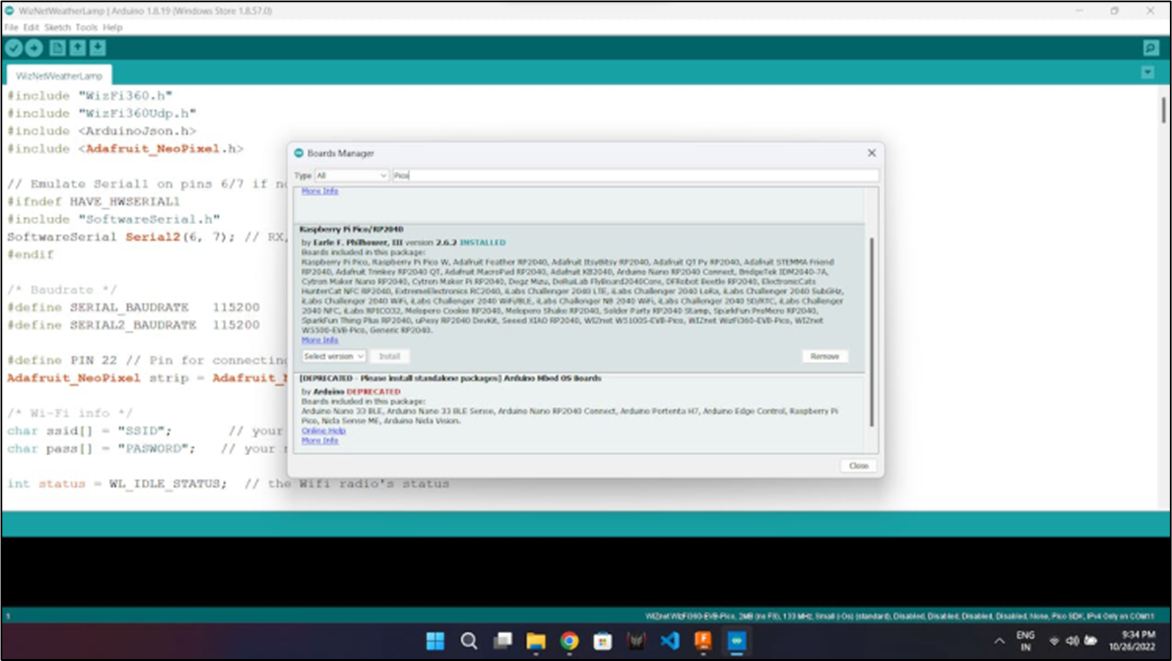
② Go to Tools → Boards → Boards Manager and search for Raspberry Pi Pico/RP2040 and install it.
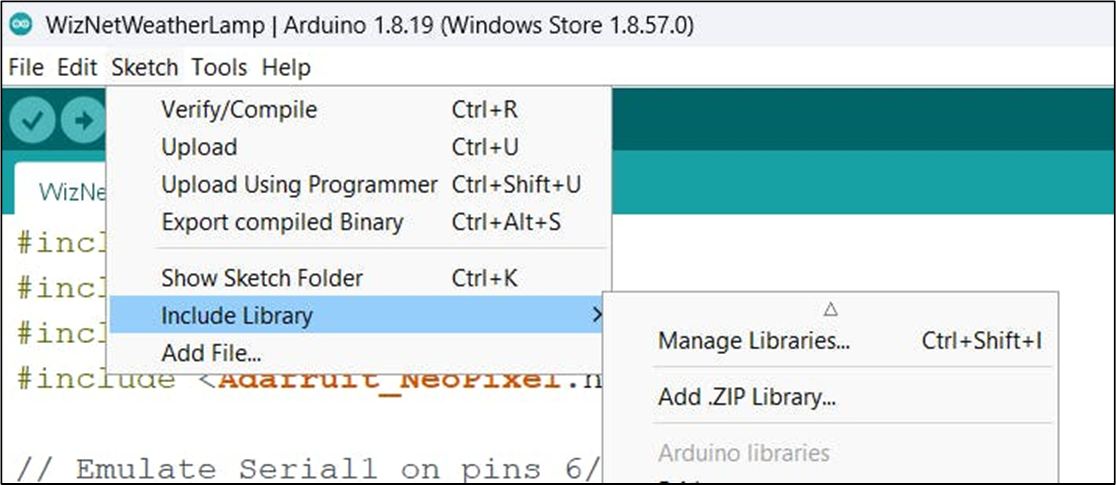
③ Download the WizFi360_arduino_library, Go to Sketch → Include Library → Add .Zip Library and select the downloaded Zip file.
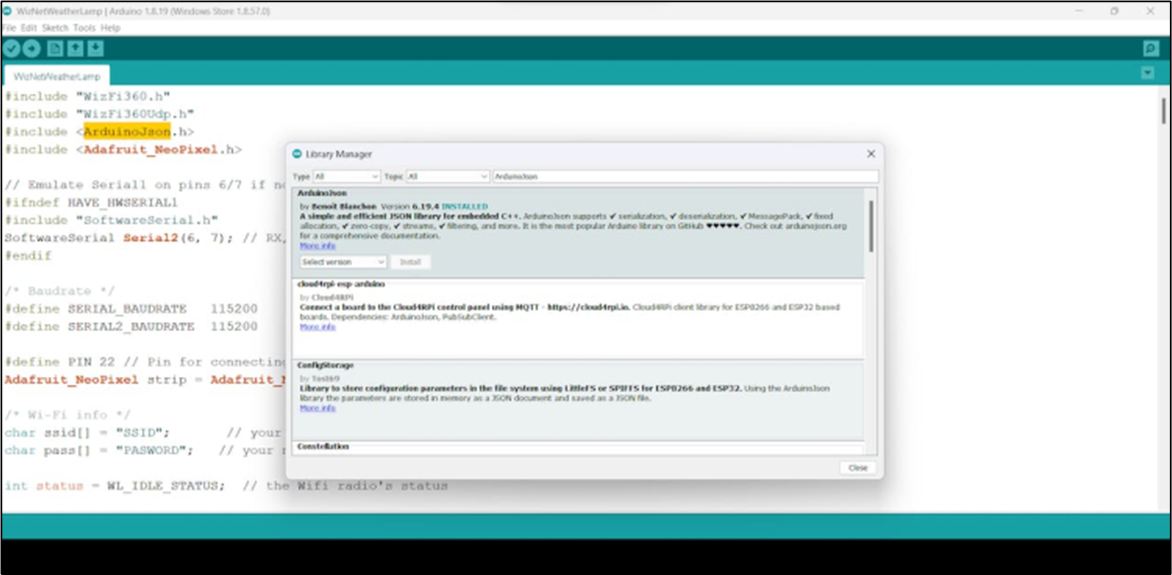
④ Now got to Sketch → Include Library → Manage Libraries and Search for ArduinoJson, Adafruit_NeoPixel and install them.
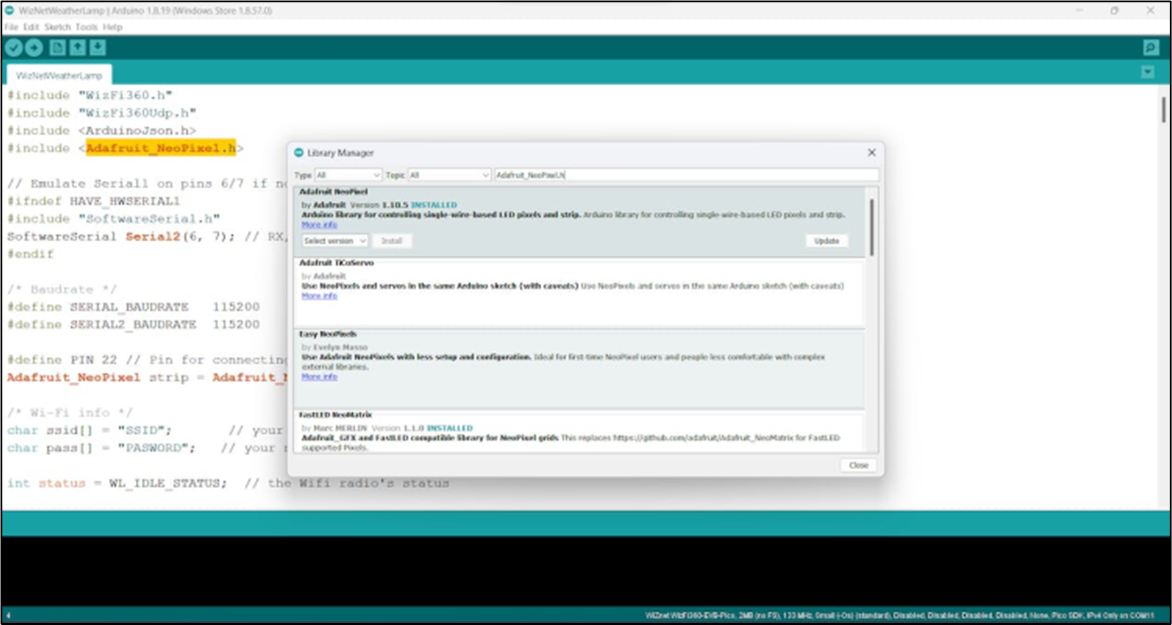
# Step 6: Code Changes
① Download the Arduino code and make the followig changes.
② At line 20 you have to edit your Wi-Fi Name(SSID) and password.
/* Wi-Fi info */
char ssid[] = "SSID";             // your network SSID (name)
char pass[] = "PASWORD"; // your network password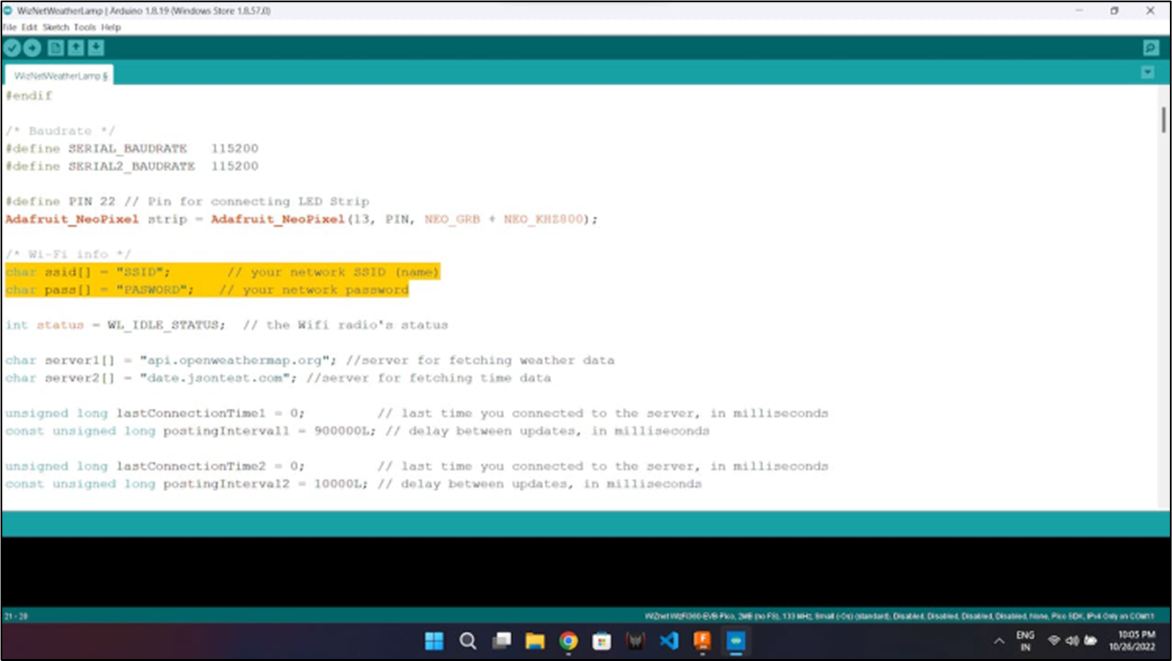
③ At line 153 I have added 5 to hour and 30(Indian time zone IST 5:30) to minutes and applied a maths to convert the APIs GMT time into IST time zone.
④ You may have to change the number(5 and 30) according to your tiem zone.
h = (h + 5) % 24;
      Serial.println(h);
      minute = (m + 30) % 60;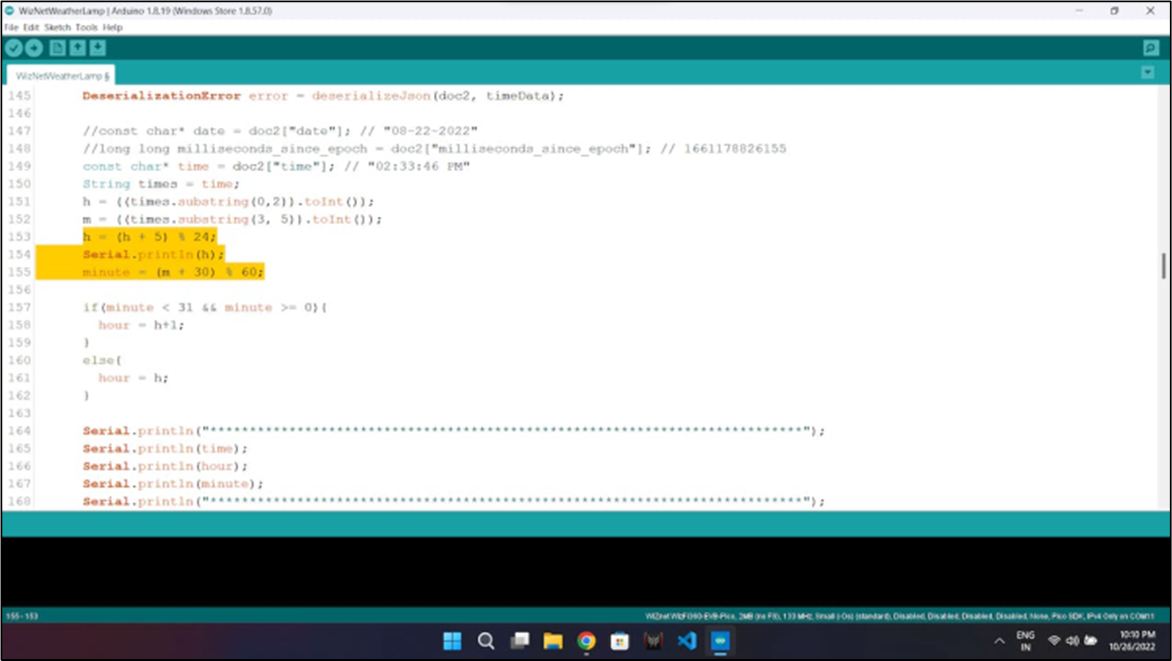
⑤ At line 282 you have to enter your locations longitude, latitude and you accounts openweathermap API key.
// send the HTTP PUT request
client1.println(F("GET /data/2.5/weather?lat=17.6795&lon=77.6051&appid=43f22249d3d42ec***********ca809b HTTP/1.1"));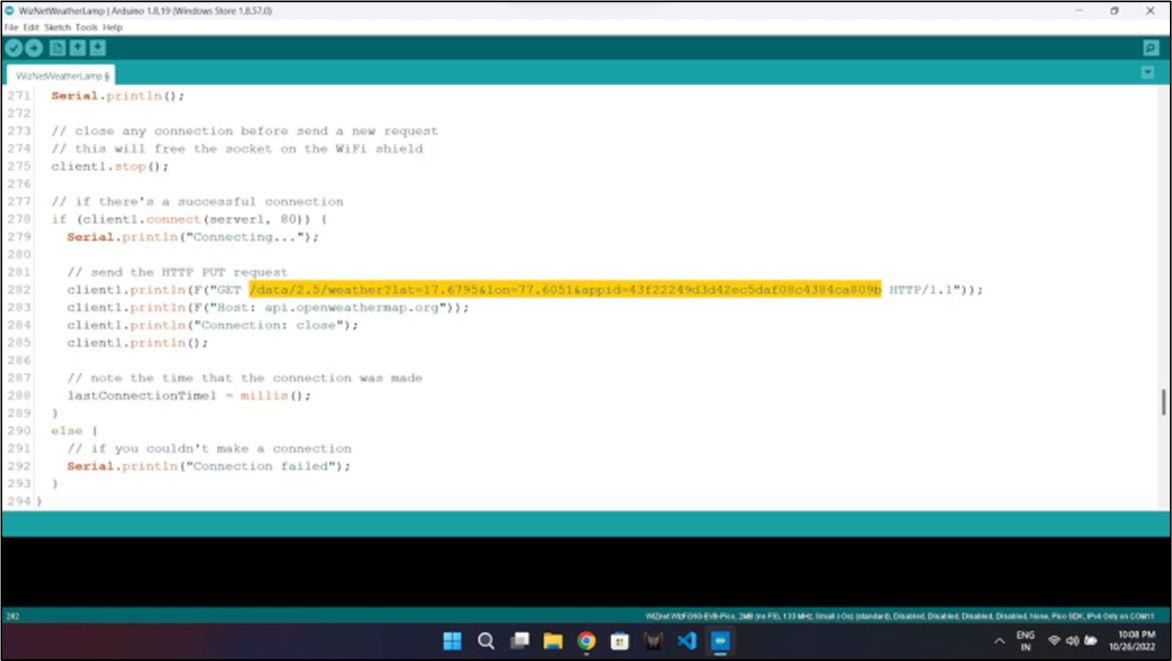
# Step 7: Code Compile an Uplaod
① Connect your device using micro USB cable.
② Select the board type and port from tools.
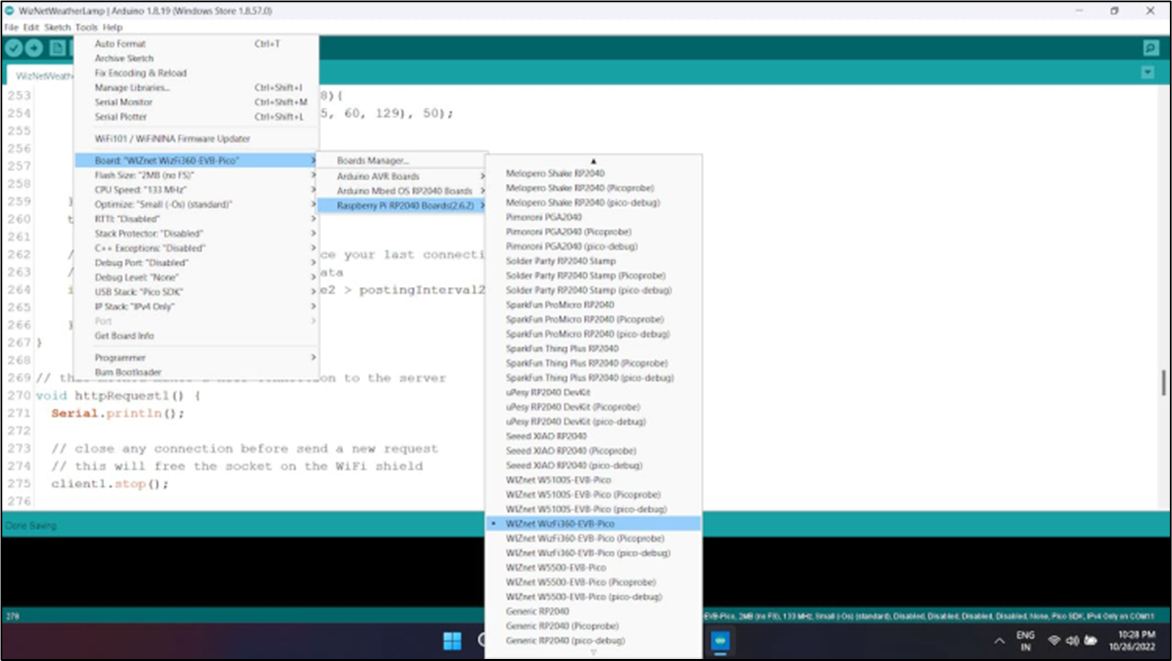
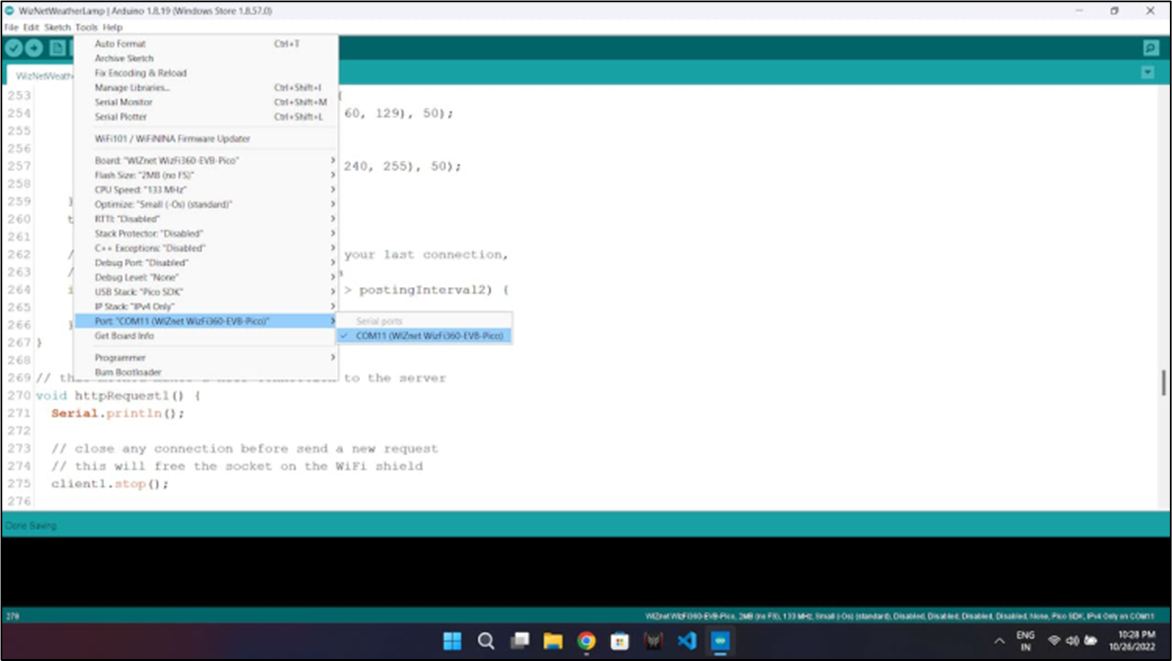
③ Now click on uplaod code, it will automatically compile and uplaod the code.
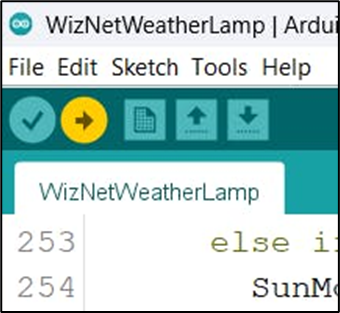
④ After code is succesfully uloaded the device will connect with provided Wi-Fi and show the output.
※ Note : I am using My PCs USB as the power source for the Weather Lamp, you can use a 5V adapter or a 3.7V Lithium Ion battery.


