Skip to content

IoT Motion Sensing Lights: Integrating W5500-EVB-Pico, Adafruit IO, PIR Sensor, and IFTTT

A smart lighting system using W5500-EVB-Pico, Adafruit IO, and a PIR sensor. Circuitpython used. The system detects motion to control lighting and logs events.

WIZnet

Published September 20, 2023 · © Apache License 2.0 (Apache-2.0)

Original author: Rena Kim · South Korea

IoT Motion Sensing Lights: Integrating W5500-EVB-Pico, Adafruit IO, PIR Sensor, and IFTTT

Components

Hardware components

Software Apps and online services

x 1


Project description

Introduction

Personally, I find it useful to use motion recognition LED sensors. When motion is recognized, the LED turns on and turns off within a certain period of time.

The lighting button in my home is far from the front door, so when I enter late at night, I have to be careful entering the unlit room. After purchasing and installing a sensor light, the sensor light turns on by motion recognition, allowing you to enter more safely.

IoT Motion Sensing Lights: Integrating W5500-EVB-Pico, Adafruit IO, PIR Sensor, and IFTTT, Introduction

I decided to implement a similar function using the Pico board and leave logs by linking additional services.

Component

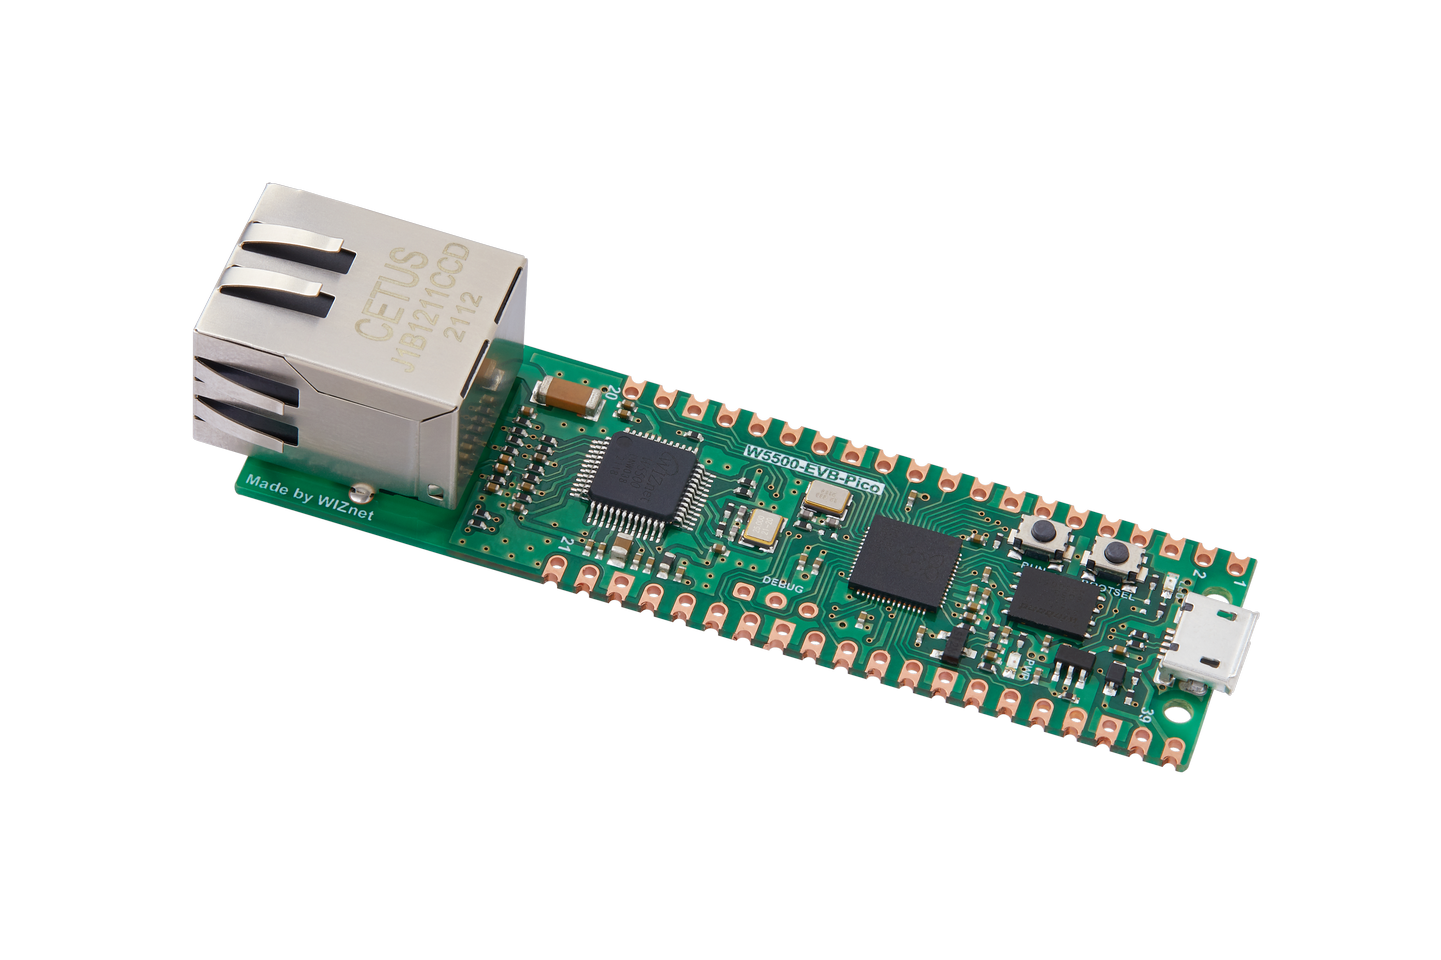
  • W5500-EVB-Pico
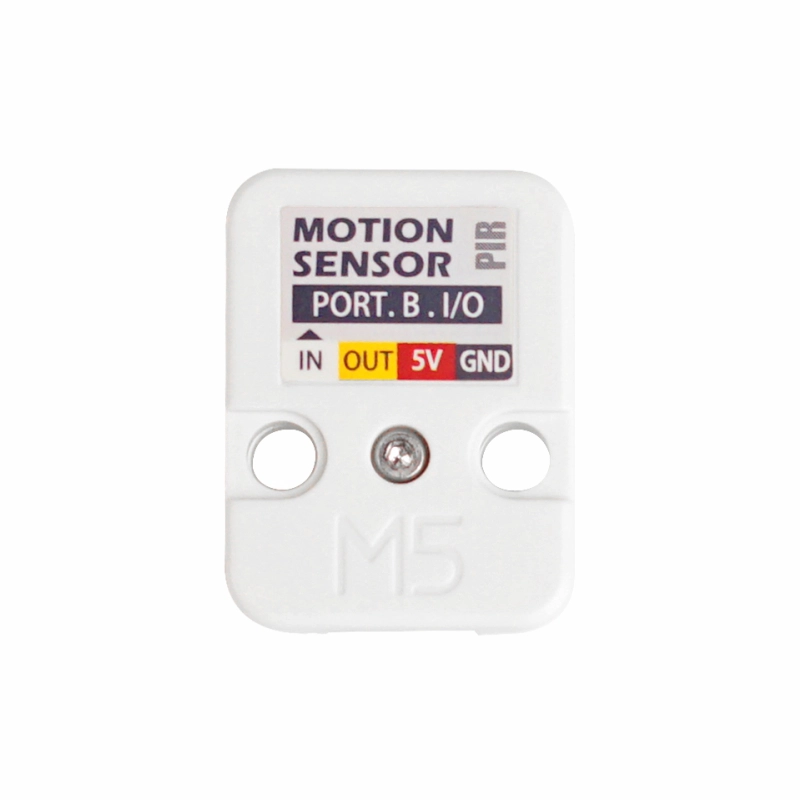
  • M5Stack PIR Sensor
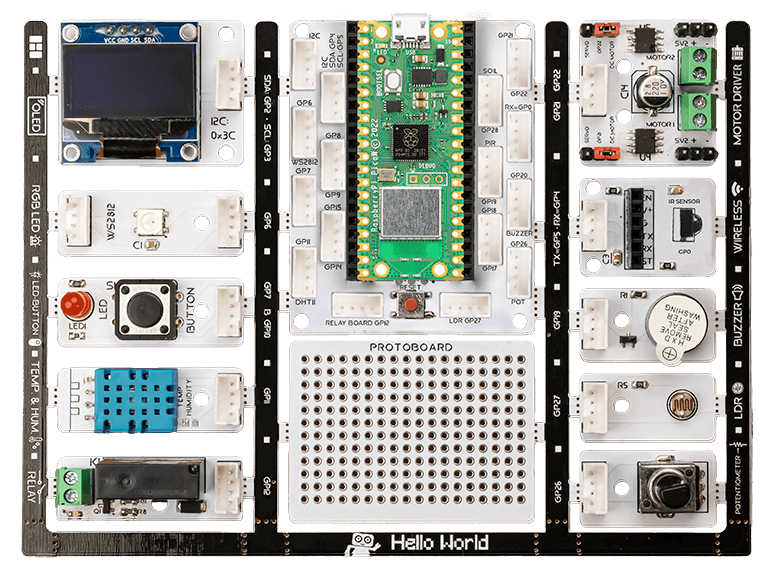
  • Picobricks (LED): You can use only the necessary modules separately, but this time I used them as is.
  • Adafruit.io

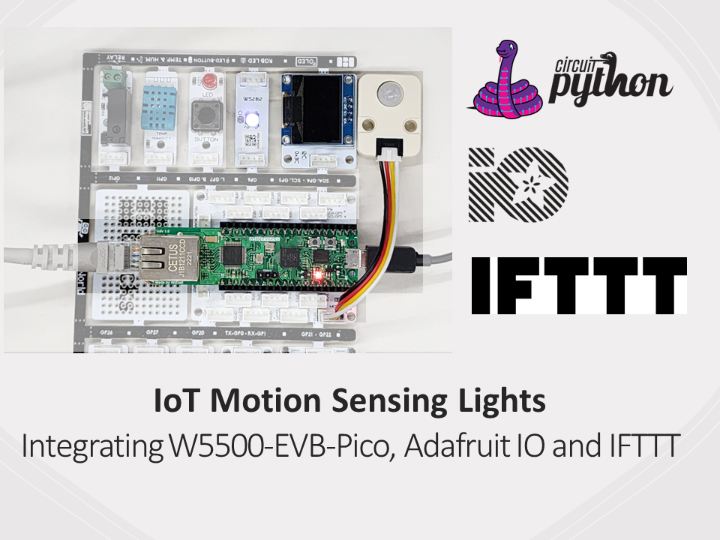
If you use an expansion board like Picobricks, you can use the Grove connector, making connection easy. All you have to do is match the GPIO Pin number. I connected it like this:

IoT Motion Sensing Lights: Integrating W5500-EVB-Pico, Adafruit IO, PIR Sensor, and IFTTT, Component

Adafruit IO

Among the examples supported by wiznet5k, there was an item called aio, and I saw that there was an API supported by Adafruit and that it supported http (Non-SSL).

Additionally, Adafruit IO is also supported by IFTTT, so we decided to use it to link external services.

Get Started

IoT Motion Sensing Lights: Integrating W5500-EVB-Pico, Adafruit IO, PIR Sensor, and IFTTT, Get Started

You can sign up by simply entering your information on the website, and your sign-up is completed after email verification.

There was confusion as the screen UI was different from the document as to whether the manual had been written a long time ago.

If you go to the My Account page on the IO page, there is a yellow button shaped like a key.

IoT Motion Sensing Lights: Integrating W5500-EVB-Pico, Adafruit IO, PIR Sensor, and IFTTT, Get Started

When you press the button, a key is issued and can be used immediately.

IoT Motion Sensing Lights: Integrating W5500-EVB-Pico, Adafruit IO, PIR Sensor, and IFTTT, Get Started

You can now upload feeds using Pico, and a free subscription allows you to create up to 10 feeds.

IoT Motion Sensing Lights: Integrating W5500-EVB-Pico, Adafruit IO, PIR Sensor, and IFTTT, Get Started

The initial feed is empty.

IoT Motion Sensing Lights: Integrating W5500-EVB-Pico, Adafruit IO, PIR Sensor, and IFTTT, Get Started

Unfortunately, wiznet5k does not support SSL yet, but Adafruit IO supports http so you can easily transmit data.

First, I tested the API operation using Curl given as an example.

I ran it from Windows CMD, but the request failed, so I ran it from Linux Shell (WSL) and it worked fine.

curl -X POST -H "Content-Type: application/json" -H "X-AIO-Key: <key>" --data '{"feed": {"name": "New Feed"}}' http://io.adafruit.com/api/v2/<username>/feeds

IoT Motion Sensing Lights: Integrating W5500-EVB-Pico, Adafruit IO, PIR Sensor, and IFTTT, Get Started

Now write Circuitpython code.

In addition to the main code, code.py, private information is written separately in the secrets.py file.

secrets = {
    'aio_username' : "your-aio-username",
    'aio_key' : 'your-aio-key',
}

The published feed looks like this:

IoT Motion Sensing Lights: Integrating W5500-EVB-Pico, Adafruit IO, PIR Sensor, and IFTTT, Get Started

Next, let’s connect with IFTTT.

IFTTT

IFTTT (If This Then That) is a web-based platform that allows users to connect various apps and services to create automated tasks.

Here we will use Adafruit IO as a trigger and connect a service to receive the alarm as an action.

Trigger(If): Monitor a feed on Adafruit IO

https://ifttt.com/adafruit/triggers/monitor_your_data

The following triggers are supported for Adafruit services.

Trigger(If): Monitor a feed on Adafruit IO

When you click the Connect button, a permission grant pop-up appears.

Trigger(If): Monitor a feed on Adafruit IO

For reference, I tried it with an existing Google account, but it kept redirecting to the existing APPLET and the permissions were not set, so I created a new account and proceeded. It works fine on the new account.

A separate function was created to create a feed.

def create_feed(name):
    data = {
        "feed": {"name": name}
    }
    endpoint = f'http://io.adafruit.com/api/v2/{secrets["aio_username"]}/feeds'
    headers = {"X-AIO-KEY": secrets["aio_key"]}
    response = requests.post(endpoint, json=data, headers=headers)
    print(response.json())
    response.close()

Trigger(If): Monitor a feed on Adafruit IO

A feed was created as above.

When you enter the created feed, data appears in a form that can be accumulated within the feed as follows.

I'll send the data here and see if IFTTT is triggered.

Trigger(If): Monitor a feed on Adafruit IO


For reference, if you make a request using Postman, you can see the data formatted as follows.


Trigger(If): Monitor a feed on Adafruit IO

Create data API

You can use the Create Data API when sending data within the same feed.

Create data API

You can see that data is received in the feed in the form of a time series as follows.

The page is updated in real time without having to refresh the page, making monitoring convenient.

Create data API

The update function below was added to the main code. The sensor value will be updated through this function.

def create_data(feed_name, data):
    endpoint = f'http://io.adafruit.com/api/v2/{secrets["aio_username"]}/feeds/{feed_name}/data'
    headers = {"X-AIO-KEY": secrets["aio_key"]}
    response = requests.post(endpoint, json=data, headers=headers)
    print(response.json())
    response.close()

If execution and request are successful, you can receive a response as follows.

Create data API

Action (Then)

Where can the data sent by the trigger be sent?

There are many options.

  • Twitter
  • Telegram
  • Discord
  • SMS
  • IFTTT Notification

I tried linking a relatively simple item called Notifications and Slack, which I am currently using.

IFTTT Notification

IFTTT provides a smartphone app, where you can receive push notifications.

IoT Motion Sensing Lights: Integrating W5500-EVB-Pico, Adafruit IO, PIR Sensor, and IFTTT, IFTTT Notification

The settings have been completed as above.

An alarm is received as follows.

IoT Motion Sensing Lights: Integrating W5500-EVB-Pico, Adafruit IO, PIR Sensor, and IFTTT, IFTTT Notification

Slack

I also tried connecting to the Slack service and posting a message.

IoT Motion Sensing Lights: Integrating W5500-EVB-Pico, Adafruit IO, PIR Sensor, and IFTTT, Slack

To send a message to Slack, you must grant IFTTT permission. (First time)

IoT Motion Sensing Lights: Integrating W5500-EVB-Pico, Adafruit IO, PIR Sensor, and IFTTT, Slack

After setting it up and testing it, the alarm worked fine.

IoT Motion Sensing Lights: Integrating W5500-EVB-Pico, Adafruit IO, PIR Sensor, and IFTTT, Slack

PIR Sensor and LED

I used a PIR sensor to recognize motion, and since there was an M5Stack unit module, I used it by connecting it to Picobricks with a GROVE cable. Easier to connect than jumper cables.

The LED used was WS2812 from Picobricks.

I proceeded by writing and testing motion recognition and LED control codes separately and then merging the codes.

Motion sensor code

import board
import digitalio

PIR_PIN = board.GP17   # Pin number connected to PIR sensor output wire.

# Setup digital input for PIR sensor:
pir = digitalio.DigitalInOut(PIR_PIN)
pir.direction = digitalio.Direction.INPUT
print('Check')

# Main loop that will run forever:
old_value = pir.value
while True:
    pir_value = pir.value
    if pir_value:
        if not old_value:
            print('Motion detected!')
    else:
        if old_value:
            print('Motion ended!')
    old_value = pir_value

LED control code

import board
import neopixel
import time

pixel = neopixel.NeoPixel(board.GP6, 1)
pixel.brightness = 0.1

pixel.fill((0, 255, 0))
time.sleep(3)
pixel.fill((0, 0, 0))

Code

The entire code, including each basic code, can be referenced at the Github link below.

Problem

There is a problem with the alarms coming in in droves.

I wondered if the cause was two applets using the same trigger, so I disconnected one and tested it, but the delay was the same. I need to look into this further.

IoT Motion Sensing Lights: Integrating W5500-EVB-Pico, Adafruit IO, PIR Sensor, and IFTTT, Code

IoT Motion Sensing Lights: Integrating W5500-EVB-Pico, Adafruit IO, PIR Sensor, and IFTTT, Code

Reference

Circuitpython code example and libraries

https://github.com/adafruit/Adafruit_CircuitPython_Bundle

Documents

  • Main code

    Include each basic code

Comments

Similar projects you might like

Comments