Real-Time Laboratory Monitoring using Edge impulse
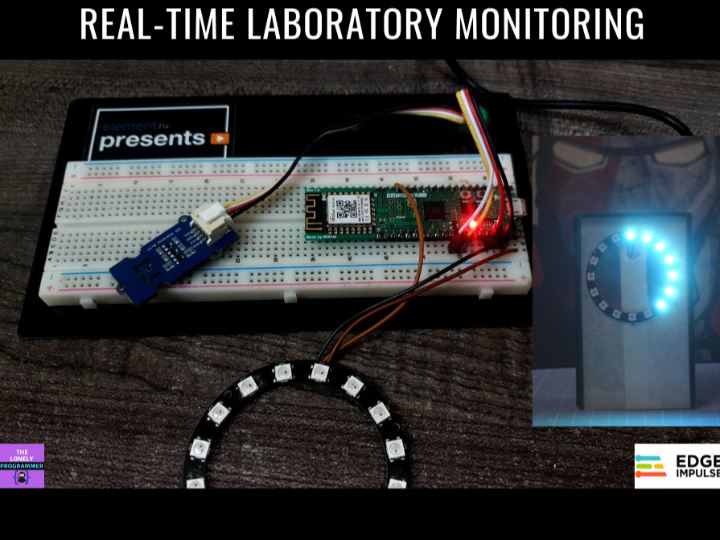
Design and build a system to monitor the status of a laboratory using the WizFi360-EVB-Pico Board.
9
Components
Hardware components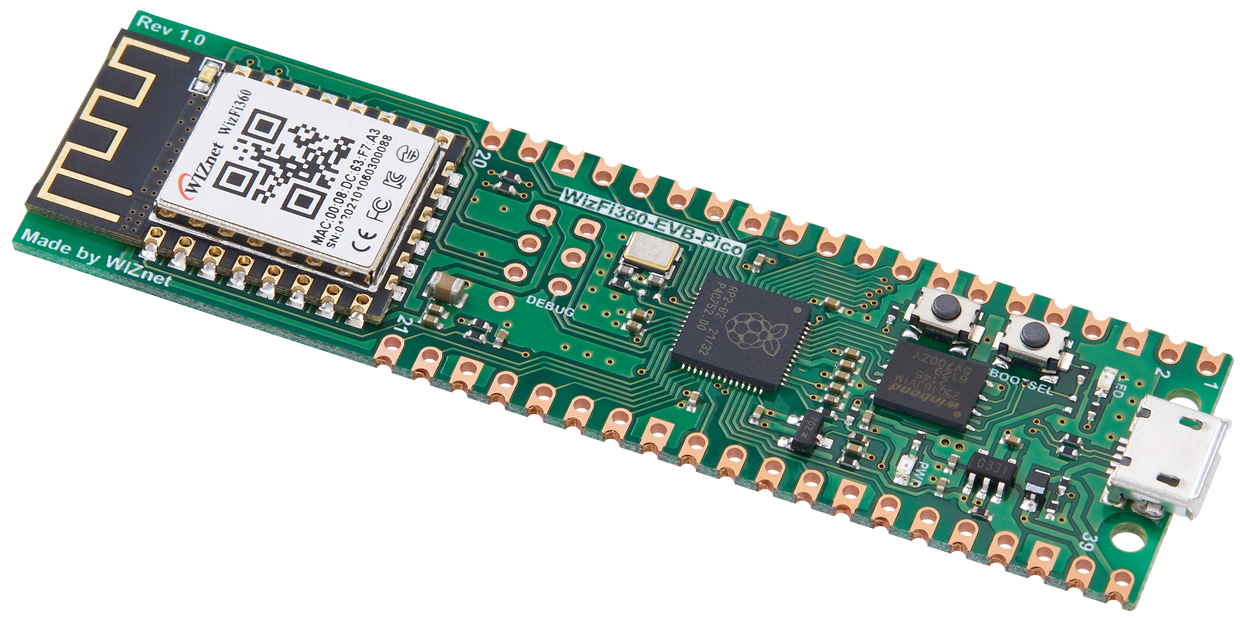
WIZnet - WizFi360-EVB-Pico
x 1

Seeed Studio - Grove - CO2 & Temperature & Humidity Sensor (SCD30)
x 1


Seeed Studio - Grove - Universal 4 Pin Buckled 5cm Cable (5 PCs Pack)
x 1

Adafruit - NeoPixel Ring: WS2812 5050 RGB LED
x 1

WIZnet - WIZnet WizFi360-EVB-Pico-C
x 1
Arduino - Arduino IDE
x 1

Edge Impulse - Edge Impulse
x 1
Project description
Why Did We Build This?
The maintenance of the ambiance in places such as laboratories, especially chemical labs is essential. The temperature, humidity, and ambient light have to be monitored continuously and the level of Air quality and heat levels are used as an interrupt to prevent laboratory accidents.

WizFi360-EVB-Pico is based on Raspberry Pi RP2040 and adds Wi-Fi connectivity using WizFi360. It is pin compatible with the Raspberry Pi Pico board and can be used for IoT Solution development.
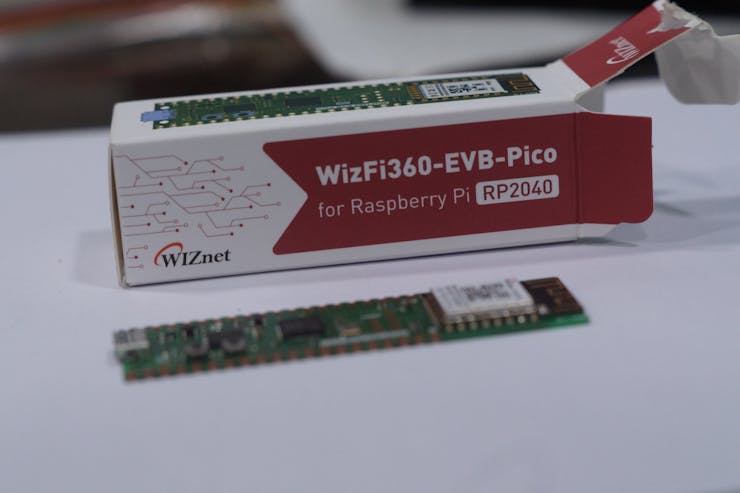
Open File -> Preferences, and enter the following into the Additional Boards Manager URLs
https://github.com/earlephilhower/arduino-pico/releases/download/global/package_rp2040_index.jsonNow you can search for “wizfi” in the Boards Manager and install the latest package for Raspberry Pi Pico/RP2040. Add the WizFi360EVB library
_gni22gXxBF.png?auto=compress%2Cformat&w=740&h=555&fit=max)
void setup() {
// initialize digital pin LED_BUILTIN as an output.
pinMode(LED_BUILTIN, OUTPUT);
}
// the loop function runs over and over again forever
void loop() {
digitalWrite(LED_BUILTIN, HIGH);   // turn the LED on (HIGH is the voltage level)
delay(1000);                       // wait for a second
digitalWrite(LED_BUILTIN, LOW);    // turn the LED off by making the voltage LOW
delay(1000);                       // wait for a second
}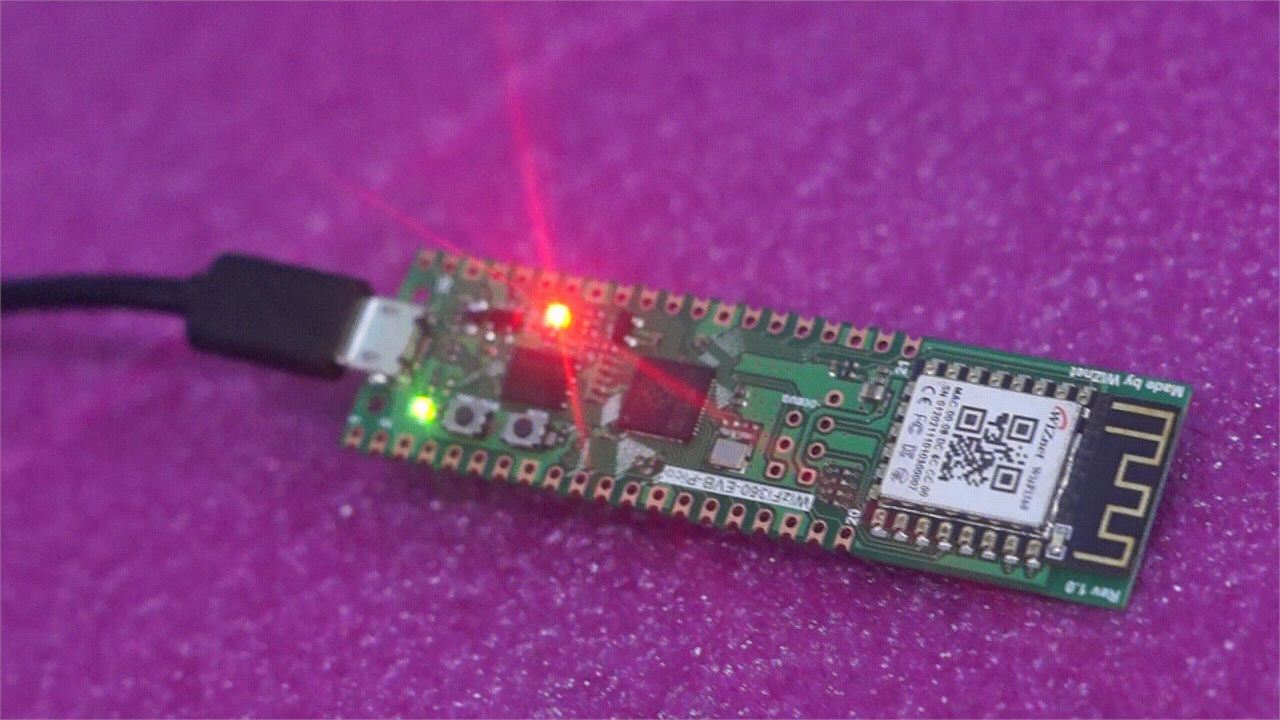
Now we have uploaded the code and the board is ready for this project.
Interfacing Sensor with WizFi360-EVB-Pico
Interfacing Grove Temp&Humi Sensor (SHT40)

The SHT40 temperature is measured using a thermocouple method. A thermocouple consists of two types of metallic wires of different materials. One end of the two wires is welded together to form the working end, which is placed at the temperature to be measured. The other end is called the free end and is connected to the main control to form a closed loop.
- Download Grove Temp&Humi Sensor Code Library. Visit the arduino-i2c-sht4x repositories and download the entire repo to your local drive.
- Add the library to the Arduino IDE
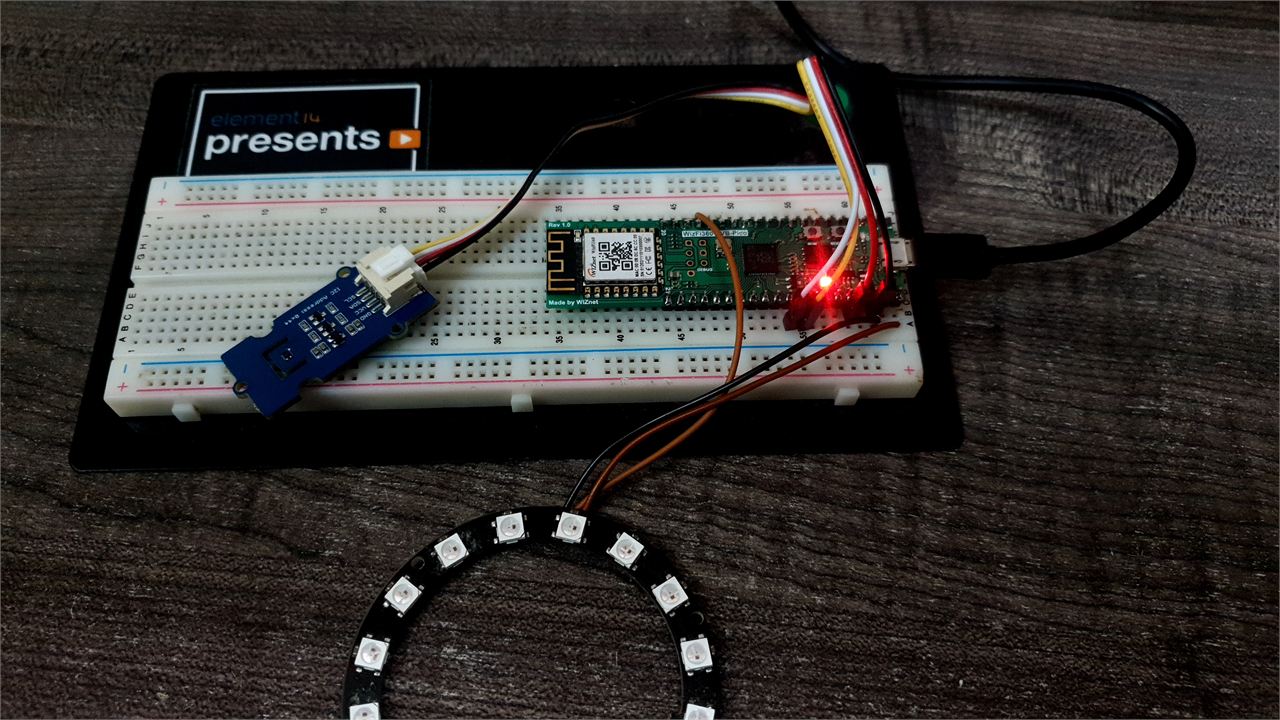
Here we connect the SHT40 temperature and humidity sensor to the IO26 & IO27 pin of the WizFi360.
Interfacing NeoPixel:
The NeoPixel ring which I used is a 16-bit NeoPixel, i.e. the ring consists of 16 LEDs.

Connections :
WizFi360 ------------------------------------------WS2816
VBUS -> Vcc
GND -> Ground(0V)
IO13 -> DI (Data IN)
The NeoPixel library is attached to the repository. The color of the NeoPixel is switched depending on the temperature and humidity stored in the variables.
Make the Connection as shown below.
Edge Impulse TFLite Model Generation & Deployment
The main idea of this project is to use Raspberry Pi pico to detect some anomalies on the temperature data and the entire classification is done on the RP2040 MCU.
Depending on the hardware capacity and memory size, different types of MCU/Applications can be used in the TinyML, as shown in the below chart.

To run a machine learning model on the Raspberry Pi pico, we need the ambient temperature data. Since the Raspberry Pi Pico has an internal temperature sensor, we use them to collect the temperature data. The ARM Cortex M0+ is suitable for Anomaly Detection and Sensor Classification which allows us to implement this project.
We will use edge impulse to build & train the TensorFlow Lite model. We will be collecting the gas sensor data for the following cases
- Temperature
- Humidity
- Pressure
We will be creating an edge impulse project named Lab Monitoring - Anomaly Detection. Running the following command will require your edge impulse email & password.
edge-impulse-daemon
We have a 65% & 35% split for training and testing data. Next, we create Impulse and add the processing block with Flattern that Flatten an axis into a single value, useful for slow-moving averages like temperature data, in combination with other blocks. Next, we add a Keras Classification learning block, then click on Save Impulse. Next, we click the Generate features to train the model. After a few minutes, we can see the output in the Feature Explorer.

You can visualize the features using the feature explorer.

Now we can deploy the model by exporting it into an Arduino library. Go to the Deployment tab in the left navigation. Select Arduino, Click Build to download the Arduino Library.
- Go to Sketch > Libraries > Add.ZIP Library, Select the library downloaded from Edge Impulse
- Open the WizFiAnomalyDetector.ino file and Upload the
Enclosure
I used an Acrylic enclosure for this project. First, I placed all the circuitry inside the enclosure and screw it firmly. I made a small opening for the Neopixel Ring and the Temperature sensor. Finally, all the screws are firmly mounted and the power cable is inserted via a slot.
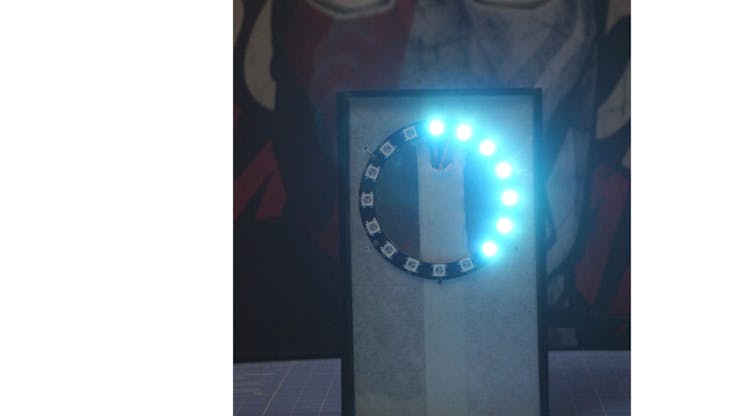
This data that is logged can be displayed on either a website or with a mobile application.
Video:
Give a thumbs up if it really helped you and do follow my channel for interesting projects. :)
Share this video if you like.
Happy to have you subscribed: https://www.youtube.com/channel/UCks-9JSnVb22dlqtMgPjrlg/videos
Thanks for reading!


