WIZnet W5000-EVB-Pico + ESPHome
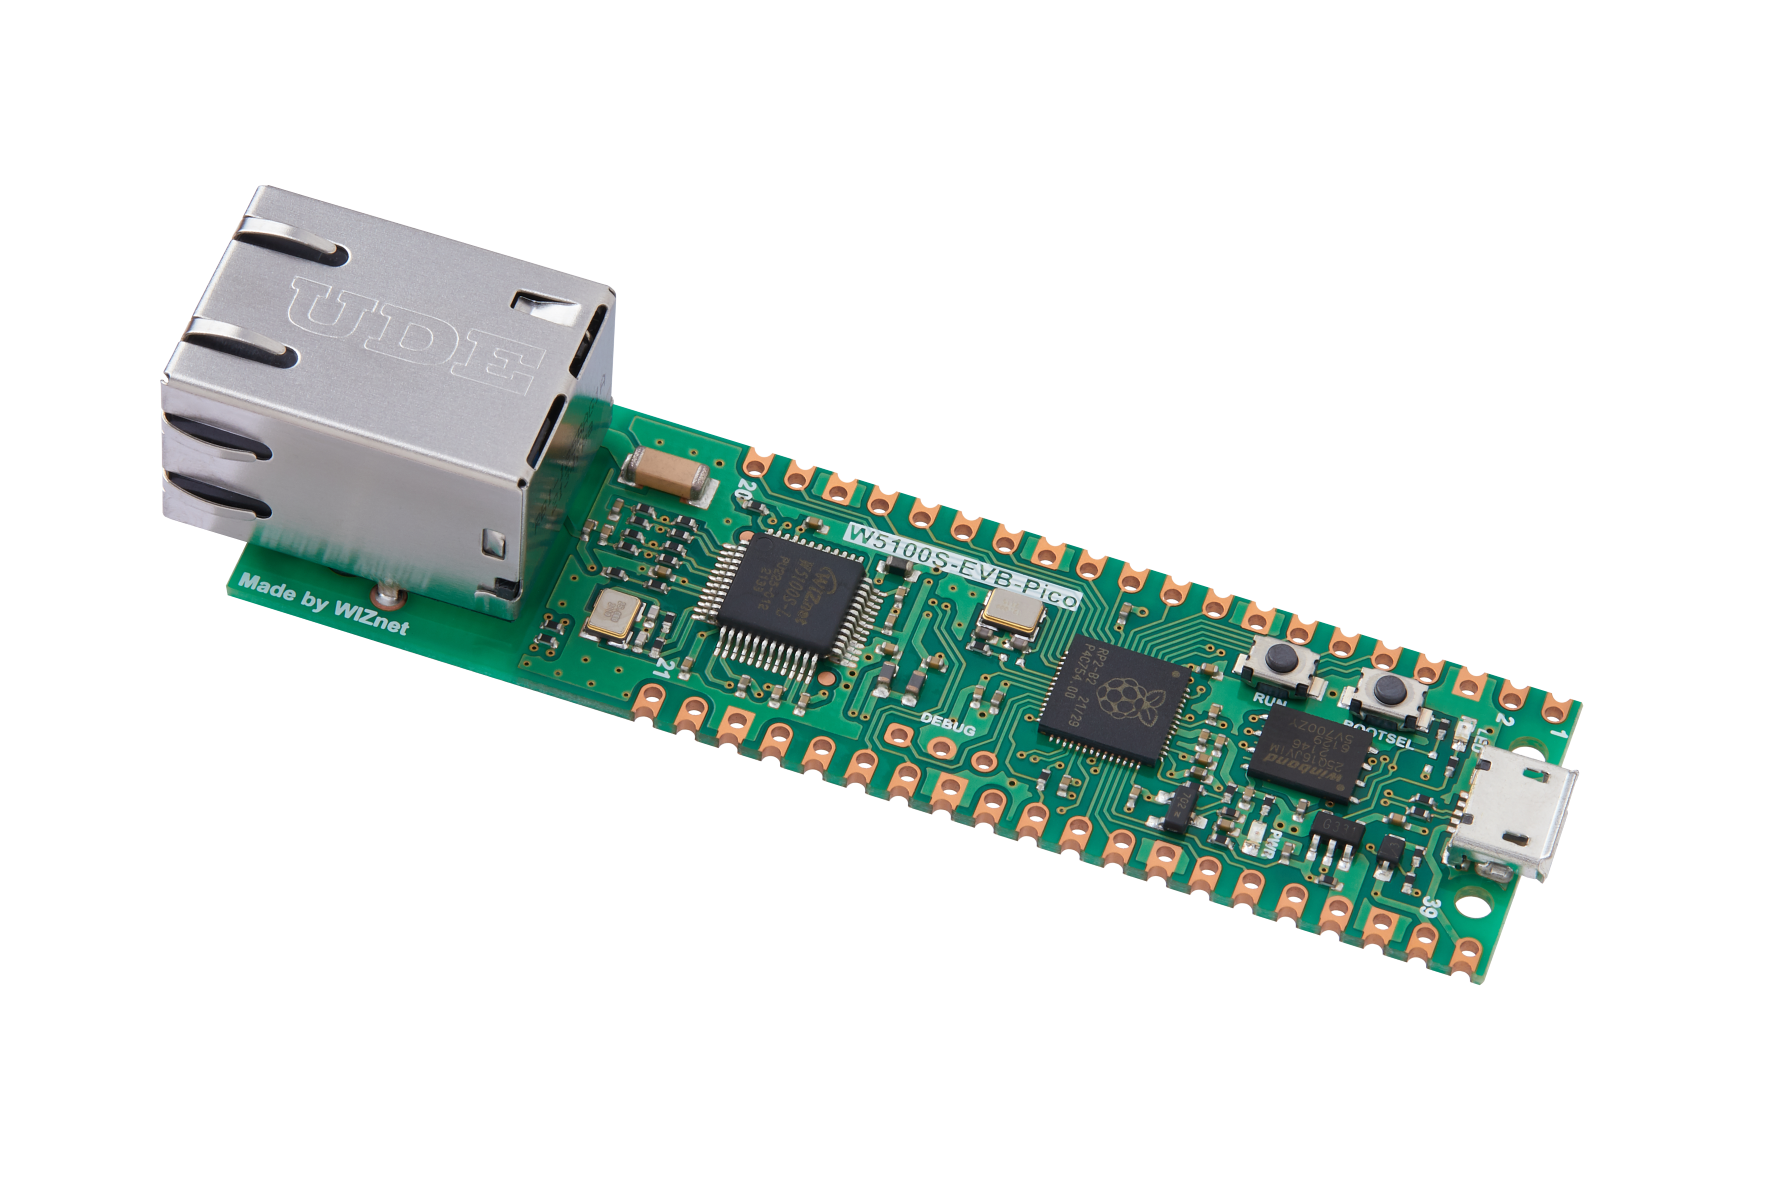
This repository shows the usage of a standard WIZnet W5500-EVB-Pico board with ESPHome.

Description
This repository shows the usage of a standard WIZnet W5500-EVB-Pico board with ESPHome.
Currently, mainline ESPHome does not support the W5500lwIP.h library that Arduino-Pico uses to integrate the W5500 chip into its lwIP subsystem.
A small, self-written w5500_ethernet custom ESPhome solves that problem. It essentially starts up the chip and begins the DHCP process, in about 15 lines of core code.
A small modification to ESPHome itself was also needed to make the network component recongize this new Ethernet component properly. Otherwise, the api component, which enables the HomeAssistant integration, cannot be actiated. The diff can be found here.
Building and Flashing
It is assumed you have VSCode + PlatformIO installed the regular way.
First of all, you must use the custom ESPHome version found forked at https://github.com/maxgerhardt/esphome/. This requires you to either uninstall your previous esphome version (pip uninstall esphome) or create a new virtual Python environment which is decoupled from your main system.
In any case, install the ESPHome version using
pip install "https://github.com/maxgerhardt/esphome/archive/refs/heads/dev.zip"this should enable the esphome commands in your commandline.
Next, let ESPHome generate the PlatformIO project based from the YAML configuration file using
esphome compile --only-generate w5500-hello.ymlThis will generate a .esphome/build/w5500-hello folder.
You can open that folder in VSCode as a regular PlatformIO project and use the "Build" and "Upload" buttons as needed and documented.
You can also directly make ESPHome compile and upload the firmware, given that PlatformIO shell commands are installed, using simply
esphome run w5500-hello.ymlCheck that the firmware is running
The firmware has enabled logging and should periodically print the IP address to the console. Use the regular "Monitor" task in PlatformIO, or a serial program like HTerm (with the "DTR" button pressed at 115200 baud!) or PuTTY to establish a connection to the serial logs.
Note to select the right hardware_uart option in the w5500-hello.yml file to direct the output to the USB port or the UART header (GP0 pin).
If the firmware is running, you should also be able to ping w5500-hello.local correctly.
Integration into Home Assistant
It is herein assumed that you have installed Home Assistant on some device or server. For this example, I use VirtualBox on my Windows machine per these instructions to boot up an instance of Home Assistant at http://homeassistant.local:8123.
If the board has properly started up, it should automatically become visible in the Home Assistant "Settings -> Devices" dashboard as available device.
Press the "Configure" button on it, then further press the "Configure" buttons inside that until the device is all setup.
Press the first "Configure" button:  Press the new lower "configure" button:
  Now it should have detected "1 device and 2 entities":
If all done right, the main "Overview" page should now have the W5500 device with two preconfigured entities: "GPIO Pin 3" and "Onboard LED".
You can click on the "Onboard LED" text. In the controll window, you should be able to turn the on-board LED of the board on and off as you wish. The board should react accordingly.


