STEM education with Arduino Application version: LED control using MQTT and Node-RED Part 1
Original Title: ArduinoでSTEM教育 応用編:MQTTとNode-REDを用いたLED制御 その1
11
Components
Hardware components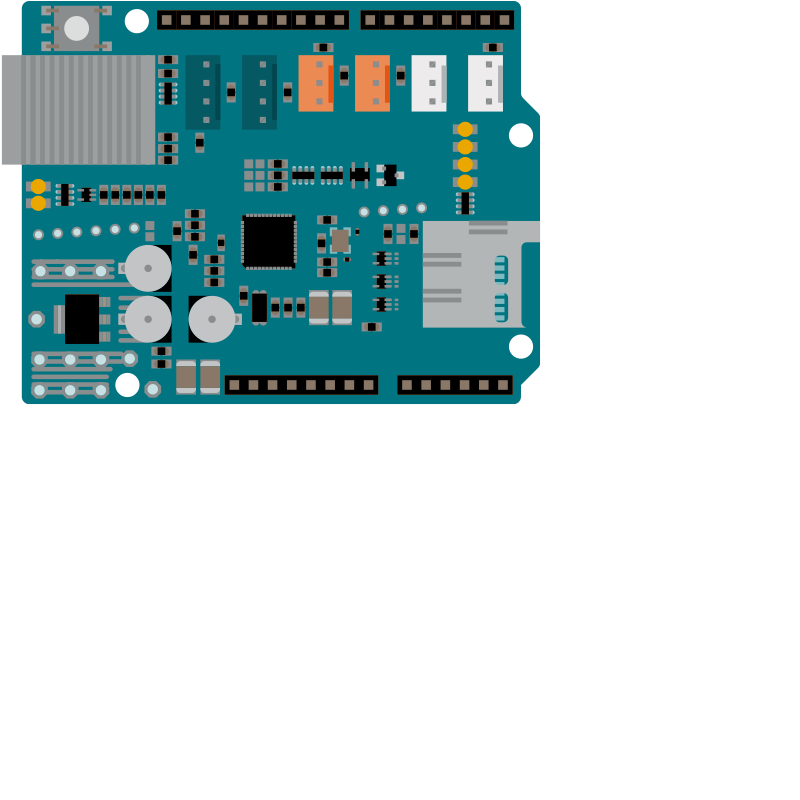
Arduino - Arduino Ethernet Shield 2
x 1

Project description
Program for ethernet shield
First, let's look at the sketch when using Arduino and Ethernet Shield.
I will also show sketches of ESP8266 and ESP32 later. These are slightly different programs.
#define LEDPIN 3
#define ANALOGPIN 0
#define MQTT_BROKER "192.168.1.137"

#include "SPI.h"
#include "Ethernet.h"
#include "PubSubClient.h"  //(1)

byte MAC[] = {0x00, 0x08, 0xDC, 0x12, 0x34, 0x56};

EthernetClient ethClient;
PubSubClient mqttClient(ethClient);  //(2)

long Timer = 0;
char Buffer[50];

void setup()
{
  pinMode(LEDPIN, OUTPUT);
  Serial.begin(115200);
  delay(100);
  Serial.println("My IP-Adresse: ");
  Ethernet.begin(MAC);
  delay(3000);
  Serial.println(Ethernet.localIP());

  mqttClient.setServer(MQTT_BROKER, 1883);  //(3)
}

void loop()
{
  if (!mqttClient.connected())  //(4)
    reconnect();

  mqttClient.loop();  //(5)

  if(millis() > Timer)  //(6)
  {
    String AnalogValue = String(analogRead(ANALOGPIN));
    AnalogValue.toCharArray(Buffer, 20);  //(7)
    mqttClient.publish("Arduino/AnalogValue", Buffer);  //(8)

    Serial.println("Published Value: " + AnalogValue);
    Timer = millis() + 5000;
  }
  Ethernet.maintain();
}

void subscribeReceive(char* Topic, byte* UserData, unsigned int Length)  //(9)
{
  Serial.println("### Receive ###");
  Serial.print("Topic: ");
  Serial.println(Topic);  //(10)

  Serial.print("User Data: ");
  for(int i = 0; i < Length; i ++)
    Serial.print(char(UserData[i]));
  Serial.println("");

  byte Brightness = atoi(UserData);  //(11)
  Serial.print("Brightness: "); Serial.println(Brightness);
  analogWrite(LEDPIN, Brightness);

  Serial.println("-----------------");
}

void reconnect()  //(12)
{
  while(!mqttClient.connected())  //(13)
  {
    Serial.print("Connect with MQTT.");

    if(!mqttClient.connect("EthernetClient"))  //(14)
    {
      Serial.print("Error: ");
      Serial.print(mqttClient.state());
      Serial.println("Try again in 5 seconds.");
      delay(5000);
    }

    mqttClient.setCallback(subscribeReceive);  //(15)
    mqttClient.subscribe("Arduino/LED");  //(16)
  }
}
(1) Load the MQTT library.
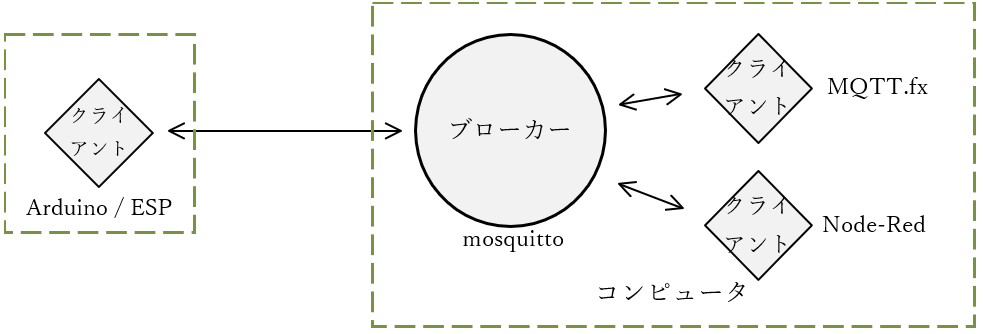
(2) Object mqttClient represents the client.
(3) Determine the broker to connect to the client with the "setServer()" function.
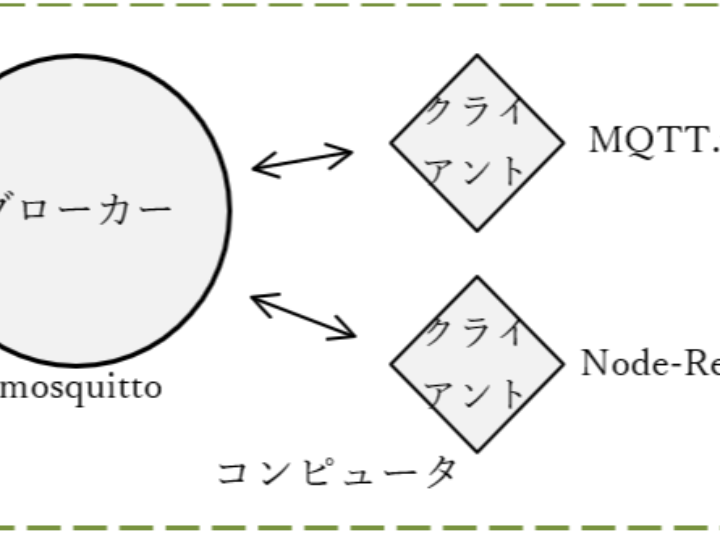
Since Mosquitto installed on the personal computer is used, specify the IP address of the personal computer. Mosquitto uses port 1883 by default.
(4) Check if you can connect to the broker before doing the main processing. If it is not connected, it will call the "reconnect()" function and try to connect to the broker. It is also executed once immediately after turning on the power or resetting.
(5) The PubSubClient library calls the client object's "loop()" function anywhere in the main loop to check if the broker has sent a new message.
(6) This if condition goes true every 5 seconds and does some internal processing and sends the analog reading of the variable resistor to the broker.
(7) In this library, the value to be sent must be sent as a char array, so the object function "toCharArray()" copies the analog value of the string object to the char array.
(8) Send the topic and message to the MQTT network with the "publish()" function. Specify the topic as the first argument and the message as the second. Although omitted here, specifying true for the third option enables the retainer.
(9) The "subscribeReceive" function is called by the library when a message is received from the broker.
(10) This example does not change the behavior depending on the topic, it is just displayed on the serial monitor.
(11) The content of the message is received as a string. By converting to an integer with the "atoi()" function (ACSII to Integer), it can be used for LED PWM control.
(12) The "reconnect" function is called when connecting to the MQTT broker for the first time or when reconnecting.
(13) Repeat connection operation until MQTT connection is established.
(14) Connect using the “connect()” function. The argument is the name of the object representing the network connection.
(15) When the connection is established, the "subscribeReceive" function in (9) is called.
(16) Receive topic "Arduino/LED".
