How to use UART DMA on STM32103 MCU
A reference example of protocol conversion between up to 2Mbps UART and Ethernet with WIZnet WIZ145SR which consists of STM32F103 and W530
2
Components
Hardware components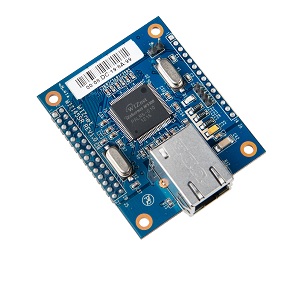
WIZnet - WIZ145SR
x 1

Project description
Story
For UART communication, you can do it in blocking mode or nonblocking mode using interrupt.In Blocking mode, all other operation is blocked until UART communication finishes, whereas other operations can be run independently from UART communication in nonblocking mode and time-critical operations run in real time. UART DMA is nonblocking operation, and it reduces interrupts and enhances its realtimeness.
I’ll explain here how to use UART DMA on STM32103 MCU.
Hardware Configuration
I will use the same hardware environment as used in the previous post..
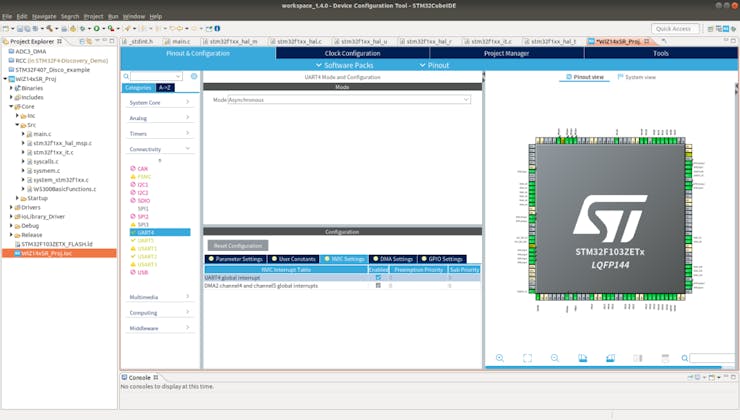
UART4 is the UART port for UART DMA.
First, select “Pinout & Configuration” in STM32CubeIDE, then configure as below.
- Select “Configuration”->”DMA Setting”, and click “Add” button to choose UART_TX.
- Select “Normal” in “Mode”. In “Normal” mode, DMA TX/RX occurs only one. In case that you need DMA TX/RX to be done repeatedly without user’s intervention, you should choose “Circular”. I’ll choose “Normal” mode here.

Next, please check whether “UART4 global interrupt” is “Enabled” in “NVIC Settings”.
- In “Normal” mode, if “UART4 global interrupt” is not “Enabled”, DMA operation will not be run with the next function call because UART State is not changed to HAL_UART_STATE_READY.
- Next, please check whether “UART4 global interrupt” is “Enabled” in “NVIC Settings”.In “Normal” mode, if “UART4 global interrupt” is not “Enabled”, DMA operation will not be run with the next function call because UART State is not changed to HAL_UART_STATE_READY.
Coding
After the above configuration, do “Generate Code” and then you can check “MX_DMA_Init()” is added in main.c.

Next, add codes to call HAL_UART_Transmit_DMA every second in while() block.
In my code, UART1 will transmit Data without DMA and UART4 will do it using DMA.
Calling HAL_UART_Transmit_DMA() is everything what you should.
while (1)
  {
    /* USER CODE END WHILE */

    /* USER CODE BEGIN 3 */
	  if(onesecondElapsed)
	  {
		  onesecondElapsed = 0;
		  count++;	// increment count

		  memset(msg, 0, 200);
		  sprintf((char *)msg, "UART1,[%d],%srn", count, message);
		  HAL_UART_Transmit(&huart1, msg, strlen((const char*)msg), 20);

		  memset(dma_buf, 0, 200);
		  sprintf((char *)dma_buf, "UART4 DMA,[%d],%srn", count, message);
		  HAL_UART_Transmit_DMA(&huart4, dma_buf, strlen((const char*)dma_buf));

	  }
	  loopback_tcps(0, ethBuf0, 5000);
  }
Build and Run
Build and download the binary using STM32CubeProgrammer as usual.
Then, run Putty to monitor what STM32F103 sends.


