
W5100S-EVB-PICO_AI-Animator
Pico🍓Animator, now enhanced with the power of W5100S-EVB-PICO and Arducam, brings the AI magic of anime transformation to images in website.


WIZnet - W5100S-EVB-Pico
x 1
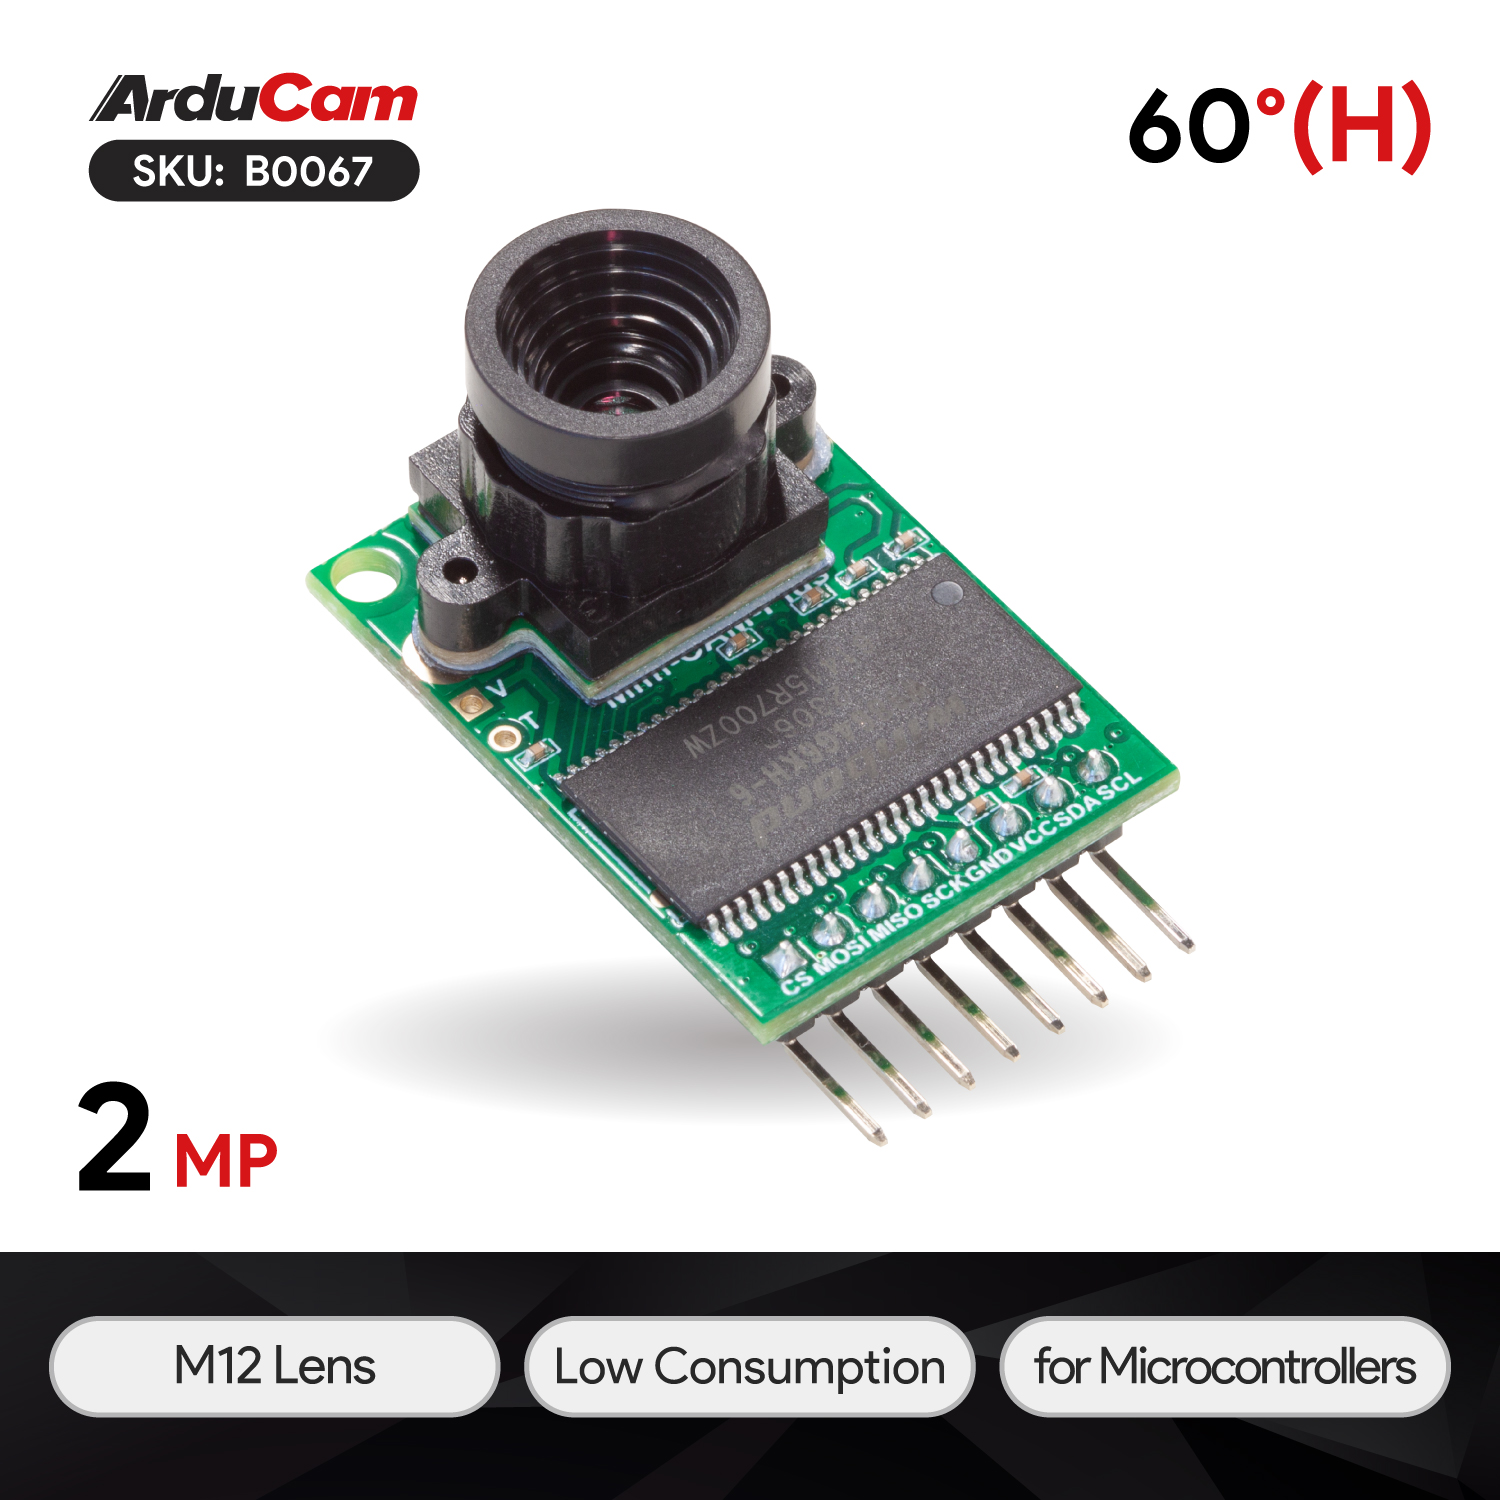
ArduCam - Arducam Mini 2MP Plus
x 1

Adafruit - Circuitpython
x 1
https://react.dev/ - React JavaScript Library
x 1
Tensorflow - TensorFlow.js
x 1
Pico🍓Animator with W5100S-EVB-Pico and Arducam
Pico🍓Animator, now enhanced with the power of W5100S-EVB-PICO and Arducam, brings the magic of anime transformation to images with the convenience of online access. This project, built on React JavaScript library, seamlessly integrates TensorFlow.js to bring the AnimeGAN experience to a broader audience.

Waiting for domain approval from js.org!
About PicoAnimator
Under the hood, PicoAnimator uses the AnimeGAN model powered by TensorFlow.js. The model leveraged here is sourced directly from the original AnimeGAN's release. If you're looking to run this locally, the model is available in the public directory. Creating new models? Simply export them from TensorFlow and use the tools TensorFlow.js offers for conversion.

Source image taken from AnimeGAN Github repo
Hardware Configuration
For those interested in the hardware specifics and setup, here's how the W5100S-EVB-Pico and Arducam OV2640 are interconnected: 
SPI1 Configuration for ArduCam OV2640:
- CS --> GPIO 13
- MOSI --> GPIO 11
- MISO --> GPIO 12
- SCLK --> GPIO 10
I2C Configuration for ArduCam OV2640:
- SDA --> GPIO 8
- SCL --> GPIO 9
For a deep dive into the code that makes this communication possible, you can find everything openly available at this GitHub repository.
Using ethernet by W5100S
def w5x00_init():
    ##SPI0
    SPI0_SCK = board.GP18
    SPI0_TX = board.GP19
    SPI0_RX = board.GP16
    SPI0_CSn = board.GP17

    ##reset
    W5x00_RSTn = board.GP20

    print("Wiznet5k (DHCP)")

    # Setup your network configuration below
    # random MAC, later should change this value on your vendor ID
    MY_MAC = (0x00, 0x01, 0x02, 0x03, 0x04, 0x05)
    IP_ADDRESS = (192, 168, 0, 5)
    SUBNET_MASK = (255, 255, 255, 0)
    GATEWAY_ADDRESS = (192, 168, 0, 1)
    DNS_SERVER = (8, 8, 8, 8)

    ethernetRst = digitalio.DigitalInOut(W5x00_RSTn)
    ethernetRst.direction = digitalio.Direction.OUTPUT

    led = digitalio.DigitalInOut(board.GP25)
    led.direction = digitalio.Direction.OUTPUT

    # For Adafruit Ethernet FeatherWing
    cs = digitalio.DigitalInOut(SPI0_CSn)
    spi_bus = busio.SPI(SPI0_SCK, MOSI=SPI0_TX, MISO=SPI0_RX)

    # Reset W5500 first
    ethernetRst.value = False
    time.sleep(1)
    ethernetRst.value = True


    # Initialize ethernet interface without DHCP
    eth = WIZNET5K(spi_bus, cs, is_dhcp=True, mac=MY_MAC)

    # Set network configuration
    #eth.ifconfig = (IP_ADDRESS, SUBNET_MASK, GATEWAY_ADDRESS, DNS_SERVER)

    print("Chip Version:", eth.chip)
    print("MAC Address:", [hex(i) for i in eth.mac_address])
    print("My IP address is:", eth.pretty_ip(eth.ip_address))
    print("Done!")

    return eth, led
This is written in CircuitPython. If you're looking for the necessary libraries, they can be downloaded from CircuitPython's official library collection. Furthermore, the uf2 for W5100s-evb-pico can be sourced directly from here.
Image Transformation Example

Source IU image borrowed from the official Yidam Entertainment.
Developers' Corner
Thanks to the openness of the previous project manager, TonyLianLong of AnimeGAN.js, I was able to navigate and continue the project with ease, even as a React beginner. In the same spirit of collaboration, I'm sharing all the code and guiding you on how to kickstart this project.
Before diving in, ensure you have node.js and npm installed on your system as prerequisites.
To get started:
- Open your VS Code.
- Perform a
git cloneof the project repository. - Once cloned, navigate to the root directory and run
npm start.
Upon executing the above steps, the app should launch in development mode. Access it via http://localhost:3000 in your browser to view and interact with the application.
Github
link : https://github.com/wiznetmaker/W5100S-EVB-PICO-Animator
This project has been inspired and built upon the foundation laid by the original AnimeGAN.js and AnimeGAN project on GitHub. All credits to the original authors and contributors. This README is tailored for the modified version utilizing W5100S-EVB-PICO and Arducam.
-
Circuitpy : W5100s-evb-pico with Arducam
Circuitpy : W5100s-evb-pico with Arducam

-
React - Website
React - Website
-
HW Schematics
W5100S-EVB-Pico and Arducam connection