
Micro:Bit IoT Project: Motion Sync Net
Two MicroBit devices interact: one detects motion, the other shows it on its LED display.

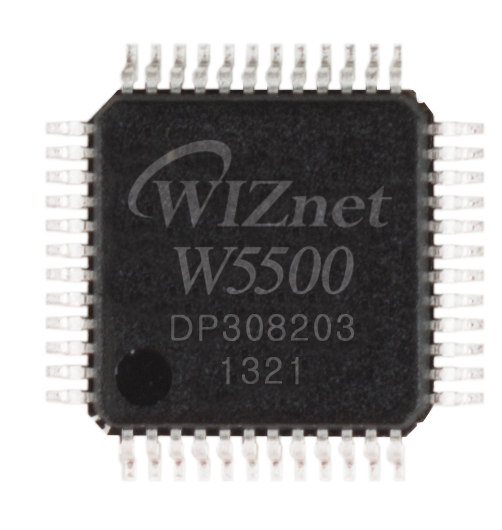
WIZnet - W5500
x 1
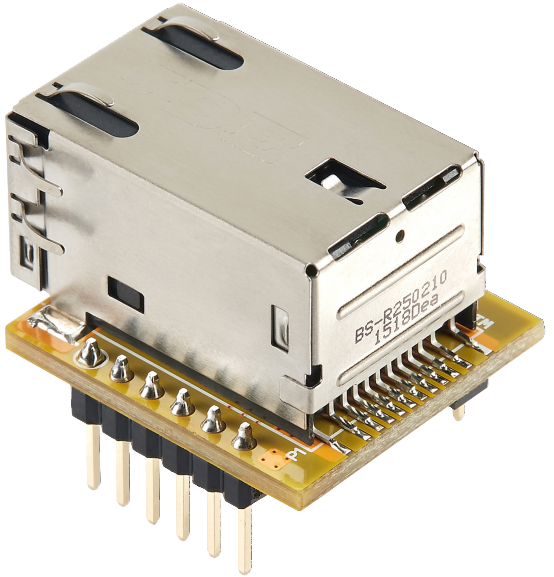
WIZnet - WIZ850io
x 1
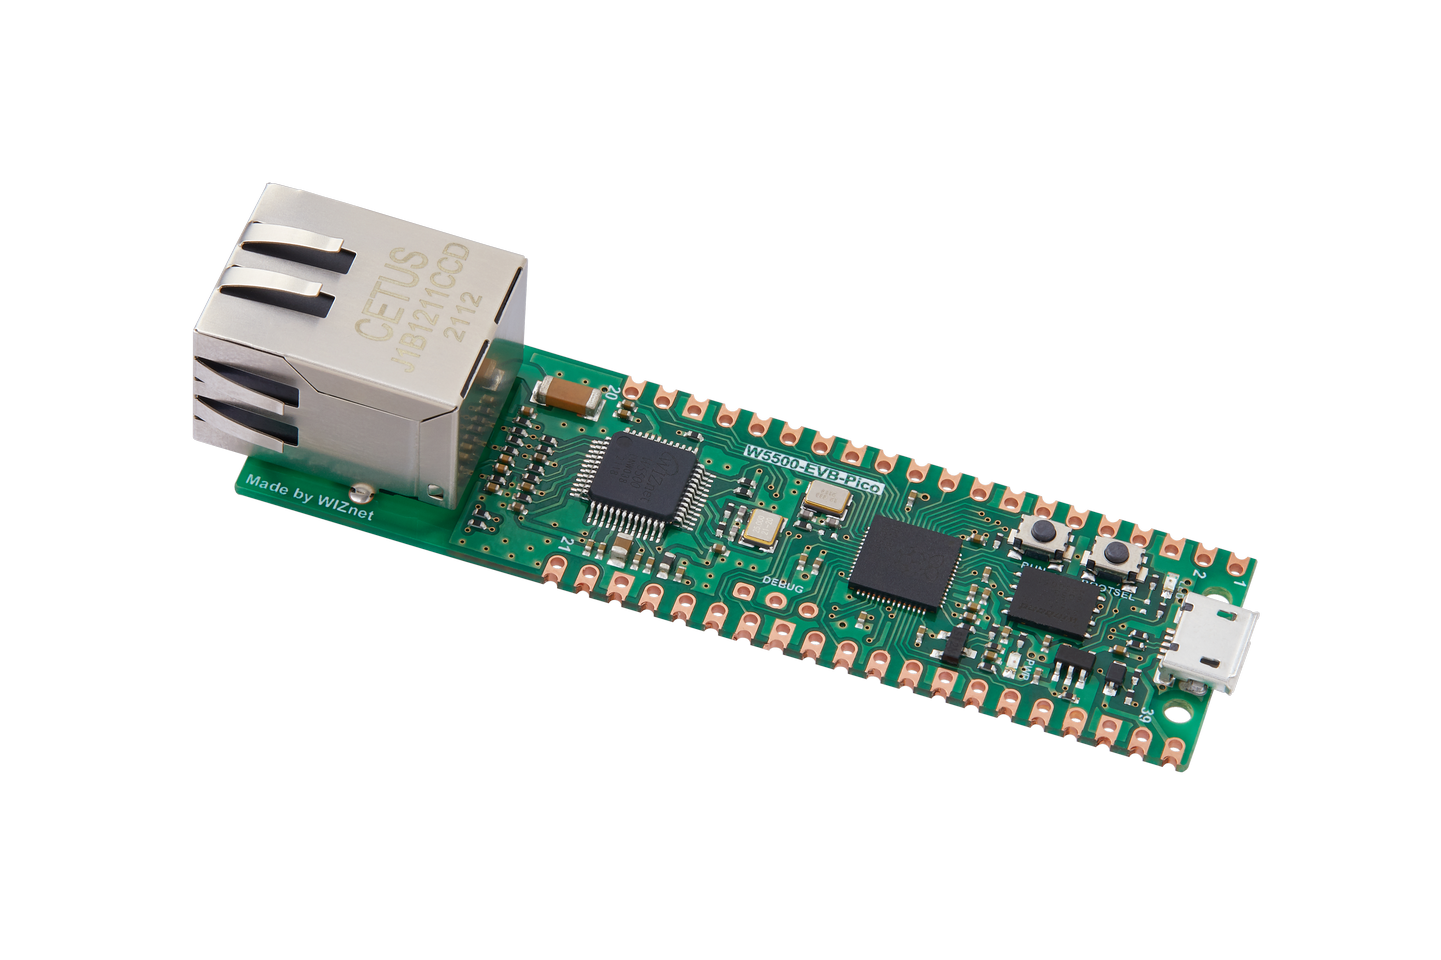
WIZnet - W5500-EVB-Pico
x 1
Microsoft - Micro:Bit
x 1

thonny.org - Thonny
x 1
When you're out, don't you ever wonder how your pet moves around the house or if your precious belongings are still in their place? I've combined the motion detection feature of MicroBit with its Ethernet communication capabilities to create a remote Motion Detector and Display device!
However, MicroBit does not support Ethernet functions and does not provide related functions. So, I also created a MicroBit firmware that enables Ethernet! (The making-of will be in the next post).
HW Setup
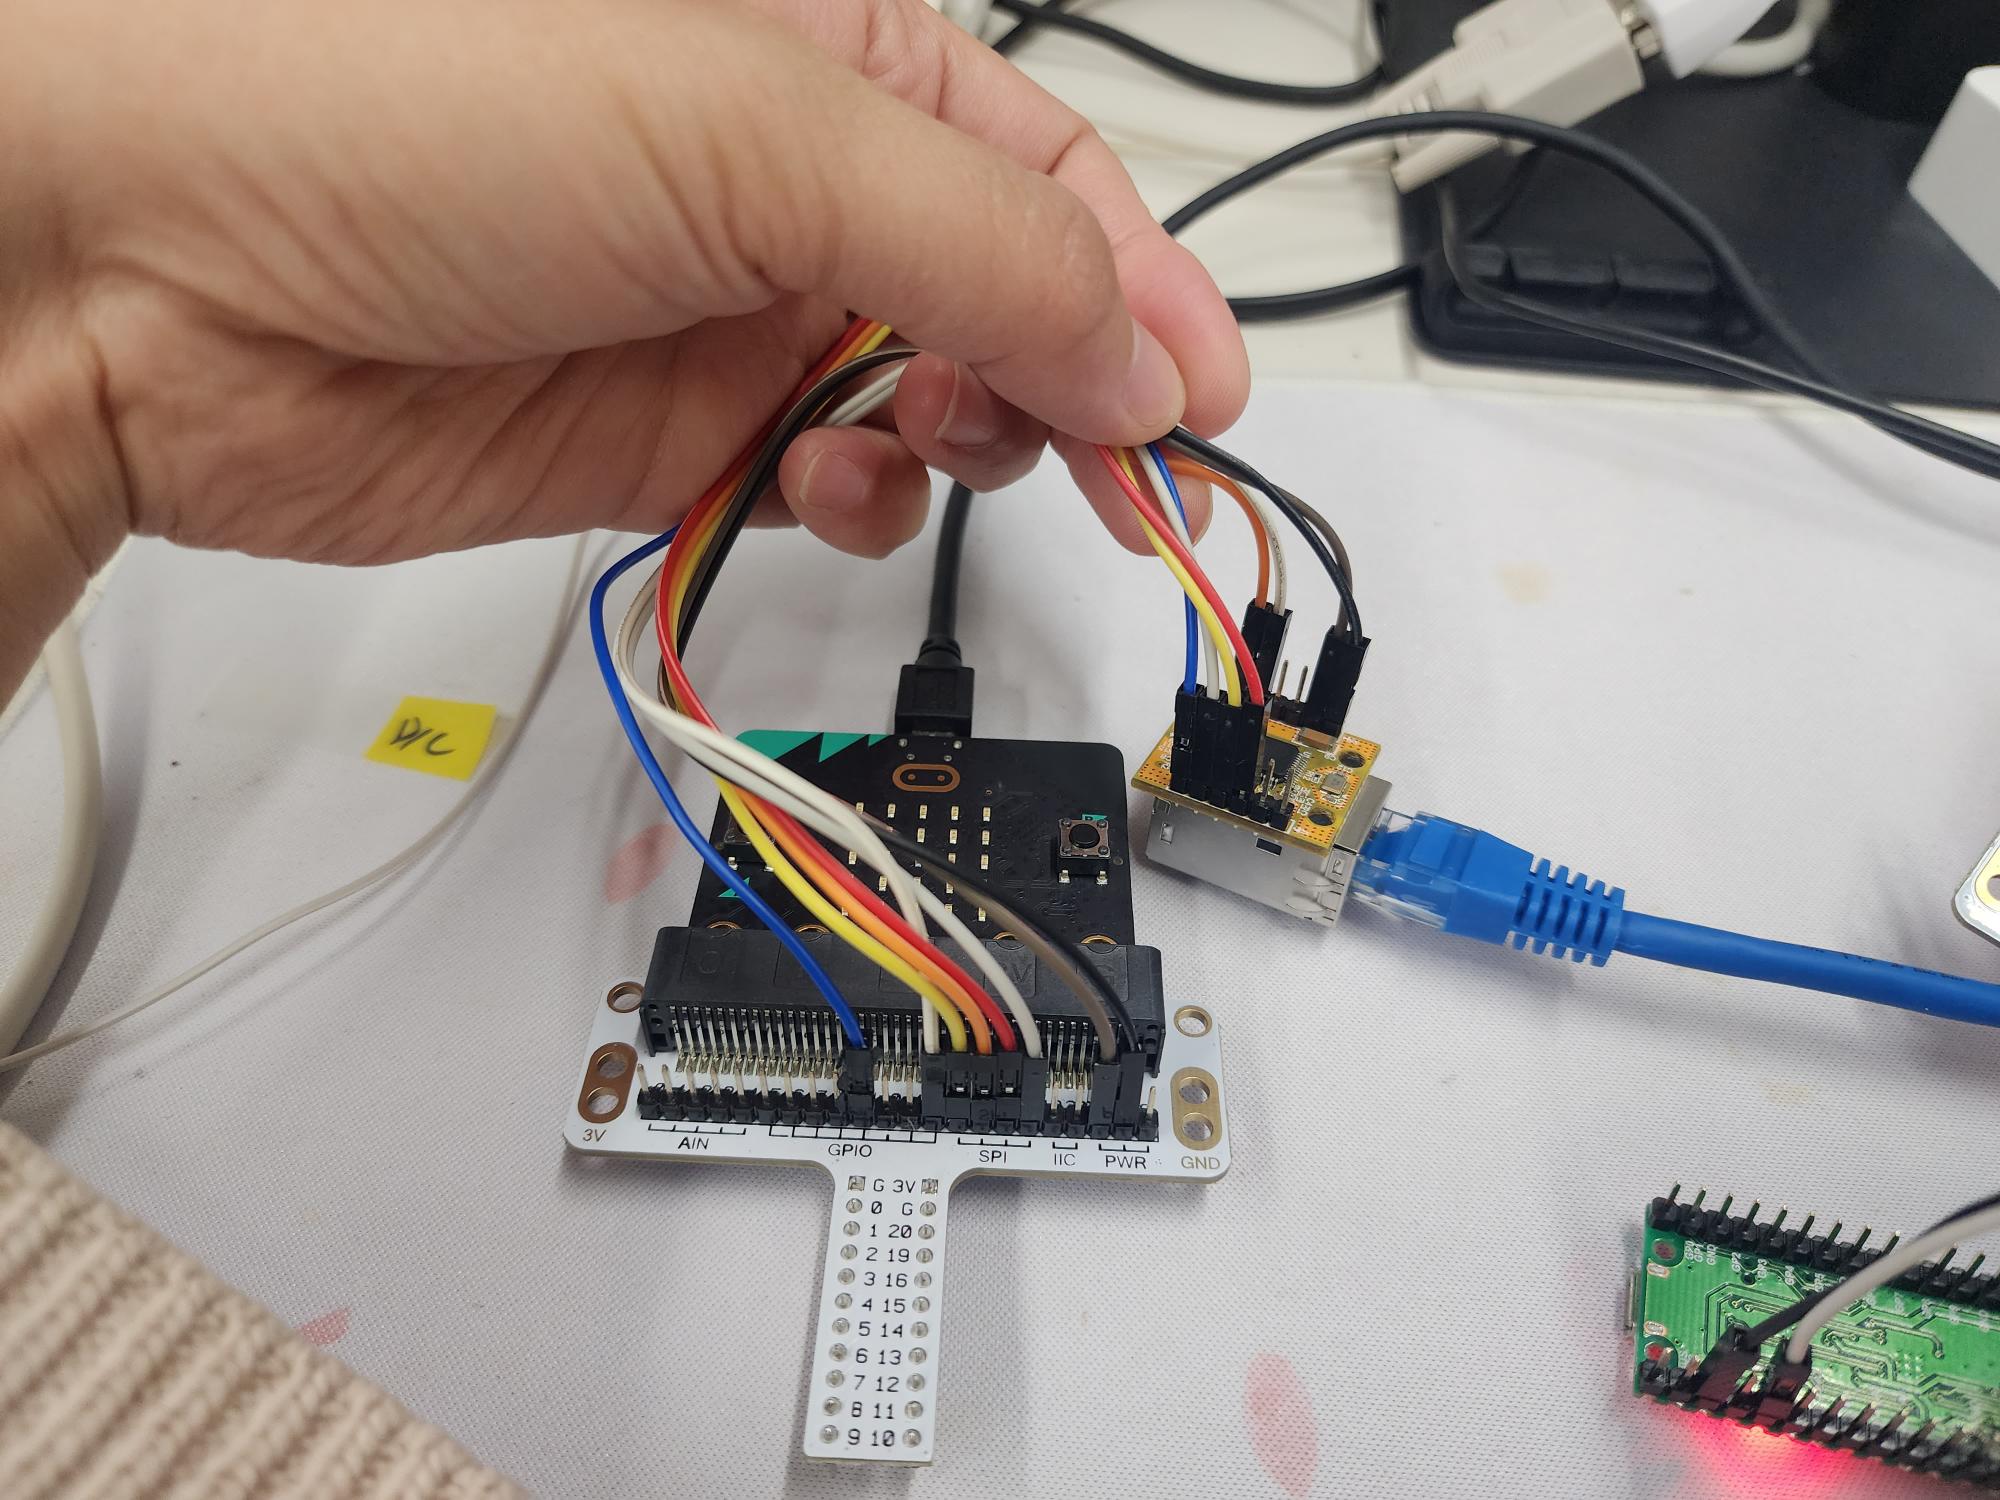
Prepare the Microbit and the W5500 module.
To make development more convenient, I also purchased a MicroBit adapter.
I used WIZnet's W5500 series products, the Wiz850io and the Pico-Ethernet-Hat.
(I recommend the Hat for price and the Wiz850io for size.)
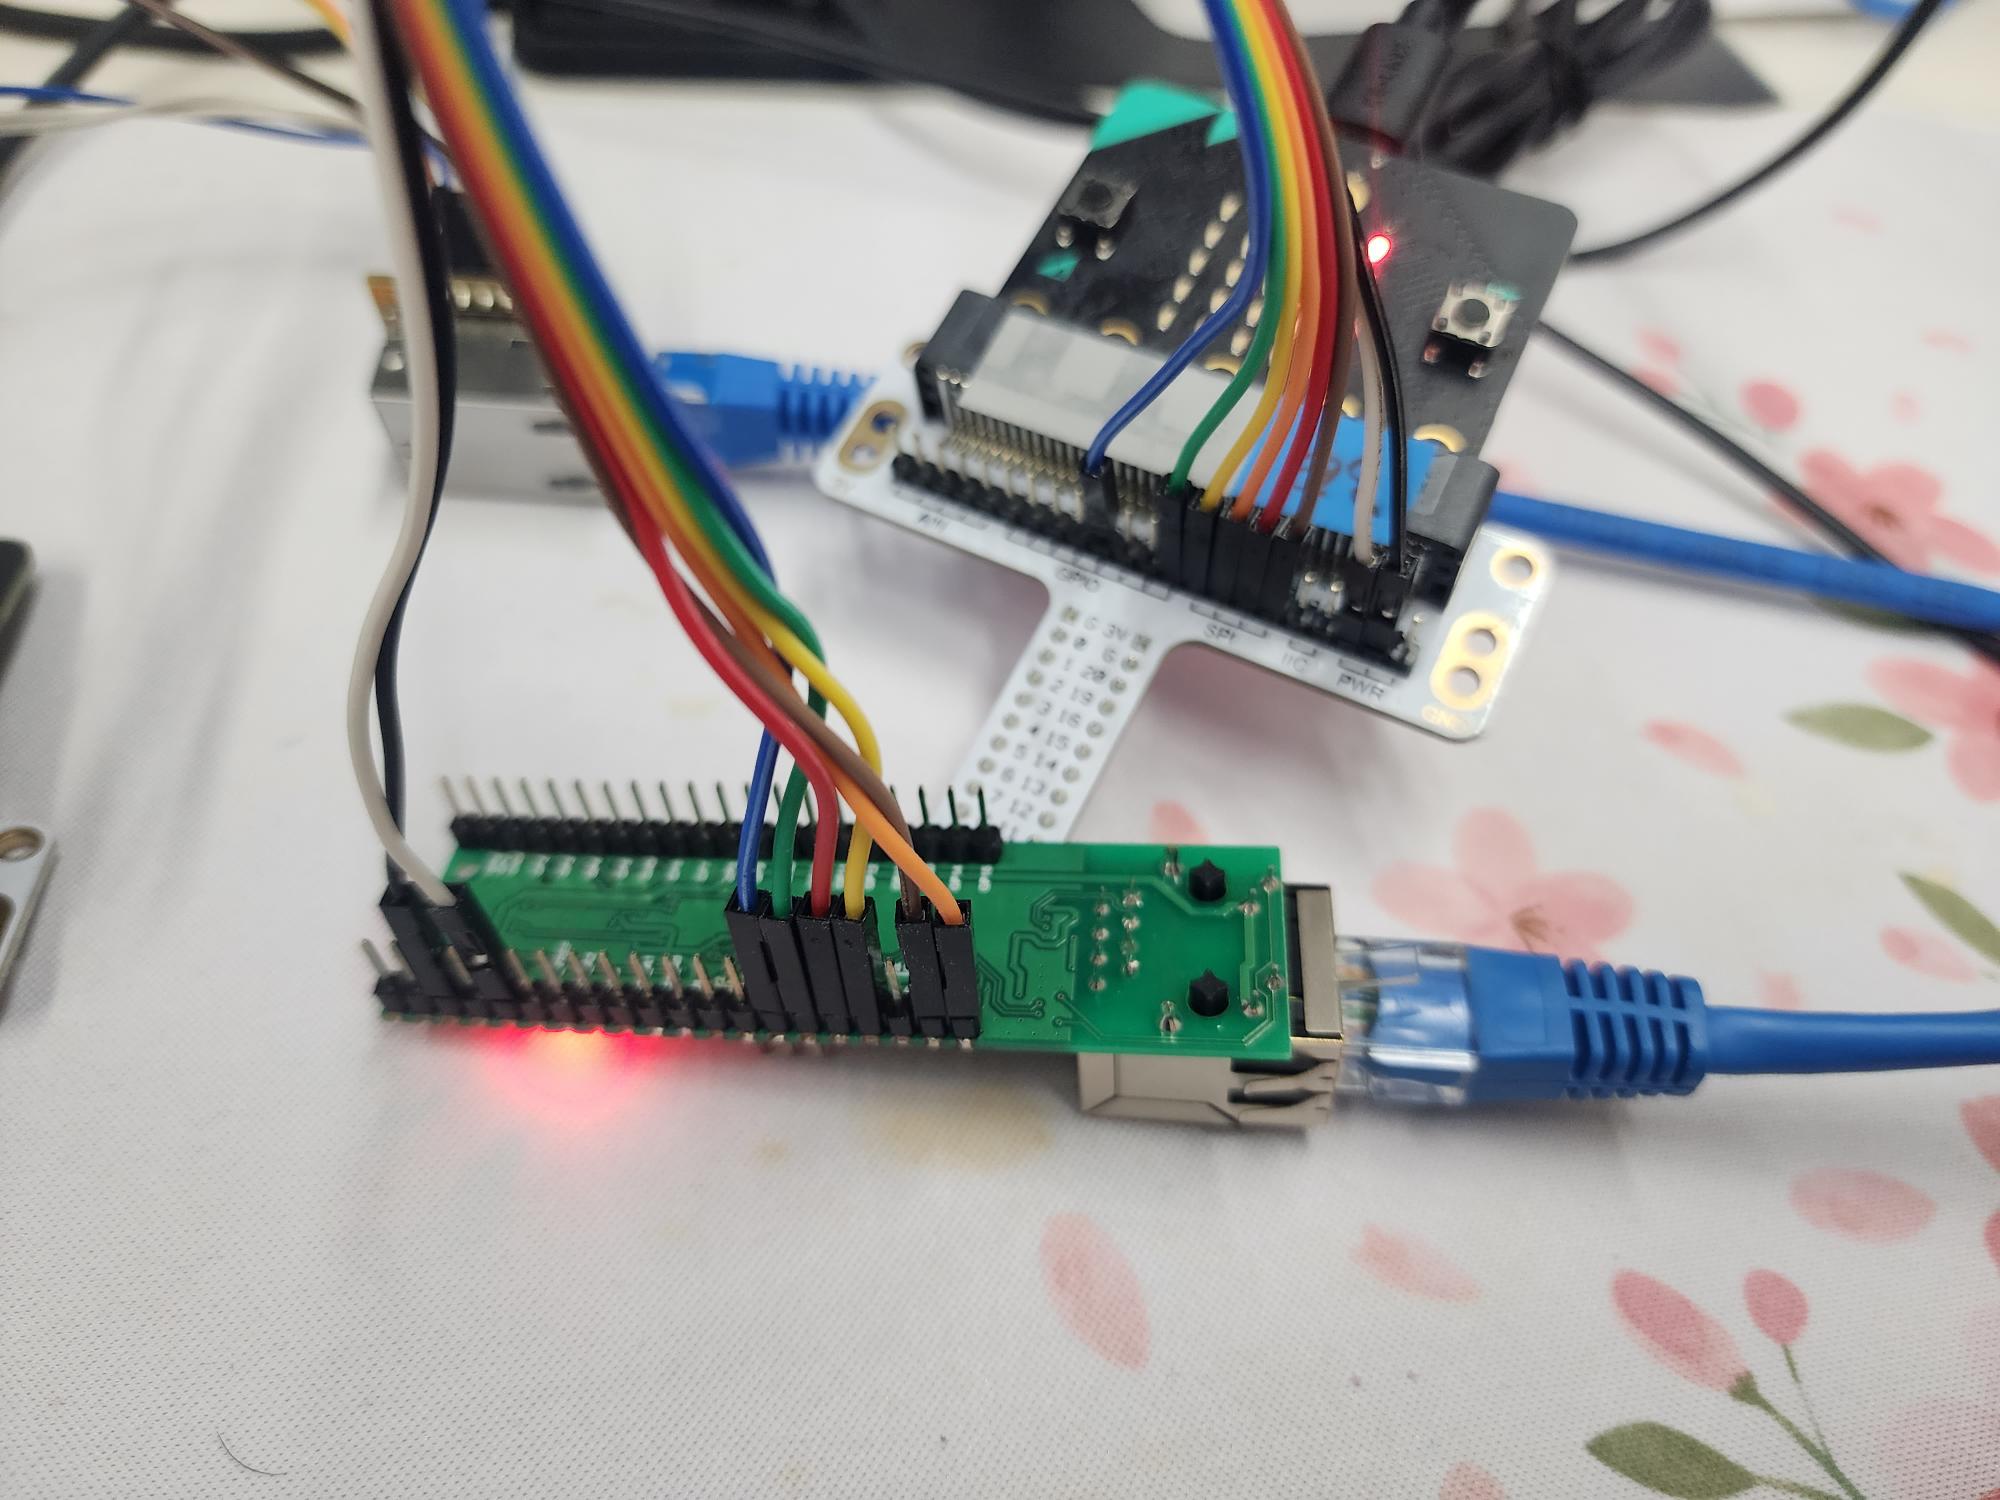
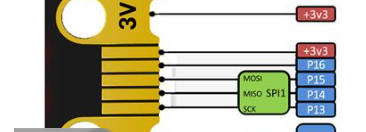
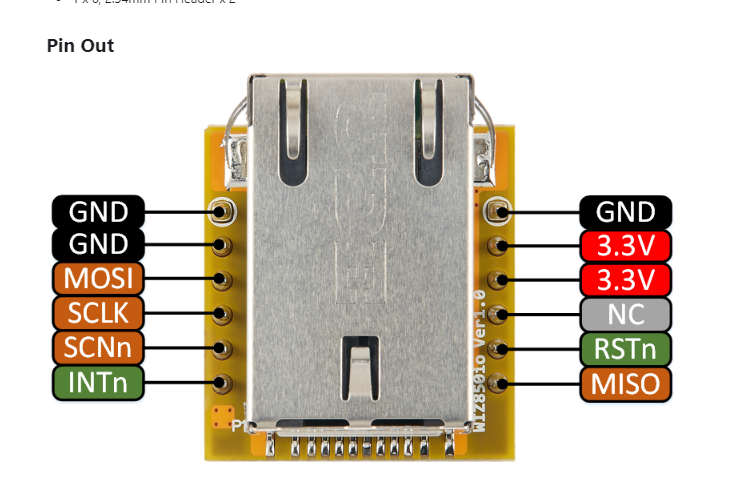
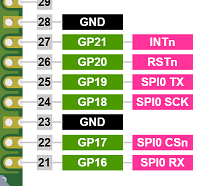
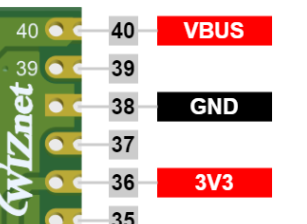
The pinmap is as follows.

Micro:Bit
Wiz850io
Pico Ethernet Hat
SW Setup
FW Upload
The official firmware does not support the use of Ethernet functions. Therefore, please download the custom firmware I have written from the Git link provided below.
https://github.com/wiznetmaker/MicroBit_Ethernet/releases/tag/proto
You can upload the firmware simply by copying the firmware file to the Microbit folder.
Depending on your Windows version, you might need to use the Bootsel button. The method for uploading is described on the official website.
Code
Place different files in each of the two devices.
Do not modify the file names. The file should be named main.py for it to run automatically!
https://github.com/wiznetmaker/MicroBit_Ethernet/tree/main/examples/Projects/MotionSyncNet
For network settings in the code, modify the Device Network informations to suit your environment.
Enter the Device IP, Netmask, Gateway, DNS in that order as parameters in the nic.ifconfig() function below.
* Since this project requires entering a server IP, use a Static IP rather than DHCP.
def w5x00_init():

   nic = network.WIZNET5K()

   nic.active(True)


   nic.ifconfig(('192.168.11.20','255.255.255.0','192.168.11.1','8.8.8.8'))

   print('IP address :', nic.ifconfig())


   while not nic.isconnected():

       sleep(1)
The Display is set as the Server, and the Motion Detector as the Client.
For the Motion Detector, enter the IP of the Display device as the Server IP.
In the main function, input the IP of the Motion Detector device and the port number set on the client as parameters in the s.bind() function.
def main():
    w5x00_init()
    s = socket()

    s.bind(('192.168.11.20', 5000)) #Motion_Detector IP
I based my design on the code provided by Micro:Bit, but it's possible to change the icons based on the motion detected.
Try modifying the Display icon using the Example as a reference.
- Display example: https://python.microbit.org/v/3/reference/display
You can modify the code in Display/main.py as follows.
def display_gesture(gesture_bytes):
    gesture_to_display = {
        "shake": Image.CONFUSED,
        "up": Image.ARROW_N,
        "down": Image.ARROW_S,
        "face up": Image.HAPPY,
        "face down": Image.SAD,
        "left": Image.ARROW_W,
        "right": Image.ARROW_E,
        "freefall": Image.SURPRISED,
        "3g": 3,
        "6g": 6,
        "8g": 8,
    }
I don't like noise, so I didn't use it, but you can add an alarm sound.
- Sound Example: https://python.microbit.org/v/3/reference/sound
Try customizing it in various ways using the basic features of MicroBit.
Once you have finished writing the code, please upload the FW and code to both devices.
I use ThonnyIDE.
Demo
-
MotionSyncNet

-
F/W