!! You can check out the code and details of this project on the site below
The following Python IDE program is required for test, download and install from below links.
Deploying firmware to the device. you can use the below firmware.
If you need a detailed explanation of firmware and Thonny setup, please refer to the video below.
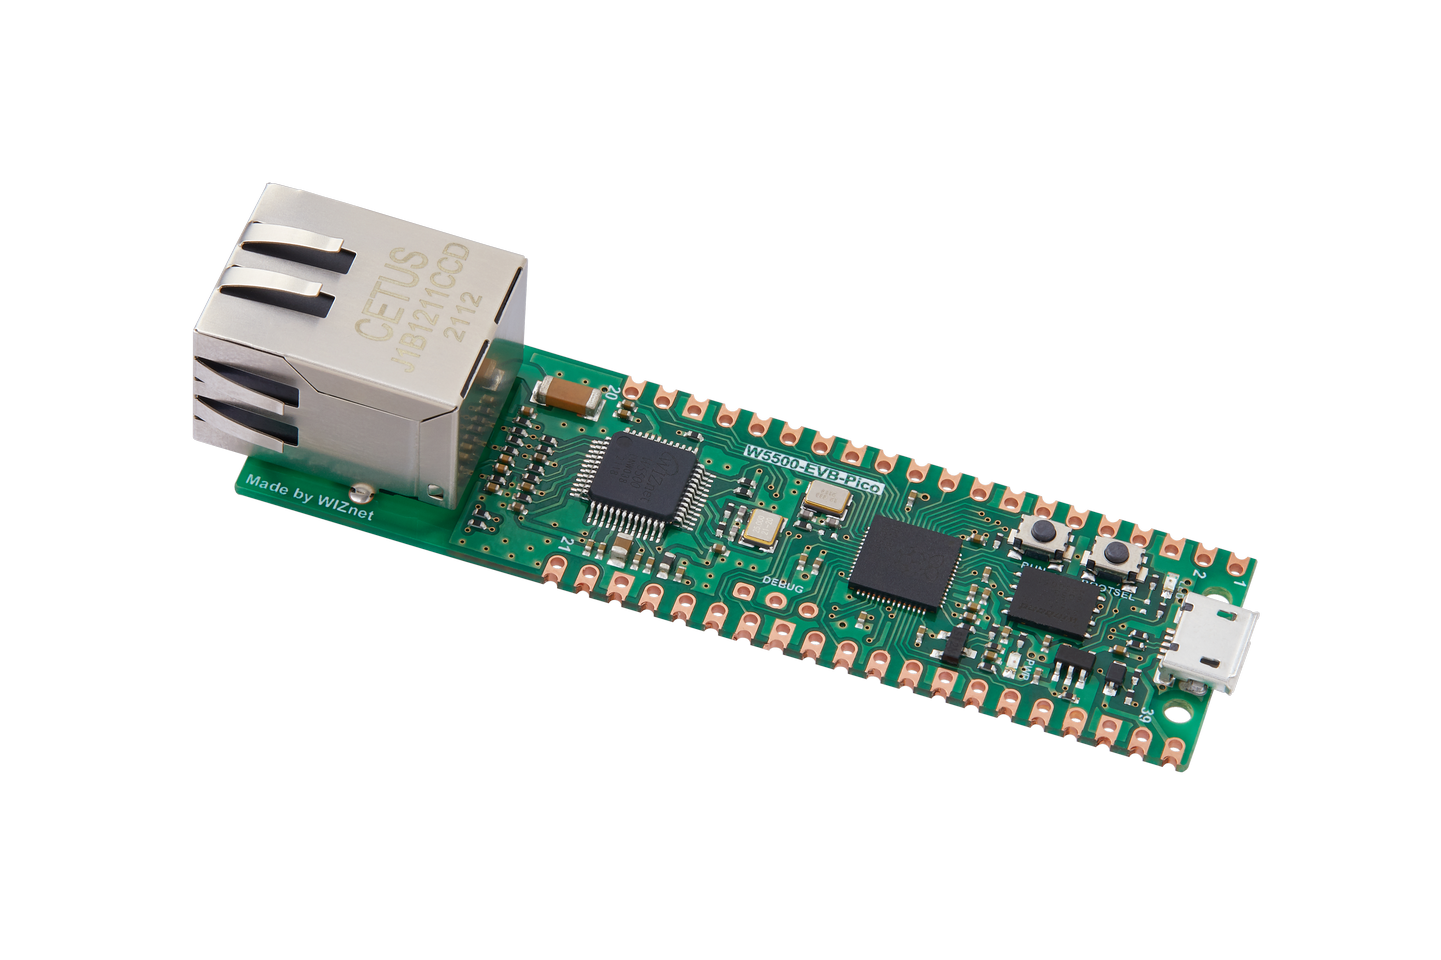
Combine WIZnet Ethernet HAT with Raspberry Pi Pico.
Connect ethernet cable to Ethernet HAT ethernet port.
Connect Raspberry Pi Pico to desktop or laptop using 5 pin micro USB cable.
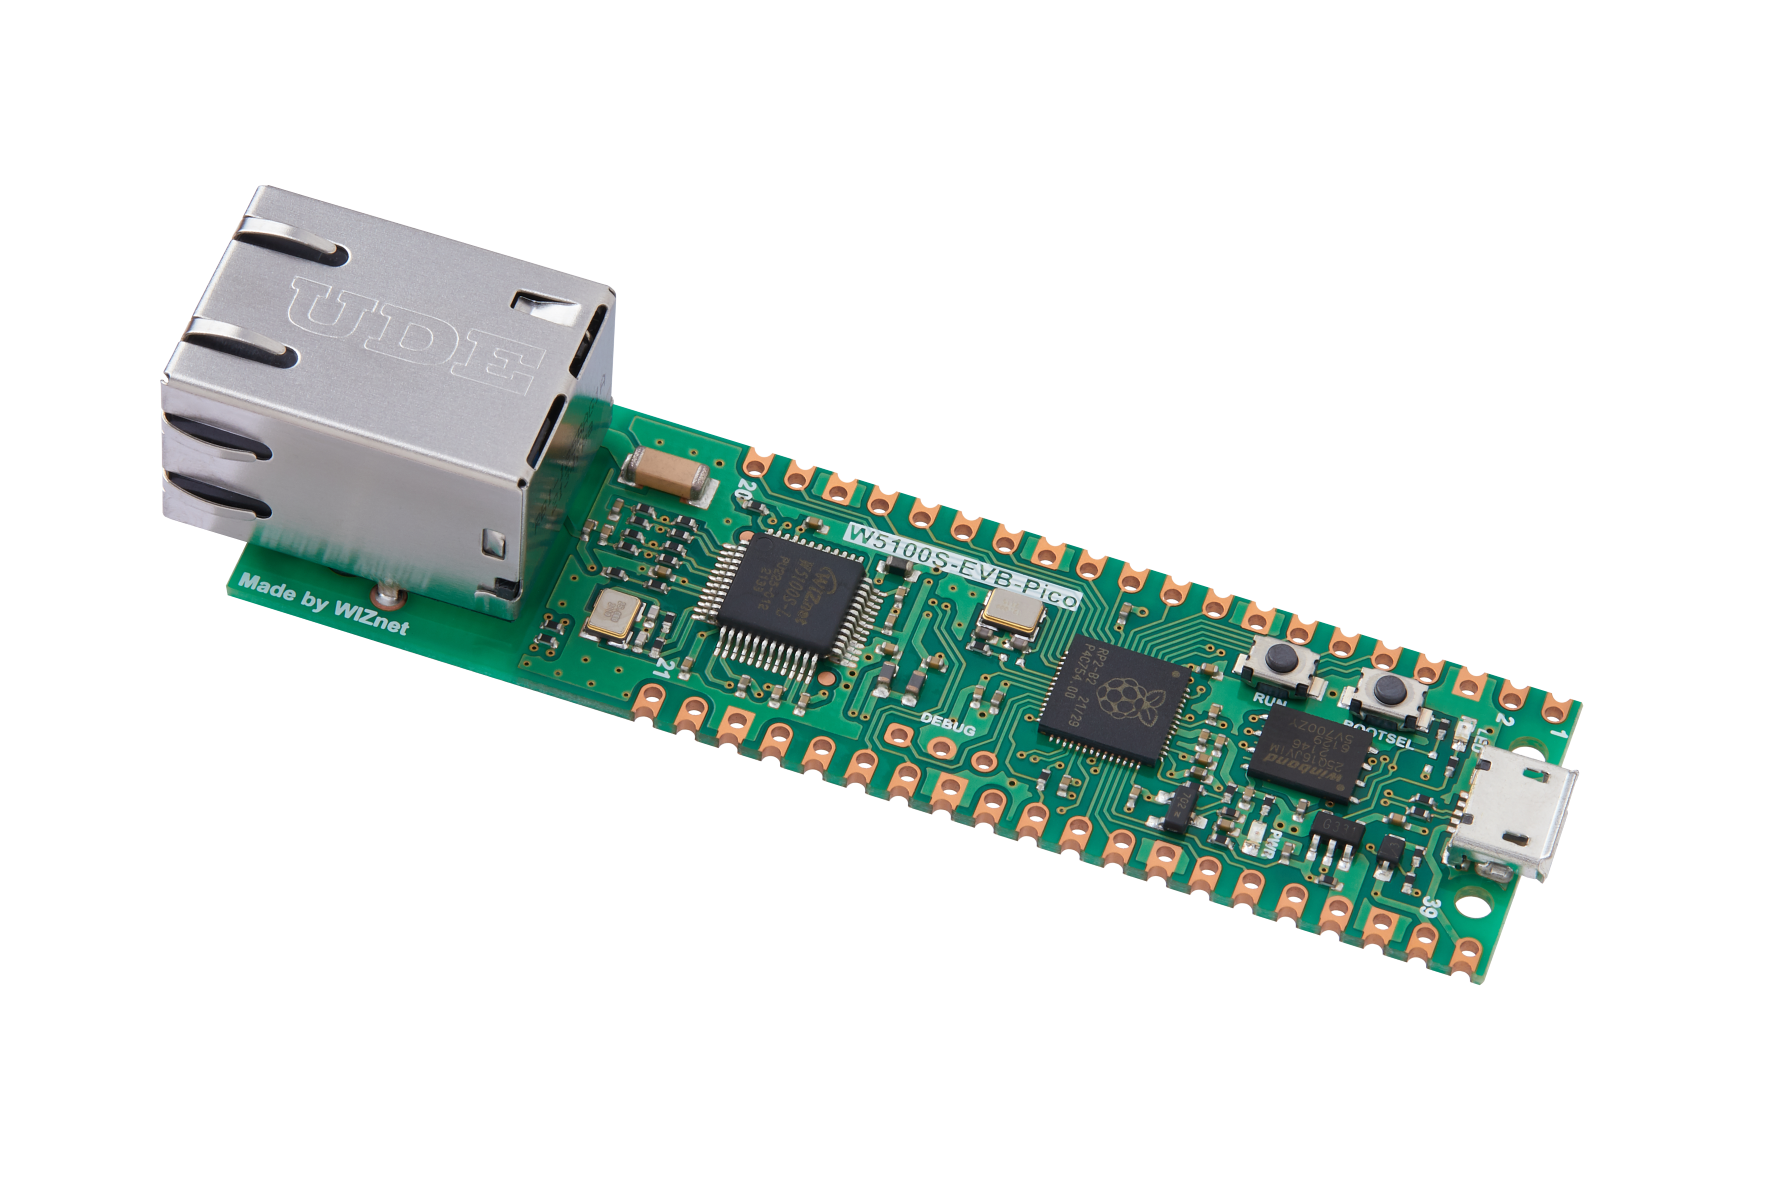
If you use W5100S-EVB-Pico, you can skip '1. Combine...'
To test the Open AI example, minor settings shall be done in code.
Check COMport in Device Manager and then open Thonny Python IDE.
Setup SPI and Reset pin in chat_with_openai.py or send_prompt.py file.
If you are not using the WIZnet PICO Board, please adjust the SPI pin configuration according to your hardware setup.
spi=SPI(0,2_000_000, mosi=Pin(19),miso=Pin(16),sck=Pin(18))
Enter OpenAI information(version, API key) into the chatGPT.py file.
api_key = "insert your API-KEY"
    chatgpt_url = "https://api.openai.com/v1/chat/completions"
    chatgpt_ver= "gpt-3.5-turbo"
The function 'send_prompt_to_chatGPT' sends the prompt to openAI and receives a response from the model. If the response is successful, the generated text is printed serial program.
Enter the prompt as a parameter for the [send_prompt_to_chatGPT] function.
send_prompt_to_chatGPT("Hello")
The function 'chat_with_chatGPT' enables communication with the chatGPT model using the OpenAI API via a serial program. It user enter a message and sends it to OpenAI as a prompt, then prints the response.
The default exit command is ">exit". To modify the exit command, please modify the relevant section in the chatGPT.py file.
end_command= ">exit"


