
Connect to Azure IoT Hub using Micropython on W5100S-EVB-Pico
The process of connecting W5100S-EVB-Pico to Azure IoT Hub by MQTT using Micropython and sending and receiving messages.
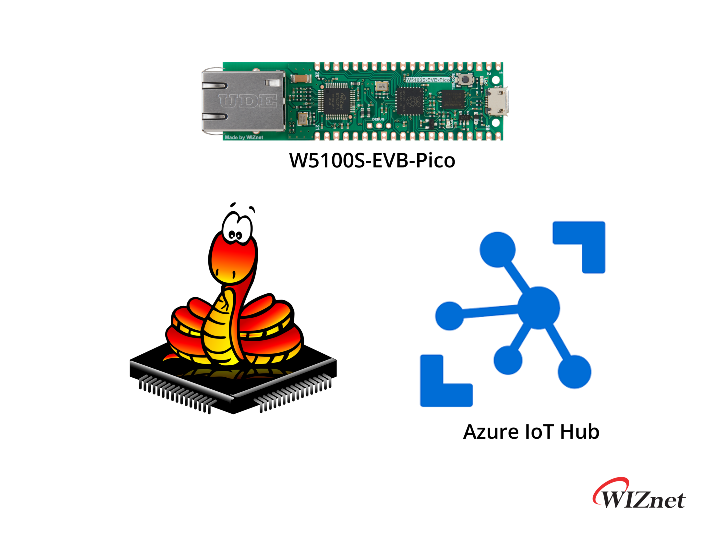

WIZnet - W5100S-EVB-Pico
x 1
microsoft - Microsoft Azure
x 1
micropython - MicroPython
x 1
The process of connecting W5100S-EVB-Pico to Azure IoT Hub by MQTT using Micropython and sending and receiving messages.
I used a SAS Token authentication method for IoT Hub.
Components
H/W
- W5100S-EVB-Pico
- Micro 5pin USB cable
- LAN cable
S/W
- Thonny
RP2040 Micropython Development Environment
Check device information
Telemetry monitoring
C2D transmission
Prepare Azure Resource
Create a Azure IoT Hub
There are various ways to create an Azure IoT Hub, such as the Azure portal, Azure CLI, REST API, etc. In the beginning, we mainly use the method of creating through the Azure portal.
Instructions can be found at the link below.
Micropython Firmware
Build
The build operation used WSL2 (Ubuntu 20.04.4 LTS) environment.
rena@Rena-PC:~$ lsb_release -a
No LSB modules are available.
Distributor ID: Ubuntu
Description:    Ubuntu 20.04.4 LTS
Release:        20.04
Codename:       focal
You can refer to the official documentation of Micropython for information on building the build environment, such as installing tools.
The build process was referenced in the README within the Micropython Repository.
https://github.com/micropython/micropython/tree/master/ports/rp2
Repository clone
Clone the Repository including the submodules and retrieve the submodules.
git clone https://github.com/micropython/micropython.git
cd micropython

git submodule update --init
Build submodules
make -C ports/rp2 submodulesmpy-cross build (MicroPython cross-compiler)
Before building the device firmware, the mpy-cross build must be preceded.
make -C mpy-cross
Build W5100S-EVB-Pico Device Firmware
W5100S_EVB_PICOBuild the firmware using any of the supported devices.
A list of support can be found at Micropython: ports/rp2/boards.
cd ports/rp2
make BOARD=W5100S_EVB_PICO submodules
make BOARD=W5100S_EVB_PICO
This is the final build process. It takes at least a few minutes.

Firmware Upload
Upload the firmware to the device.
Enter Boot Mode
The shape of H/W v1.0 and v1.1 is slightly different, but the board I have is v1.0, so supply power (USB cable) while pressing the BOOTSEL button of the board, it enters Boot mode.
In the case of v1.1, if you press the RUN button while holding down the BOOTSEL button, it enters the boot mode and there is no need to re-apply the power.
Firmware Upload
The built firmware is located in the following path.
micropython/ports/rp2/build-W5100S_EVB_PICO

Upload the file firmware.uf2.
Now the work for firmware is done.
Next, install umqtt library, write some code with Thonny, send/receive data to IoT Hub and monitor data using Azure IoT Explorer.
Write device code
The example code was referenced in the IoTMQTTSample code in Azure-Samples.
[2022.10.14] As the master branch was updated, the Micropython directory was removed. Edit with commit branch address
Get device information from IoT Explorer
You need to get the information to connect to Azure IoT Hub and write it in your code.
See the Azure IoT Hub Guide: Communicate with your IoT hub using the MQTT protocol for what each field requires when communicating with MQTT
In the case of the example code, the data below should be obtained.
- Device Connection String
- Device SAS Token
If you look at the code, it is implemented to parse the Connection String to obtain the Host name, Device Id, and Shared access key values.
There are several ways to get information, and among them, I used IoT Explorer.
Set up IoT Explorer IoT Hub connection
- Reference: https://docs.microsoft.com/en-us/azure/iot-fundamentals/howto-use-iot-explorer#connect-to-your-hub
First, need to grant access so that IoT Explorer can access IoT Hub.
Among the default permissions, iothubowner permission including all permissions will be granted to IoT Explorer.
Click iothubonwer, click the button to the right of the Primary connection string, copy the value, and then paste it into the window that appears when you click Add connection in IoT Explorer and save.

If you set up this setting only once in the beginning, you can perform most of the tasks for IoT Hub and devices in the tool.
After creating the device, get the information value as shown in the figure.
Device creation

Copy Connection String

SAS Token Creation and Copy

Device Source code
I uploaded the device code to the link below.
The following contents have been added and modified in the original example code.
- W5100S Network Connection Settings
- Modification of telemetry message transmission: String -> JSON string
Without changing to JSON, it is difficult to identify the data in IoT Explorer.
Install libraries
Install the library in the Thonny environment.
After selecting Tools - Manage packages from the top menu, enter umqtt and search.

Among the found packages, install umqtt.simple and umqtt.robust in order.


If the installation is successful, when you click umqtt in the list on the left, the installed packages are displayed as follows.

Execution and monitoring
Telemetry
connecting
Publishing
Sending message 0
Sending message 1
Sending message 2
Sending message 3
Sending message 4
Sending message 5
Sending message 6
Sending message 7
Sending message 8
Sending message 9
Sending message 10
waiting for message
Received message
b'message from IoT Hub'

C2D message


Reference
-
Micropython main code
