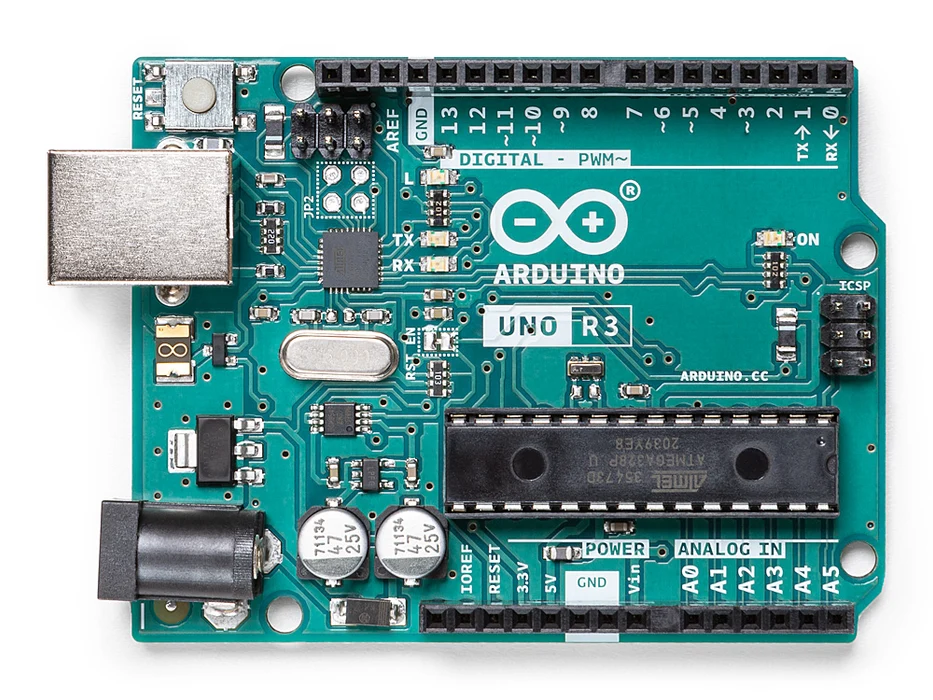
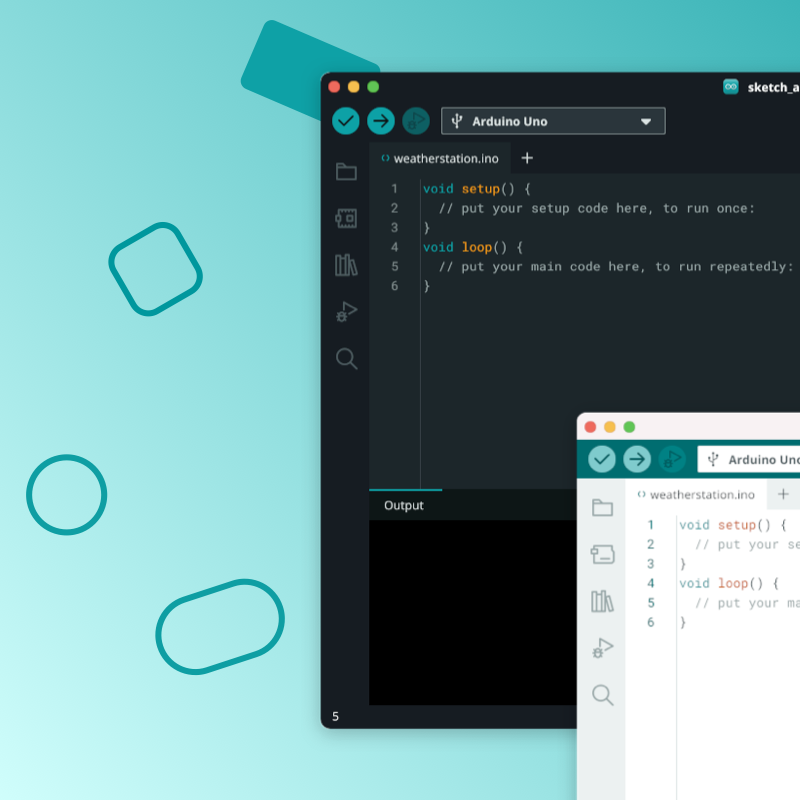
In this tutorial, we will expand a little more of the content related to creating a??Web Server??using?Arduino?UNO?together with?Ethernet Shield W5100?.??Previously, we learned to develop an interface using selection boxes, through which, it became possible to activate and deactivate relays (and consequently loads that could not be activated directly by?Arduino UNO?).?This time, we will demonstrate how to create an?HTML?interface?to control the color of light emitted by an?RGB LED?using?PWM?.It is important, for the full understanding of this tutorial, that the reader has read all the previous tutorials:
Before we start with the explanation of the code, we would like to emphasize that we will only present the details of the topics not covered in the previous tutorials, as this way it will be easier to focus on the parts referring to the updates made to the already existing program, therefore, if If you have any questions about any part of the program that is not explained at this time, we suggest that you access our aforementioned materials.
? Defining the prerequisites for the code to work
Initially, we must include two libraries in the code so that it could work correctly.?The?SPI.h?library??,??responsible for the communication of the shield modules with the??Arduino UNO??using the?SPI??protocol??and the?Ethernet.h??library??,??which acts by enabling the connection of the set, at first, with a local network.After including the mentioned libraries, we must define a??MAC address??(remember that this can be anything, as long as it is unique in your local network) and an??IP address??(this must be a valid and available address within your local network ).?In addition, we must create the object that will be responsible for representing the??Web Server??in the code (here, we call this??server?) and relate it to port 80.
Within the?setup()?function?, we must determine the operating mode of the digital pins that will be used (these will play the role of digital outputs) .?In addition, we start the connection with the local network through the?Ethernet.begin()??function??(passing as parameter the??MAC??and??IP addresses??defined previously) and we also start the??Web Server??through the sentence??server.begin()??(remember that??server??is the object created to represent the??Web Server??in code).
void setup ()
{
Ethernet. begin ( mac, ip ) ;
server. begin () ;
pinMode ( 5,OUTPUT ) ;
pinMode ( 6,OUTPUT ) ;
pinMode ( 9,OUTPUT ) ;
}
? Understanding browser requests
In previous tutorials, we highlighted the basic operating mechanism of codes aimed at creating Web Servers, which starts through a standard procedure, which in turn, consists of using a variable to obtain character by character of the request made by the browser until this is completely received by??Arduino UNO?, so that only from this point does the process of creating the page begin.In our last tutorial, we presented how the GET method works, however, in this material we will make use of the POST method.?Like the GET method, the POST method also serves to send information from forms to our Web Server. The first step to carry out this procedure in the declaration of a local variable, of type String (this will serve to store the request made by the browser).
void loop ()
{
String req_str;
.
.
.
Then, we create the process in which this variable will be filled with the request characters.
if ( client. available ())
{
char c = client. read () ;
req_str += c;
.
.
.
According to the previous tutorial, we could learn that, in a GET request, the request parameter, that is, the element coming from the system's user interaction with a form, is located in the first line of the request in question.?However, in the case of a POST request, this same element is registered only at the end of it.?So, what we are going to do here is just read the entire request (or until the apparent end, as if it were a GET request) and then we will force the program to read a few more characters from it (these will contain the request parameter).The first step to be performed after reading the entire request is to initialize the variables that will contain the values ??to be used in the generation of the PWM signal for each component.
if ( c == 'n' && currentLineIsBlank )
{
int pwm_range_5 = 0;
int pwm_range_6 = 0;
int pwm_range_9 = 0;
.
.
.
? Submitting the page header
After we have read the entire request, we must first send the default header to the browser.
client. println ( "HTTP/1.1 200 OK" ) ;
client. println ( "Content-Type: text/html" ) ;
client. println ( "Connection: close" ) ;
client. println () ;
? Developing our page
To start developing our page, we first use the sentence?<!DOCTYPE html>?to inform the browser that we are using version 5 of the HTML language.
client. println ( "<!DOCTYPE html>" ) ;
As we know, between the?<head>?and?</head>?tags?, we make some settings relevant to the functioning of the page we are developing.?The aforementioned settings correspond to the determination of the character set that should be used by the browser (to display accented characters) and the inclusion of a title in the browser's page tab.
client. println ( "<h2>RGB LED Components</h2>" ) ;
.
.
.
Then, we use the?startsWith()?function?to check if the request that arrived is of type POST (this function checks if the first word of the content stored in the variable req_str is the POST text fragment).?After verifying that the request is indeed of type POST, we declare a variable of type string and store in it 26 characters (existing after the apparent completion of the request).?These 26 characters are just the?POST?request parameter?, so it will look like this:?PWM5=xyz&PWM6=xyz&PWM9=xyz.
if ( req_str. startsWith ( "POST" ))
{
String POST_content = "" ;
for ( int i=0;i < 26;i++ )
{
c = customer. read () ;
content_POST += c;
}
Afterwards, we fill the pwm_range5/6/9 variables with the existing values ??in the content_POST variable.?This process consists of breaking the entire string into several pieces and associating each one of them with the respective variable, which in turn, will be used in the generation of the PWM signal.?(The explanation of how the functions used work can be found in our previous tutorials)
Finally, we generate the PWM signals and clear the variable content_POST.
analogWrite ( 5,pwm_range_5 ) ;
analogWrite ( 6,pwm_range_6 ) ;
analogWrite ( 9,pwm_range_9 ) ;
content_POST = "" ;
? Creating the form
At this point, we added the form and explained that the method that will be used to send data in the request made by the browser will be POST.?Between the?<form>?and?</form>?tags?, we will create the ranges, that is, the elements that will be used in the command interface on the browser page.
Ranges must be included in the code via the <input> tag (as well as checkboxes).?In this tag we use some attributes, these are:
type: Determines the type of input element
value: Value where the cursor should stay
name: Name associated with the element
min/max: Extreme values ??of the scale
step: step
Final considerations
In this tutorial, we demonstrate how you can go about creating an RGB LED drive system to be used??through a web browser.?For this, we use an??Arduino UNO??together with an??Ethernet Shield W5100.
We sent a verification link to your address. Open it to activate your account, then log in.
Accounts from this email provider are reviewed by an administrator after verification. Approval usually takes one business day.
Already have an account?
Reset your password
Enter your email address. If it belongs to an account, we'll send a link to set a new password. Members who joined before the site update use this to set their password.
Check your email
If an account uses that address, we sent a link to set a new password. The link works once and expires in 30 minutes.