Controlling Light Bulb in Your Room Using MC-38 Wired Magnetic Door Sensor
Controlling Light Bulb in Your Room Using MC-38 Wired Magnetic Door Sensor
3
Components
Hardware components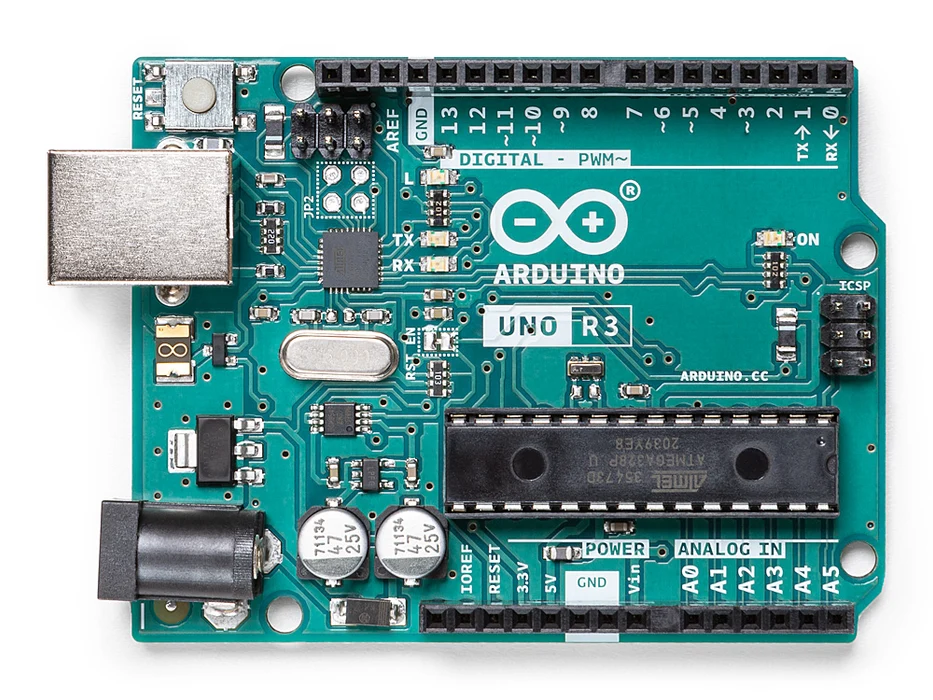
Arduino - Arduino UNO
x 1


WIZnet - W5100 ethernet shield
x 1

blynk - Blynk
x 1
Arduino - Arduino IDE
x 1
Project description
Other Components are:
- MC-38 Wired Magnetic Door sensor
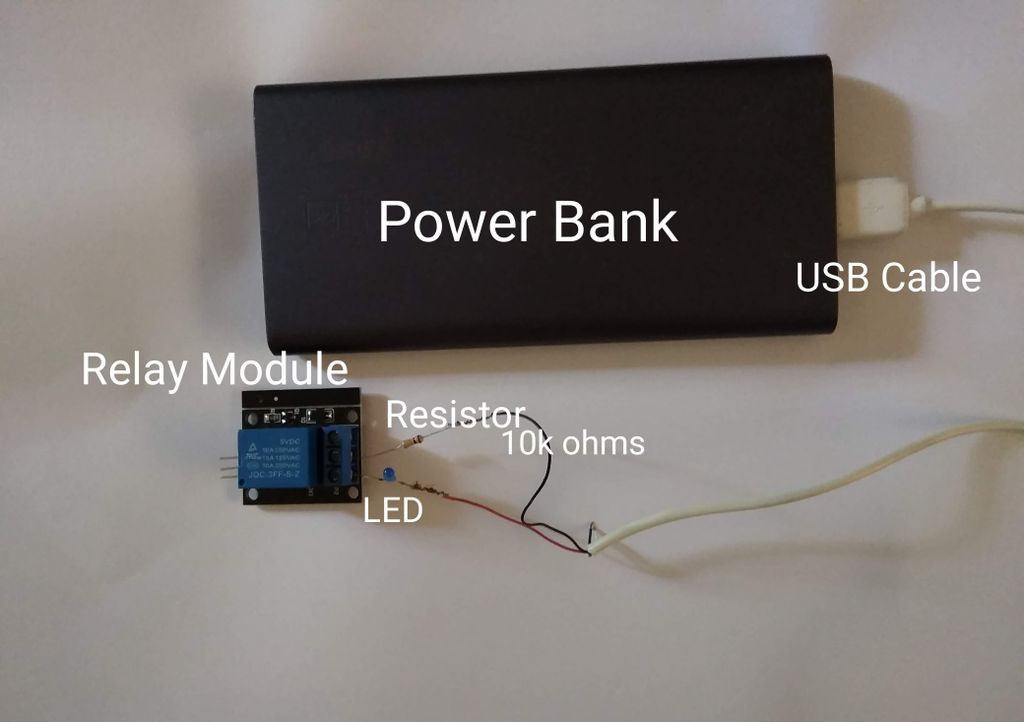
- Relay module - 5V (1 channel)
- Light Emitting Diodes (LEDs) - 03 (Green, Red and Any other colour you like)
- Resistors - 03 (one 10kΩ and two 220Ω)
- Solderless Breadboard
- Jumper cables (3 male-to-female and 5 male-to-male)
- Screwdriver
- Power Bank - 10000mAh
- USB Cable
- Ethernet Cable
Hardware setup:


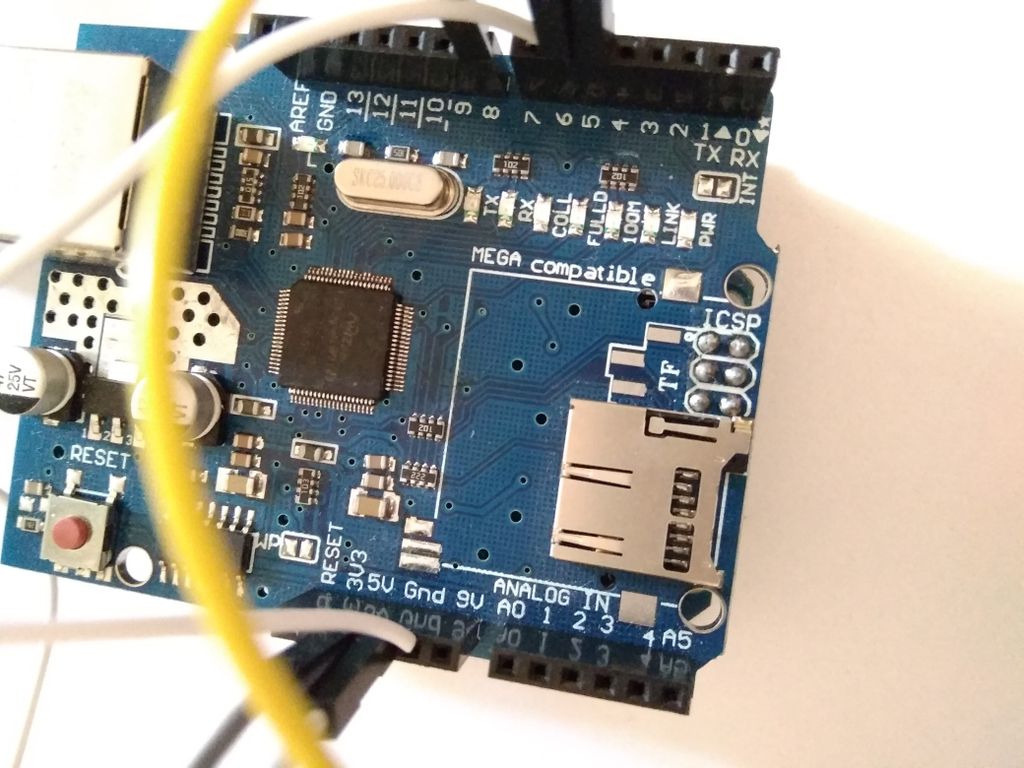
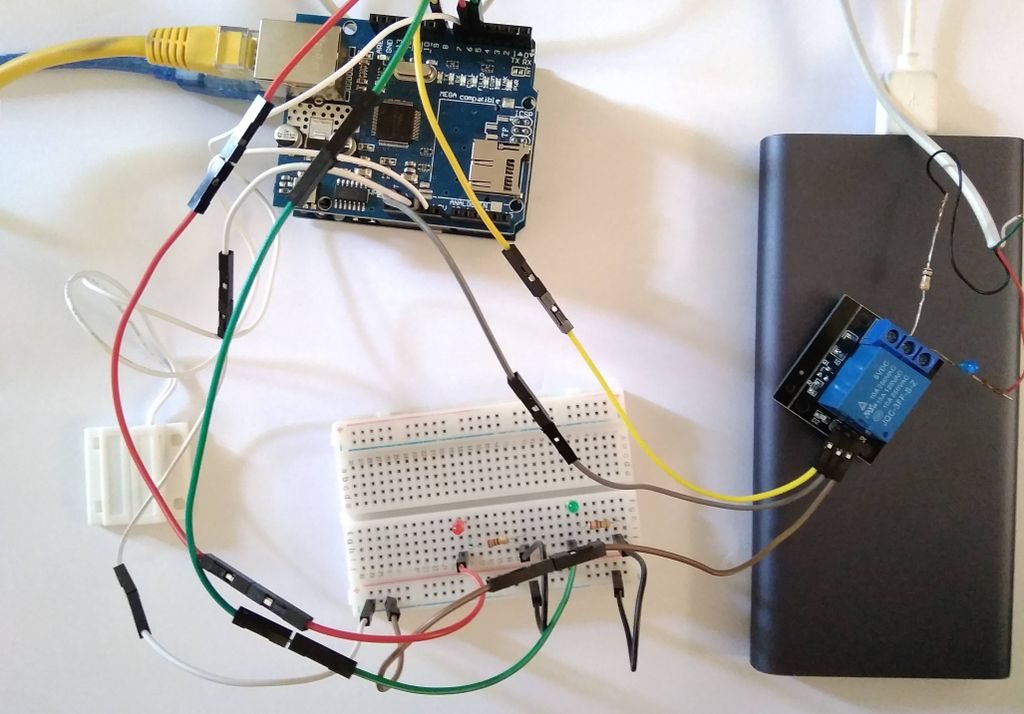
Connections
Relay Module:
To Arduino
- S ----> D8 (Digital I/O pin)
- + ----> 5V
- - ----> GND (Ground)
To LED (Prototype): This is a model to show how the connection with mains supply and bulb works.
Assumptions:
- Mains Supply - Power Bank (10000mAh)
- Bulb - LED
Magnetic Door Sensor:
One wire is connected to GND and the other connects to D7.
LED:
The anode (+, long leg) of the LED is connected to the digital I/O pin while the cathode (-, short leg) of the LED is connected to the Ground.
- Red - D6
- Green - D5
Software setup:
Step 01: Installing Arduino IDE
You will need Arduino IDE software to program your Arduino Uno.
Step 02: Installing the Blynk app by Blynk Inc.
In this project, I have used Blynk app to arm/disarm my magnetic door sensor.
Testing Your Model
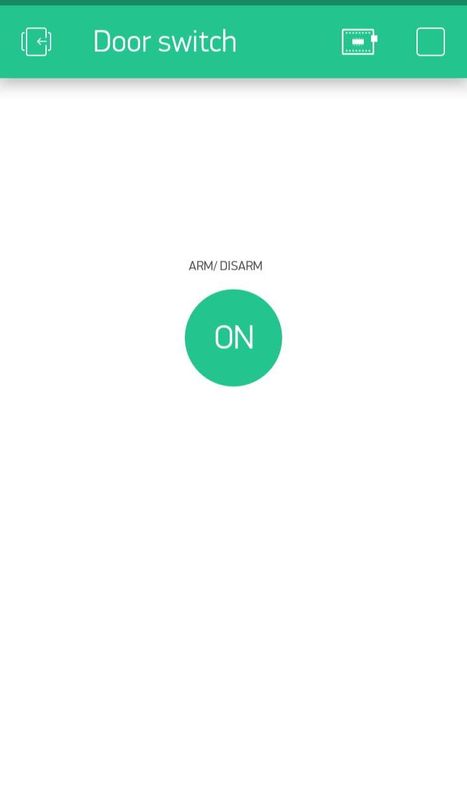
To connect your Arduino UNo to Blynk application, tap on the play button and shortly afterwards you will see the message, 'Device is connected'.
How my model works:
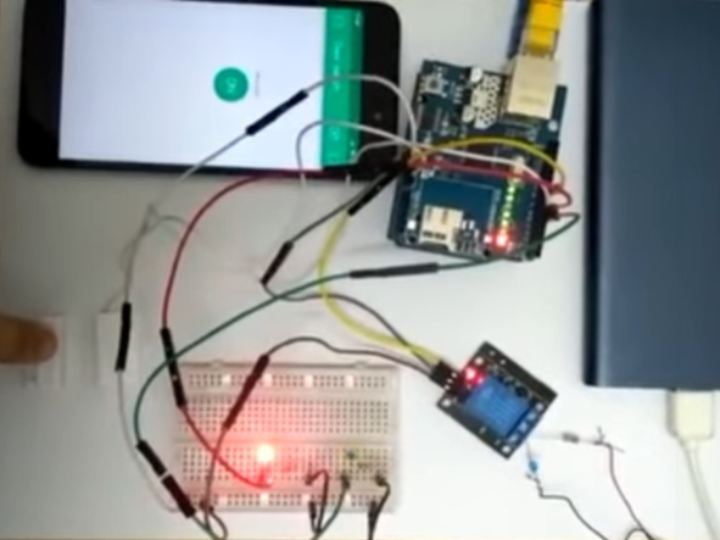
- The Green LED will be lit up as long as the Arduino Uno R3 is connected to a power supply even when the magnetic door sensor is disarmed.
- When the magnetic door sensor is armed, and the door is opened, the Red LED lights up and the relay module is switched on.
- When the magnetic door sensor is disarmed while the door is opened, both the Red LED and Relay module are switched off, and the Green LED lights up.

