Kraken Jr. IoT App Tutorial Part 2 - Capturing Cid and Auth Code
Registering a new Controller in your Kraken Jr. App is easy. However it will require you a couple of steps to accomplish it.
2
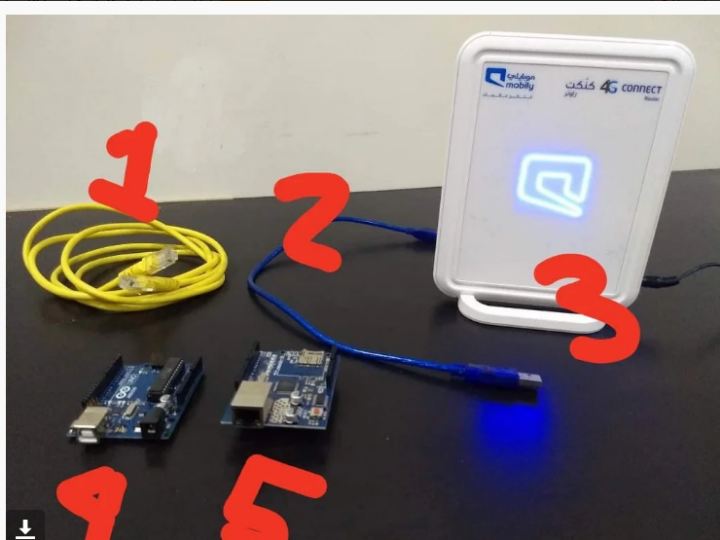
Components
Hardware components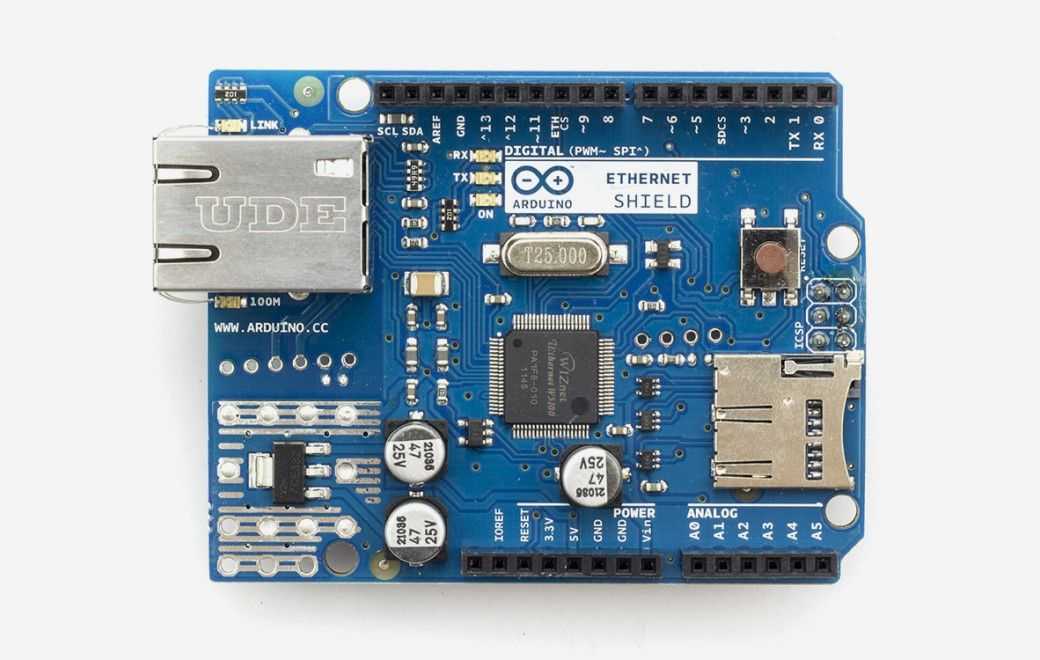
Arduino - Arduino Ethernet Shield
x 1

Project description
Supplies
- ARDUINO IDE
- XLOADER
- KRAKEN JR. HEX FILE
- ROUTER/MODEM (WITH INTERNET CONNECTION)
- LAN CABLE
- LAPTOP/PC
- USB CABLE
Step 1: Prepare the Boards


Fix Arduino Uno + Ethernet Shield into one as shown
Add TipAsk QuestionCommentDownload
Step 2: Upload the Hex File
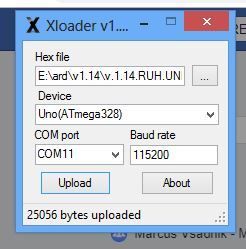

- Connect the USB cable to the Arduino board and the other end to the LAPTOP/PC
- Start the Xloader
- Click the three dots to select the Hex File you downloaded
- Select Uno(ATmega328)
- Select the correct detected COM port
- Leave the default Baud Rate
- After verifying all settings are correct you can start the upload by clicking the Upload Button
Step 3: Enable Network Connection


After uploading the Hex File
Connect the Ethernet Shield to your Internet Modem or Switch using the LAN cable
Please Note! This whole process requires Internet connection.
Add TipAsk QuestionCommentDownload
Step 4: Capturing the CiD and Auth Code
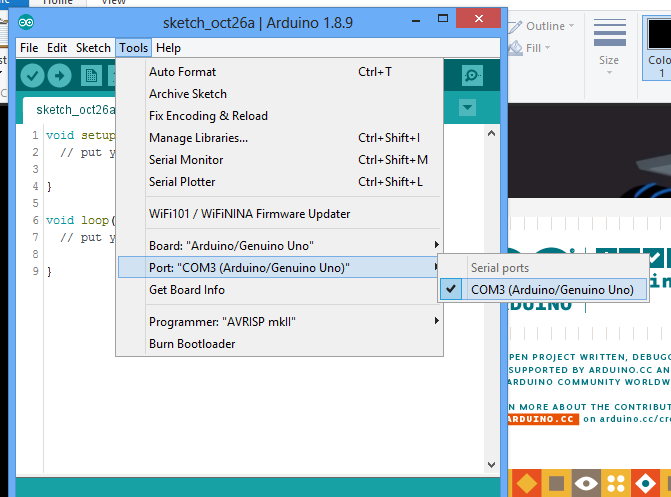


After connecting your boards to the Internet
- Open now your Arduino IDE (don't run anything just do the next step)
- Select the Correct COM port
- Click the Serial Monitor
- And wait for the Serial Messages
- Once the CiD and Auth Code values shows this means that you have successfully connected to our server
- Next step is to Take Note of the CiD and Auth Code values, we will be using these to register it to our Kraken Jr. App
