[AIoT] Zoom-like Virtual Background using ArduCam + W5100S-EVB-Pico
Zoom-like Virtual Background using ArduCam + W5100S-EVB-Pico

Introduction
Zoom meeting is one of the most used video conferencing solutions. The Zoom meeting supports a virtual background function to replace the background in real-time because of entertainment, security and many other reasons.
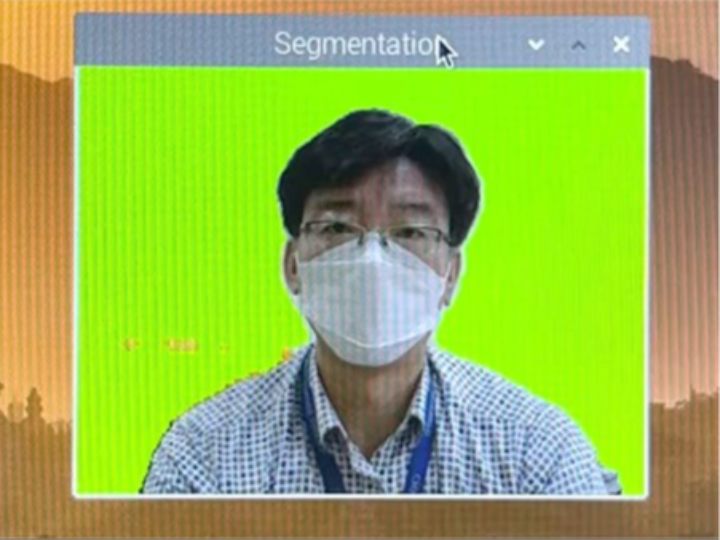
This project implements Zoom-like virtual background to remove the background of a speaker in a video. It uses a human segmentation AI to extract a human body from video frames and display the human body after merging with a virtual background.
Hardware Components
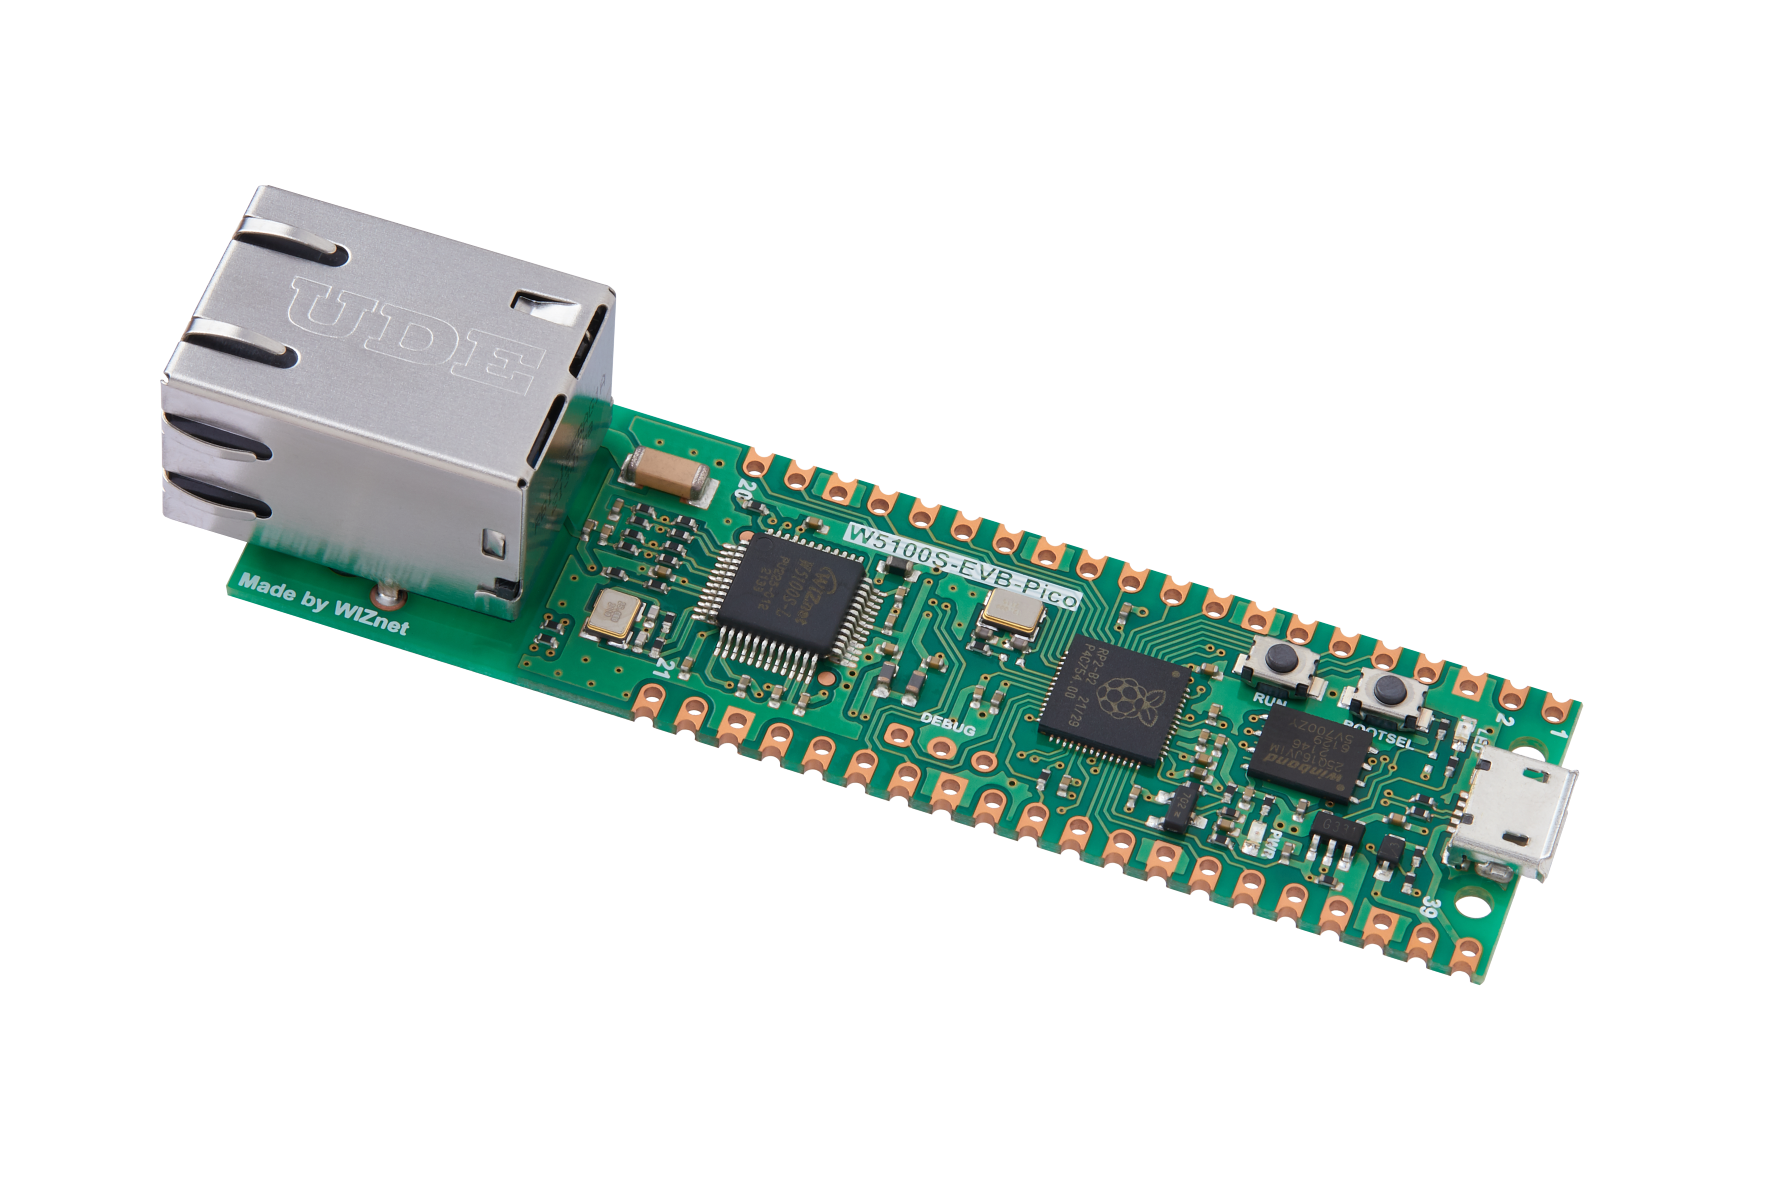
WIZnet W5100S-EVB-Pico × 1
ArduCam Mini 2MP Plus - SPI Camera Module × 1
Raspberry Pi 4 Model B × 1
Solderless Breadboard Half Size × 1
Jumper wires (generic) × 1
Software apps and online services
Arduino IDE
Python
Google Mediapipe
OpenCV
Implementation
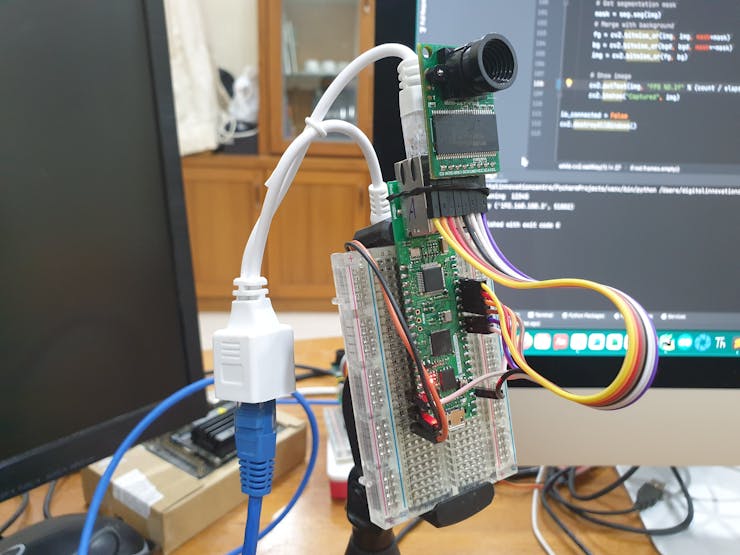
This project uses the TCP/IP socket-based video streaming implementation using the WIZnet W5100S-EVB-Pico board and ArduCam Mini 2MP Plus - SPI Camera Module to capture the video frames.

WIZnet W5100S-EVB-Pico board and ArduCam Mini 2MP Plus - SPI Camera Module
This project uses the Selfie-Segmentation of Google Mediapipe on Raspberry Pi 4 Model B. It shows 8 to 9 frames per second (FPS) for human segmentation.
Setting up the Raspberry Pi:
Installing Mediapipe and OpenCV
Open a terminal in RPi and execute the following commands
Note: Raspbian OS – Debian 10 Buster is required for the setting up of the Mediapipe.
Installing Mediapipe in Raspberry Pi
Use the below command to install MediaPipe on Raspberry Pi 4:
sudo pip3 install mediapipe-rpi4
If you don’t have Pi 4 then you can install it on Raspberry Pi 3 using the below command:
sudo pip3 install mediapipe-rpi3
Installing OpenCV on Raspberry Pi
Before installing the OpenCV and other dependencies, the Raspberry Pi needs to be fully updated. Use the below commands to update the Raspberry Pi to its latest version:
sudo apt-get update
Then use the following commands to install the required dependencies for installing OpenCV on your Raspberry Pi.
sudo apt-get install libhdf5-dev -y
sudo apt-get install libhdf5-serial-dev –y
sudo apt-get install libatlas-base-dev –y
sudo apt-get install libjasper-dev -y
sudo apt-get install libqtgui4 –y
sudo apt-get install libqt4-test –y
After that, use the below command to install the OpenCV on your Raspberry Pi.
pip3 install opencv-contrib-python==4.1.0.25
Source code explanation
This project has two parts for video capturing & sending and receiving.
Video capturing and sending part
ArduCamEthernet/ArduCamEthernet.ino is an Arduino code for video capturing and sending. It initiates ArduCam driver and establishes a TCP/IP socket connection to the video receiver part. The IP address of the video receiver should be changed accordingly.
ArduCamEthernet/ArduCAM_OV2640.cpp is a driver for ArduCam Mini 2MP Plus - SPI Camera Module. SPI port and I2C port are configurable so that any SPIs and I2Cs can be used. Currently, the resolution of the captured image is 320x240 (WxH) pixels. To minimize the size of an image, the JPEG is used as a default format.
Video receiving and virtual background part
Python-CamReceiver/CamReceiver.py is a Python code for video receiving through a TCP/IP socket connection. It initiates a thread to receive captured images in the background. The TCP/IP socket listener waits for a connection request from the video sender. Once the connection is established, it receives JPEG images and converts them into OpenCV images. And. then it stores them into a frame queue.
Python-CamReceiver/SelfieSegMP.py is a Python code for human segmentation using the Google Mediapipe Deep-Learning model.
Python-CamReceiver/CamServerSeg2.py is a Python code for the virtual background. It imports CamReceiver.py and SelfieSegMP.py to receive TCP/IP socket-based video frames from WIZnet W5100S-EVB-Pico and ArduCam Mini 2MP Plus - SPI Camera Module. It extracts a human body from the received video frame and changes the background.

