DIY Open Display Tags Guide: Creating Wireless Low-Power eInk Displays with XIAO ePaper Kit
In this guide, you’ll learn how to create your own DIY Open Display e‑ink tags using the XIAO EN04 ePaper DIY Kit.
0
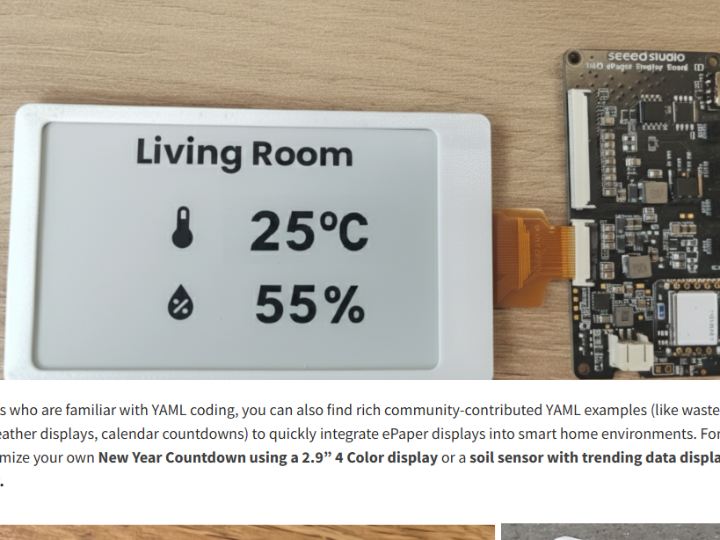
Project description
Your OpenDisplay e-ink tags (XIAO EN04 / nRF52840) are BLE devices in the Home Assistant ecosystem. The role of the XIAO (ESP32-S3) + W5500 Ethernet Adapter is to act as a Bluetooth Proxy node: it listens for nearby BLE advertisements (and can also do active connections when needed) and forwards that Bluetooth traffic back to Home Assistant over wired Ethernet. In a maker setup, this is the clean “glue” that lets you keep the tags battery-powered and wireless, while still making the infrastructure stable and low-maintenance (no Wi-Fi roaming issues, fewer RF dead spots, easy placement via Ethernet/PoE).
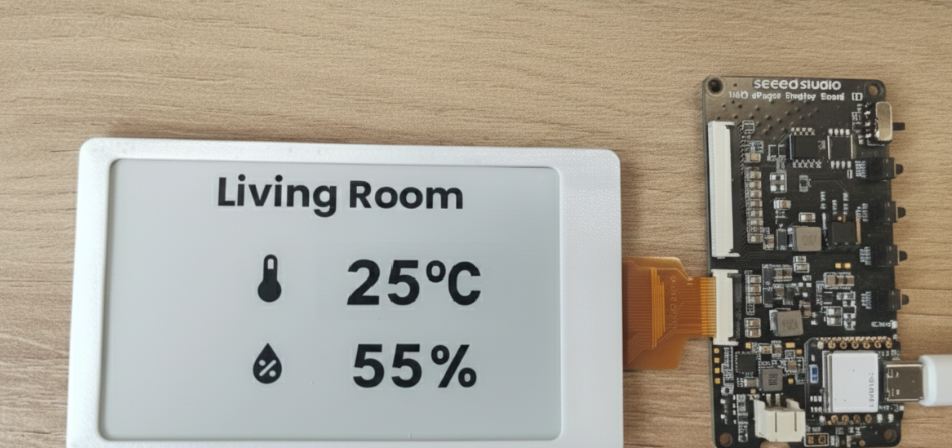
Step-by-Step: Create Your ePaper Display Tag with OpenDisplay
List of Prerequisites:
- Home Assistant
- Bluetooth Proxy (which we recommended to use an XIAO W5500 Ethernet Adapter V1.2)
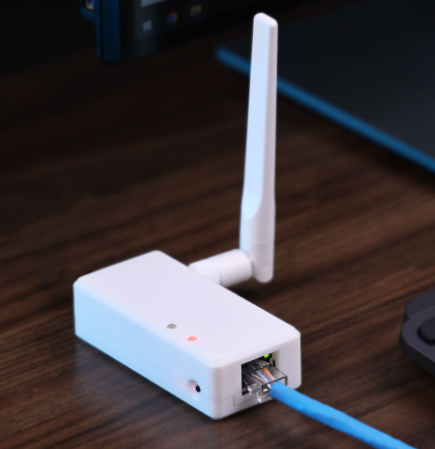
XIAO W5500 Ethernet Adapter V1.2
Step 1: Hardware Assembly
Connect your chosen ePaper display to the EN04 board and attach the battery.
Step 2: Install OpenDisplay firmware Using OpenDisplay Web Flasher
Simply drag and drop the firmware file to your board via the web-based installer.
Step 3: Configure OpenDisplay
Use the web interface to configure your device settings.
Step 4: Upload Content via Web Display Tool
Upload images or simple text directly through the web tool to preview on your display.
Step 5: Home Assistant Integration
Integrate your custom ePaper display with Home Assistant for automation and dynamic content updates following the steps below:
- Install the OpenDisplay HA Integration through HACS/manual
- The display should be auto-discovered when in BLE range
- Click add
Step 6: Create Custom Apps in Home Assistant (Optional)
Explore advanced customization by writing your own apps using Drawcustom such as a Christmas Countdown and a Living Room Temperature and Humidity Monitoring.
📖 For a detailed step-by-step tutorial, follow this comprehensive guide by Tomasz from the OpenDisplay community.
Q1. What is the DIY Open Display Tags project?
A: The DIY Open Display Tags project demonstrates how to build low-power wireless E-Ink display tags using the Seeed Studio XIAO ePaper Kit. It focuses on battery-powered operation, wireless content updates, and open-source firmware, making it suitable for electronic shelf labels, information tags, and small digital signage applications.
Q2. Why is an E-Ink display used in this project?
A: E-Ink displays consume power only when the screen content changes and require almost no energy to maintain an image. This makes them ideal for battery-powered display tags that must remain readable at all times while minimizing power consumption, enabling operation for months or even years on a single battery.
Q3. What role does the XIAO ePaper Kit play?
A: The XIAO ePaper Kit integrates a compact MCU, wireless connectivity, power management, and E-Ink display support into a single platform. This allows developers to quickly prototype low-power wireless display nodes without complex hardware design, focusing instead on firmware logic and display update workflows.
Q4. What wireless communication method is used?
A: The project primarily uses Wi-Fi-based wireless communication to update display content. Wi-Fi is easy to deploy using existing infrastructure, but power consumption and connection stability must be managed carefully. To maintain low power usage, display updates are typically performed at long intervals rather than continuously.
Q5. Can this project be expanded with wired Ethernet using WIZnet products?
A: Yes. For commercial or industrial environments, the design can be extended using WIZnet W5500-based Ethernet connectivity. Replacing Wi-Fi with wired Ethernet improves network stability, reduces packet loss, and enables centralized control of large numbers of display tags in environments such as retail stores, factories, hospitals, or warehouses.
Q6. Is this project suitable for beginners?
A: Developers with basic experience in Arduino or microcontroller programming can follow this project. Key learning areas include E-Ink display control and low-power operation. Because the project is based on a ready-to-use kit, it is also well-suited for maker education and prototyping without requiring advanced hardware design skills.
