[AIoT]Smart Mood Light with ChatGPT + VoiceRecognition + TTS
"AIoT Smart Mood Light: ChatGPT for interpretation , Voice Recognition for commands, TTS for responses, Colors and tech in perfect harmony,"

Software Apps and online services
[AIoT]Smart Mood Light with ChatGPT + VoiceRecognition + TTS
TABLE OF CONTENTS:
- INTRODUCTION
- HARDWARE USED
- SOFTWARE USED
- PROGRAMMING LANGUAGES
- APPS AND THE ONLINE SERVICES USED
- WORKFLOW
- SETTING UP WITH PYTHON
- CIRCUIT DIAGRAM & CONNECTION DIAGRAM
- SAMPLE UTTERENCES
- OUTPUT
- CONCLUSION
1.INTRODUCTION:
Welcome to the future of lighting innovation – the smart Lighting System! With its cutting-edge technology and seamless integration of voice commands, our system brings your dreams to life with a mere utterance. Imagine a world Where your words can paint your surrounding with vibrant hues and mesmerizing ambiance. With our Smart lighting System, you become the conductor, orchestrating a symphony of colours to suit your mood and preferences. Where Your voices becomes the pallete , and the lights are your canvas.
Introducing “Smart mood lighting system”. This cutting-edge system integrates voice commands and AI -driven text analysis to create a truly personalized and immersive experience. Basically with the Python programming we will give voice commands Which then communicates with the ChatGPT to accurately interpret then on basis of the interpretation it will extract the desired colour code and will take desired actions.
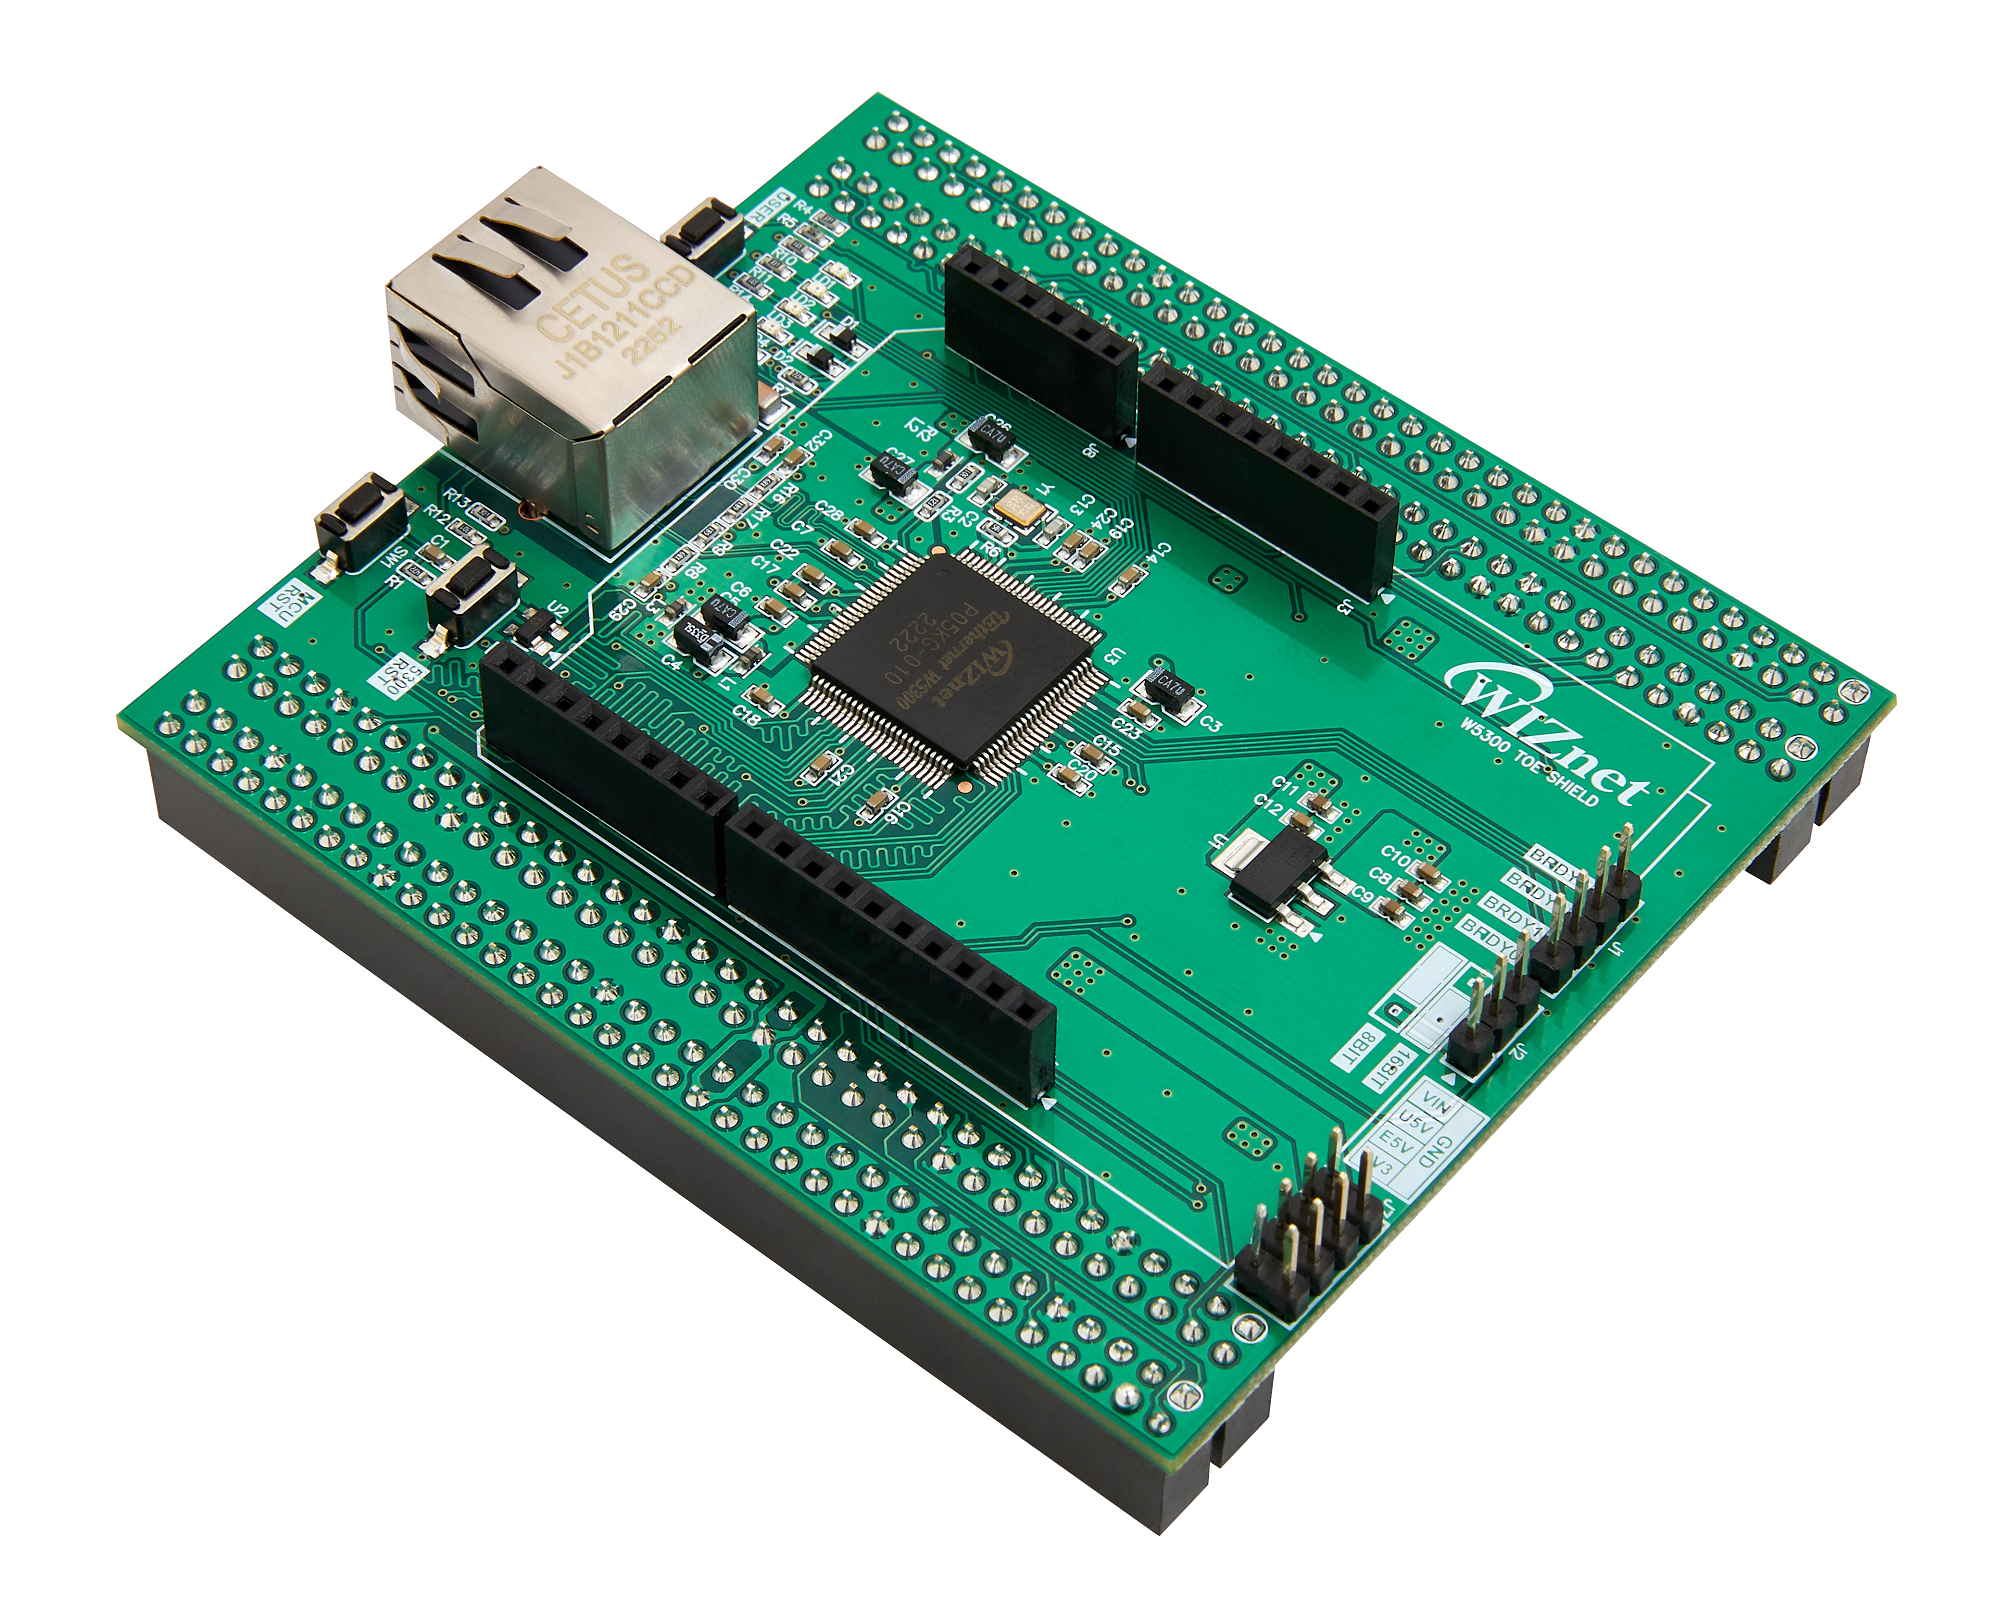
To implement this project, Wiznet-W5300 TOE SHIELD board which, is connected to the LED RGB, With the board we can give the commands to LED to give the particular ambiance of the room.
2. HARDWARE USED:
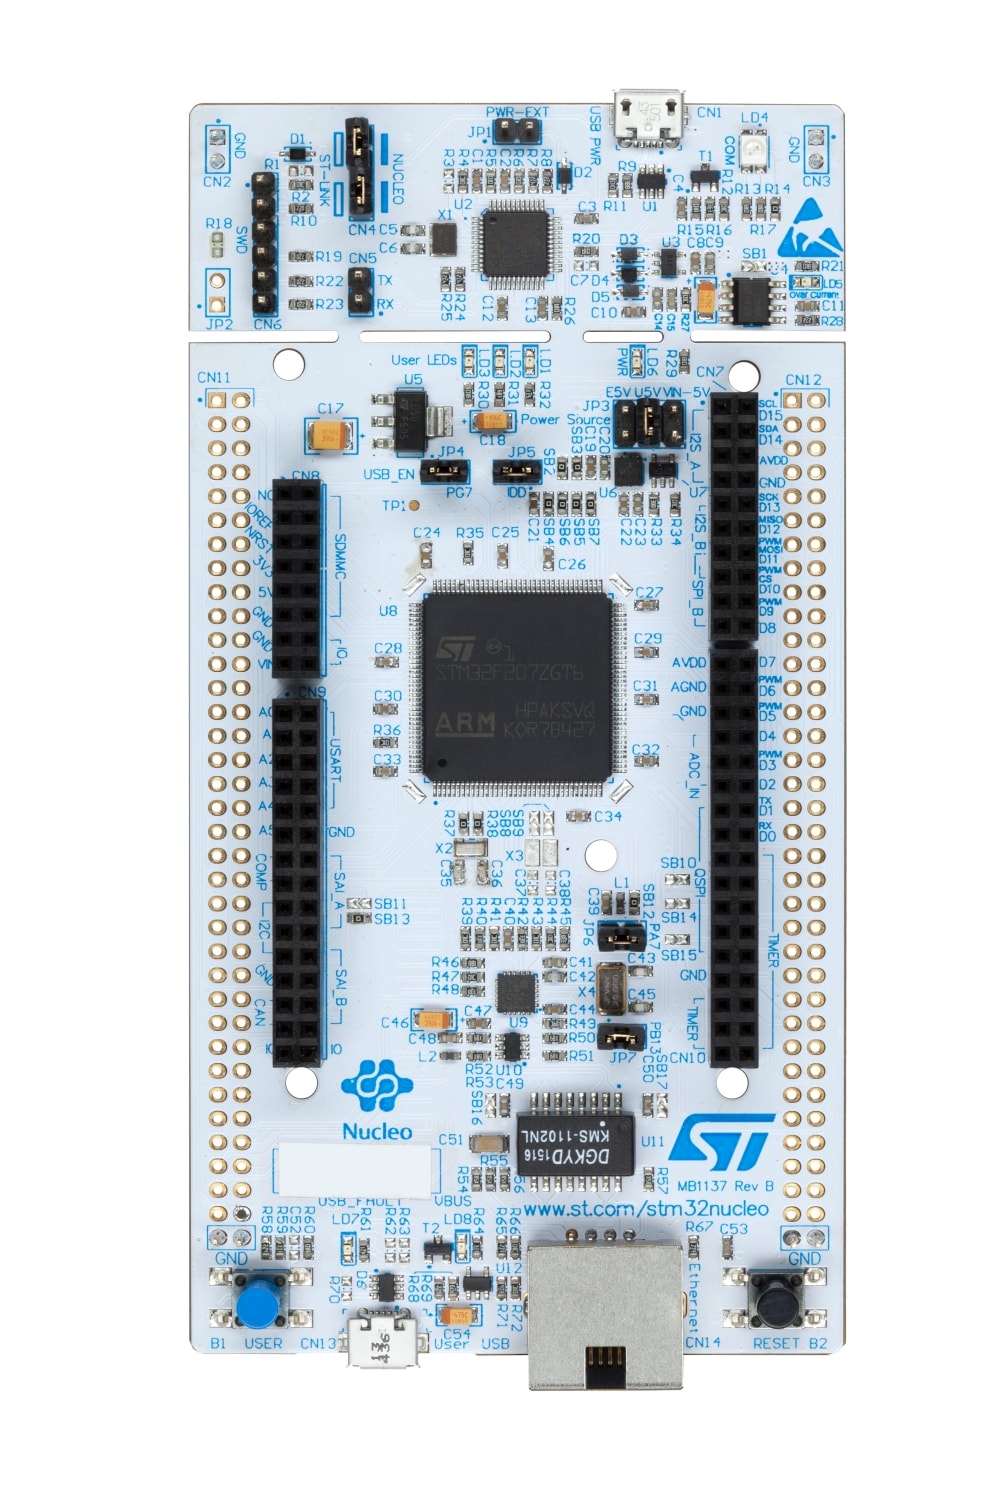
- WIZnet-W5300 TOE SHIELD + STM32-F429ZI board
- LED RGB
- JUMPER WIRES
- BREAD BOARD
- MICROPHONE
3. SOFTWARES AND SERVICES USED
- MQTT SERVICE
- ARDUINO IDE
- PYCHARM
4. PROGRAMMING LANGUAGES
- C++
- PYTHON
5. APPS AND THE ONLINE SERVICES USED:
- MQTT-BROKER
- OPENAI
MQTT-BROKER:
MQTT acts as a broker, facilitating communication between Python and Arduino. Python sends RGB values via MQTT to the Arduino. Arduino, configured to receive MQTT messages, interprets the RGB data and controls the connected RGB LED accordingly. This enables seamless remote control of the RGB LED’s colour using MQTT protocol, bridging Python and Arduino for effective IoT applications.
OPEN AI :
OpenAI provides web services that allow developers to access and utilize its advanced natural language processing models, like the GPT-3. These web services enable applications to integrate powerful language capabilities, such as text generation, language translation, sentiment analysis, and more. Developers can make API calls to interact with these models over the internet, enabling the integration of OpenAI's technology into a wide range of software applications and services.
Setting up with OpenAi :
- https://openai.com/ Go to this link
2. Go to menu and then Sign up (Create a new account) or otherwise just Log in
3. Then you can see above three options go to API for generating the API Key.
4. Then go to à Personal à view API Keys
6. WORKFLOW
The workflow of this project “Smart Mood light” for turning on different colour on the basis of your desires command where you just gives the names of the shades you want on the basis of your mood and sometimes you just need explain the view and it will interpret the colour from that pharse and turn on the coloured LED, All the you don’t need say turn on for turning on the light.
- Voice Input: The Systems Starts by receiving voice input from the user. User can provide commands like “I want cherry blossoms view” or simply describe a colour or view they desire. Also Need add the Special Word “Chat” to make the command recognise.
- Speech -to -text Conversion: The voice input is converted into text using a Speech Recognition library in Python.So This process ensures that system can work with textual data for further analysis.
- Text analysis: Once the voice command is converted into text, the System will go to ChatGPT inside this where the text analysis will happen through- GPT-3.5 model And give the desire command. This components identifies keywords, colours, and phrases related to views or moods mentioned by the user.
- Colour interpretation: Based on the analyzed text, the system interprets the desired colour or view. For instance, if the user says “Cherry blossoms view”, the system recognizes the associated pink colour.
- Colour Mapping: The interpreted colour is then mapped to specific RGB values or colour codes used by the LED lighting system. This mapping ensures that the system can accurately represent the desired colours using the available LEDs.
- LED Control: The system sends the mapped colour information to the LED control module (WIZnet board), which then activates the corresponding LEDs to emit the desired colour. There is no need for user to explicitly say “turn on the light” since the system automatically interprets the commands.
- Feedback: The system provides feedback to the user, confirming the successful interpretation and activation of the desired color. This feedback can be in the form of a voice response or visual indicators.
- Continuous Listening: The Smart Lighting System continuously listens for new voice commands, allowing users to change colors or views on-the-fly by providing new input.
By combining voice recognition, text analysis, colour interpretation, and LED control, the smart Lighting System ensures a seamless and personalized experience, making it a truly innovative and intuitive way to interact with lighting in your living space.
FLOW CHART:
7. SETTING UP USING PYTHON:
Setting up with MQTT:
import paho.mqtt.client as mqtt
paho.mqtt.client: This library provides a client implementation for MQTT (Message Queuing Telemetry Transport), a lightweight messaging protocol widely used in the Internet of Things (IoT) domain for communication between devices. It allows you to connect to an MQTT broker and publish messages to topics or subscribe to topics to receive messages. It's commonly used for real-time data transmission in IoT applications.
Installation: To install the paho-mqtt library, you can use pip, the Python package manager. Open your terminal or command prompt and run the following command:
pip install paho-mqtt
Setting up with OPENAI:
import openai
openai: This library provides a Python interface for the OpenAI API, allowing you to interact with various natural language processing models and services provided by OpenAI. With this library, you can access powerful language models like GPT-3 to perform tasks such as text generation, language translation, question-answering, and more.
Installation: To install the openai library, you can use pip as well. Run the following command in your terminal or command prompt:
pip install openai
Code:
import openaiThis is the code for using Open Ai with python with the API key I will set up with python. Then
Setting Up with Recogniser:
import speech_recognition as sr
This library provides an easy-to-use interface to work with various speech recognition APIs. It allows you to convert spoken language into text and supports multiple speech recognition engines, such as Google Web Speech API, Microsoft Bing Voice Recognition, and more.
Installation: To install the speech_recognition library, you can use pip:
pip install SpeechRecognition
Setting up with TTS:
import pyttsx3
This library is a text-to-speech (TTS) engine that allows you to convert text into speech. It's useful for applications where you want your computer or device to speak out information to the user.
Installation: To install the pyttsx3 library, you can use pip:
pip install pyttsx3
Another two libraries are used here threading, re. “threading” -- Threads are particularly useful when you want to perform tasks simultaneously without blocking the main program's execution. This can improve the responsiveness of your application, especially for I/O-bound tasks.
“re” -- This library is part of Python's standard library and provides support for regular expressions. Regular expressions are a powerful tool for pattern matching and text manipulation. The re library allows you to search, find, and replace specific patterns within strings.
8. CIRCUIT DIAGRAM & CONNECTION DIAGRAM
CIRCUIT CONNECTION:
LED RGB has 4 pins R (red pin), Common anode, G (green pin), B (blue pin) which is connected with W5100s-EVB-pico board
- Red pin is connected with A0
- VCC is connected with 5V
- Green pin is connected with D14
- Blue pin is connected with D15
CONNECTION DIAGRAM:
8. SAMPLE UTTERANCES:
I have tested the below given utterances for opening and closing and it was working fine. More phrases can be possible:
Turning on:
- Chat Turn on the light
- Chat I can’t see anything
- Chat I want to look
- Make it bright
- Chat Make me see
- Chat Turn on
Turning on (colour):
- Chat I want to see cherry blossom’s view
- Chat Make it greenery
- Chat I want to see forest view
- Chat Please make it sunset like
- Chat can I have purple sky like view
- Chat Turn on magenta
- Chat Let’s have a party
Turning off:
- Chat I want darkness
- Chat Turn off
- Chat I want to sleep
- Chat I want it to be dark
- Chat Let there be darkness
EXAMPLES:
You said: Chat turn On Magenta AI Response: Turn on magenta light | |
You said: Chat Can I have cherry blossom’s view AI Response: Turn on pink light
| |
You said: Chat can I see midnight view AI Response: Turn on light midnight blue
| |
You said: Chat Make it lime green AI Response: Turn on light lime green
| |
You said: Chat can I have a sunset view AI Response: Turn on the orange light
|
9. OUTPUT:
Video Link : https://youtu.be/zpPhmPdvTZE
10. CONCLUSIONS:
A smart mood light with ChatGPT + voice recognition + TTS is a device that can change its color and brightness in response to a user's voice commands or the content of a conversation. The ChatGPT component allows the light to generate text-based responses to user queries, while the voice recognition and TTS components allow it to understand and respond to spoken commands. This type of light has the potential to be a valuable tool for people with disabilities, as it can provide them with a way to control their environment without having to use their hands. It could also be used to create a more immersive and interactive experience for users of smart home devices.Overall, the combination of ChatGPT, voice recognition, and TTS has the potential to make smart mood lights more versatile and user-friendly. This could lead to increased adoption of these devices by people with disabilities and other users who find traditional smart home controls difficult to use.
-
Python Source Code
-
Arduino Source Code
-
Circuit Diagram
-
Connection Diagram
-
Code Explanation
All code explanation is available in code explanation file in github


