LoRa Hat for Raspberry Pi Pico
LoRa Hat for Raspberry Pi Pico
- XL1278
x 2
This is just a LoRa module, but you can use any you have on hand but remember that you have to have at least TWO LoRa boards to communicate between
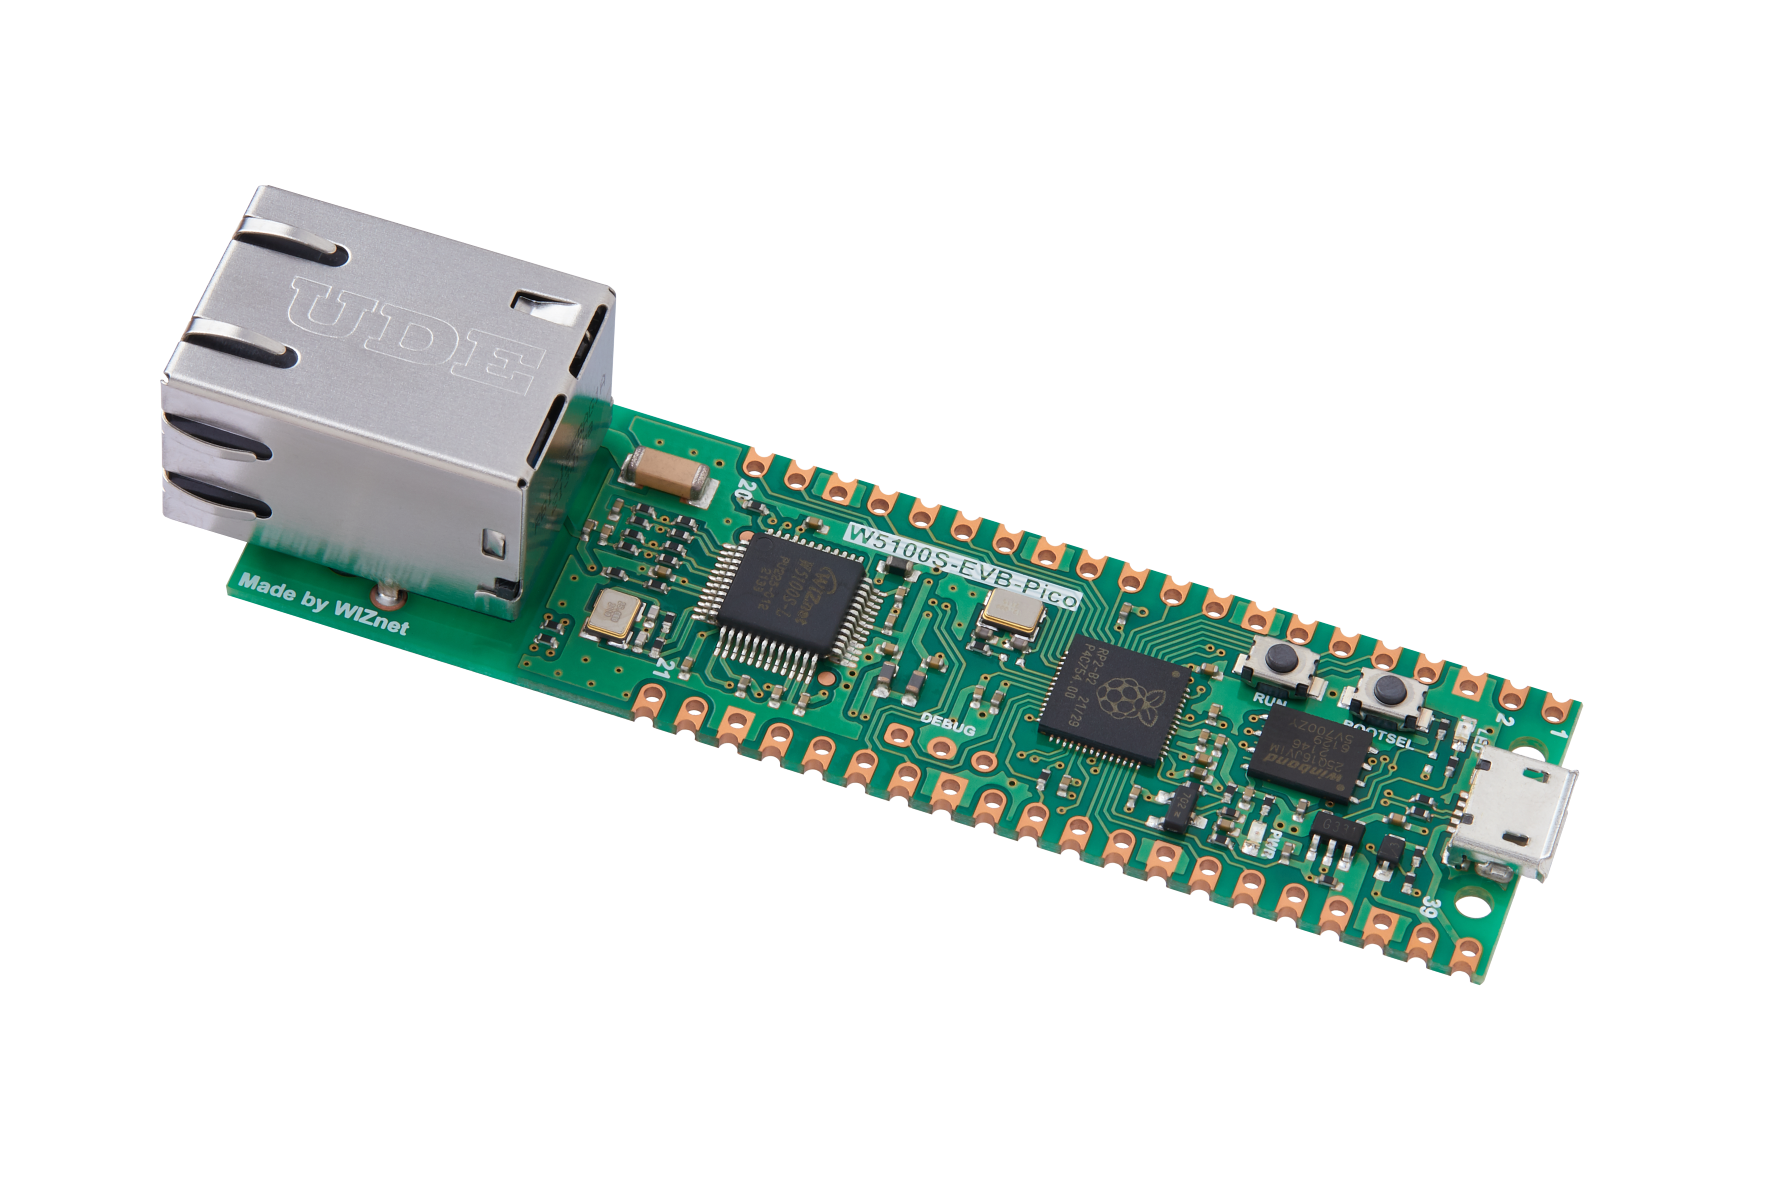
WIZnet - W5100S-EVB-Pico
A Raspberry Pi Pico with a full Size Ethernet Port, but if you don't have one on hand, you can use a Raspberry Pi Pico as well. But I would recomend getting the Wiznet W5100S-EVB if you want to use the LoRa's module full potential. Being able to have acces to the WorldWideWeb opens up a new dimension of potential ideas. Don't forget that you will need TWO microcontrollers, one for each LoRa board.
- Some jumpers as well as a breadboard
x 1
If you manage to make this project without a breadboard and jumpers, will I kindly ask you to send me a picture over on Twitter @EatingNerd
- A way of programming the Pico
x 1
I prefer the Arduino IDE because there are already a bunch of libaries out there for LoRa which makes it so much easier
- Plentiful of nerves
x 1
- The Libary to set up the Pico for use with the ArduinoIDE
x 1
This is just a quick Guide I found on instructables
Adding LoRa Compatibility to the Wiznet W5100S-EVB-Pico
Introduction
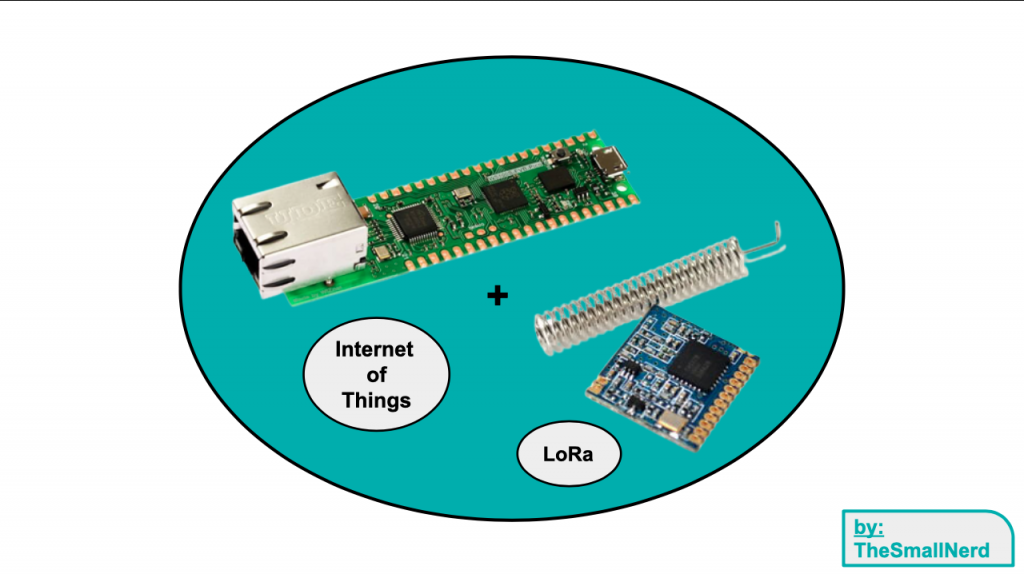
I was looking for a challenging and fun LoRa project and stumbled upon the W5100S-EVB-Pico by WizNet which adds Ethernet to the already powerful Raspberry Pi Pico. The advantage of Lora over other communication systems is that it uses less power and can send data over huge distances. With this added feature, I can send data from a remote location directly to my station at home. This station could upload the data to a webserver or even AWS cloud over Ethernet. Another fun way of using this is home automation, a wireless weather station in your backyard, or an underground communication system. When you combine the many uses of a LoRa module with the ability to access the WorldWideWeb, the practical applications seem unlimited. To add Lora to your project is fun but I couldn't find any good tutorial so I decided to take it upon myself to find a solution. I wanted to make make it possible to add LoRa fast and easily to my projects as well as inspire you to use Lora in your next project.Hardware
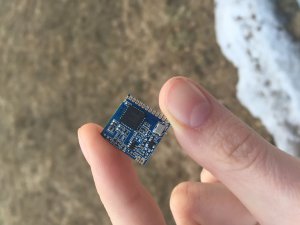
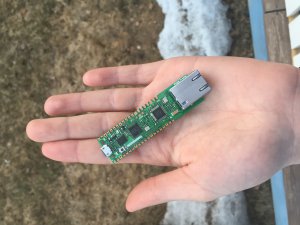 The main component of this project is the W5100S-EVB-Pico by Wiznet. It is a board that builds on the same chip as the Raspberry Pi Pico but it adds Ethernet capability. But I will need two boards, one for each Lora board (one receiver and one sender), so I will use a Raspberry Pi Pico as well. For the Lora module, I will use two XL1278-SMT boards. It transmits data over the 433Mhz frequency as well as the longer-range 169Mhz frequency. In this Guide, I will often refer to the W5100S-EVB-Pico as just Raspberry Pi Pico because of the easier reading. If you want to find more information about the W5100S-EVB Pico you should check out the datasheet here, and longer down I will share my thoughts on it too.
__
IMPORTANT INFORMATION
LORA SENDS DATA OVER RADIO FREQUENCIES! CHECK WITH YOUR LOCAL AUTHORITIES IF YOU ARE ALLOWED TO USE IT WHERE YOU LIVE!!! THE FREQUENCY SHOULD BE FOR FREE USE IN MOST PARTS OF THE WORLD BUT PLEASE CHECK
You need two have two LoRa boards as well as two microcontrollers. Please don't forget this because it could save you a lot of stress
_
Why LoRa?
 Lora stands for "Long Range". Apparently, it is also a name for a disease as well as for an open record act in California, but we won't look at those. So Lora is a low-power, wide-area protocol developed by Cycleo in January of 2015 but was later bought by Semtech. It was designed to wirelessly connect battery power things to the internet networks that could be regional, national, or global. It is a bi-directional communication meaning that there are two or more connected devices that can connect in both directions (both sending and receiving data) and because of the possibility of end-to-end encryption and the mobility and localization services, Lora is a great way to transfer small data packets over long distances. But Lora has a downside too, because of a bandwidth of 0.3kbit/s - 50kbit/s, Lora isn't the best and most efficient way to send huge packets of data. Therefore it is often used in smaller not-so-data strong applications like in Smart homes, smart agriculture, smart logistics, and metering, as well as in smart supply chains and logistics.
(Source: Wikipedia)
__
Schematics
The Schematic is quite straightforward. You have to connect the pins on the Pico with the corresponding pins on the Lora module and power it either via the micro-USB port or you use the VBUS pin (pin 40) but there you have to be very careful. It has to be a next to perfect 5V and you don't have much space upwards or down if you don't want to toast a marshmallow over the ashes of your pico.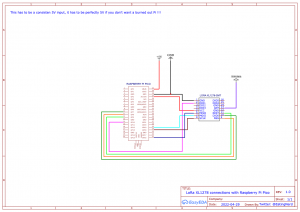 Here is a list of how to connect the two boards:
- 3.3V out on Pico to VCC
- GND to GND
- PIN 10 to DIOO
- PIN 11 to NSS
- PIN 12 to RESET
- PIN 14 to DIO1
- PIN 21 to MIOS
- PIN 24 to SCK
- PIN 25 to MOIS
- Power to Pico via micro-USB or VBUS and GND with study 5V
__
Setup
- First of all, you need to install the Arduino IDE if you don't have it; here is a guide on how to set it up
- Set the Arduino IDE up for the Raspberry Pi Pico; this Guide from Wiznet can explain it so much better than I could with my own words so I copied the relevant steps for us here but you can check out the original blog post here: https://maker.wiznet.io/2021/11/29/w5100s-evb-pico-with-the-arduino-ide/
__
The W5100S-EVB-Pico is a microcontroller evaluation board based on the Raspberry Pi RP2040 microcontroller chip and a full hardwired TCP/IP controller W5100S chip.
I used Arduino-Pico of Mr. Philhower. It’s useful for me, who doesn’t know well python.
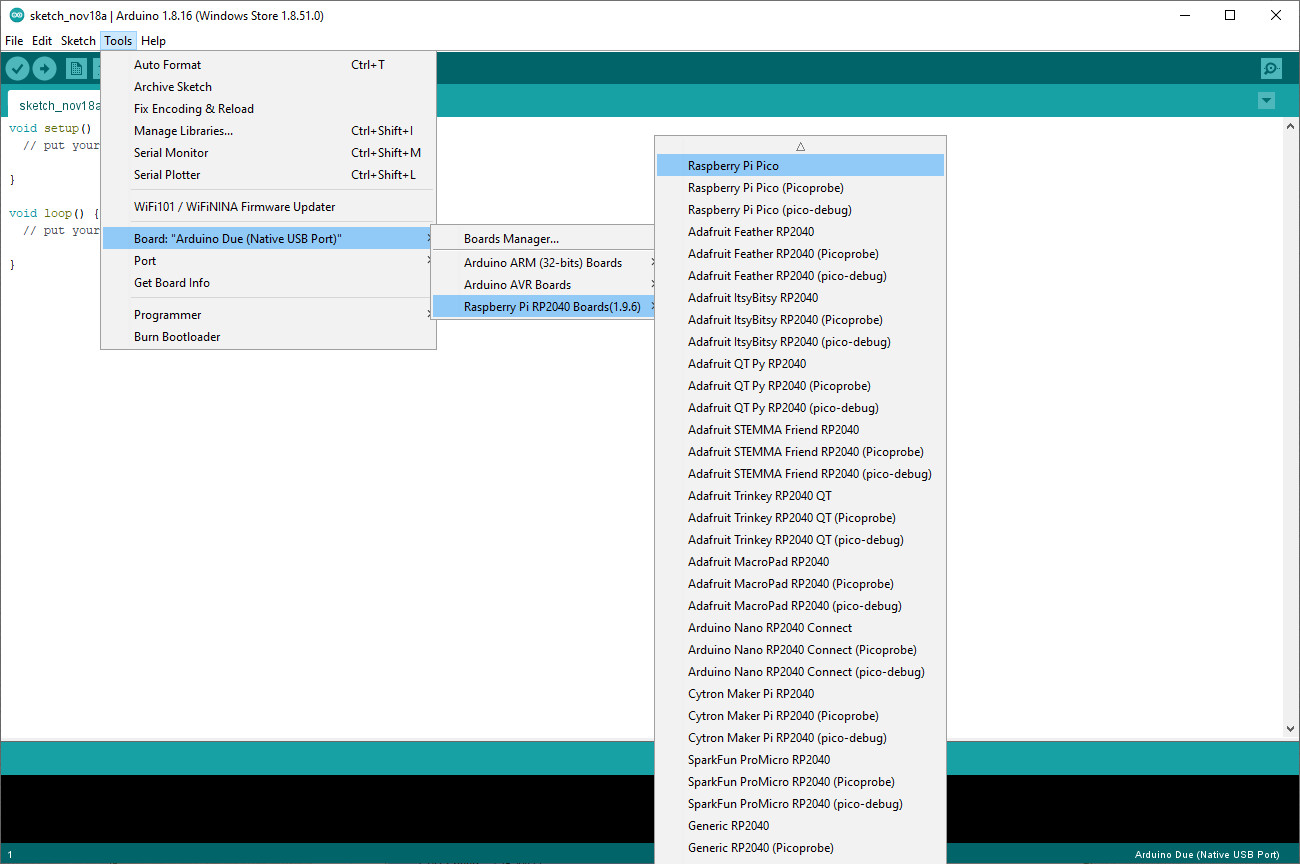
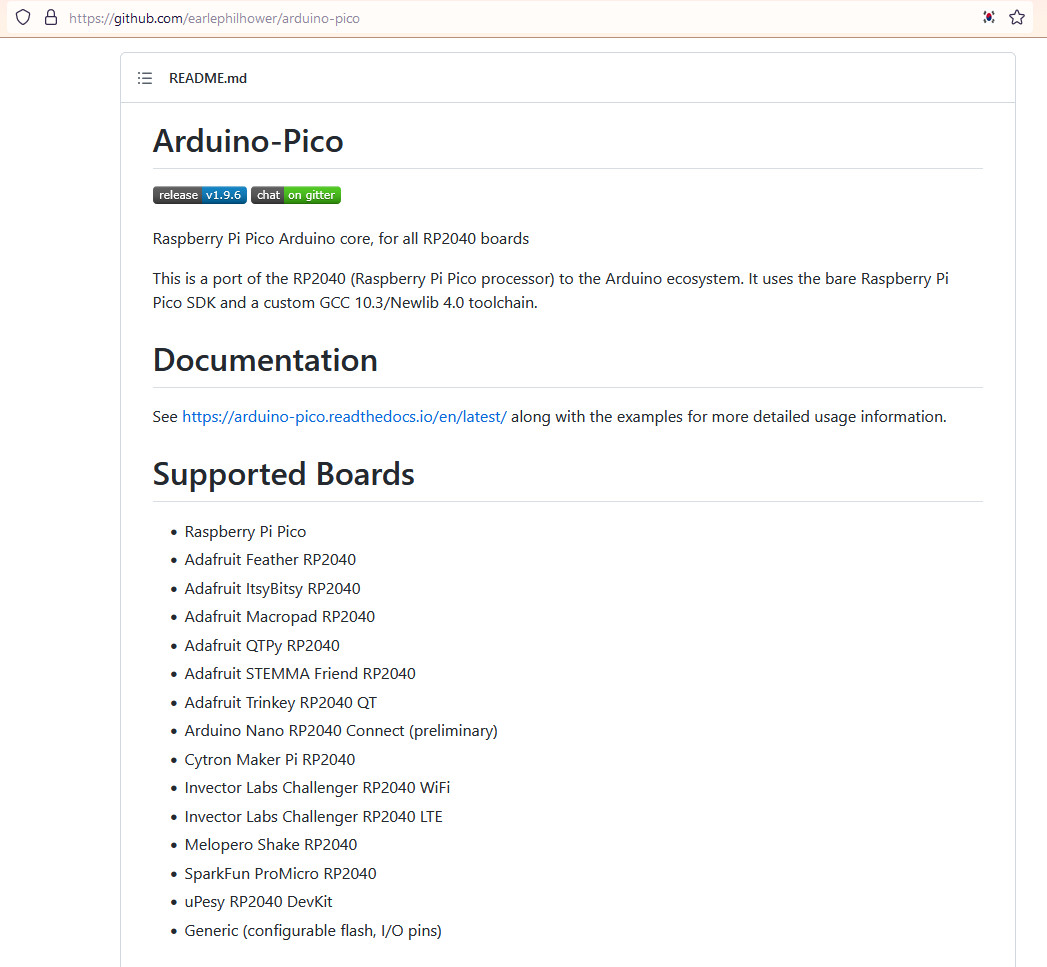 I added the URL in the “Additional Boards Manager URLs” field and searched pico in Board Manager to add.
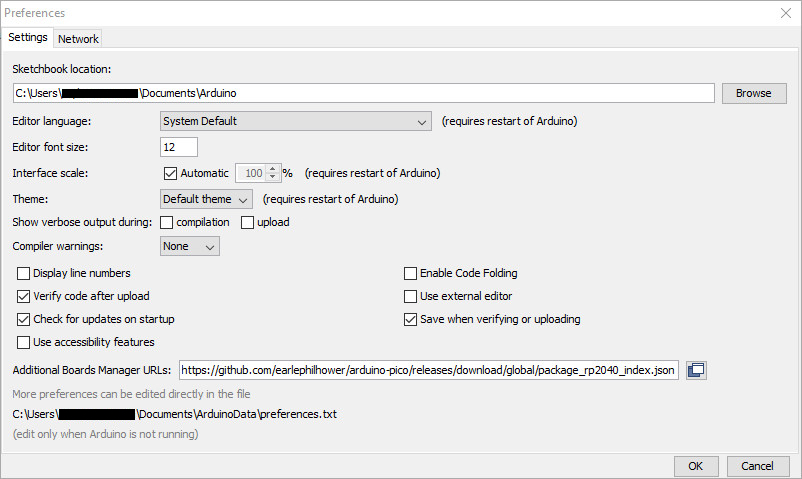
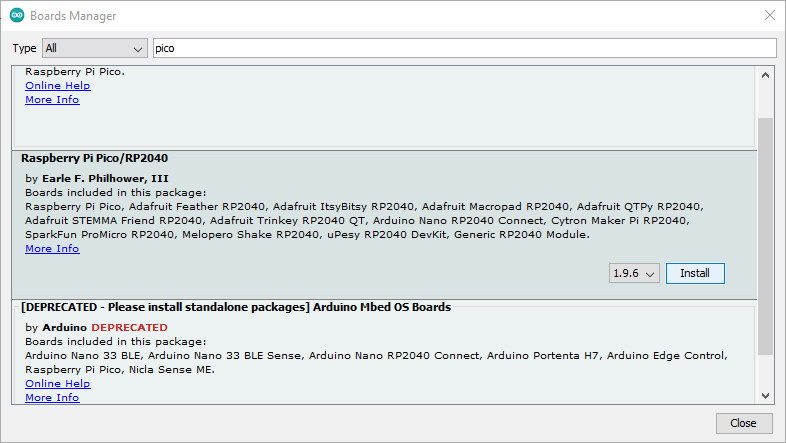 Then, I choose the Board as a Raspberry Pi Pico.
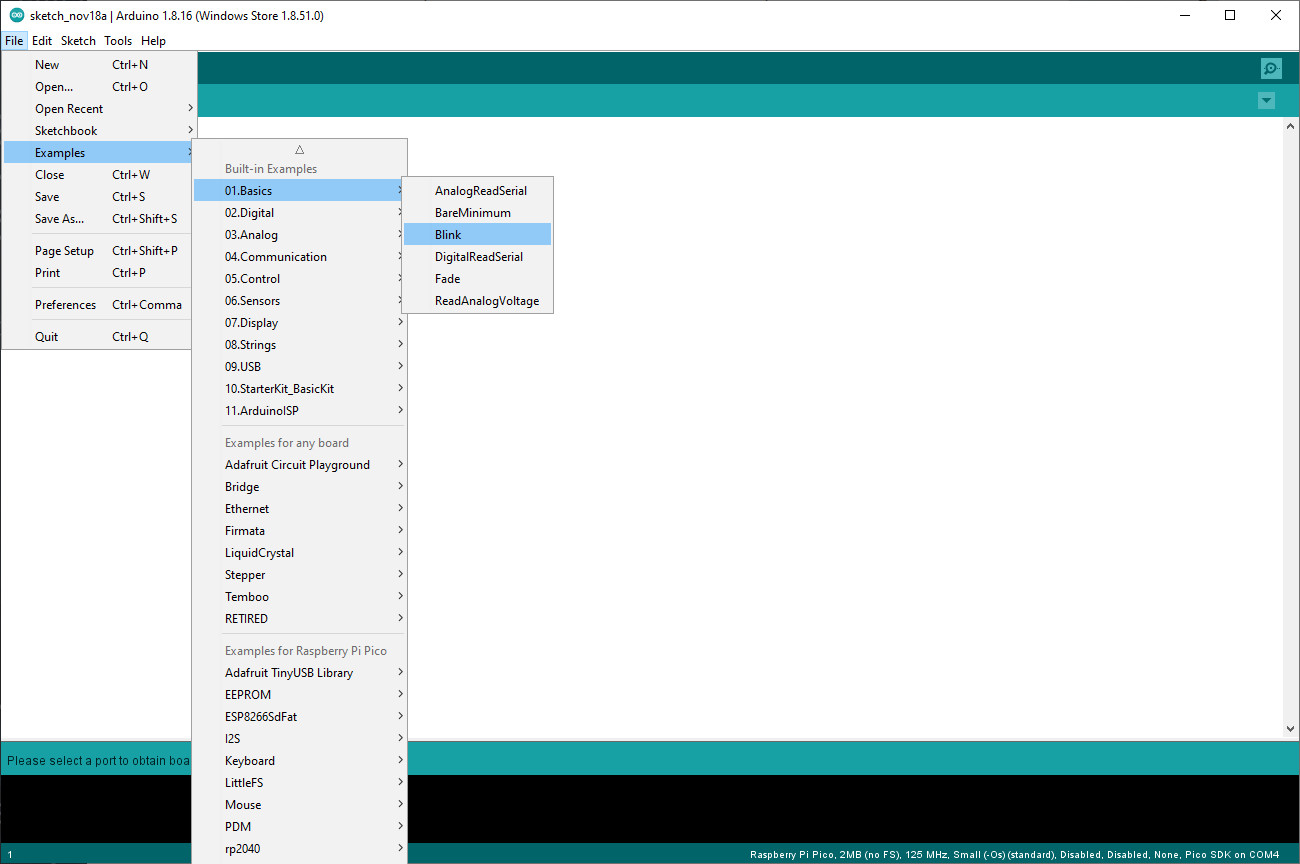
 I can run a Blink without any problem.
- Now with the Pico Board added, we will have to add the right library for the Lora board. I choose a library called "Lora by Sandeep Mistry" which we can download eighter here or directly in the Arduino IDE. For that you will have to go under "Sketch", then "libraries" and then click on "Manage Libraries" and search for Lora. Scroll until you find the right one.
 I am sorry for the blurry image, but after I uploaded the Picture to the Website it just got blurry...___
 - Programming Time ??
Finished? What now?
Now you have send your first datapack over Lora and don't know what to do now. There are so many uses for Lora so find a use that is useful to you. But to find something that you could enjoy I will write a short list over what you could built:- Lora WAN Node
- Monitoring
- Home Automation
- Remote Weather Station
- Smart Bird Feeder
- Lora Gateway
- Uploading Lora Data to a webserver using ethernet
- Underground communication system
- Emergency Botton
- GPS tracker that sends Data over Lora
- Coffe on the push of a button in your room
Conclusion
In this project, you learned about Lora, how to use the Arduino IDE, how to install and use different libraries and how to read circuit diagrams. It would make a great project to train your soldering skills because of the tiny pads on the Lora module as well as the many Pins that have to be soldered to the Pico. You could use a Breadboard like in the photo.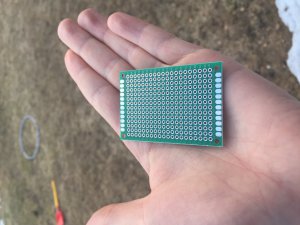 The project isn't the most beginner-friendly because of the different protocols in the code (which gave me lots of problems before), but it is definitely a good project for everybody with a little bit of experience and knowledge.
I think that everybody should at least try out as many different protocols, boards, and techniques as they have the chance to. I encourage you to make your own project now. You know the basics of Lora and now you can let your imagination free and make them real.
There isn't a PCB design because of my lack of experience with it, and with the knowledge now I am not able to design it as I want, but you can easily make your own with the Schematics files that can be found in a PDF document under the documents section.
Plans for the Future
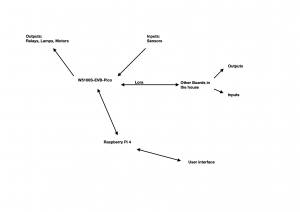 I already have big plans for the W5100S-EVB-Pico and the XL1278-SMT Lora module. I plan to automate my room as far as possible with this and a Raspberry Pi 4 as a server. I want it to be a control unit that both collects data from the different sensors, as well as to control stuff. The data will also be sent to the Raspberry Pi over Ethernet which will process the data as well as be the communication point between me and the W5100S-EVB Pico board.
I also want to try to use the Ethernet to its full potential but right now I don't have an idea that I find fun and useful.
Thoughts on the W5100S-EVB-Pico
The Raspberry Pi Pico on its own is a pretty powerful board on its own. It has an RP2040 chip, developed and produced by Raspberry Pi inbuild. The Chip is surprisingly powerful with its Dual-core Arm Cortex-M0+ processor and a flexible clocking running up to 133MHz. It has 264kb of SRAM and 2MB of QSPI storage. For your project, you have 26 different GPIO pins of which there are 2 × UART, 2 × SPI controllers, 2 × I2C controllers, and whole 16 × PWM channels. All of this makes the Raspberry Pi Pico so powerful. People have done quite impressing stuff before with this little board like a Mandelbrot generator, which needs a lot of calculations for each pixel generated. Others have even made cryptocurrency trackers and different game platforms like consoles and even handhelds. With all of features of the Raspberry Pi Pico combined with access to the Internet of Things, the possibilities seem endless. I found that this board is a great piece of hardware to use when wanting good performance, as little power as possible, small cost, ease of use, and a small form factor aswell as an easy access to the Internet. I think that this product from Wiznet is a great product to try out.-
LoRaReciver
This is the Exemple Code from the LoRa libary
-
LoRaSender
This is the Exemple Code from the LoRa libary
-
Circuit Diagram
-
Schematics Picture
-
Arduino IDE Libary Settup Picture
-
Plans for the Future with W5100S-EVB-Pico
