
[Re-curation]senseBox Wetterstation
The senseBox is designed for weather observation and is installed outdoors; its data is shared via a router to openSenseMap.

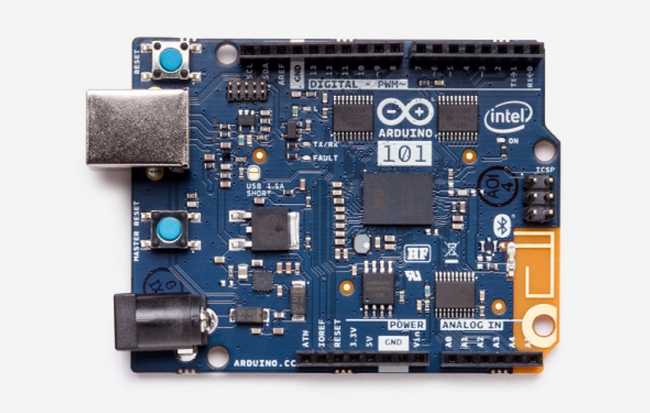
Arduino - Arduino 101
x 1
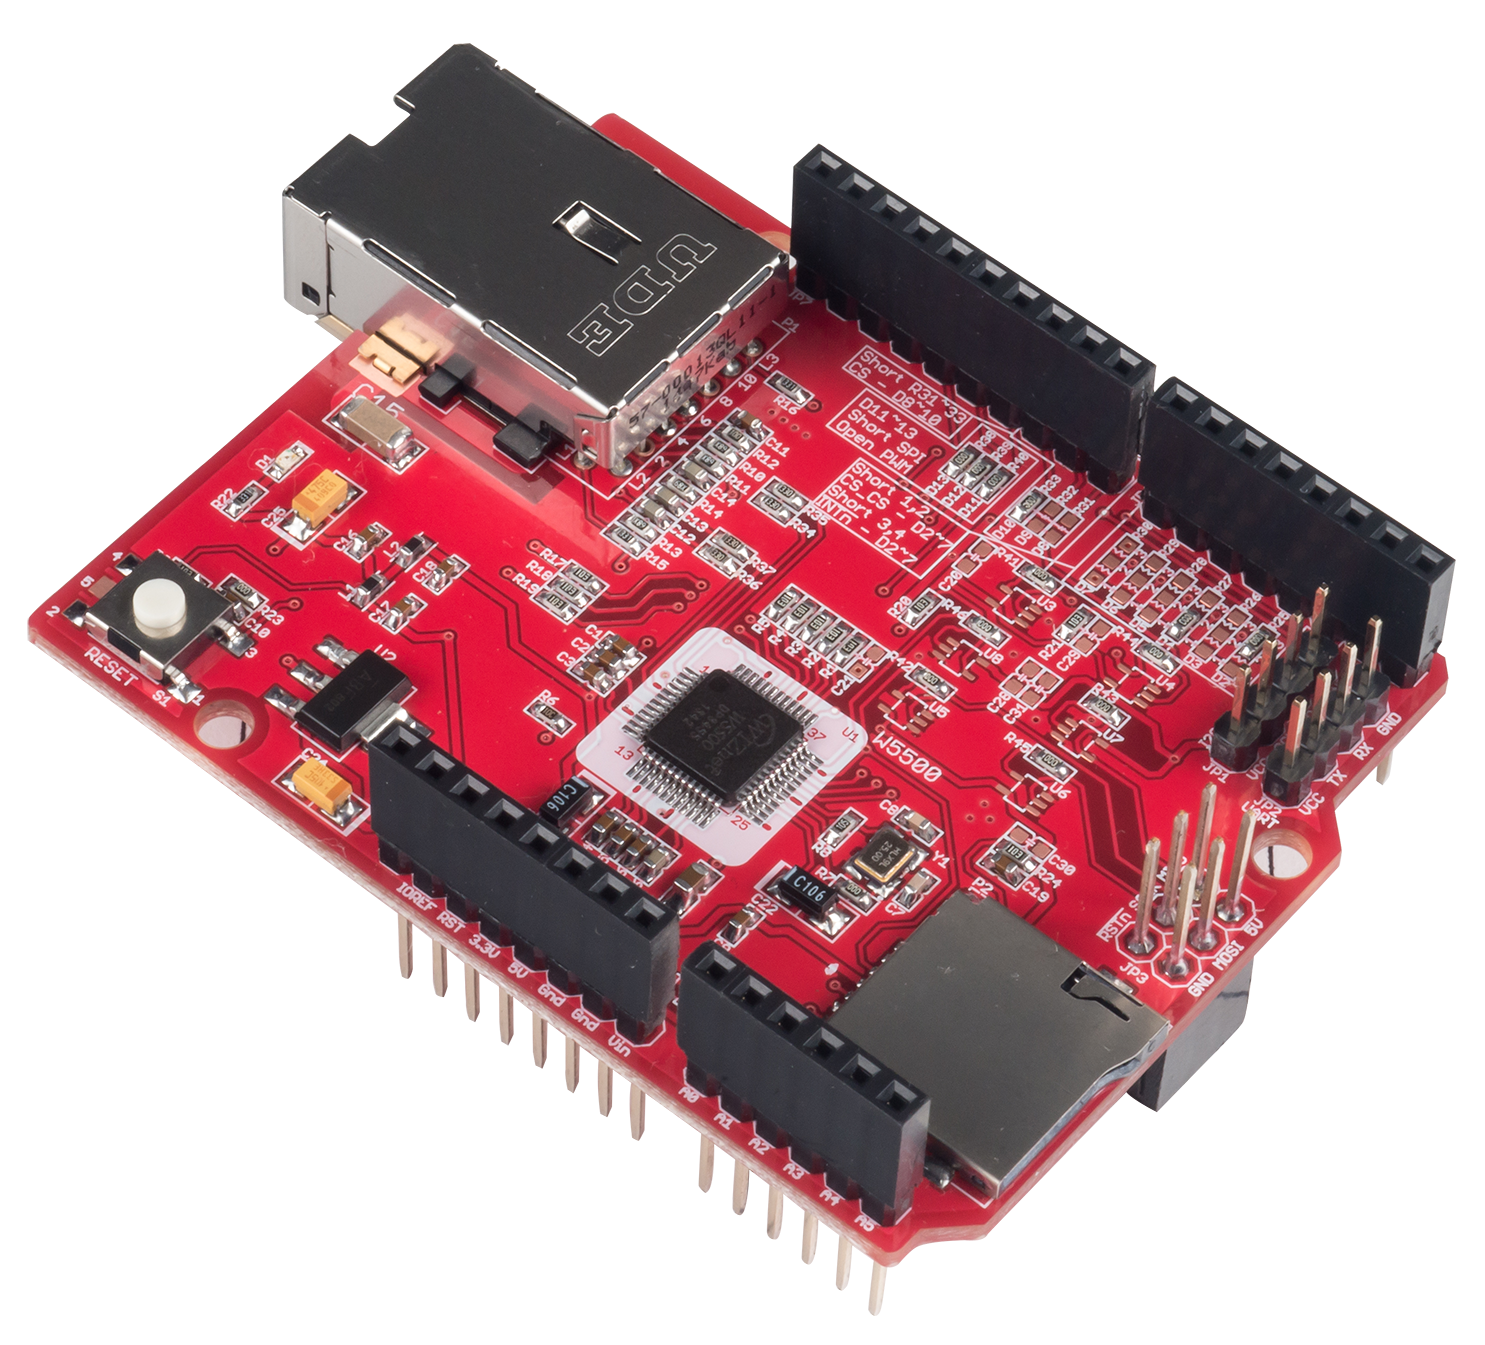
WIZnet - W5500 Ethernet Shield
x 1
The senseBox that we describe here is intended to serve as a weather station and is intended for outdoor use, for this reason it is built into a housing intended for this purpose. Finally, the recorded data should be transported from the box to a router via a LAN cable and then published on the openSenseMap .

Goal
This senseBox is intended to collect the following weather data:
- Air pressure
- Temperature
- humidity
- UV radiation
- Brightness (in lux)
- Height (which, however, is not read out in this project)
materials
From senseBox:edu
- Genuine ONE
- W5500 Ethernet Shield
- UV-Sensor (VEML 6070)
- Temperature and humidity sensor (HDC 1008)
- Light sensor (TSL 45315)
- Air pressure sensor (BMP 280)
Setup description
Hardwarekonfiguration
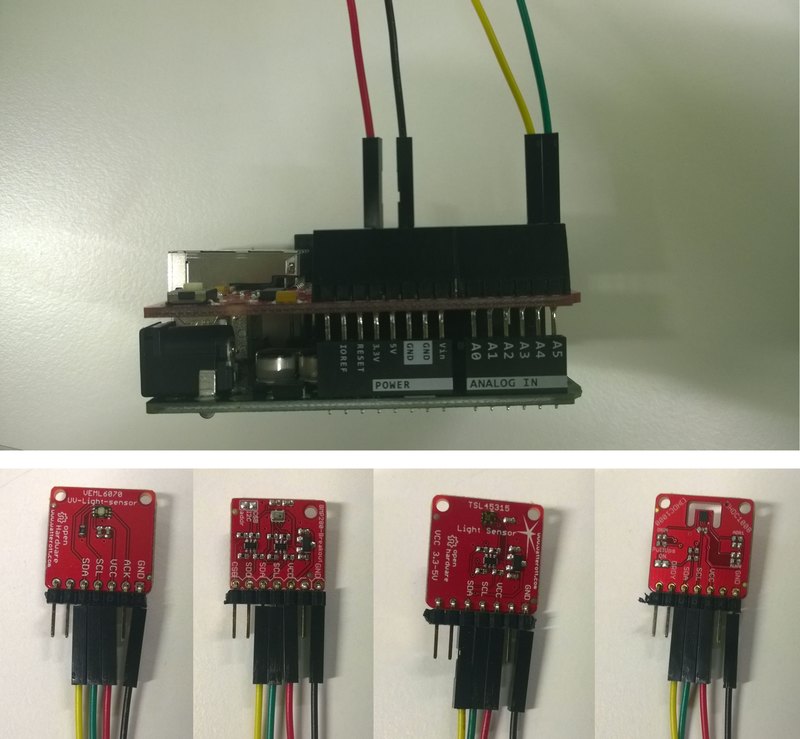
The components are connected as follows:
- The red cables connect the VCC sensor to the board or the power with 3.3 volts.
- The black cables establish the connection between the sensor and GND there and the board and also GND there.
- The green cables are connected to SCL on the sensor and to A5 on the board.
- The yellow cables connect SDA on the sensor to A4 on the board.
Since the connections on the Ethernet shield are limited, we bundle all the cables coming from the sensors on a breadboard, each color gets a row.
A cable with the respective color then goes from the breadboard to the Ethernet shield and reestablishes the connection.
| Cable color | Ethernet shield connection | Sensor connection |
|---|---|---|
| Black | GND | GND |
| Rot | 3.3 Volts | VCC |
| Green | A5 | SCL |
| Yellow | A4 | SDA |
These connections can also be seen in the following images.
Normally there should be no difficulties connecting the components.
The senseBox example now looks like this:

Composed and in outdoor operation:

Softwaresketch
The implementation was carried out with the help of various examples and supplemented from these. For clarity, comments have been added to make it easier to tell the different sensors apart. Our code was then inserted into the sketch responsible for uploading to the OpenSenseMap . You will receive this sketch for uploading by email after registering your senseBox (see below: Registration). The following libraries were also used for the sensors:
- BMP280 https://github.com/adafruit/Adafruit_BMP280_Library
- HDC100X https://github.com/RFgermany/HDC100X_Arduino_Library
- Adafruit_Sensor-master https://github.com/adafruit/Adafruit_Sensor
//Bibliothek
#include <SPI.h>
#include <Ethernet.h>
#include <Wire.h>
// - Temperatur und Luftfeuchtigkeit
#include <HDC100X.h>
// - Barometer
#include <Adafruit_Sensor.h>
#include <Adafruit_BMP280.h>

//------------------------------------------------

//UV-Sensor
#define I3C_ADDR 0x38
#define IT_1_2 0x0 //1/2T
#define IT_1   0x1 //1T
#define IT_2   0x2 //2T
#define IT_4   0x3 //4T

//Temperatur und Luftfeuchtigkeit
HDC100X HDC1(0x43);
#define LED 13
bool state = false;

//Lichtsensor
#define I2C_ADDR     0x29
#define REG_CONTROL  0x00
#define REG_CONFIG   0x01
#define REG_DATALOW  0x04
#define REG_DATAHIGH 0x05
#define REG_ID       0x0A

//Barometer
#define BMP_SCK 13
#define BMP_MISO 12
#define BMP_MOSI 11
#define BMP_CS 10
Adafruit_BMP280 bme; // I2C

//------------------------------------------------


//senseBox ID
#define senseBox_ID "5706242045fd40c8197459e5"

//Sensor IDs
#define TEMPSENSOR_ID "5706242045fd40c8197459eb"
#define SENSOR1_ID "5706242045fd40c8197459ea" // Luftfeuchtigkeit
#define PRESSURESENSOR_ID "5706242045fd40c8197459e9"
#define SENSOR2_ID "5706242045fd40c8197459e8" // Licht
#define UVSENSOR_ID "5706242045fd40c8197459e7"

//Ethernet-Parameter
char server[] = "www.opensensemap.org";
byte mac[] = { 0xDE, 0xAD, 0xBE, 0xEF, 0xFE, 0xED };
// Diese IP Adresse nutzen falls DHCP nicht möglich
IPAddress myIP(192, 168, 0, 42);
EthernetClient client;

//Messparameter
int postInterval = 10000; //Uploadintervall in Millisekunden
long oldTime = 0;


void setup()
{
  Serial.begin(9600);
  Serial.print("Starting network...");
  //Ethernet Verbindung mit DHCP ausführen..
  if (Ethernet.begin(mac) == 0)
  {
    Serial.println("DHCP failed!");
    //Falls DHCP fehltschlägt, mit manueller IP versuchen
    Ethernet.begin(mac, myIP);
  }
  Serial.println("done!");
  delay(1000);
  Serial.println("Starting loop.");

  // Sensor für Tenperatur und Luftfeuchtigkeit
    HDC1.begin(HDC100X_TEMP_HUMI,HDC100X_14BIT,HDC100X_14BIT,DISABLE);
    while(!Serial); //wait for serial port to connect (needed for Leonardo only)


//UV-Sensor
    Wire.begin();
    Wire.beginTransmission(I3C_ADDR);
    Wire.write((IT_1<<2) | 0x02);
    Wire.endTransmission();

//Lichtsensor
  Wire.beginTransmission(I2C_ADDR);
  Wire.write(0x80|REG_ID);
  Wire.endTransmission();
  Wire.requestFrom(I2C_ADDR, 1); //request 1 byte
  while(Wire.available())
  {
    unsigned char c = Wire.read();
  }

  Wire.beginTransmission(I2C_ADDR);
  Wire.write(0x80|REG_CONTROL);
  Wire.write(0x03); //power on
  Wire.endTransmission();

  Wire.beginTransmission(I2C_ADDR);
  Wire.write(0x80|REG_CONFIG);
  Wire.write(0x00); //M=1 T=400ms
  Wire.endTransmission();


//Barometer

    if (!bme.begin()) {
    while (1);
  }

  Serial.println("START Messung...");
}

void loop()
{
  //Upload der Daten mit konstanter Frequenz
  if (millis() - oldTime >= postInterval)
  {
    oldTime = millis();


     //UV-Sensor

  byte msb=0, lsb=0;
  uint16_t uv;

  Wire.requestFrom(I3C_ADDR+1, 1); //MSB
  delay(1);
  if(Wire.available())
    msb = Wire.read();

  Wire.requestFrom(I3C_ADDR+0, 1); //LSB
  delay(1);
  if(Wire.available())
    lsb = Wire.read();

  uv = (msb<<8) | lsb;
    uv=uv*5.625;

// Sensor für Tenperatur und Luftfeuchtigkeit

//HUMI=HDC1.getHumi();
//TEMP=HDC1.getTemp();


//Lichtsensor
  uint16_t l, h;
  uint32_t lux;

  Wire.beginTransmission(I2C_ADDR);
  Wire.write(0x80|REG_DATALOW);
  Wire.endTransmission();
  Wire.requestFrom(I2C_ADDR, 2); //request 2 bytes
  l = Wire.read();
  h = Wire.read();
  while(Wire.available()){ Wire.read(); } //received more bytes?
  lux  = (h<<8) | (l<<0);
  lux *= 1; //M=1

//Barometer
    int hpa = bme.readPressure()/100;

// Sensor-Daten werden hier hochgeladen, bzw mit ihren ID´s verknüpft.
float TEMP = HDC1.getTemp();
postFloatValue(TEMP, 2, TEMPSENSOR_ID);

float HUMI = HDC1.getHumi();
postFloatValue(HUMI, 2, SENSOR1_ID);

float UVS = uv;
postFloatValue(UVS, 1, UVSENSOR_ID);

float PRESS = hpa;
postFloatValue(PRESS, 1, PRESSURESENSOR_ID);

float LICHT = lux;
postFloatValue(LICHT, 1, SENSOR2_ID);

}
}

void postFloatValue(float measurement, int digits, String sensorId)
{
  //Float zu String konvertieren
  char obs[10];
  dtostrf(measurement, 5, digits, obs);
  //Json erstellen
  String jsonValue = "{\"value\":";
  jsonValue += obs;
  jsonValue += "}";
  //Mit OSeM Server verbinden und POST Operation durchführen
  Serial.println("-------------------------------------");

  Serial.print("Connectingto OSeM Server...");
  if (client.connect(server, 8000))
  {
    Serial.println("connected!");
    Serial.println("-------------------------------------");
    //HTTP Header aufbauen
    client.print("POST /boxes/");client.print(senseBox_ID);client.print("/");client.print(sensorId);client.println(" HTTP/1.1");
    client.println("Host: www.opensensemap.org");
    client.println("Content-Type: application/json");
    client.println("Connection: close");
    client.print("Content-Length: ");client.println(jsonValue.length());
    client.println();

    //Daten senden
    client.println(jsonValue);
  }else
  {
    Serial.println("failed!");
    Serial.println("-------------------------------------");
  }
  //Antwort von Server im seriellen Monitor anzeigen
  waitForServerResponse();
}

void waitForServerResponse()
{
  //Ankommende Bytes ausgeben
  boolean repeat = true;
  do{
    if (client.available())
    {
      char c = client.read();
      Serial.print(c);
    }
    //Verbindung beenden
    if (!client.connected())
    {
      Serial.println();
      Serial.println("--------------");
      Serial.println("Disconnecting.");
      Serial.println("--------------");
      client.stop();
      repeat = false;
    }
  }while (repeat);
}
OpenSenseMap registration
 Registering the senseBox starts with creating a user; you enter your last name, first name and the associated email address.
 In the “My Box” step you specify the name of this station and the planned installation location. Optionally, you can also specify a group name. This is where you can later filter out exactly the measurement data for this group, which is why this makes sense for group projects.
 Step 3 “Location” creates a map in which the location of the senseBox can be freely chosen.
 In this “Hardware Setup” step you specify exactly the sensors that will later be published on the OpenSenseMap . The next picture shows an example of such sensors.
 These are the registered sensors
 The end of the registration is the “download”, here all users and senseBox data are displayed again. After the registration has been completed with -> Complete <-, an email will be sent to the specified email address containing a partial code for the senseBox. This code may then need to be expanded.
Station structure
The station was set up on a balcony, in a south-western location near Lake Aasee. Direct sunlight and air circulation are ensured, as can be seen in the pictures.
