LTE CATM1 Mini Router with W5100S-EVB-Pico
RaspberryPi Zero W, W5100S-EVB-Pico, AWS IoT Core, MQTT

Original : https://codezoo.tistory.com/64
Author : CodeZoo
Published On : 20230911
This content was created with the assistance of ChatGPT, an artificial intelligence language model developed by OpenAI.
Objective: To enable devices that only support wired LAN communication to connect to a network from anywhere using an LTE CATM1 modem and RaspberryPi Zero W. LTE CATM1 is a low-power wide-area (LPWA) technology specifically designed for IoT and M2M applications. It offers extended coverage, lower power consumption, and better building penetration, making it suitable for various IoT use cases.
Materials Needed:
- LTE CATM1 built-in modem: This modem leverages the benefits of LTE CATM1 technology, ensuring reliable and efficient connectivity for your devices.
- RaspberryPi Zero W
- USB Ethernet
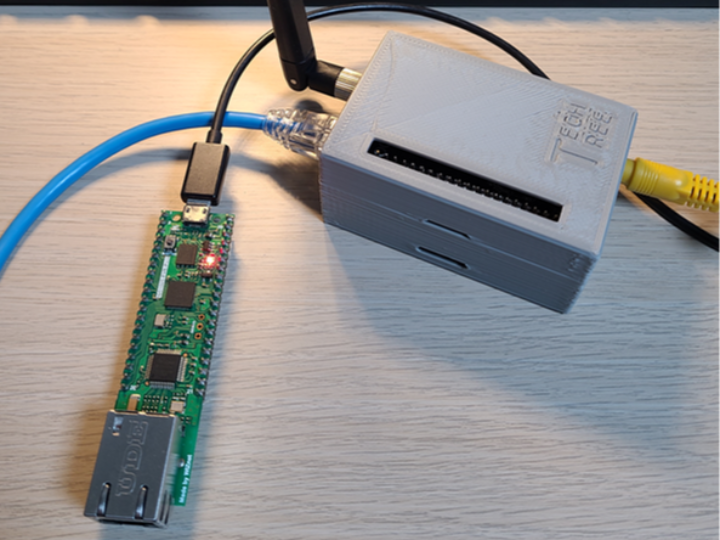
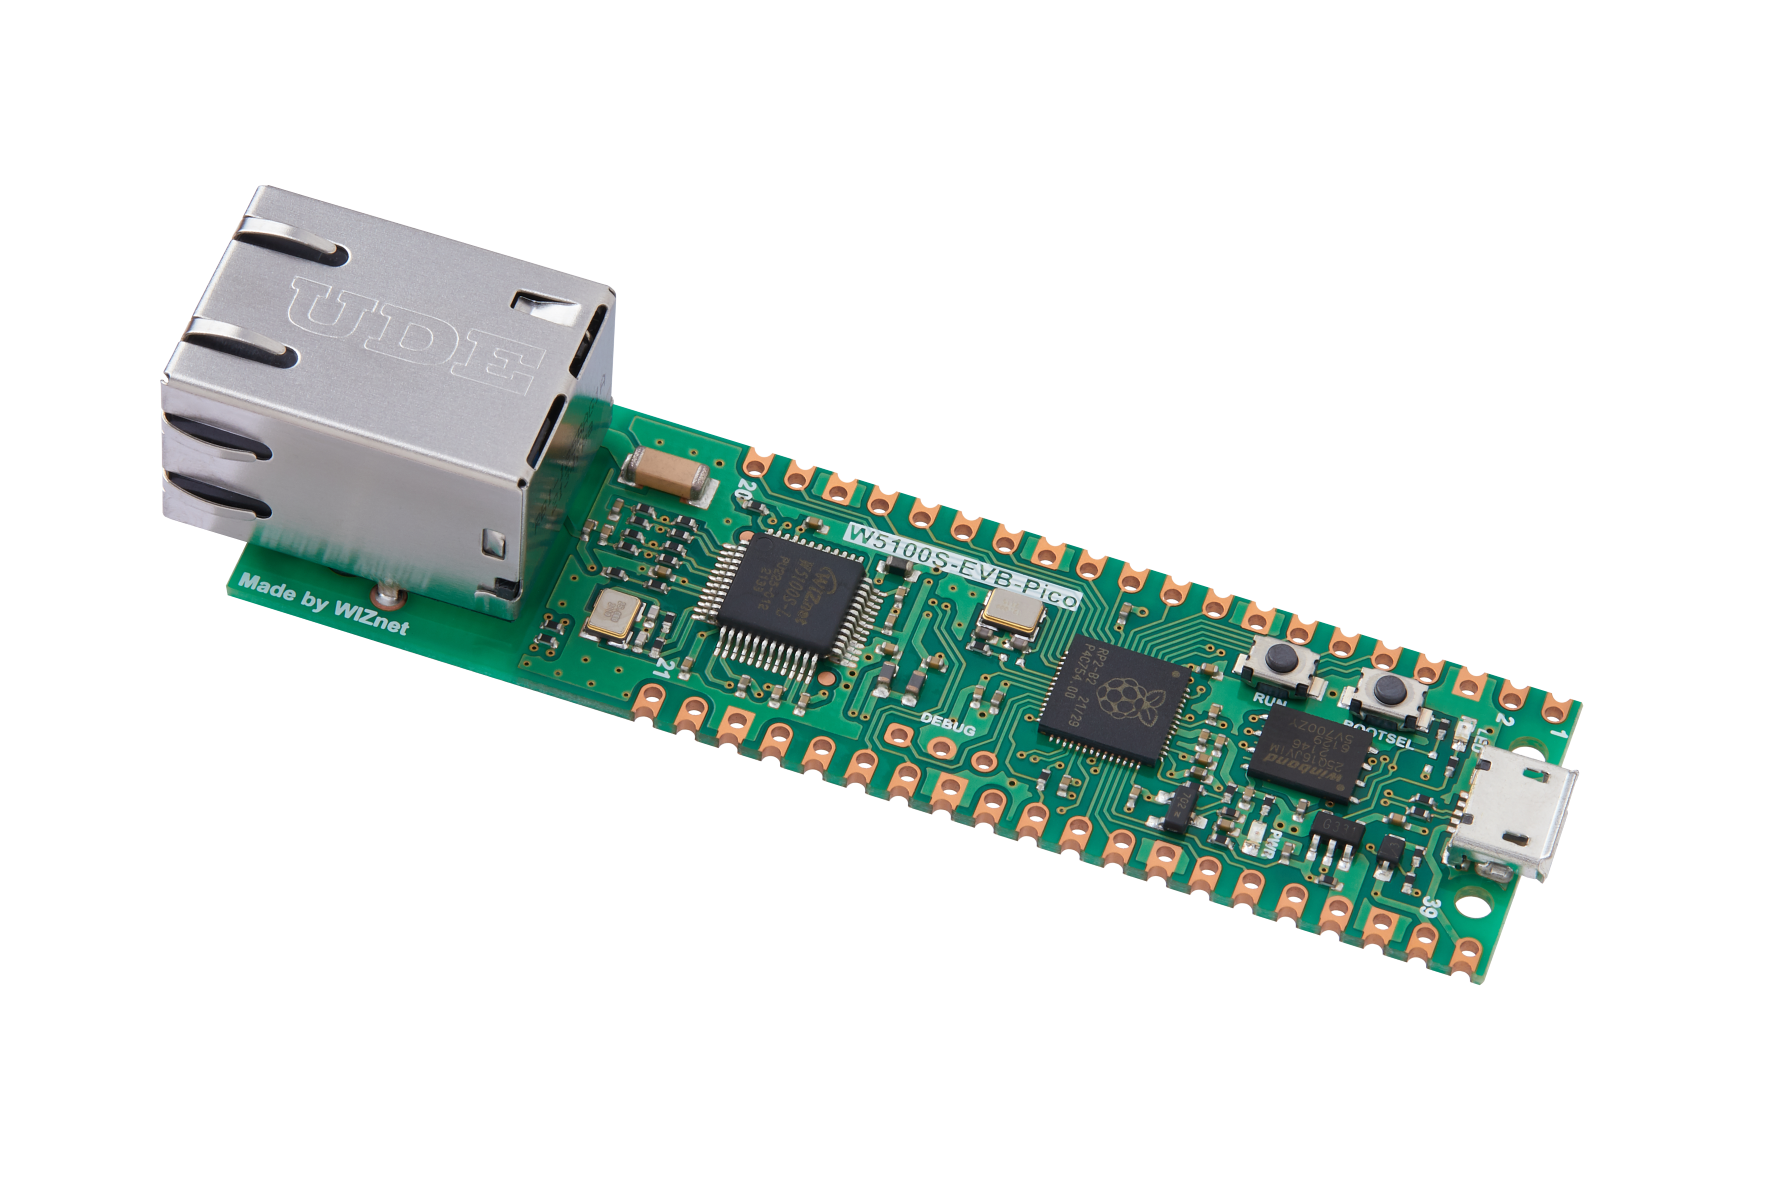
- W5100S-EVB-Pico: A powerful board that combines the RP2040 MCU with Wiznet's robust Ethernet Network Chip, W5100S. It's designed for seamless integration and high performance, making it an ideal choice for various networking applications.
Steps:
Setting up the RaspberryPi Zero W:
- RaspberryPi Zero W doesn't come with an Ethernet device. For this project, two types of Ethernet devices were used.
- Since the RaspberryPi Zero W only has one USB port, a USB hub was used when testing with the '1. USB Ethernet external accessory'.
- Install Raspberry Pi OS Lite (32-bit) using Raspberry Pi Imager v1.7.4.
- Insert the micro SD card into the RaspberryPi Zero W and power it on.
- Configure the system settings:
- Keyboard setup
- User registration
- System login using the registered credentials.
- System configuration for WIFI and Serial using
sudo raspi-config.
Setting up the LTE CATM1 Modem:
- Configure the modem if it hasn't been set up before.
- Use commands to initialize the modem and set its speed to 921600bps.
- Exit the modem configuration.
System Reboot and Testing:
- Reboot the system.
- On reboot, the LTE modem initialization and DHCP service settings should run automatically.
- Check the routing table using
route -n. - If wireless LAN is still connected, reset the wlan settings.
- Reboot the system again.
Hardware Assembly:
- The RaspberryPi Zero W allows for power and USB connections not only through connectors but also through Test Points (TP) on the back.
- Directly connect the USB Ethernet device and power using these TPs.
- Secure the connections using a glue gun.
- Attach the USB Ethernet device under the LTE CATM1 HAT using strong double-sided tape.
- Test the entire system to ensure everything works correctly before final assembly.
- Complete the assembly with 3D printed parts.
Demo Board (W5100S-EVB-Pico) Connection and Testing:
- The W5100S-EVB-Pico board is an embodiment of Wiznet's commitment to providing efficient and reliable networking solutions. It combines the RP2040 MCU with Wiznet's powerful Ethernet Network Chip, W5100S. Officially certified for AWS and Azure as an IoT device, it offers developers a plethora of examples to kickstart their projects.
- For testing with the mini router, use the RP2040-HAT-AWS-C example.
- This example allows the W5100S-EVB-Pico board to connect to the mini router, obtain an IP via DHCP, and attempt provisioning with AWS IoT Core using its built-in certificate and private key. Once successful, it uploads data to AWS at regular intervals using the MQTT protocol.
Video Link : https://tv.kakao.com/v/440944216
Conclusion: This project demonstrates how to create a mini router using RaspberryPi Zero W and an LTE CATM1 modem. The router can be used to connect devices to a network from anywhere, making it a versatile tool for various applications. The inclusion of the W5100S-EVB-Pico board further enhances the project's capabilities, showcasing its potential in IoT and networking domains.
Thank you for reading.

