



W55MH32 and XiaoZhi Chatbot Project
Build wired‑Ethernet XiaoZhi AI chatbot on W55MH32 using MicroPython, covering hardware wiring, software deployment and web‑side configuration.
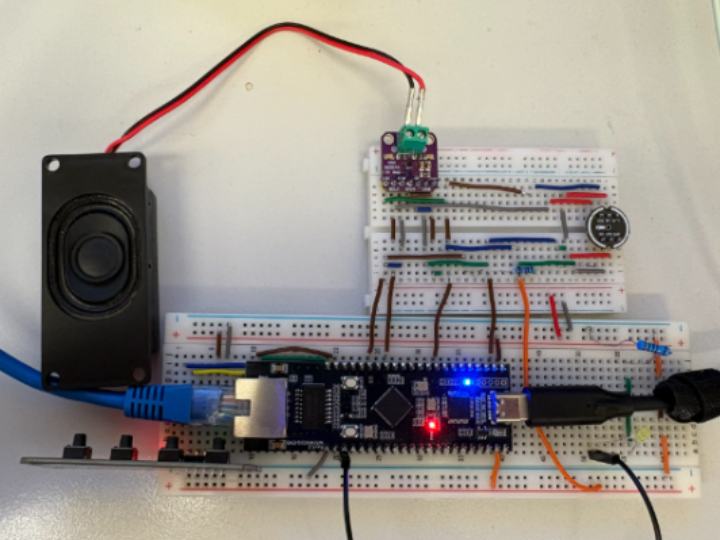

Background
With the rapid continuous advancement of AI technology, integrating intelligent models onto low‑level hardware architectures has become more important than ever. At WIZnet, we make sure our products keep pace with current technical developments to deliver better experiences for customers.
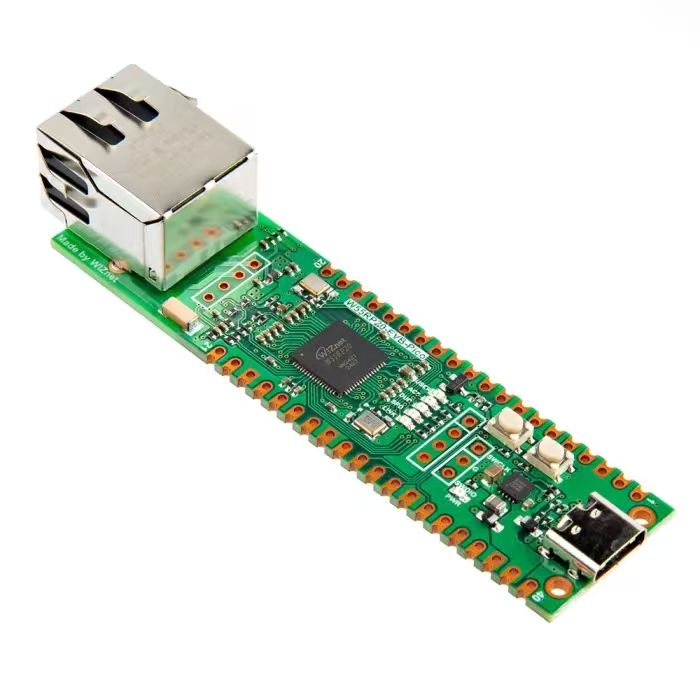
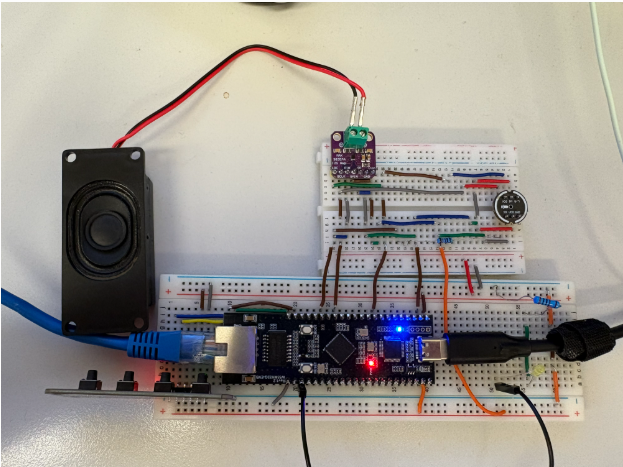
Inspired by the XiaoZhi‑ESP32 project, we have developed an MCP chatbot powered by the W55MH32Q/L‑EVB development board.
XiaoZhi‑ESP32 is one of the fastest‑growing AI projects. It enables hardware‑level communication with large language models (LLM), supporting functions such as hardware control via voice commands. It has gained wide‑spread popularity since its release, especially within the IoT market.
MicroPython is also a well‑known language that lets developers use Python for embedded‑system development. It allows new developers to skip the steep traditional C++ learning curve for embedded programming. They can quickly start bare‑metal development with thousands of publicly available MicroPython libraries and community support online.
We believe that by combining these powerful technologies, building your own custom AI assistant will no longer be just a dream.
Project Overview
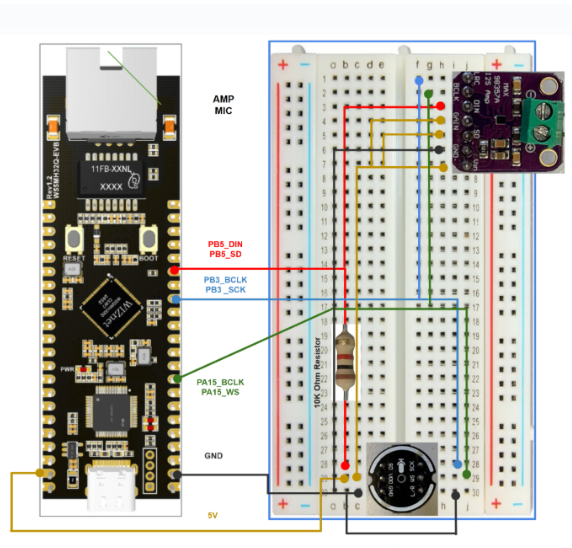
Below is the connection diagram for the W55MH32L_EVB MCP chatbot.
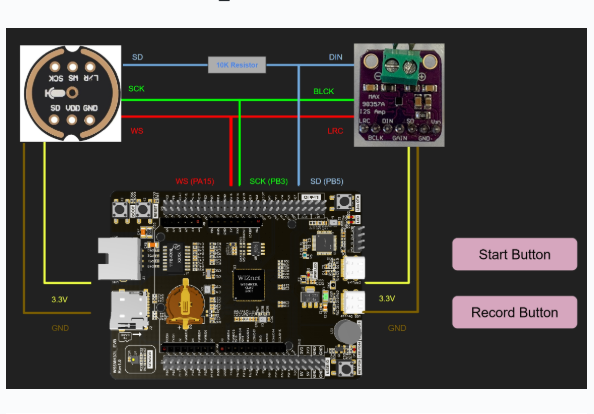

As shown in the figure above, the speaker and microphone share the same set of connections. By default, the development board works in speaker mode. When you hold down the record button, the board switches to microphone mode.
You also need internet access and to run the script to establish connection with the AI server. Connect an Ethernet cable from your router to the development board, and connect the board’s USB port to your PC.
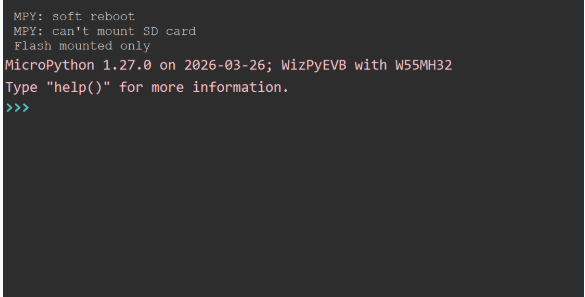
When you launch the script, the program will prompt you to press the start button to initiate the connection. After pressing the button, connection to the server will be established and you will be able to communicate with the XiaoZhi AI. When the terminal asks you to enter messages, you can activate microphone mode to talk with the agent.
Hardware Components and Wiring
This section covers required components for the chatbot and how to wire them together.
Main board and peripherals
You will need the following components
- W55MH32Q_EVB (purchase link) / W55MH32L_EVB (purchase link)
- I2S MAX98357A amplifier and speaker
- INMP441 microphone
- One 10K resistor
- Two push‑buttons
Complete component kits will be available for purchase on our official website in the future.
Wiring Guide
Start by hooking up the I2S components.


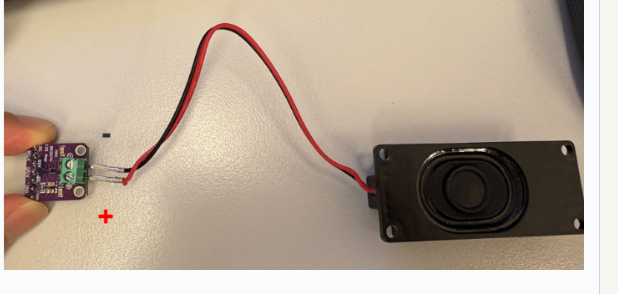
Additionally connect the speaker to the other port of the I2S amplifier.
For push‑buttons and the MCU, you may connect them to any available GPIO pins, their functions are listed below
- Start connection trigger
- Start audio recording
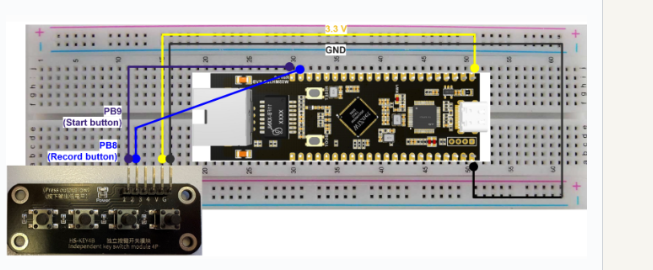
In this implementation, pin PB9 is used as the start button and pin PB8 as the record button.
Finally connect your development board to PC and connect the board directly to your router.
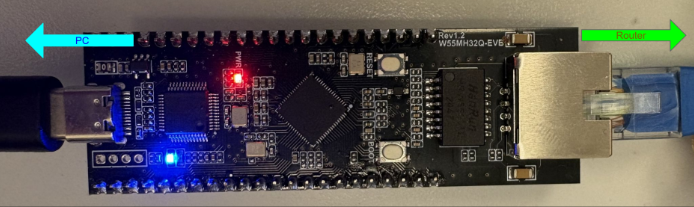
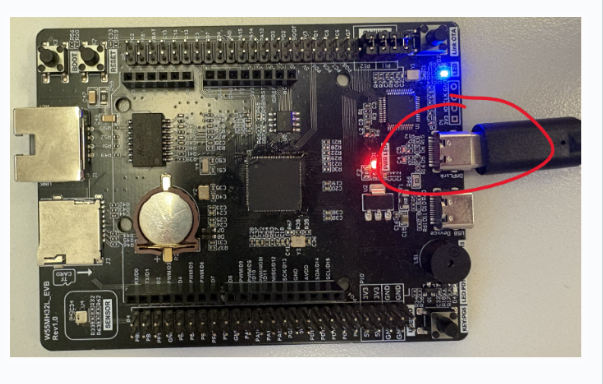
If you are using W55MH32L_EVB, connect the right‑hand‑side port to your PC.
Software Configuration and Customization
Installation
First install the latest firmware from the W55MH32 MicroPython documentation website and make sure Thonny IDE is installed.
Then visit our GitHub repository page and clone the repository onto your PC.
git clone https://github.com/wiznethk-git/w55mh32_xiaozhi_mcp_chat_bot.git

Open the folder containing downloaded project files. Use Thonny IDE or any other MicroPython‑compatible IDE to upload all files except default_conf.py to the MCU.

Configuration
Edit settings from default_config.py as shown below. After editing save file as config.py and upload it to MCU.
import uuid
client_id = uuid.uuid4()
secret = {
    'Client-Id':client_id
}
config = {
        # General
        'is_secure': False,
        'async_timeout': 10,

        # I2S
        'I2S_ENABLED': True,

        # Websocket Specific
        'ws_delay_ms': 0,

        # MCP
        'mcp_enabled': True,

        # OTA Specific
        'board_type':'YOUR_BOARD_TYPE',

        # MQTT
        'MQTT_USERNAME': 'MQTT_USERNAME',
        'MQTT_PASSWORD': 'MQTT_PASSWORD',
        'MQTT_IP':'MQTT_HOST',
        'MQTT_ENABLED':True,

        # Button Pins
        'START_BUTTON':'PB9',
        'RECORD_BUTTON':'PB8',
}
You may toggle I2S, MCP and MQTT between True or False according to device requirements. It is recommended to keep MCP and MQTT enabled for full‑featured experience. Enable I2S if you need audio playback of server responses.
Ethernet Connection
DHCP is used by default. When the board is connected to a router it will obtain internet access automatically. If connection fails you can get network details via ipconfig, then modify parameters at top of setup.py to switch to static‑IP mode.
Visit our reference script page for static‑IP configuration examples.
MCP
To add or remove MCP tool calls for your board you need to complete these steps
- Create a function for your MCP tool with required parameters
def func_name(self, device, args): ... - Register an MCPTool object inside mcp.py (init.py). Refer to our documentation explaining how the MCP protocol works.

MQTT
To use MQTT with our server you need these steps
- Register a data‑source on our AIOT website. The MQTT sub‑topic will be {your_account_name} / {data‑source_title}.
- Open mqttHandler. Add your sub‑topic to decorator and implement callback function that runs upon receiving updates for this topic.

Miscellaneous
When adding custom features to W55MH32EVB board you may need to set MQTT_ENABLED or MCP_ENABLED to False inside conf.py to avoid out‑of‑memory errors.
If you would like to understand communication flow between MCU and server, refer to documentation repository at 78/xiaozhi‑esp32: MCP‑based chatbot or XiaoZhi‑AI chatbot wiki for explanation of interactions between XiaoZhi server and robot hardware.
Web Portal Configuration

Before you start using your first AI assistant you need to register your device on our web portal.
Prepare your panel on sidebar then log in to our official website.

Next click Add Agent tab to create your own agent. You will see your newly‑named agent listed under Add Agent tab.
Afterwards go to Configure Role tab. On left‑hand side you can edit agent self‑introduction and provide context for your AI.
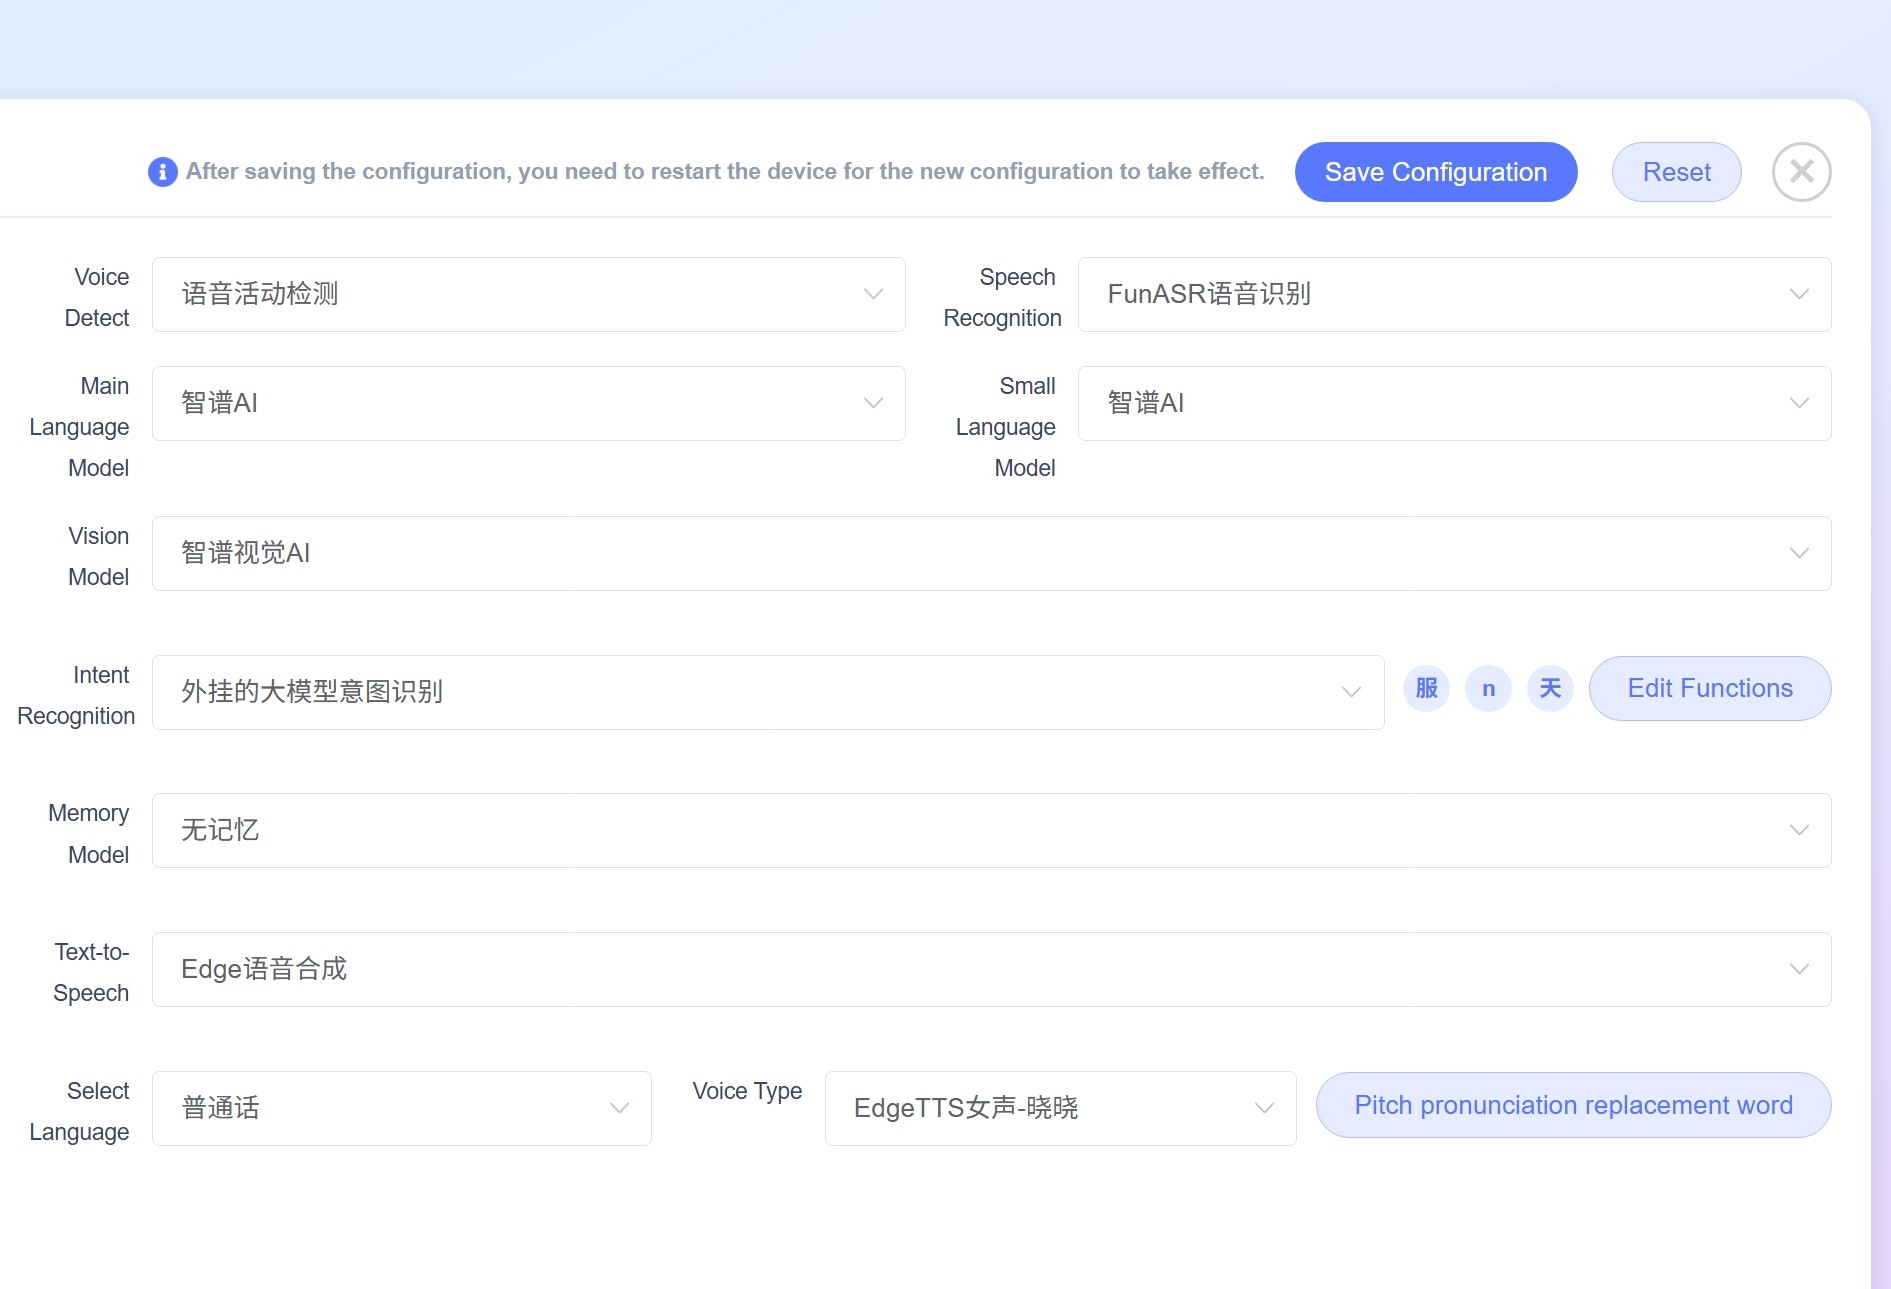
On right‑hand side you will see available XiaoZhi‑AI capabilities such as speech‑recognition engine selection and LLM model selection for user input processing.
Most parameters on right‑hand side can stay as default with no modification required. You can set preferred language under Select Language tab. Save configuration once agent setup is finished.
Now bind your physical device to this agent.
Return to homepage, open Devices tab under Agent module. Inside this tab click Add Manually. A pop‑up window will prompt you to input firmware version, device type and device MAC address.
After device connects to network, configure NIC interface on your board. Run following commands in terminal then copy printed MAC address value.
from SetUpWiznetChip import SetUpWiznetChip
nic = SetUpWiznetChip()
print(':'.join(['%02x' % b for b in nic.config('mac')]))
Fill in MAC address, device type, firmware version 0.0.1 to add your device under target agent.
Once device is registered under agent you will see its entry on Devices tab. Now you can start building your personal AI assistant. Have fun!
References
- XiaoZhi ESP32 : 78/xiaozhi‑esp32
- XiaoZhi ESP32 Server : xinnan‑tech/xiaozhi‑esp32‑server
- XiaoZhi Wiki: XiaoZhi‑AI Chatbot Encyclopedia ‑ Feishu Docs
- W55MH32 Introduction & File Downloads:W55MH32
- MicroPython library:micropython‑lib
Used libraries
- urequest.py, umqttsimple.py (from micropython‑lib)
- ws.py from micropython_async_websocket_client
Project repository: W55MH32 MCP Chatbot