
AI on the Edge Device With LORAWAN Module
AI on the Edge Device With LORAWAN Module
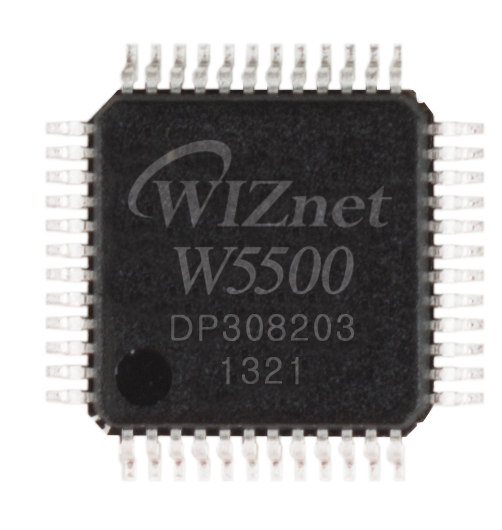
WIZnet - W5500
x 1
개요
AI-on-the-edge-device는 ESP32 계열 보드에 카메라를 붙여 **수도/가스/전기 등 아날로그 계량기 표시를 촬영하고, 디바이스 내부 AI로 숫자를 추출(디지털화)**하는 용도로 널리 쓰이는 오픈소스 프로젝트입니다.
이번 Instructables 글은 그중에서도 **ESP32-S3(AI on the Edge 펌웨어)**에서 만들어진 결과 데이터를 **별도의 LoRaWAN 모듈(ESP32-C3 + SX1262)**로 넘겨 **TTN(The Things Network)**에 업링크하고, 필요하면 TTN MQTT 통합으로 Home Assistant까지 연결하는 방법을 단계별로 보여줍니다.
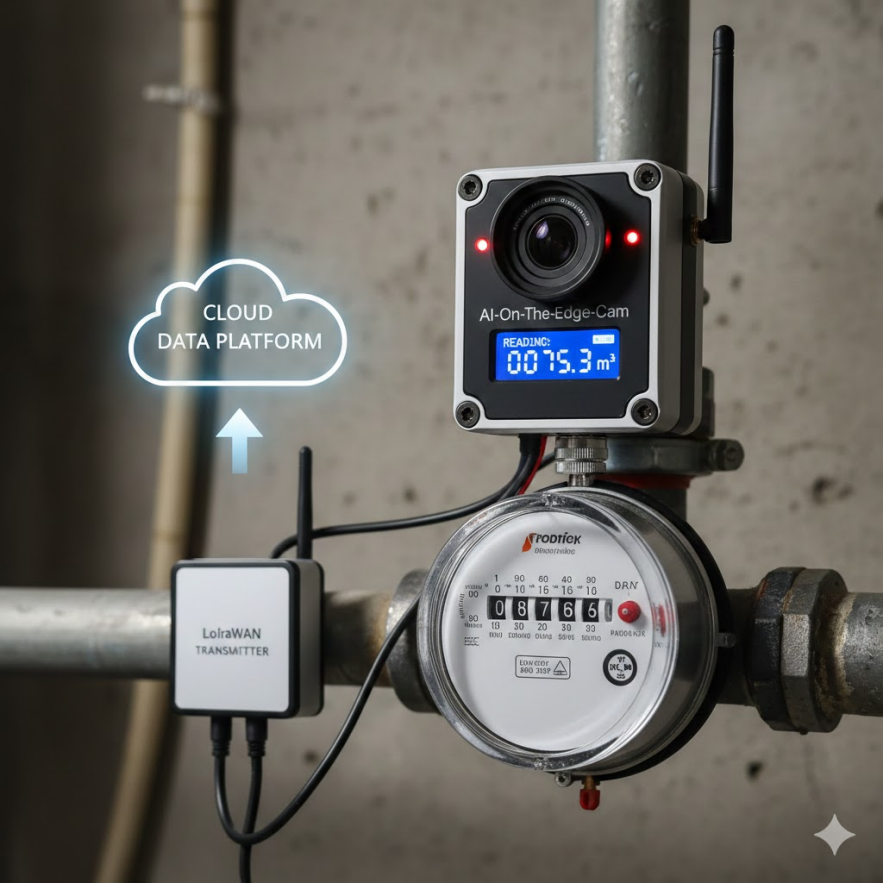
이미지 출처 : AI 생성
구성 요소
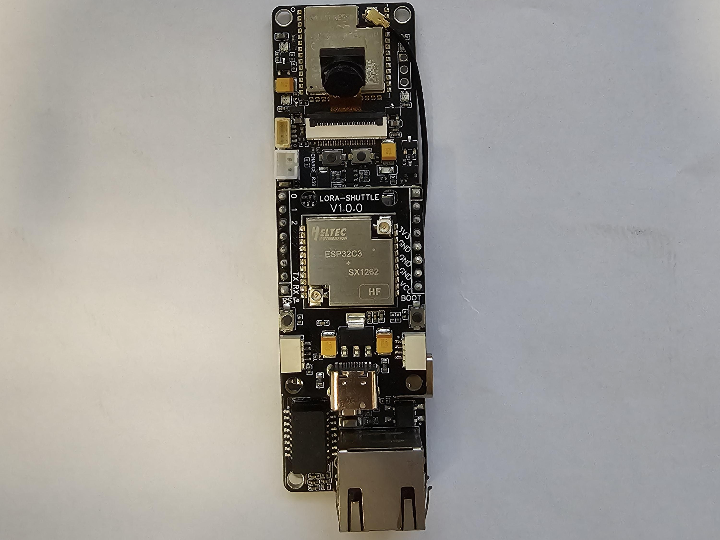
AI-On-The-Edge-Cam (ESP32-S3, PoE, SD, Camera)
이미지 출처 : https://hackaday.io/project/203879-ai-on-the-edge-cam
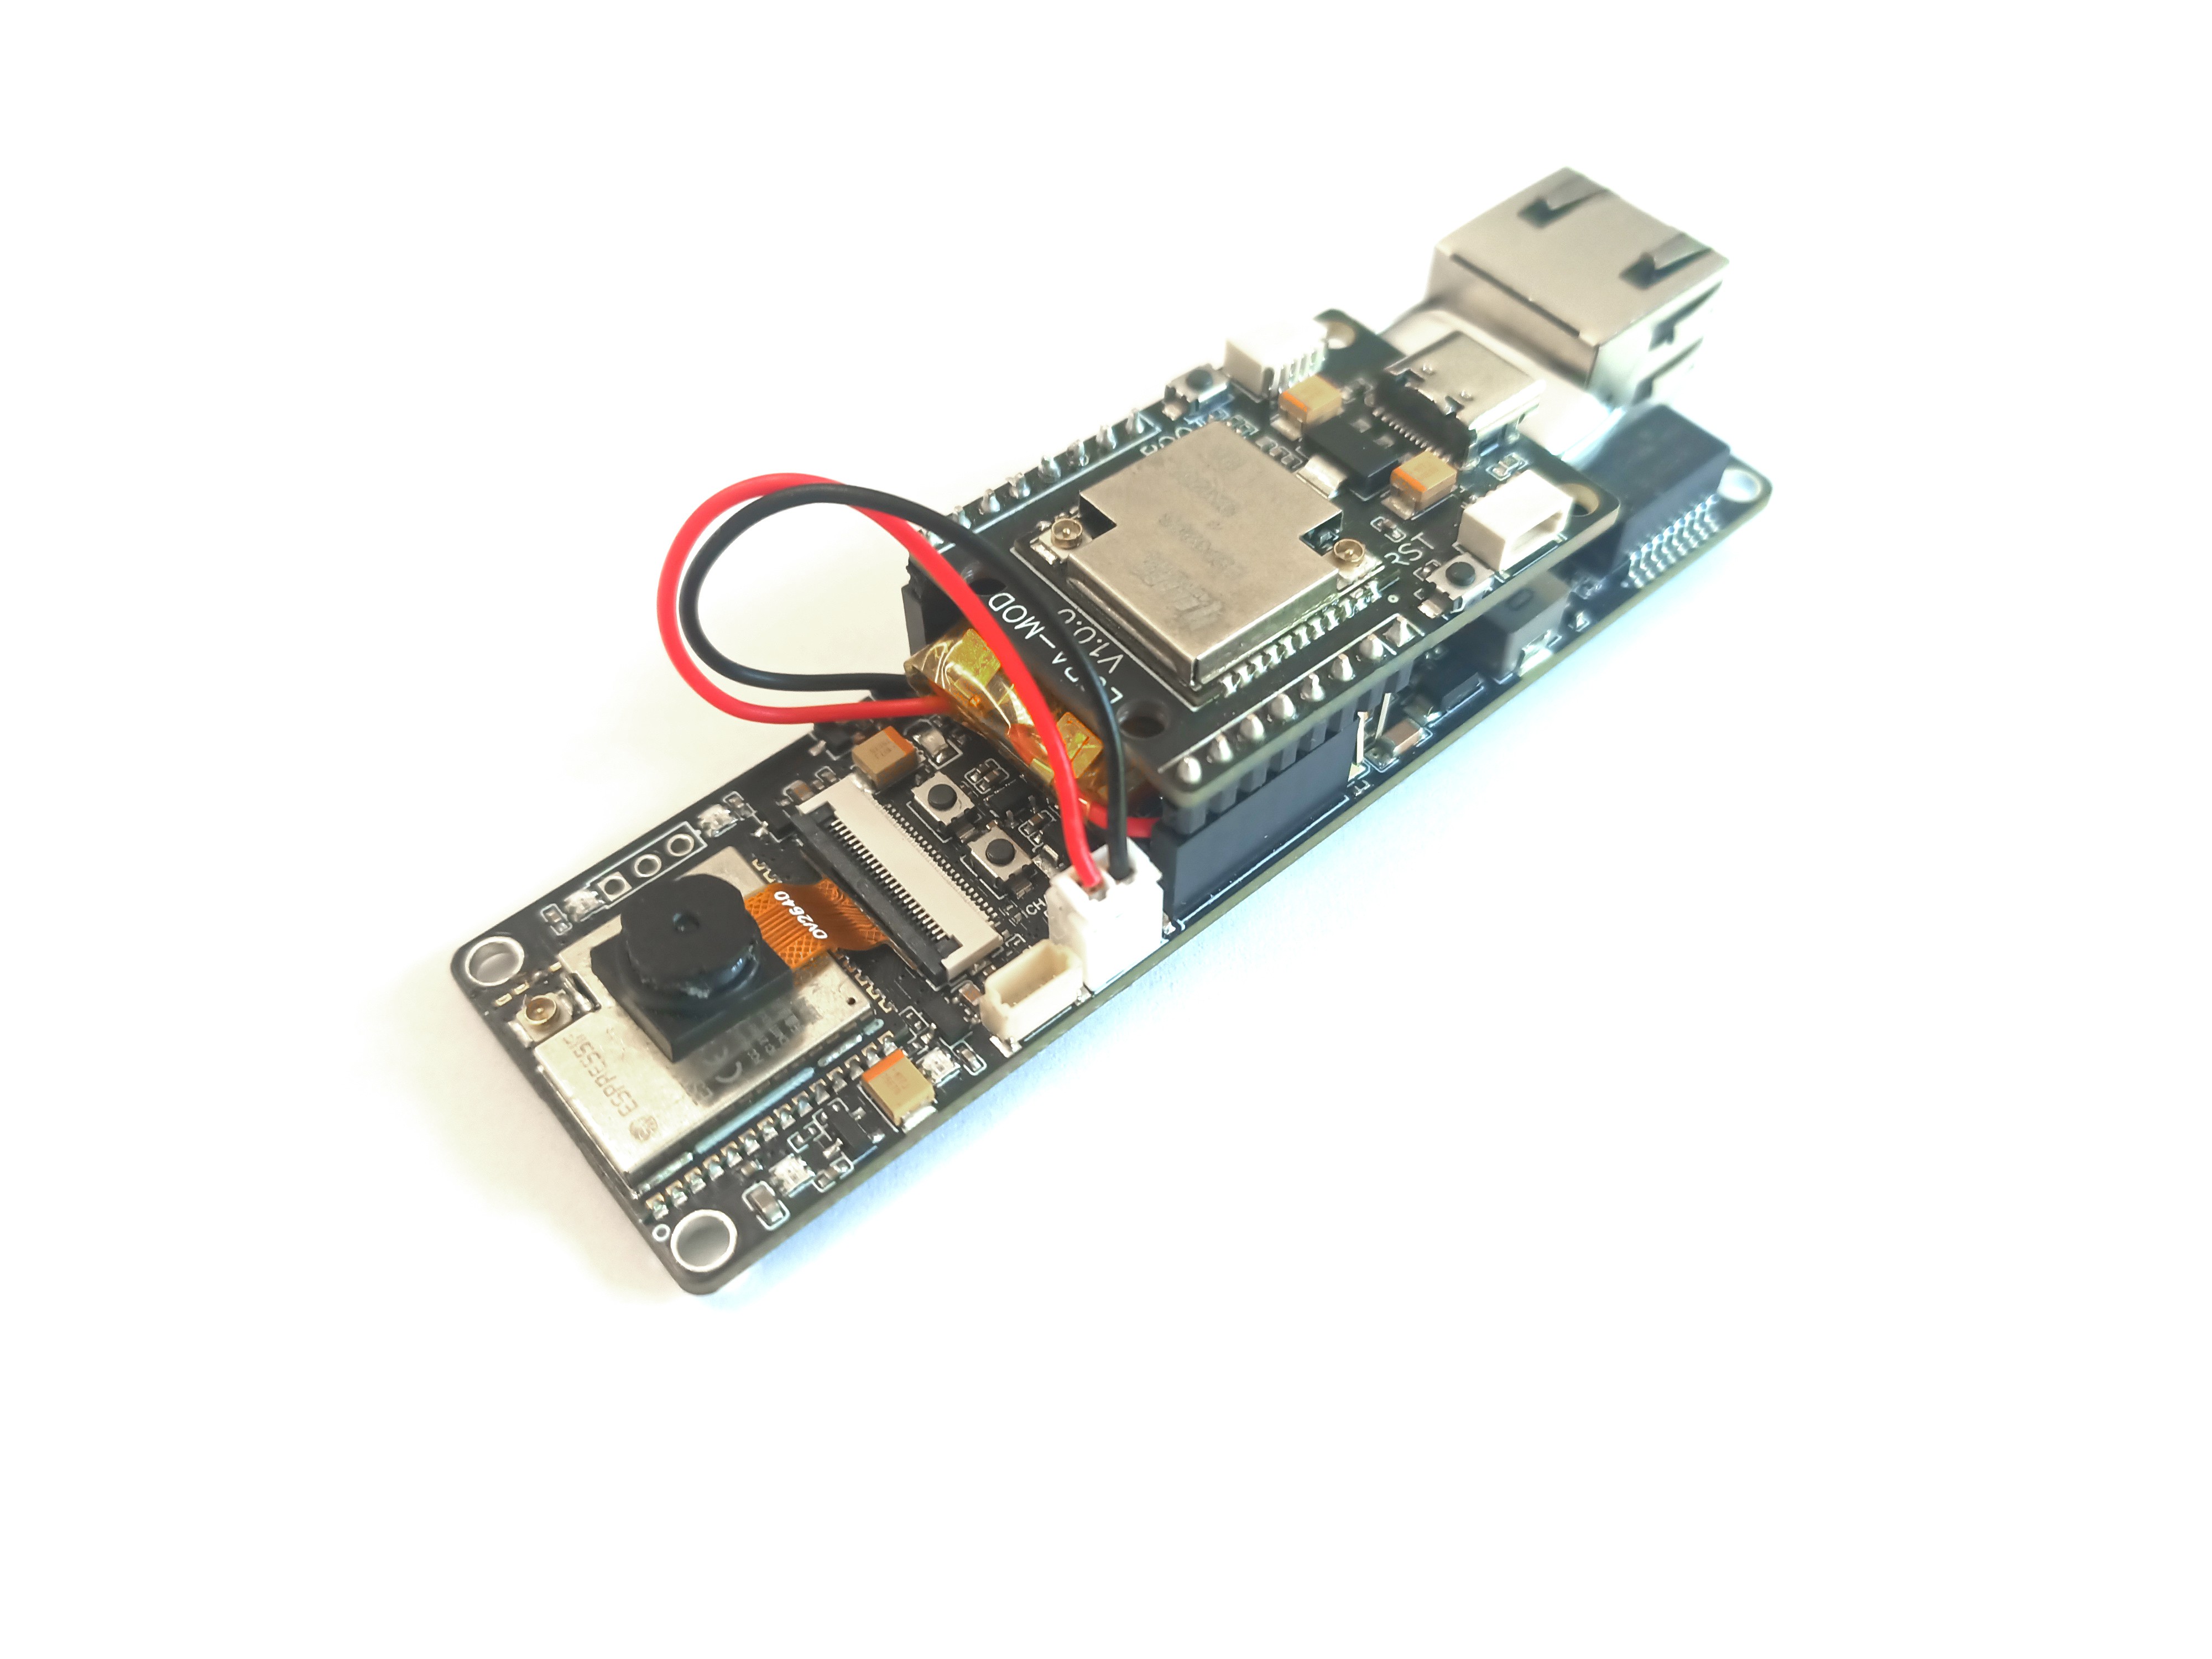
Lora-shuttle HT-CT62 (ESP32-C3 + SX1262)

이미지 출처 : https://heltec.org/project/ht-ct62/
SD 카드, 이더넷 케이블, USB-C 케이블
전체 흐름(End-to-End) 요약
1) TTN에서 End Device 등록 + 페이로드 디코더 준비
TTN 콘솔에서 애플리케이션 생성 후 End device를 Manual 등록합니다.
지역에 맞는 **주파수 플랜(예: Europe 863–870 MHz)**과 LoRaWAN 1.0.3을 선택합니다.
업링크가 사람이 읽기 쉽도록 Payload Formatter(Uplink) → Custom JavaScript를 설정해, 수신 bytes를 ASCII 문자열로 변환하고 가능하면 JSON 파싱하도록 구성합니다.
이후 장치 설정에 사용할 AppEUI / DevEUI / AppKey를 확보해둡니다.
DevEUI : 디바이스 고유 주소
AppEUI : 공개키
AppKey : 비밀키

이미지 출처 : https://www.instructables.com/AI-on-the-Edge-Device-With-LORAWAN-Module/
2) LoRaWAN 모듈(Lora-shuttle) 펌웨어 구성
튜토리얼은 LoRa-shuttle 예제로 allexoK/Lora-Shuttle-examples를 사용하도록 안내합니다.
예제 중 I2CShuttleSlave를 사용해 셔틀을 I2C Slave로 동작시키고, 메인 보드가 준 데이터를 받아 LoRaWAN 업링크를 담당하게 합니다.
**Region(EU868/US915 등)**을 거주 지역에 맞게 수정하라고 강조합니다.

이미지 출처 : https://www.instructables.com/AI-on-the-Edge-Device-With-LORAWAN-Module/
3) ESP32-S3(AI on the Edge) 플래싱 + 네트워크 연결 + LoRaWAN 설정
웹 플래셔로 펌웨어 설치 후, SD카드는 릴리즈의 manual-setup-s3 / SD-CARD.zip 내용을 복사하는 방식으로 구성합니다.
원문은 “Default is ethernet version”이라고 명시하며, 이더넷 연결 후 시리얼 로그에서 LAN: Assigned IP를 확인하고 그 IP로 웹 UI에 접속해 초기 설정을 진행합니다.
웹 UI(Settings > Configuration)에서 “LORAWAN” 항목에 1)에서 확보한 TTN 파라미터를 입력하고 재부팅합니다.


이미지 출처 : https://www.instructables.com/AI-on-the-Edge-Device-With-LORAWAN-Module/
4) TTN Live Data 확인 → (옵션) MQTT/Home Assistant 연동
시리얼 로그에서 "Publishing data via Lorawan..." 같은 메시지와 함께 JSON 문자열 형태의 업링크 예시가 제시됩니다.
TTN 콘솔의 Live Data에서 업링크를 확인하고, 필요하면 Other integrations > MQTT로 Home Assistant 등과 연동할 수 있다고 안내합니다.

이미지 출처 : https://www.instructables.com/AI-on-the-Edge-Device-With-LORAWAN-Module/
FAQ (원문 흐름을 돕는 형태로 정리)
1) TTN에서 왜 Payload Formatter를 설정하나요?
튜토리얼은 업링크가 “바이트 배열”로 들어오기 때문에, 사람이 읽을 수 있도록 bytes → ASCII 문자열로 바꾸고, 가능한 경우 JSON 파싱까지 해서 구조화된 데이터로 보이게 만드는 방법을 제시합니다. 이렇게 해두면 TTN Live Data에서 바로 의미 있는 값으로 확인하기 쉽고, 후단(MQTT 소비자)에서도 처리 부담이 줄어듭니다.
2) LoRaWAN 모듈은 왜 따로 쓰나요?
원문 구성은 LoRaWAN을 메인 보드에 직접 붙이는 대신, ESP32-C3 + SX1262 셔틀이 LoRaWAN 전송을 담당하고, 메인 ESP32-S3는 I2C로 전송할 메시지를 전달하는 방식입니다. 이렇게 분리하면 LoRaWAN 스택/무선 세부 설정은 셔틀에서 처리하고, 메인 장치는 본래 기능과 설정 UI에 집중하는 형태가 됩니다.
3) Region(EU868/US915 등) 설정은 왜 중요한가요?
튜토리얼과 셔틀 예제 README 모두, 거주 지역에 맞는 Region 설정을 바꾸라고 강조합니다. LoRaWAN은 지역별로 사용 가능한 주파수와 채널 규칙이 달라서, Region이 틀리면 조인/업링크가 실패하거나 동작이 불안정해질 수 있습니다.
4) ESP32-S3 장치는 어떻게 초기 접속하나요?
문서에는 “기본은 이더넷 버전”이라고 되어 있고, 이더넷 연결 후 시리얼 로그에서 **할당된 IP(LAN: Assigned IP)**를 확인한 뒤 그 IP로 웹 브라우저에서 장치 UI에 접속해 설정합니다. 또한 lan.ini/wlan.ini 자동 생성 및 문제가 있을 때 AP 모드로 복구 접속하는 흐름도 로그로 제시됩니다.
5) 업링크가 실제로 나가는지 어디서 확인하나요?
튜토리얼은 두 군데에서 확인 흐름을 보여줍니다. 하나는 장치의 시리얼 로그에서 "Publishing data via Lorawan..." 같은 메시지와 페이로드 예시를 보는 것이고, 다른 하나는 TTN 콘솔의 Live Data에서 업링크 수신 여부와 Payload Formatter 적용 결과를 확인하는 것입니다.
Overview
AI-on-the-edge-device is a widely used open-source project that runs on ESP32-class boards with a camera to capture analog utility meters (water/gas/electricity) and extract the numeric readings locally using on-device AI (digitizing the display).
This Instructables article focuses on a practical integration: it takes the result data produced on an ESP32-S3 (AI on the Edge firmware) and forwards it to a separate LoRaWAN module (ESP32-C3 + SX1262), uplinks it to TTN (The Things Network), and—if needed—connects it onward to Home Assistant via TTN’s MQTT integration, step by step.
Image source : AI
Components
AI-On-The-Edge-Cam (ESP32-S3, PoE, SD, Camera)
Image source: https://hackaday.io/project/203879-ai-on-the-edge-cam
Lora-shuttle HT-CT62 (ESP32-C3 + SX1262)
Image source: https://heltec.org/project/ht-ct62/
SD card, Ethernet cable, USB-C cable
End-to-End Flow Summary
1) Register an End Device on TTN + prepare the payload decoder
Create an application in the TTN Console, then register the End device manually.
Select the frequency plan for your region (e.g., Europe 863–870 MHz) and choose LoRaWAN 1.0.3.
To make uplinks human-readable, configure Payload Formatter (Uplink) → Custom JavaScript so that received bytes are converted to an ASCII string, and then parsed as JSON when possible.
Record the AppEUI / DevEUI / AppKey for later device configuration.
DevEUI : Device Unique Address
AppEUI : Public key
AppKey : Private key
Image source: https://www.instructables.com/AI-on-the-Edge-Device-With-LORAWAN-Module/
2) Configure the LoRaWAN module (Lora-shuttle) firmware
The tutorial points you to the LoRa-shuttle examples repo: allexoK/Lora-Shuttle-examples.
Use the I2CShuttleSlave example so the shuttle runs as an I2C Slave: it receives data from the main board and handles the LoRaWAN uplink.
It emphasizes updating the Region (EU868/US915, etc.) to match your location.
Image source: https://www.instructables.com/AI-on-the-Edge-Device-With-LORAWAN-Module/
3) Flash the ESP32-S3 (AI on the Edge) + network + LoRaWAN settings
Flash firmware via the web flasher, then prepare the SD card by copying the contents of the release package: manual-setup-s3 / SD-CARD.zip.
The article states “Default is ethernet version.” After connecting Ethernet, check the serial log for “LAN: Assigned IP”, then open the device’s web UI at that IP to proceed with setup.
In the web UI (Settings > Configuration), find the “LORAWAN” section, enter the TTN parameters from step (1), and reboot.
Image source: https://www.instructables.com/AI-on-the-Edge-Device-With-LORAWAN-Module/
4) Verify in TTN Live Data → (Optional) MQTT/Home Assistant integration
The serial log shows examples like “Publishing data via Lorawan…” along with a JSON-string-style uplink payload.
Verify uplinks in TTN Console → Live Data.
If needed, the tutorial notes you can integrate with Home Assistant by using Other integrations > MQTT in TTN.
Image source: https://www.instructables.com/AI-on-the-Edge-Device-With-LORAWAN-Module/
FAQ (Structured to support the tutorial flow)
1) Why configure a Payload Formatter on TTN?
Because uplinks arrive as a byte array, the tutorial shows how to convert bytes → ASCII string, and then parse it as JSON when possible so the data appears structured and readable in TTN Live Data. This also reduces parsing work for downstream consumers (e.g., MQTT subscribers).
2) Why use a separate LoRaWAN module?
Instead of attaching LoRaWAN directly to the main board, the design uses an ESP32-C3 + SX1262 shuttle to handle LoRaWAN transmission, while the ESP32-S3 only sends the message over I2C. With this split, LoRaWAN stack/radio details stay on the shuttle, and the main device focuses on its primary firmware/UI responsibilities.
3) Why is the Region setting (EU868/US915, etc.) so important?
Both the tutorial and the shuttle example README emphasize changing Region to match your location. LoRaWAN frequency plans and channel rules are region-specific; if Region is wrong, join/uplink may fail or become unstable.
4) How do you access the ESP32-S3 device for initial setup?
The document says the default is Ethernet. After connecting Ethernet, you check the serial log for the assigned IP (“LAN: Assigned IP”) and then open the device’s web UI in a browser using that IP. It also shows a recovery path (AP mode) if networking files are missing or configuration fails.
5) Where do you confirm that uplinks are actually being sent?
The tutorial uses two checkpoints:
The device serial log (e.g., “Publishing data via Lorawan…” plus a payload example), and
TTN Console → Live Data, where you can confirm reception and see the formatter-decoded output.