
How to send AT command to WizFi360-EVB-Pico using Kaluma.js
This tutorial explains how to use kaluma basics and how to connect to WiFi using WizFi360 and send AT commands.

WIZnet - WizFi360-EVB-Pico
x 1
Kaluma - Kaluma.js
x 1
1. Introduction
This tutorial explains how to use Kaluma basics and how to connect to WiFi using WizFi360 and send AT commands.
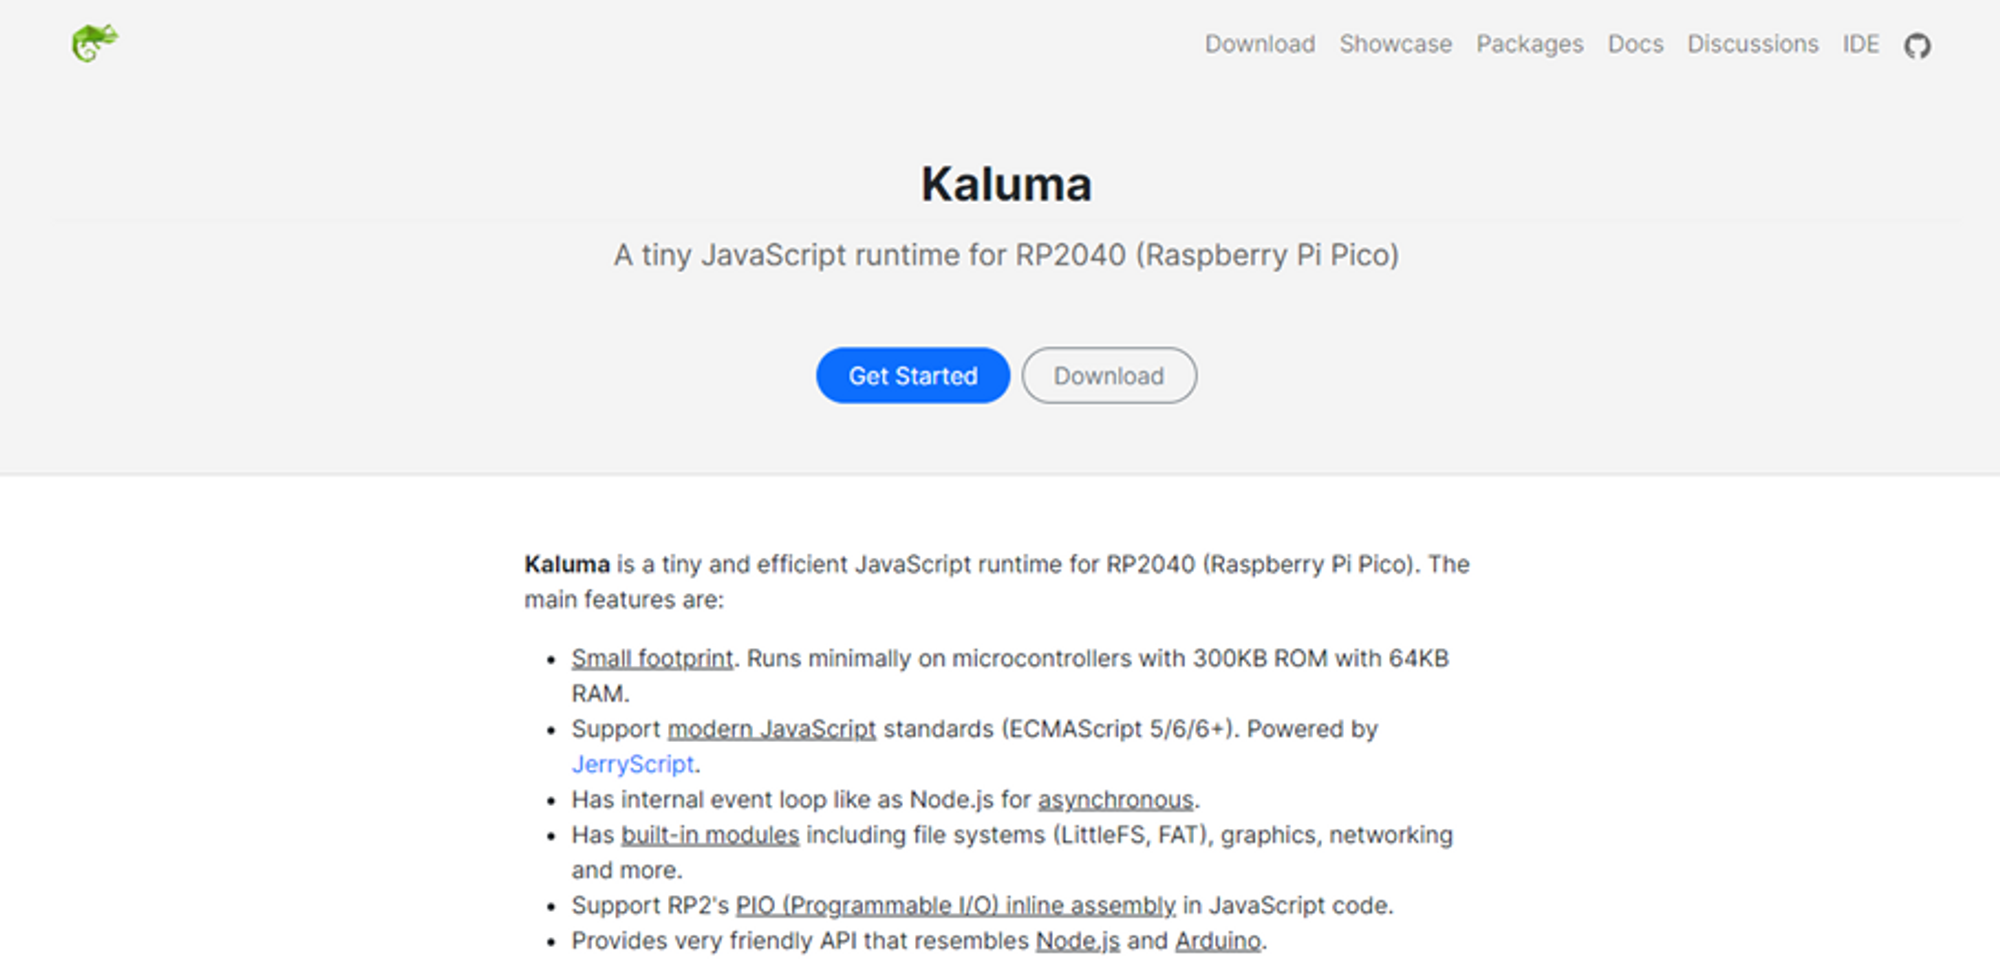
1.1. What is Kaluma?
Kaluma is a tiny and efficient JavaScript runtime for RP2040 (Raspberry Pi Pico). Please refer the below link for more its details.
2. Getting Started (Turn on the built-in LED)
2.1. Upload the firmware
Download the .uf2 firmware file from the link below and upload it to the WizFi360-EVB-Pico.
https://kalumajs.org/download/
2.2. Install Kaluma CLI
In order to program Pico with Kaluma runtime, Kaluma CLI must first be installed. Node.js must be pre-installed.
npm install -g @kaluma/cliAfter the installation, run the blow commands to check the help and the name of the connected serial port.
# Check the CLI help
> kaluma help

# Check the serial port
> kaluma ports
2.3. Connect with Terminal
Connect to Pico and send commands through a serial terminal program such as Putty or TeraTerm.
Sending the .hi command prints kaluma's welcome message.
> .hi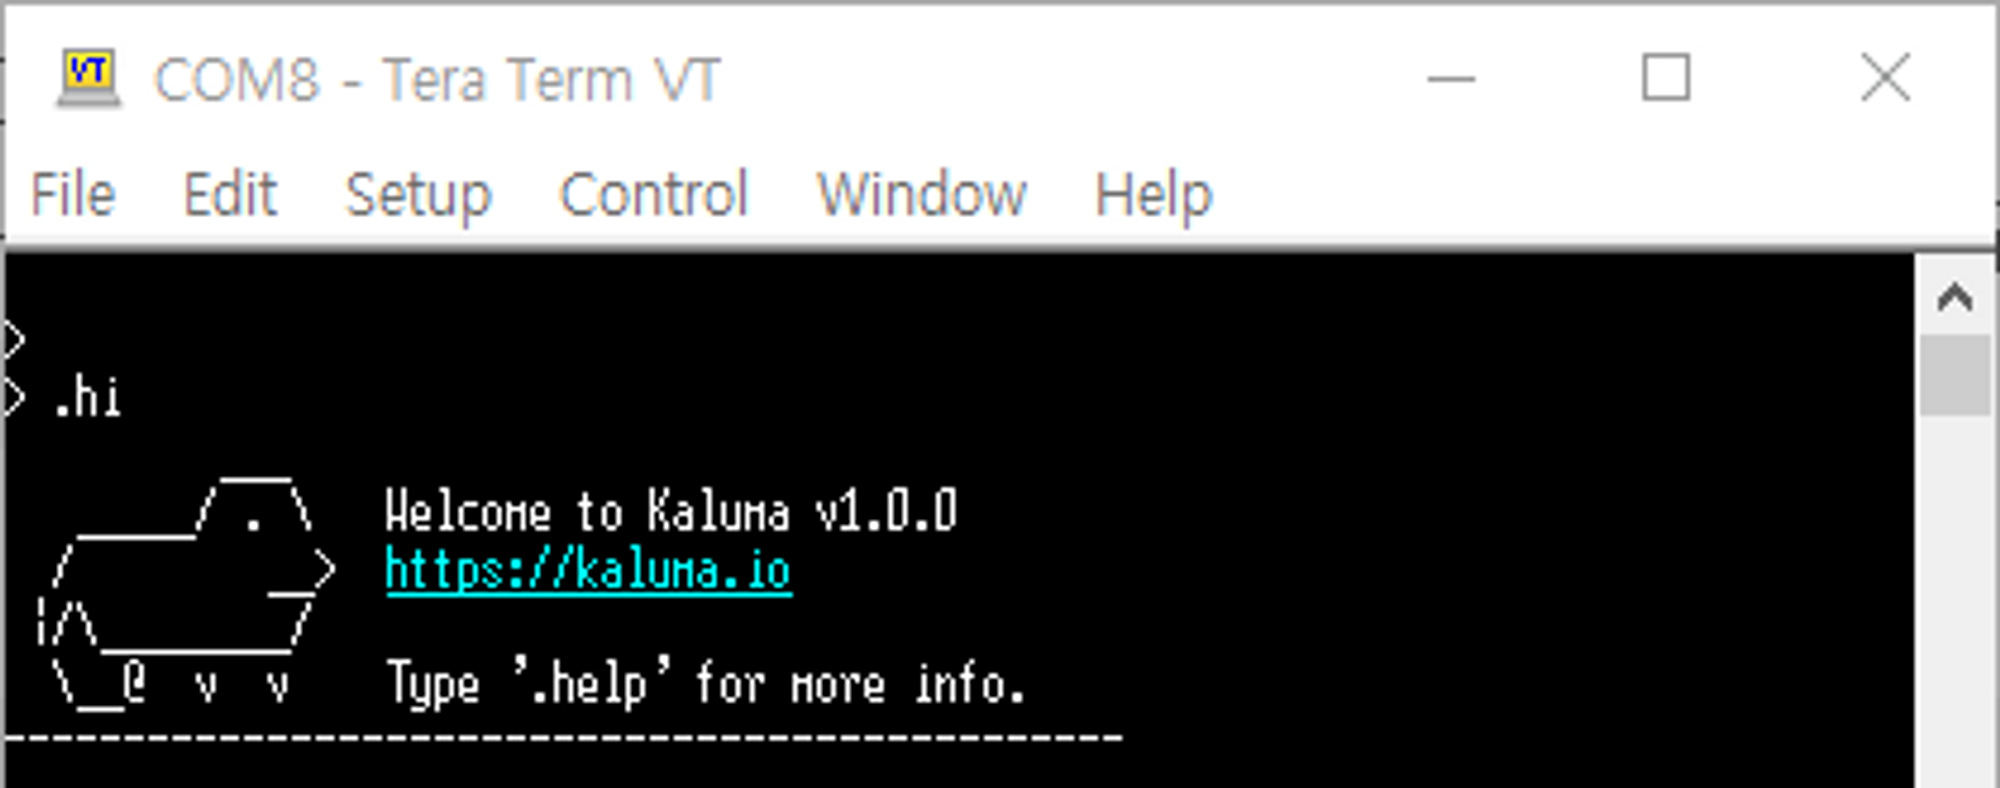
2.4. Turn on the built-in LED
Enter the below commands sequentially in the terminal to turn on the built-in LED.
Sending digitalWrite(25, HIGH) command turns the light on, and sending the digitalWrite(25, LOW) command turns it off.
> pinMode(25, OUTPUT);
> digitalWrite(25, HIGH);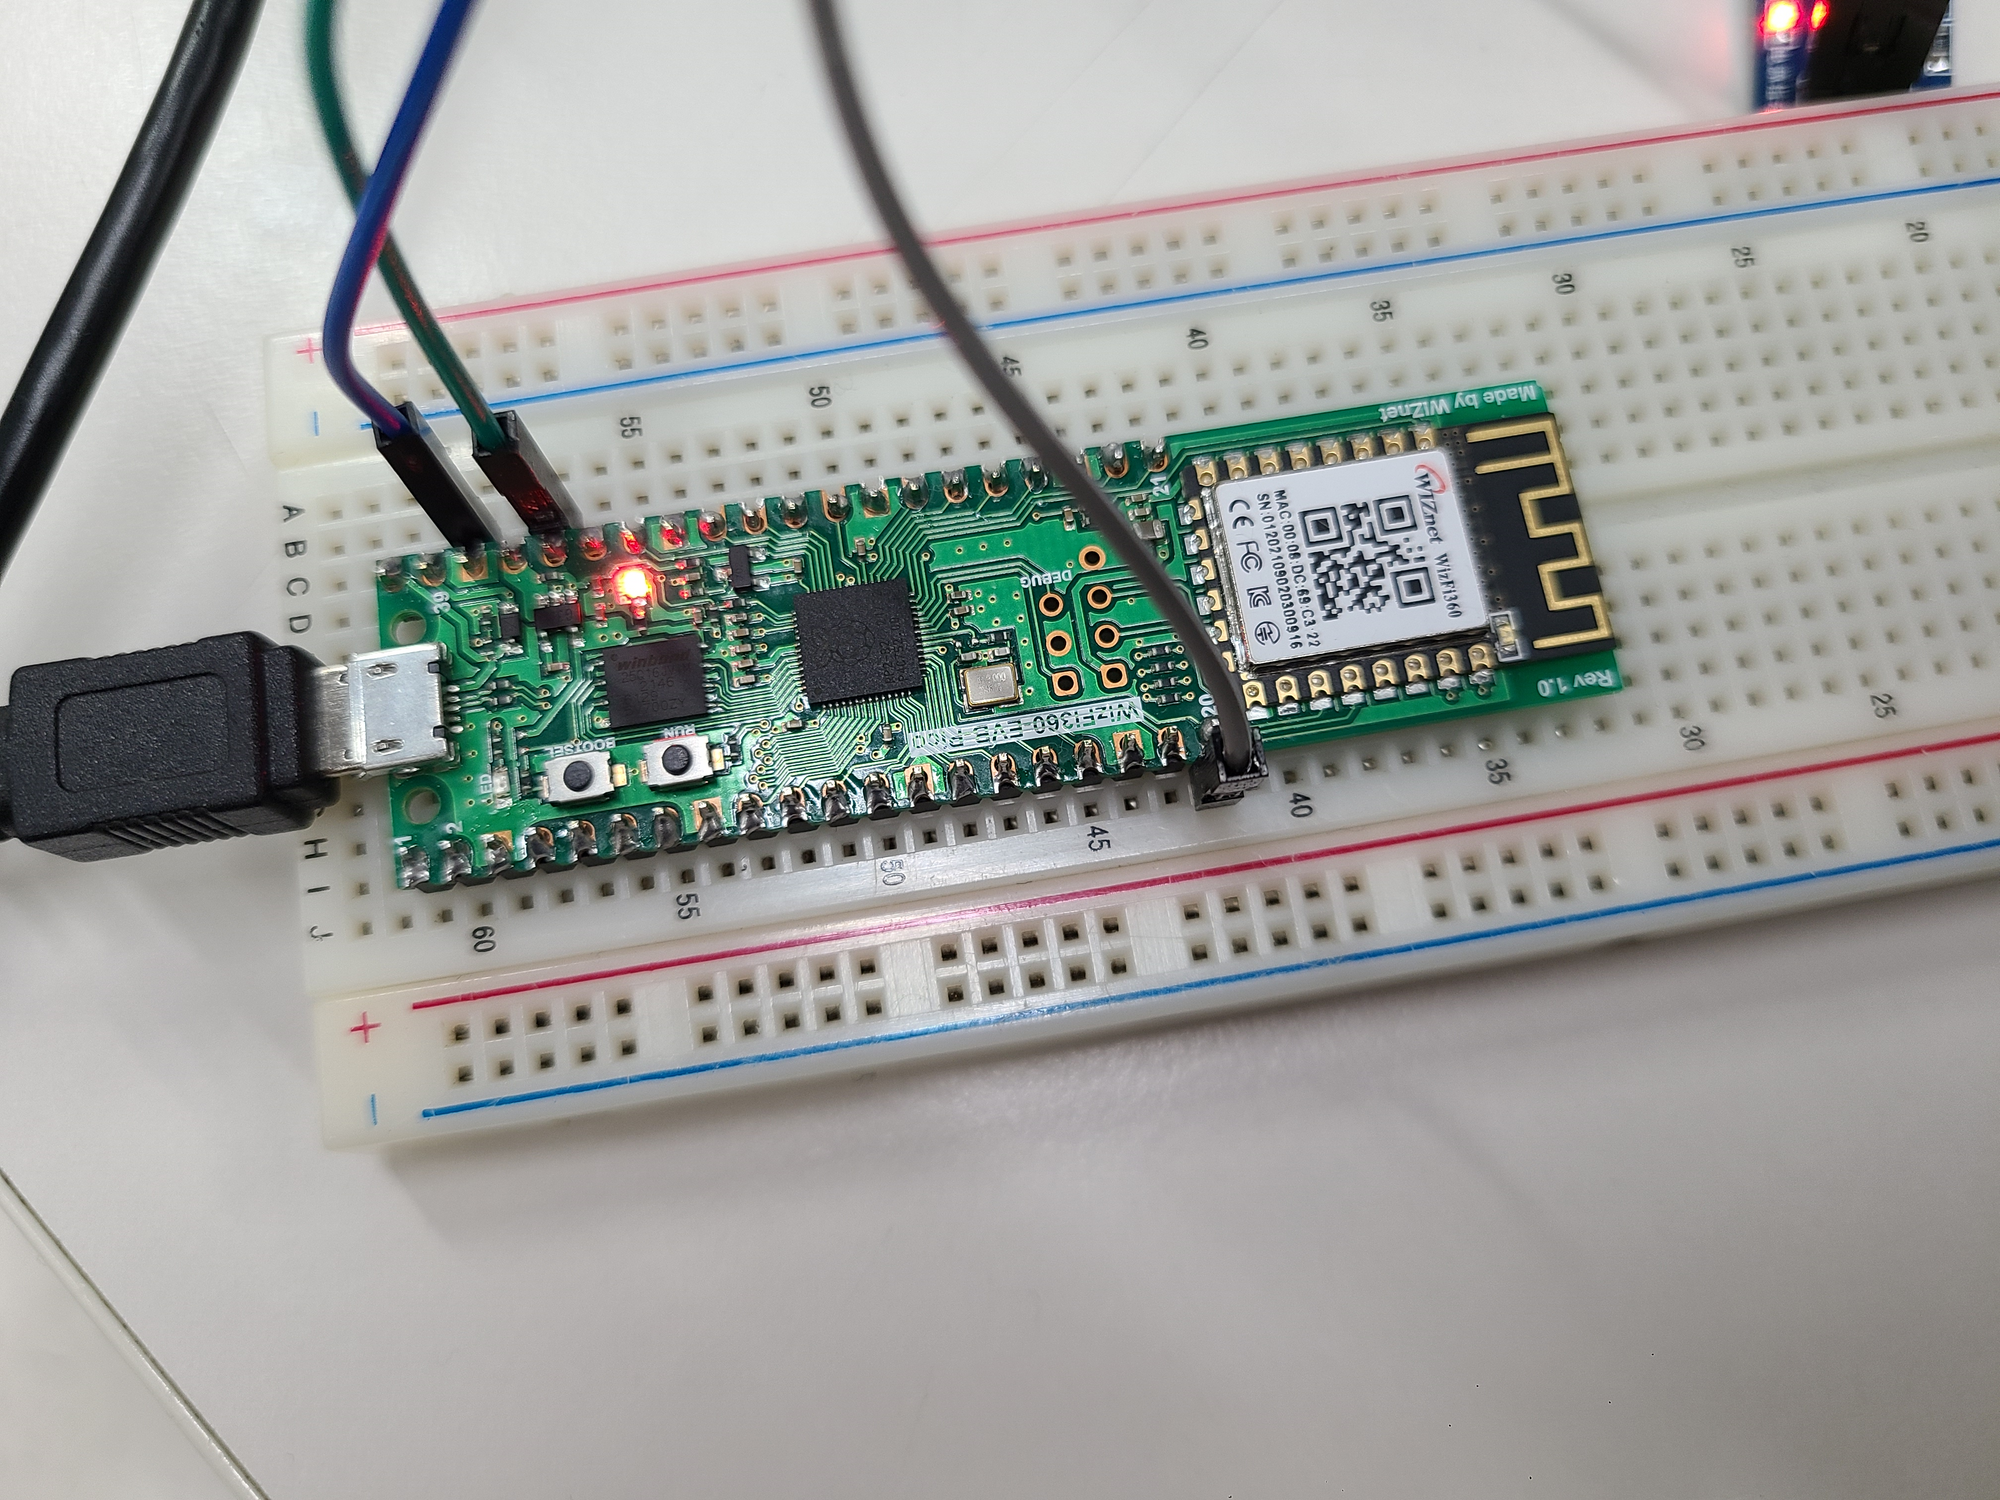
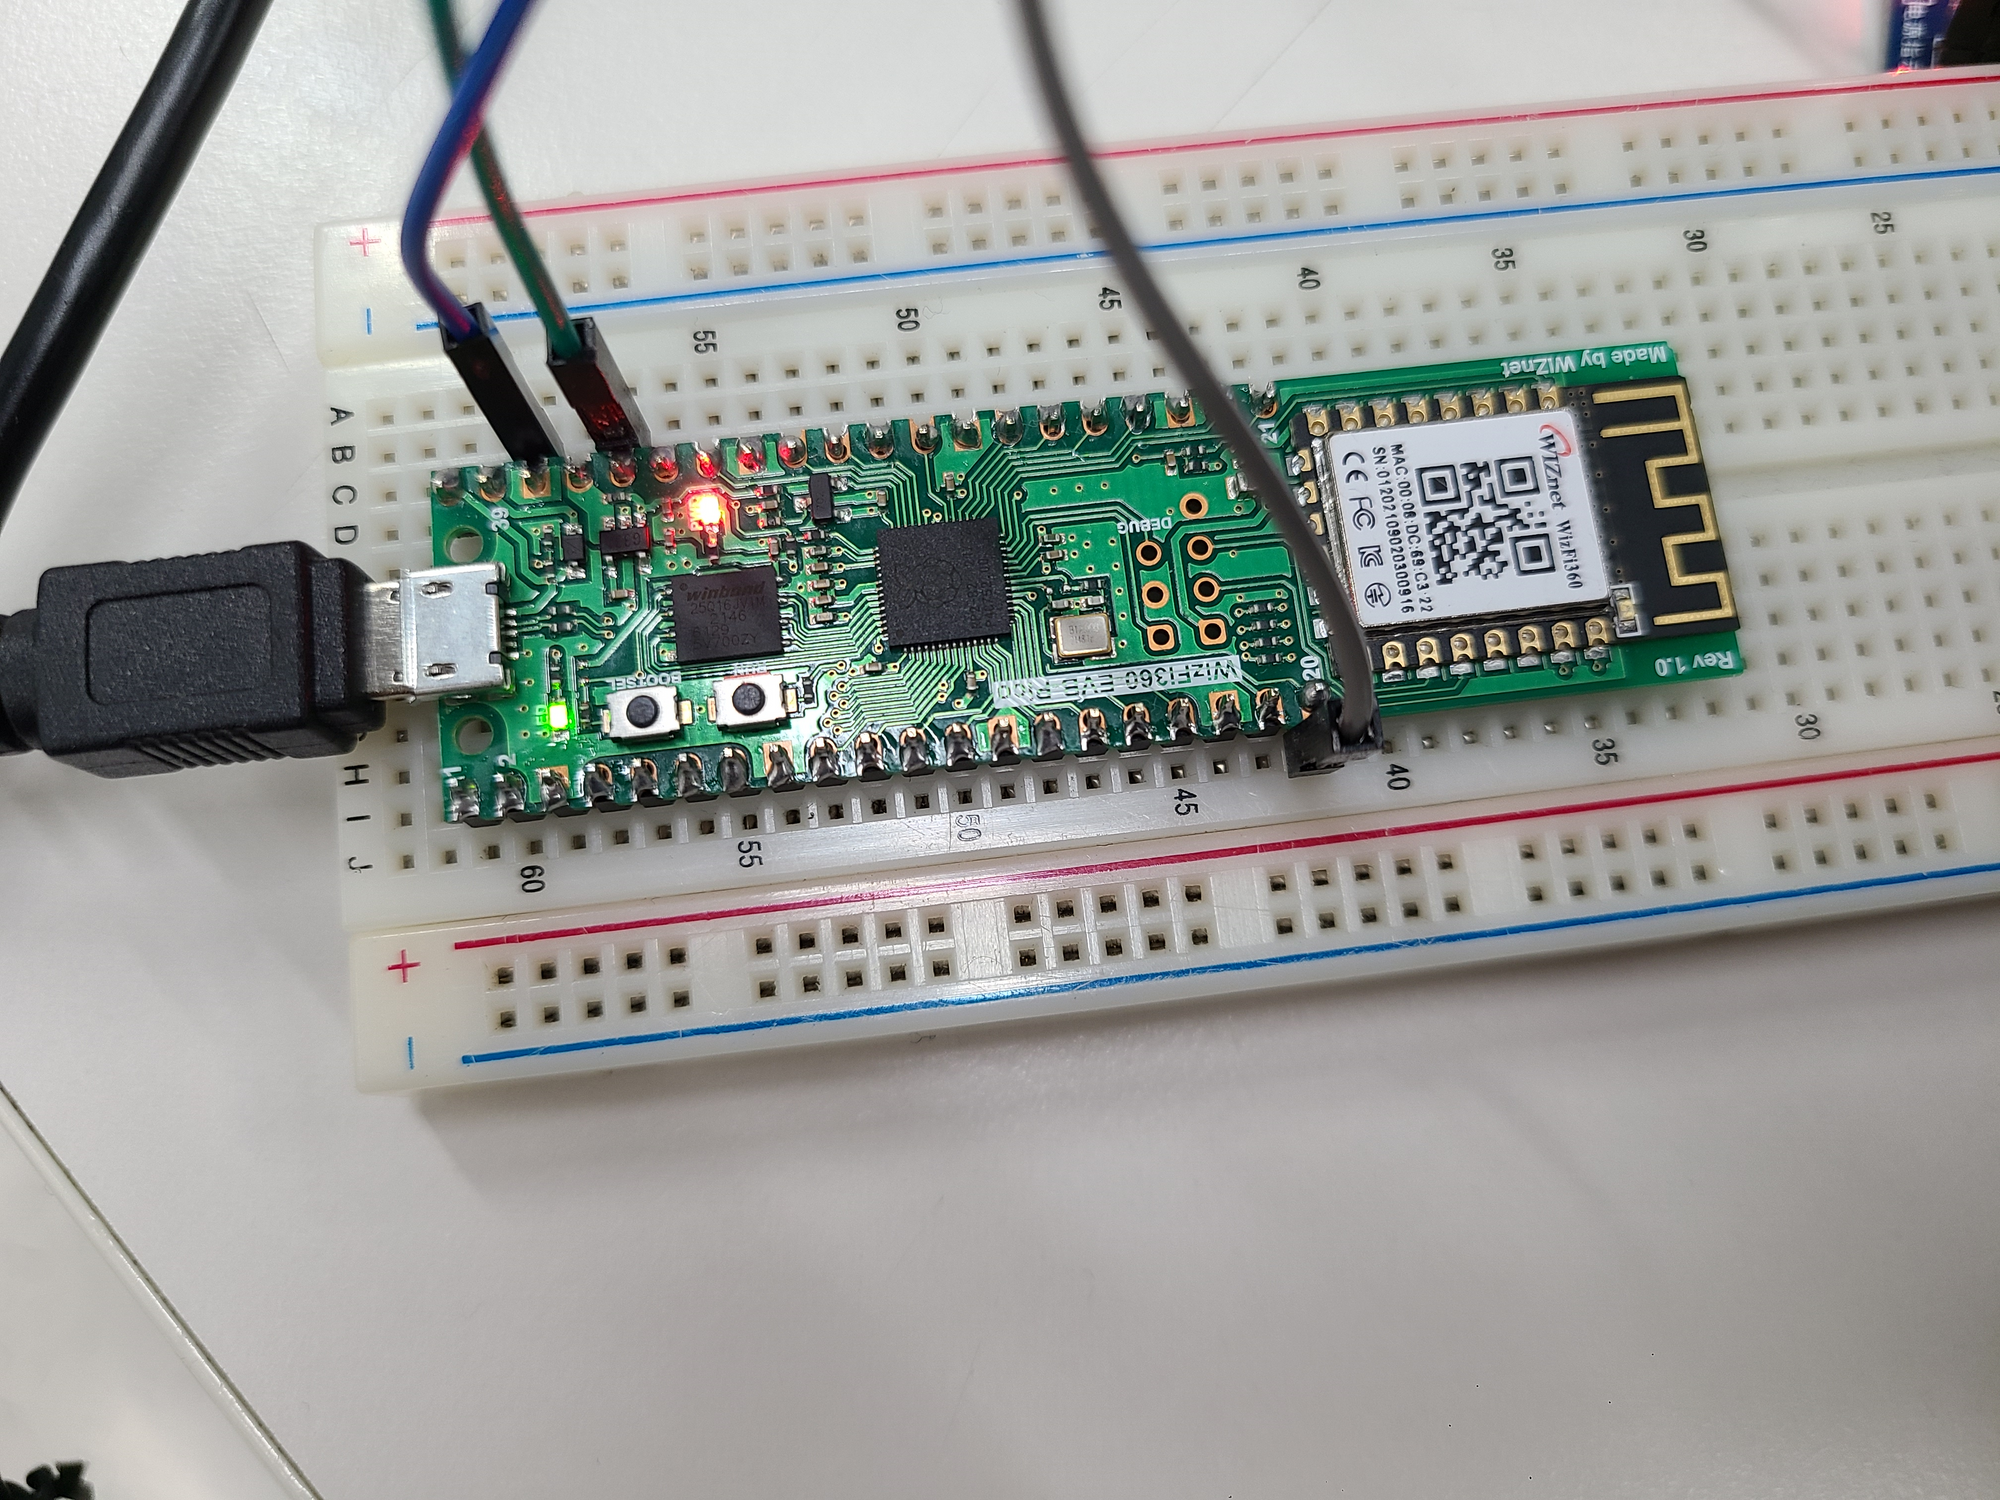
3. Send a AT Command to WizFi360
In Kaluma's basic example, WiFi communication is implemented by connecting an ESP8266 to a basic Pico board.
However, in this tutorial, WizFi360 built into the board is used to implement Wi-Fi communication.
3.1. UART
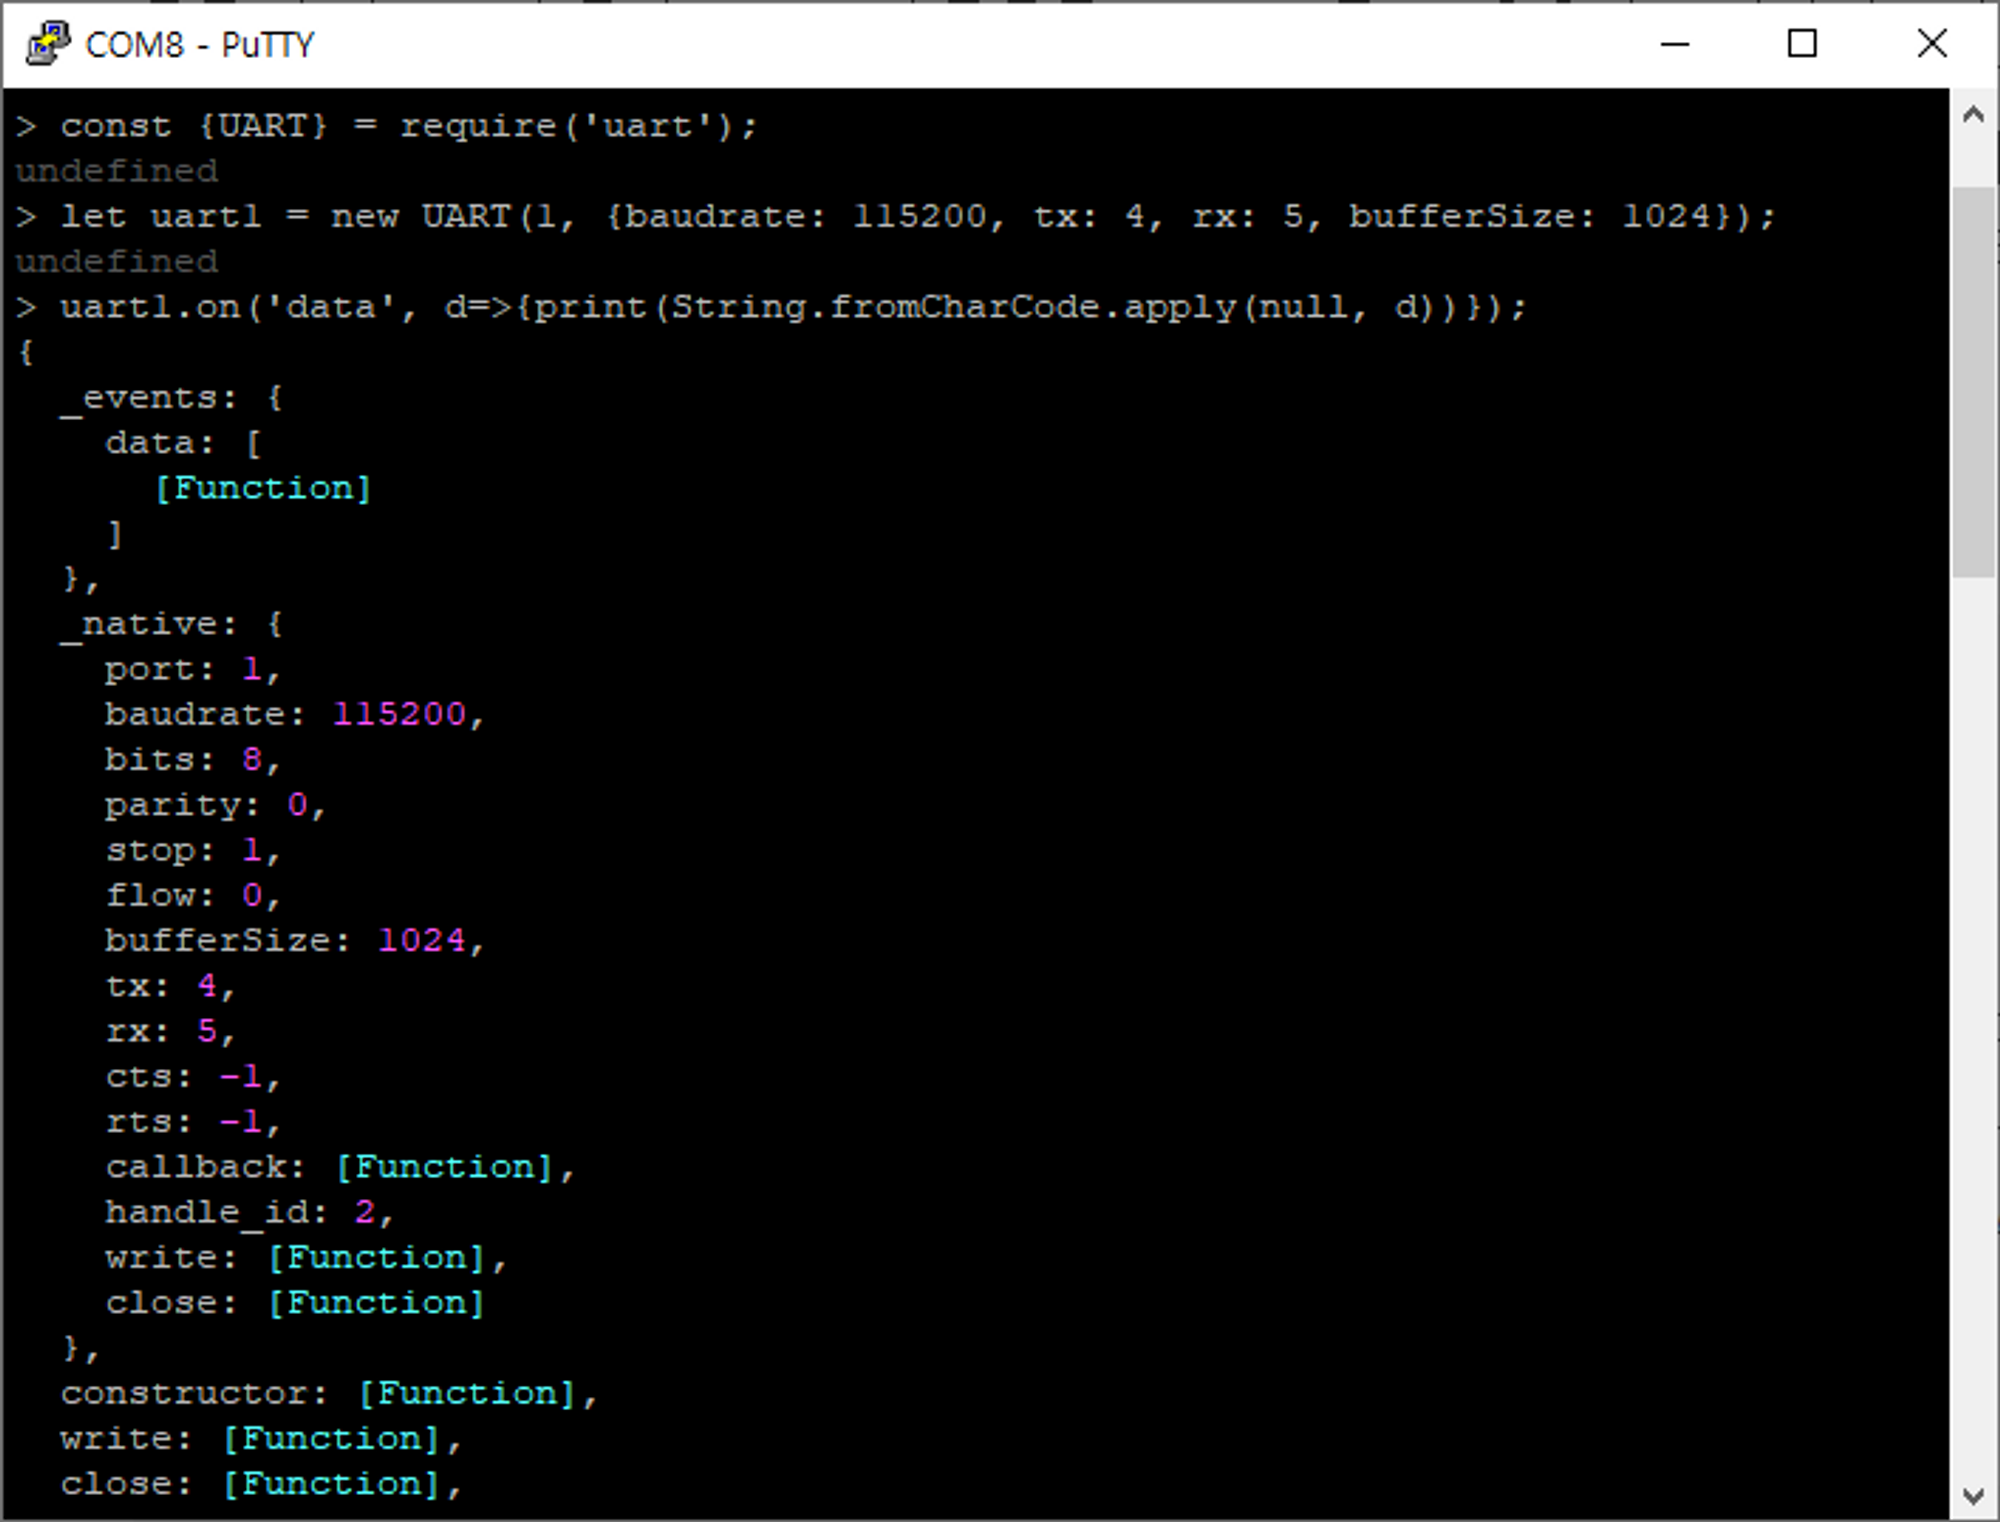
Enter the following commands in the terminal. Set the port and other options for UART communication. If you enter the last command, you can check the set port and other option information.
> const {UART} = require('uart');
> let uart1 = new UART(1, {baudrate: 115200, tx: 4, rx: 5, bufferSize: 1024});
> uart1.on('data', d=>{print(String.fromCharCode.apply(null, d))});
Items in _native can be set as options when creating a UART object.
3.2. Send a AT Command
3.2.1. Test AT Startup
Check if WizFi360 is properly connected and responds to AT commands normally.
If you send the string AT\r\n to the Pico via UART1, you can receive an echo of the sent command followed by a result OK.
> uart1.write('AT\r\n');
3.2.2. Reset WizFi360
if you see the ready, initialization is successful.
> uart1.write('AT+RST\r\n');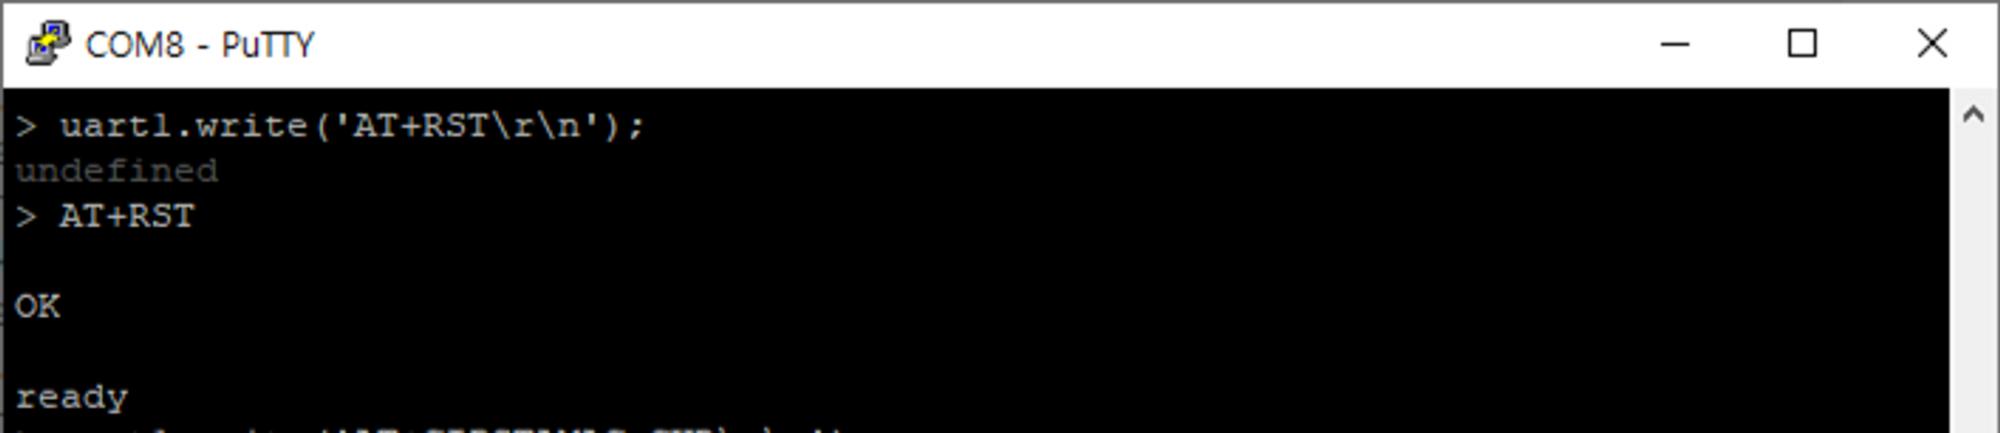
3.2.3. Check Mac address
> uart1.write('AT+CIPSTAMAC_CUR?\r\n');
3.2.4. Set station mode
Set WizFi360 to Station mode.
> uart1.write('AT+CWMODE_CUR=1\r\n');
3.2.5. Enable DHCP
> uart1.write('AT+CWDHCP_CUR=1,1\r\n');
3.2.6. Connect to the AP
Connect to an available AP. Enter the SSID and PASSWORD of the WiFi router to use and send the command.
> uart1.write('AT+CWJAP_CUR="WIFI_SSID","WIFI_PASSWORD"\r\n');If the connection is successful, the output is as shown below.

So, we learned how to send AT commands to WizFi360-EVB-Pico and connect to WiFi using Kaluma. More various AT commands of WizFi360 can be found the link.