
Implementing a digital twin using Roblox and Raspberry Pi
Discover the fusion of Roblox & Raspberry Pi in creating digital twins! Dive into real-time data analysis & predictive maintenance with our hands-on guide.
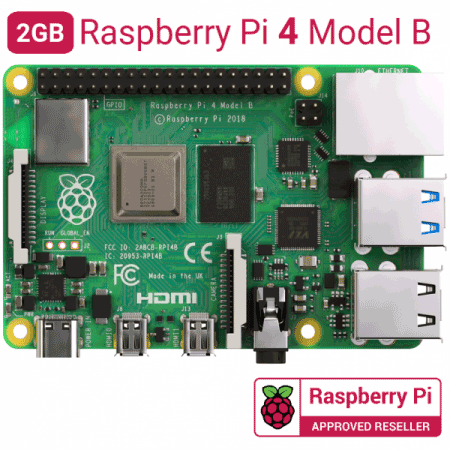
Raspberry Pi - Raspberry Pi 4 Model B
x 1
roblox - Roblox Studio
x 1
1. Prologue
The Advantages and Importance of Digital Twins
Digital twins create a digital replica of physical objects, enabling real-time data collection and analysis. This technology bridges the gap between the physical and digital worlds, allowing for various simulations and tests. The increasing interest in the digital twin industry is justified for several reasons:
- Efficient Resource Management: Through digital twins, companies can reduce resource wastage and cut operational costs.
- Predictive Maintenance: The real-time monitoring of machinery and equipment allows for the prediction and addressing of issues before they occur, extending the lifespan of equipment and saving costs.
- Quick Decision-Making: Real-time data analysis and simulations facilitated by digital twins enable companies to make faster and more accurate decisions, enhancing their competitive edge in the market.
- Product Development and Testing: Digital twins allow for various simulations and tests to be conducted before the actual product is manufactured, enhancing product quality and saving both time and costs in the development process.
- Sustainable Environment: The application of digital twin technology in environmental monitoring and management promotes eco-friendly operations and the establishment of sustainable business models.
- New Business Models and Opportunities: Digital twins pave the way for new business models and opportunities, empowering companies to develop new services and solutions and explore new markets.
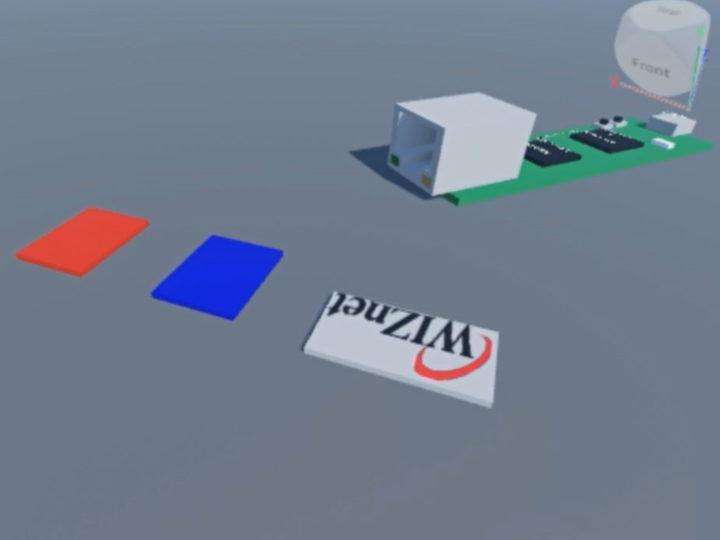
In this project, we will create a simple example of a digital twin using Roblox. We will implement a simple physical environment using Roblox and develop a client that communicates with a Raspberry Pi server through HTTP communication.
Step 1 : Install Roblox Studio
Step 2 : Create a New Game
Step 3 : File - Game Settings - Security - Allow HTTP Requests
Step 4 : Create a New Part and Write a Script File
Importing Necessary Services
local HttpService = game:GetService("HttpService")
local bluePart = workspace:WaitForChild("Blue")
This part of the script imports necessary services:
- HttpService: This service allows the script to make HTTP requests from the server.
- bluePart: This refers to a specific object in the game's workspace named "Blue".
Initializing Variables
local isOnPart = false
local debounce = false
Here, two variables are initialized:
- isOnPart: A boolean variable to track whether a player is on the blue part or not.
- debounce: A boolean variable to prevent the functions from being called multiple times in quick succession (debouncing).
Function Definitions
sendMessageToServer Function
local function sendMessageToServer(message)
	local url = "http://222.98.173.213:5000/endpoint"
	local response
	local success, err = pcall(function()
		response = HttpService:RequestAsync({
			Url = url,
			Method = "POST",
			Headers = {
				["Content-Type"] = "application/json"
			},
			Body = HttpService:JSONEncode({message = message})
		})
	end)

	if success then
		print("Request successful: ", response.Body)
	else
		print("Request failed: ", err)
	end

	return response
end
This function sends a message to an external server using HTTP POST requests. The message parameter is encoded into JSON format and sent to the server's endpoint. Depending on whether the request was successful or not, a corresponding message is printed to the console. The server's response is returned.
handleServerResponse Function
local function handleServerResponse(response)
	if response and response.Body then
		local responseData = HttpService:JSONDecode(response.Body)  -- JSON 응답을 파싱
		if responseData.message == "Led on" then
			bluePart.Color = Color3.new(1, 1, 0)  -- 노란색
		elseif responseData.message == "Led off" then
			bluePart.Color = Color3.new(0, 0, 1)  -- 파란색
		end
		print("Server response: ", responseData.message)  -- 서버 응답 로그
	else
		print("No response from server")  -- 서버에서 응답이 없음
	end
end
This function handles the server's response. If a response is received, it decodes the JSON data to extract the message. Depending on the message, it changes the color of the bluePart ("Led on" changes the color to yellow, and "Led off" changes it to blue) and prints the server's response to the console.
onPartTouch Function
local function onPartTouch(hit)
	local character = hit.Parent
	local humanoid = character:FindFirstChildOfClass("Humanoid")

	if humanoid and not debounce then
		debounce = true
		print("Character touched the blue part")  -- 캐릭터가 파란 파트에 닿았음
		isOnPart = true
		while isOnPart do
			local response = sendMessageToServer("stand in the blue part")
			handleServerResponse(response)
			print("Character is on the blue part")  -- 캐릭터가 파란 파트 위에 있음 (반복적으로 로깅됨)
			if not isOnPart then
				break
			end
			wait(1)  -- 1초 기다림
		end
		debounce = false
		wait(0.5)  -- debounce 시간을 주어 "TouchEnded" 이벤트와 충돌이 없도록 함
	end
end
This function is executed when a player touches the blue part. It verifies if a humanoid object (player character) touched the part, and if the function is not already being executed (using the debounce variable). If true, it enters a loop where it continuously sends a message to the server and handles the response as long as the player is on the part, with a 1-second interval between each iteration.
onPartTouchEnded Function
local function onPartTouchEnded(hit)
	local character = hit.Parent
	local humanoid = character:FindFirstChildOfClass("Humanoid")

	if humanoid then
		debounce = true
		print("Character left the blue part")  -- 캐릭터가 파란 파트에서 떠났음
		isOnPart = false
		local response = sendMessageToServer("leave the blue part")
		handleServerResponse(response)
		print("Character is off the blue part")  -- 캐릭터가 파란 파트 밖에 있음
		debounce = false
		wait(0.1)  -- debounce 시간을 줄임
	end
end
This function is similar to the onPartTouch function but is executed when the player leaves the blue part. It sends a message to the server and handles the response accordingly, indicating that the player has left the part.
Event Connections
bluePart.Touched:Connect(onPartTouch)
bluePart.TouchEnded:Connect(onPartTouchEnded)
Here, the onPartTouch and onPartTouchEnded functions are connected to the "Touched" and "TouchEnded" events of the bluePart, respectively, to monitor player interactions with the part.
Step 5 : Implementing a Raspberry Pi HTTP Server
Installing Flask
Before you can run your server script, you'll need to install Flask, a lightweight WSGI web application framework in Python. You can do this by using the following command in your Raspberry Pi terminal:
pip install flask
This command will download and install the Flask package, allowing you to create web servers and develop web applications in Python.
Raspberry Pi HTTP Server Code
from flask import Flask, request, jsonify

app = Flask(__name__)

# Variable to store the state
led_state = False

@app.route('/endpoint', methods=['POST'])
def handle_request():
    global led_state
    message = request.json.get('message')

    if message == "stand in the blue part":
        led_state = not led_state  # Toggle the LED state
        response_message = "Led on" if led_state else "Led off"
    elif message == "leave the blue part":
        led_state = False  # Turn off the LED state
        response_message = "Led off"
    else:
        response_message = "Unknown message"

    return jsonify(message=response_message)

if __name__ == '__main__':
    app.run(host='0.0.0.0', port=5000)
In this script:
Importing necessary modules: The Flask, request, and jsonify modules are imported from the flask package to create the web server and handle HTTP requests and responses.
Initializing the Flask application: A Flask application instance is created which will be used to define route handlers and run the server.
State variable (led_state): A boolean variable named led_state is initialized to False. This variable will be used to keep track of the current state of a hypothetical LED.
Route Handler (/endpoint): A route handler is defined for the URL path '/endpoint', which only accepts POST requests. This handler retrieves the 'message' from the JSON body of the incoming request and processes it to toggle the LED state or set it to off based on the message content. If the message is unrecognized, it responds with an "Unknown message" message. Finally, a JSON response containing the response message is returned.
Running the server: At the end of the script, the Flask application is run on host '0.0.0.0' and port 5000, making the server accessible from any IP address that can reach the Raspberry Pi.
-
github
