Arduino IoT Project - Remote Control a LED
Arduino IoT Project - Remote Control a LED
0
Components
Hardware components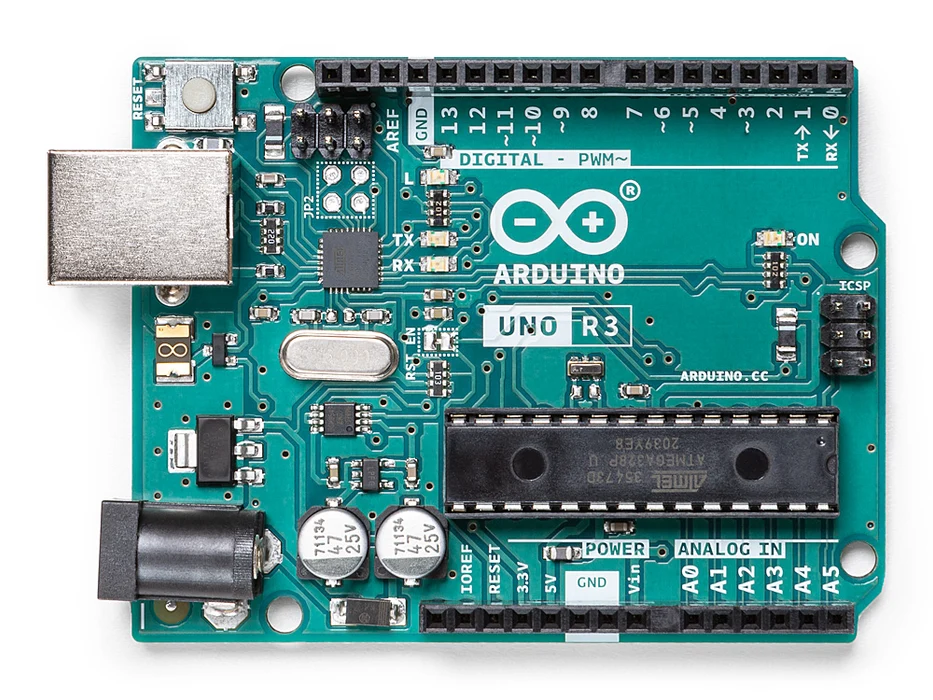
Arduino - Arduino UNO
x 1

Ethernet Shield W5100
x 1
USB cable
x 1
LED
x 1
200 ohm resistor
x 1
arduino
x 1
This project needs to connect Arduino to Cayenne IOT platform firstly, to learn how to setup arduino
Project description
Step 1: Circuit Graph:
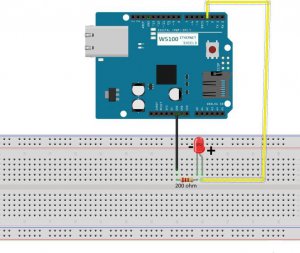 Connect Uno board with W5100 Ethernet shield, then wire the LED and resistor as per circuit graph
Step 2:
Connect Uno board with W5100 Ethernet shield, then wire the LED and resistor as per circuit graph
Step 2:
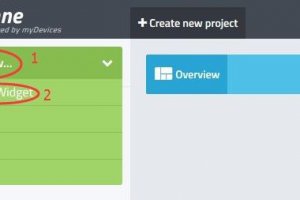
 Login Cayenne platform https://mydevices.com/ and add new device as following step:
Select”Add new…”-> Click Device/Widget”, Click: Actuators?>Light, choose Light Switch
Step 3: Set Attributes
Widget Name: Give your actuator a name
Select Device: Select your Arduino device, this lesson we using UNO, so choose Arduino UNO. Connectivity: Select your method of connectivity: There are Digital pins, Analog Pins and Cayenne Virtual Pins. Analog: If you’re reading data from an analog sensor, the Arduino may have several analog inputs that can be used. Simply connect your analog sensor to one of the analog pins on the Arduino. Make sure you select the correct corresponding pin when adding a widget for your analog sensor.
Digital A digital pin can be used to read data from a non-analog sensor, but the data will need to be written to a virtual channel. If you’re trying to read data from a non-analog sensor, you’ll most likely use a virtual pin.
Virtual:Virtual (http://www.cayenne-mydevices.com/CayenneStaging/do...) pins are channels to send and receive different data types from and to the Arduino (e.g. SPI, I2C, 1-Wire and devices connected to Arduino expansion boards). There are 26 virtual pins available for each Arduino board.
For more information about Analog or Virtual pins, please visit: https://mydevices.com/cayenne/docs/#sketch-files-...
This lesson we select Digital Pins D3.
Step 4: Software
Login Cayenne platform https://mydevices.com/ and add new device as following step:
Select”Add new…”-> Click Device/Widget”, Click: Actuators?>Light, choose Light Switch
Step 3: Set Attributes
Widget Name: Give your actuator a name
Select Device: Select your Arduino device, this lesson we using UNO, so choose Arduino UNO. Connectivity: Select your method of connectivity: There are Digital pins, Analog Pins and Cayenne Virtual Pins. Analog: If you’re reading data from an analog sensor, the Arduino may have several analog inputs that can be used. Simply connect your analog sensor to one of the analog pins on the Arduino. Make sure you select the correct corresponding pin when adding a widget for your analog sensor.
Digital A digital pin can be used to read data from a non-analog sensor, but the data will need to be written to a virtual channel. If you’re trying to read data from a non-analog sensor, you’ll most likely use a virtual pin.
Virtual:Virtual (http://www.cayenne-mydevices.com/CayenneStaging/do...) pins are channels to send and receive different data types from and to the Arduino (e.g. SPI, I2C, 1-Wire and devices connected to Arduino expansion boards). There are 26 virtual pins available for each Arduino board.
For more information about Analog or Virtual pins, please visit: https://mydevices.com/cayenne/docs/#sketch-files-...
This lesson we select Digital Pins D3.
Step 4: Software
 Then Click “Step 1: Sketh file”. the sample code will display. copy and paste the sketch file into your Arduino IDE
, Choose the Board type Arduino Uno and correct Port, and upload the sketch into Uno board.
Go to Cayenne dashboard, you can click “Step 2: Add Actuator”
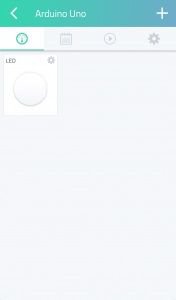
Then the LED widget will be added to your dashboard. You can turn on/off by clicking on the icon at the right of the LED widget.
At the same time, you can remote to control the LED from your smart phone.
Then Click “Step 1: Sketh file”. the sample code will display. copy and paste the sketch file into your Arduino IDE
, Choose the Board type Arduino Uno and correct Port, and upload the sketch into Uno board.
Go to Cayenne dashboard, you can click “Step 2: Add Actuator”
Then the LED widget will be added to your dashboard. You can turn on/off by clicking on the icon at the right of the LED widget.
At the same time, you can remote to control the LED from your smart phone.
Connect Uno board with W5100 Ethernet shield, then wire the LED and resistor as per circuit graph
Step 2:
Login Cayenne platform https://mydevices.com/ and add new device as following step:
Select”Add new…”-> Click Device/Widget”, Click: Actuators?>Light, choose Light Switch
Step 3: Set Attributes
Widget Name: Give your actuator a name
Select Device: Select your Arduino device, this lesson we using UNO, so choose Arduino UNO. Connectivity: Select your method of connectivity: There are Digital pins, Analog Pins and Cayenne Virtual Pins. Analog: If you’re reading data from an analog sensor, the Arduino may have several analog inputs that can be used. Simply connect your analog sensor to one of the analog pins on the Arduino. Make sure you select the correct corresponding pin when adding a widget for your analog sensor.
Digital A digital pin can be used to read data from a non-analog sensor, but the data will need to be written to a virtual channel. If you’re trying to read data from a non-analog sensor, you’ll most likely use a virtual pin.
Virtual:Virtual (http://www.cayenne-mydevices.com/CayenneStaging/do...) pins are channels to send and receive different data types from and to the Arduino (e.g. SPI, I2C, 1-Wire and devices connected to Arduino expansion boards). There are 26 virtual pins available for each Arduino board.
For more information about Analog or Virtual pins, please visit: https://mydevices.com/cayenne/docs/#sketch-files-...
This lesson we select Digital Pins D3.
Step 4: Software
Then Click “Step 1: Sketh file”. the sample code will display. copy and paste the sketch file into your Arduino IDE
, Choose the Board type Arduino Uno and correct Port, and upload the sketch into Uno board.
Go to Cayenne dashboard, you can click “Step 2: Add Actuator”
Then the LED widget will be added to your dashboard. You can turn on/off by clicking on the icon at the right of the LED widget.
At the same time, you can remote to control the LED from your smart phone.
