
Web-Based Firmware Upgrades Using WIZnet’s W55RP20 Chip
A proof-of-concept project that enables web-based MCU firmware upgrades using WIZnet’s ioNIC chip and a built-in webserver
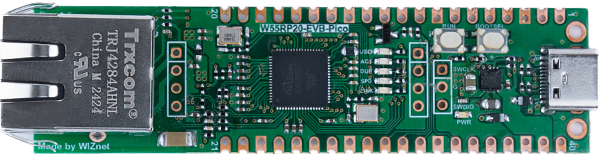
WIZnet - W55RP20-EVB-Pico
x 1

Raspberry Pi - Raspberry Pi Pico
x 1
Introduction
I came across a really interesting discussion on the Raspberry Pi forums about using a webserver to handle firmware updates, and it got me thinking. So I decided to build a little proof-of-concept project using WIZnet’s W55RP20 chip (ioNIC) to see if I could do something similar. I ended up porting the SWDLoader tool from the Circle project into my own code, and now I’ve got a setup where you can just upload firmware through a webpage and have it flash the target MCU directly.
Setup Overview
Here’s a quick look at the hardware and network setup I used for this proof-of-concept:
- Target MCU (Raspberry Pi Pico)
Connected via SWD (Serial Wire Debug) to the programmer board. - Programmer Board (WIZnet W55RP20-based board)
Acts as the webserver that hosts the firmware upgrade webpage. It communicates with the target MCU over SWD and handles the firmware upload via Ethernet. - Network & Client
The programmer board is plugged into an Ethernet network (via a router), and the client PC can access the webserver through any modern web browser. The client uploads the firmware image, and the webserver takes care of flashing it to the target MCU.
I used the SWDLoader tool (ported from Circle) for the actual firmware flashing part, while the webserver handles the file upload and user interface.
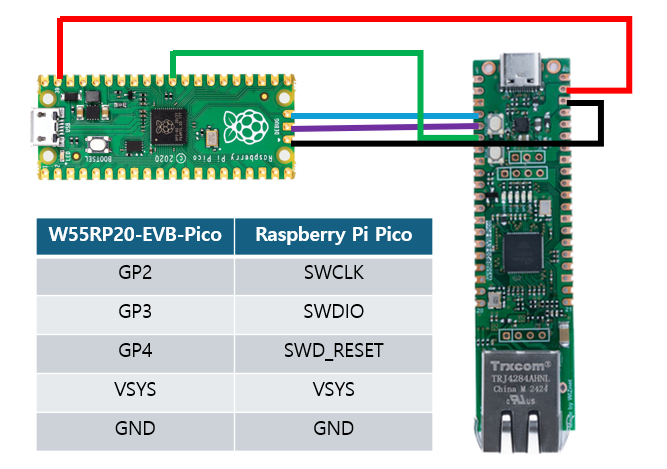
Hardware Connection
The programmer board (with the W55RP20 chip) acts as a bridge between the webserver and the target MCU (Raspberry Pi Pico). The SWD (Serial Wire Debug) interface is used to program the target MCU directly.
Firmware Description
For this proof-of-concept, I wanted to combine SWD programming with a webserver interface. So here’s what I did:
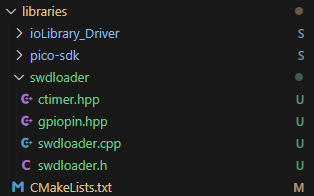
- SWDLoader: I ported the SWDLoader tool from the Circle project and placed it in the
librariesdirectory of my codebase. This tool handles the actual firmware writing over SWD. - Webserver: For the webserver part, I reused some code from a project I found. This gave me a basic HTTP file upload interface that I could tweak for my needs.
One small challenge I faced was that the SWDLoader is written in C++, while the webserver code I used is in C. To make everything work together smoothly, I had to create a small interface file that bridges the two. This file basically wraps the C++ SWDLoader code so it can be called from the C-based webserver, handling things like function declarations and data conversions where needed.
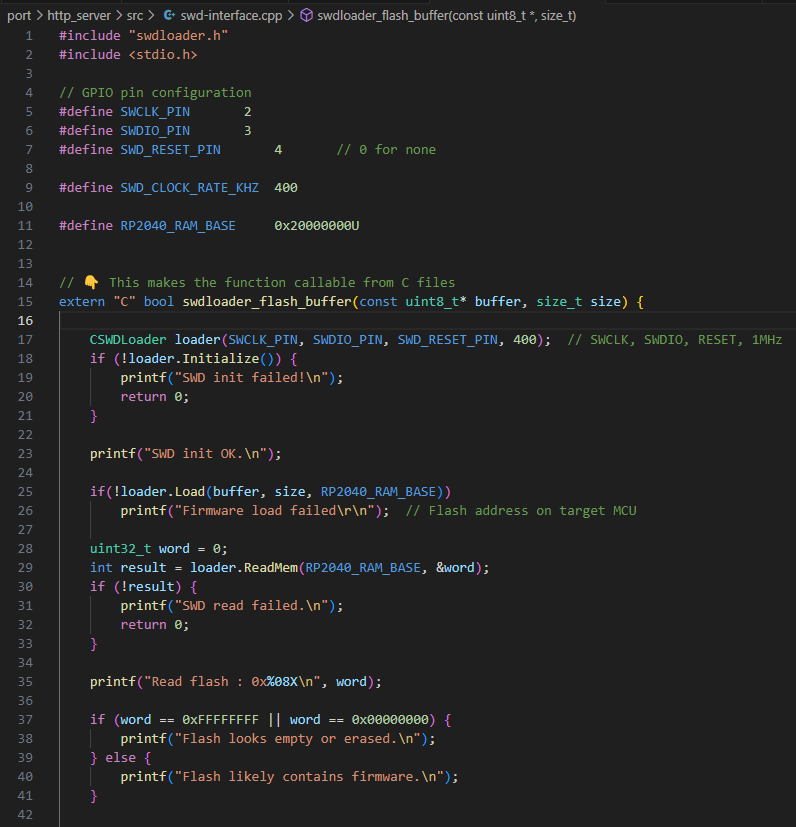
I also had to do quite a bit of work on the firmware processing side. First, I needed to figure out where exactly the firmware data starts in the HTTP request—it’s buried in the POST request body, so I had to parse out the headers and find the correct starting position. Then, before handing it over to SWDLoader, the firmware data had to be padded to a multiple of 4 bytes to match the SWDLoader’s requirements for writing to RAM.
Few key notes:
- Since this is just a proof-of-concept, I kept things simple and statically assigned a buffer of
30 * 1024bytes for the firmware data. I was only planning to test with a simple blink firmware, so that was more than enough. - Another important detail from the Circle repository is that the SWDLoader writes the firmware to RAM, not to flash directly. So I had to configure the target MCU’s firmware project to run from RAM. To do that, I added this line to the
CMakeLists.txtfile: - Finally, before writing the new firmware, I reset the target MCU’s flash using a special UF2 file (link here). This basically wipes out the flash so the MCU can boot and run the firmware directly from RAM without interference.
Results
To wrap it all up, I recorded a quick demo video showing the firmware upgrade process in action. You can see the web-based upload, how the firmware gets flashed to the MCU, and the final result (a simple blink firmware running on the target board).
Conclusion
This project was just a proof-of-concept to see if I could use a webserver running on the WIZnet W55RP20 chip to upgrade firmware for a target MCU. It turned out to work nicely for a simple blink firmware test!
Of course, in real-world applications, you’d probably want to use something more robust—like integrating with cloud storage, using an MQTT broker for secure updates, or adding authentication layers to the webserver. But for a quick test of the concept, this setup did exactly what I needed!
-
Source Code
