
Testing SSL with CircuitPython Firmware on W5500-EVB-Pico: A Comprehensive Guide
Explore SSL testing on the W5500-EVB-Pico using the latest CircuitPython firmware, detailing setup, implementation, and results

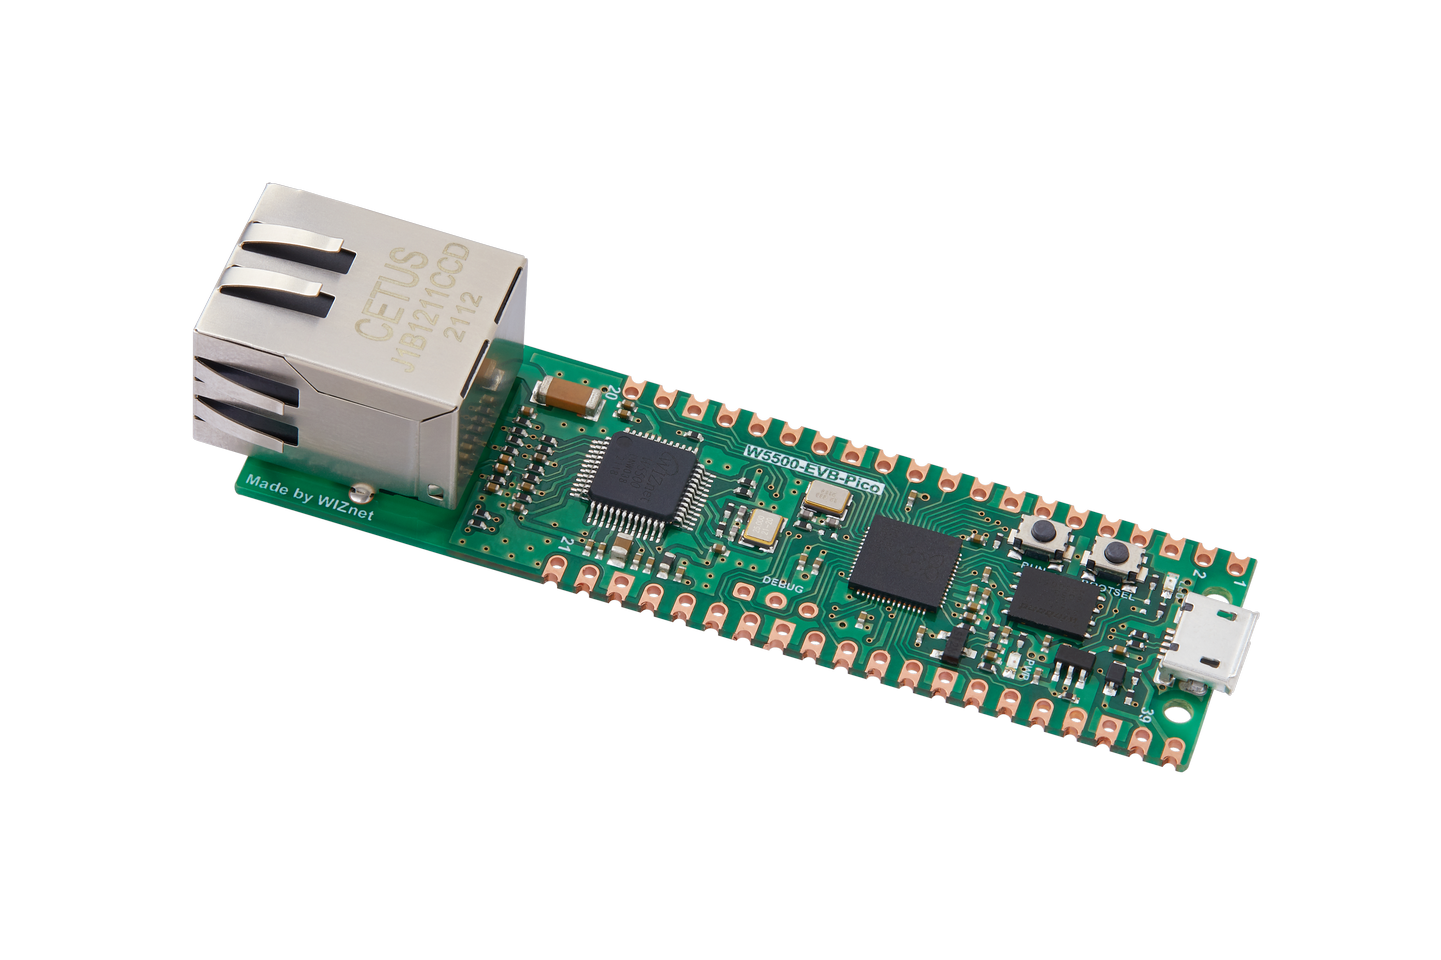
WIZnet - W5500-EVB-Pico
x 1
thonny.org - Thonny
x 1
Introduction
In the ever-evolving landscape of embedded systems and IoT devices, ensuring secure communication is paramount. The W5500-EVB-Pico, a versatile microcontroller board, offers a robust platform for networked applications. When combined with CircuitPython, an open-source programming language tailored for microcontrollers, developers can create secure and efficient projects with ease.
This project explores the integration of SSL (Secure Sockets Layer) with the latest CircuitPython firmware on the W5500-EVB-Pico. SSL is a crucial technology for establishing encrypted links between servers and clients, ensuring that data transmitted over the network remains confidential and tamper-proof.
How-to steps
Step 1. Prepare CircuitPython environment
Download latest firmware from circuitpython website.
As of this guide creation date, I used version CircuitPython 9.1.0-beta.2
Press BOOTSEL button on the W5500-EVB-Pico and upload downloaded uf2 file.
CIRCUITPY drive shall appear after.

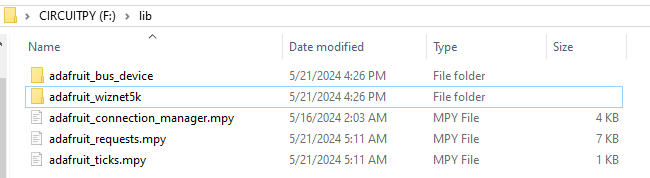
Download required libraries and copy them to CIRCUITPY\lib folder.
For this guide I used following libraries:
Step 2. Obtain certificate
Following instructions were found here: https://github.com/adafruit/circuitpython/pull/7029
Run below command to obtain self-signed certificate.
openssl s_client -servername self-signed.badssl.com -connect untrusted-root.badssl.com:443 < /dev/null | openssl x509 > self-signed.pemAs I am using Windows, I used following command when running from command prompt
openssl s_client -servername self-signed.badssl.com -connect untrusted-root.badssl.com:443 | openssl x509 -out self-signed.pemPlease note that you need to have openssl installed on your machine.
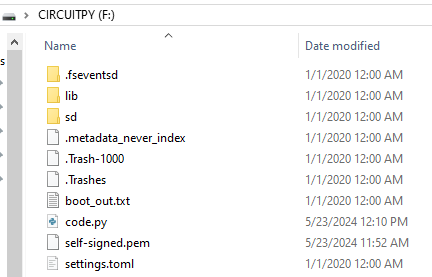
As result, self-signed.pem file shall appear in designated folder.
Copy this file to the CIRCUITPY drive
Step 3. The code
The Circuitpython code was made base on Ethernet examples in wiznet5k library and test code from pull request mentioned above.
import ssl
import time
import board
import busio
from digitalio import DigitalInOut
import adafruit_connection_manager
import adafruit_requests
from adafruit_wiznet5k.adafruit_wiznet5k import WIZNET5K
import traceback

#cs = DigitalInOut(board.D10)
#spi_bus = busio.SPI(board.SCK, MOSI=board.MOSI, MISO=board.MISO)

cs = DigitalInOut(board.GP17)
spi_bus = busio.SPI(board.GP18, MOSI=board.GP19, MISO=board.GP16)

# Initialize ethernet interface with DHCP
radio = WIZNET5K(spi_bus, cs)

# Initialize a requests session
pool = adafruit_connection_manager.get_radio_socketpool(radio)
ssl_context = adafruit_connection_manager.get_radio_ssl_context(radio)
requests = adafruit_requests.Session(pool, ssl_context)

print("Loading server certificate")
with open("/self-signed.pem", "rb") as certfile:
    ssl_context.load_verify_locations(cadata=certfile.read())
requests = adafruit_requests.Session(pool, ssl_context)

TEXT_URL = "https://self-signed.badssl.com/"
print(f"Fetching from {TEXT_URL} with certificate (should succeed)")

try:
    response = requests.get(TEXT_URL)
except Exception as e:
    print(f"Unexpected exception: {e}")
else:
    print(f"{response.status_code=}, should be 200 OK")
Please note that when defining cs and spi_bus, I got compile errors, that's why I just assigned the pins directly.
Result
After running the code, below result can be seen in the shell
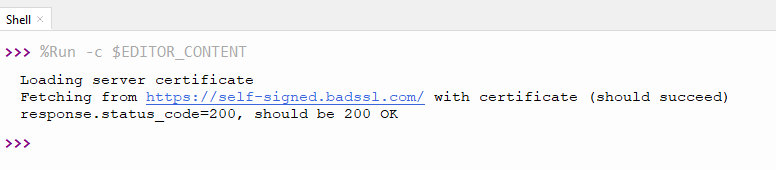
Finally, SSL can be used with Ethernet in CircuitPython. Big thanks to CircuitPython community for such improvements.
Next steps
In next project I want to try connecting to AWS or Azure cloud services.
-
code.py
Main code
