From Arducam Mini to Web: High-Resolution Image Capture and Delivery
Capture high-resolution images with Arducam, process them efficiently, and deliver them seamlessly over a webserver for real-time access and integration.

Introduction
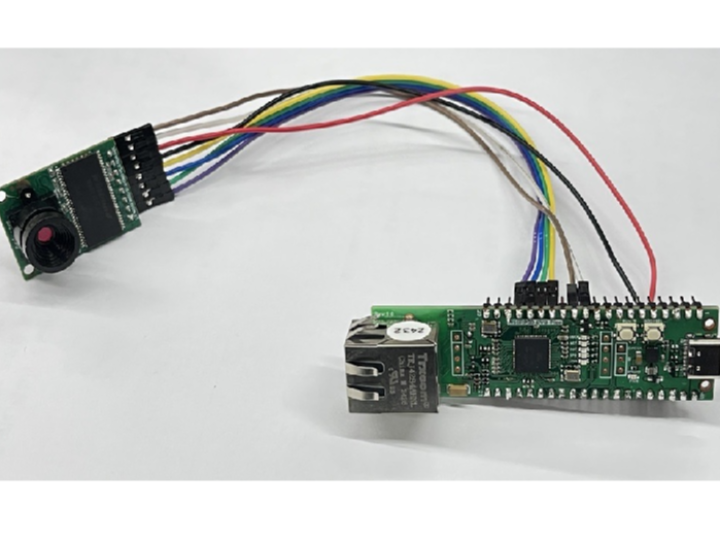
This project demonstrates an integrated solution for capturing high-resolution images with Arducam and delivering them seamlessly over a webserver. By leveraging optimized memory management and efficient chunk-based data transmission, the system ensures robust performance, even for large image data exceeding 65 KB. The implementation includes dynamic resolution settings, light mode configurations, and real-time data streaming, making it suitable for applications like IoT monitoring, surveillance, and embedded vision systems. With a focus on simplicity and scalability, this project bridges Arducam’s imaging capabilities with the accessibility of web-based interfaces.
Important notes
1. Proof of Concept (POC):
This project serves as a proof of concept (POC), demonstrating the integration of Arducam with a webserver for efficient image capture and delivery. The focus is on core functionality rather than extensive feature implementation.
2. Single Socket Usage:
To simplify the implementation, this POC uses only one socket for communication. For efficient data handling, 16 KB has been allocated to both the TX (transmit) and RX (receive) buffers, ensuring smooth data flow.
3. Custom Response Functionality:
While standard library functions could have been used to send the HTTP header and body separately, a custom function was implemented to send both at once. This approach streamlines the transmission process and reduces overhead in the POC environment.
4. Basic Resolution Settings:
Although Arducam’s GitHub repository provides several projects that support additional settings like light mode, contrast, and brightness, this POC project limits the settings to resolution only. This choice simplifies the webserver interface and keeps the project focused on demonstrating core functionality.
Project Description
Project Structure Overview
This project is organized into three main folders for clarity and ease of navigation:
Examples:
This folder contains the main application code, showcasing how the project integrates Arducam with a WIZnet webserver. It serves as the core of the project, demonstrating the image capture and transmission functionality.
Libraries:
This folder houses the Arducam library and the WIZnet ioLibrary, which are essential for interfacing with the camera module and handling networking tasks, respectively.
Port:
This folder contains customized code adapted from the WIZnet ioLibrary. These modifications are tailored to ensure seamless integration between the networking stack and the application requirements.
This structure ensures a modular approach, making it easier to manage, understand, and extend the project.
Arducam library
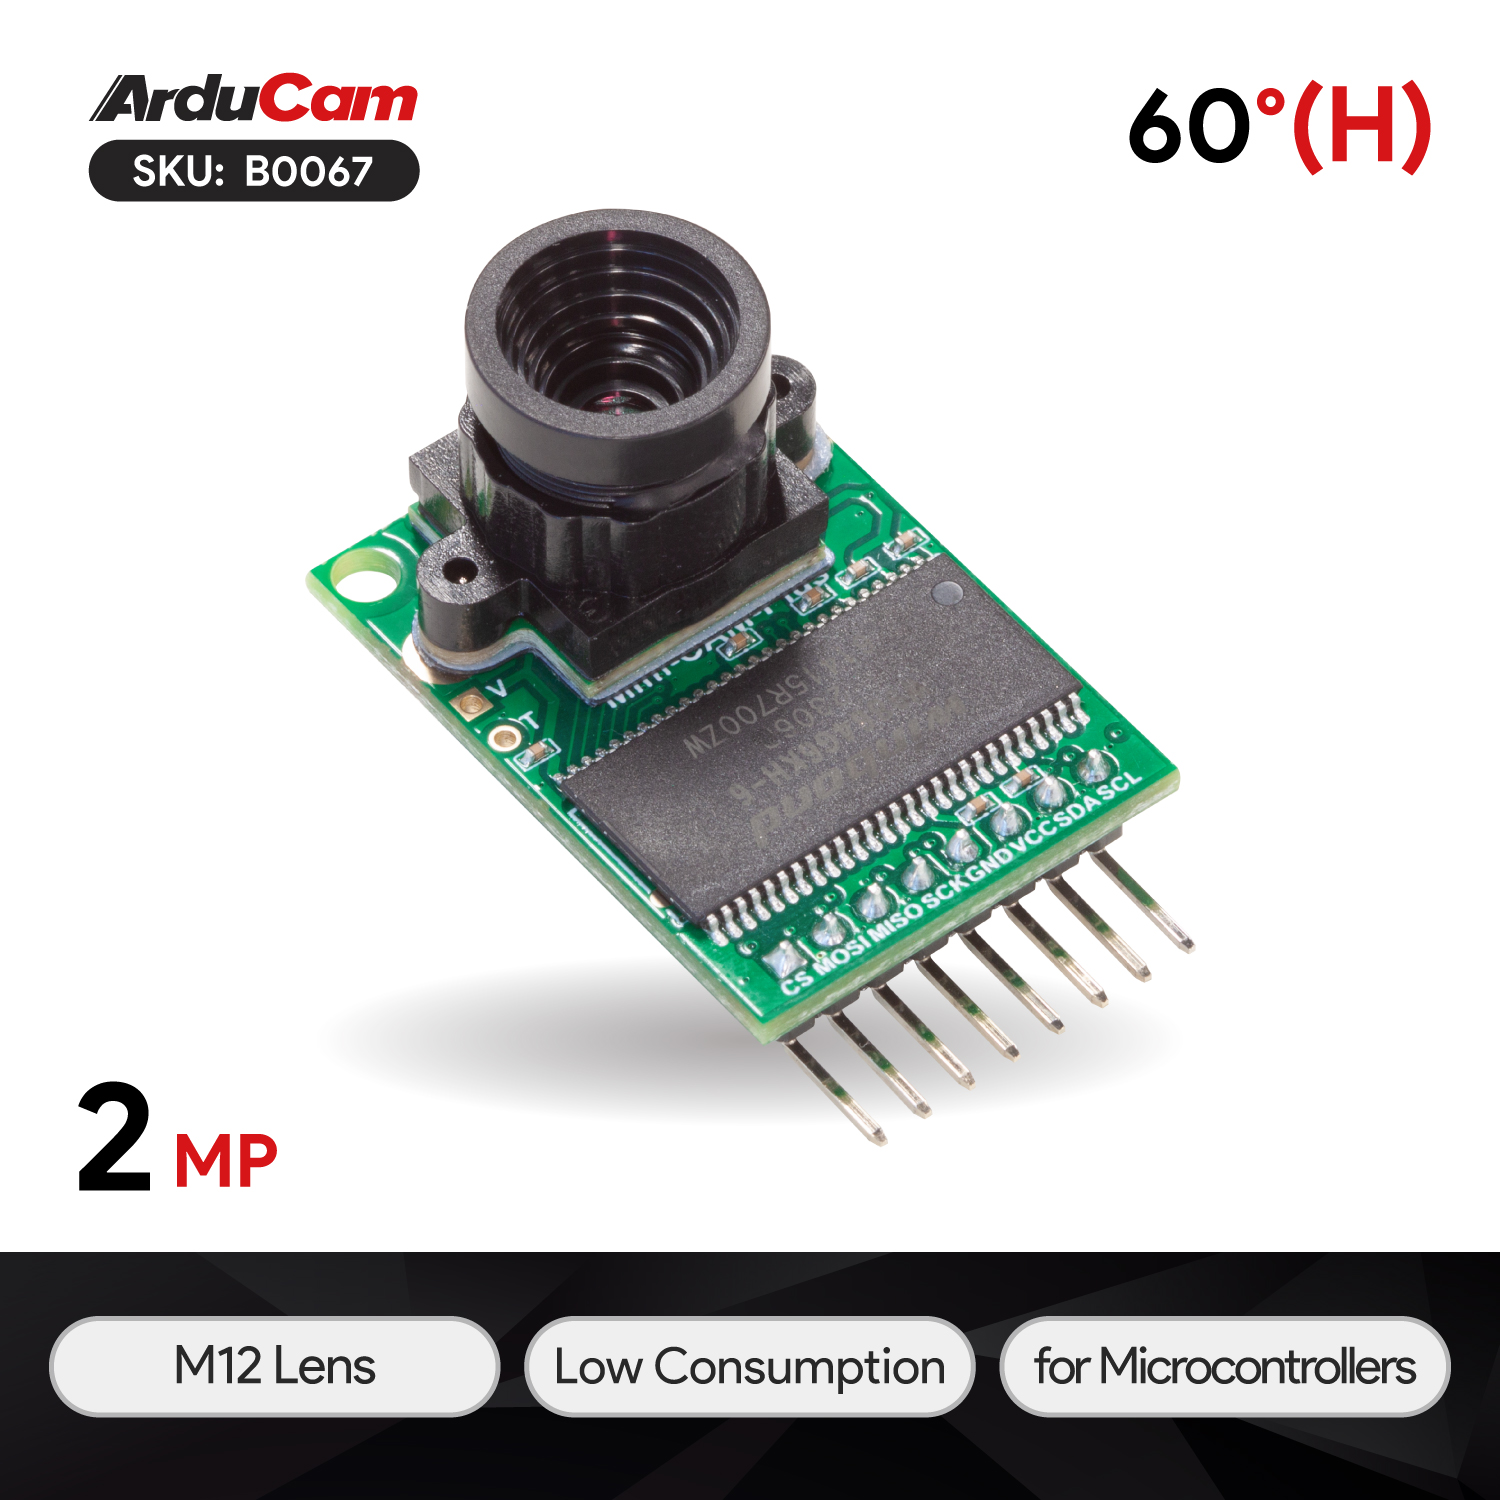
The code for the Arducam SPI Mini was sourced from the official repository:
Arducam RPI-Pico-Cam GitHub Repository.
Several important modifications were made to the arducam.c and header files to better suit the requirements of this project:
SPI Pin Updates:
The SPI pin definitions were updated to resolve conflicts with the WIZnet ioLibrary, which uses overlapping pin assignments. This ensured smooth operation of both libraries within the same project.
Custom capture Function:
A custom capture function was implemented to allow passing the buffer and size as parameters. This enhancement provides greater flexibility for handling image data.
JPEG End Marker Validation:
The original library lacked validation for the JPEG end marker (FF D9). To address this, marker detection was added to the custom capture function, ensuring the integrity of captured image data.
These updates optimize the Arducam library for seamless integration with the project's custom requirements and hardware setup.
void capture(uint8_t *imageDat, uint32_t *len) {

    flush_fifo();
    clear_fifo_flag();
    // Flush the FIFO

    // Start capture
    start_capture();

    // Wait for capture to complete
    while (!get_bit(ARDUCHIP_TRIG, CAP_DONE_MASK));

    // Get the length of the data captured
    *len = read_fifo_length();  // Update the length by reference
    printf("fifo length = %u\r\n",*len);

    // Check if the data length is too large for the buffer
    if (*len > 0x5FFFF) {
        printf("Data size exceeds buffer size!\n");
        return;
    }

    // Select the chip and set it to burst read mode
    cs_select();
    set_fifo_burst();

    // Directly read the data into the imageDat buffer
    spi_read_blocking(SPI_PORT, BURST_FIFO_READ, imageDat, *len);

    // Deselect the chip
    cs_deselect();
    printf("Capture done, data length: %d\n", *len);

    uint32_t valid_size = 0;
	for (uint32_t i = 0; i < *len - 1; i++) {
		if (imageDat[i] == 0xFF && imageDat[i + 1] == 0xD9) {
			valid_size = i + 2;  // Set the valid size to end after FF D9
			printf("Found JPEG end marker (FF D9) at position: %u\n", i);
                  break;
		}
	}

	if (valid_size == 0) {
		printf("JPEG end marker not found. Sending full data as fallback.\n");
		valid_size = *len;  // Fallback to sending full data if no marker found
	}

    *len = valid_size;

    printf("First two bytes: %02X %02X\n", imageDat[0], imageDat[1]);  // Should be FF D8
	printf("Last two bytes: %02X %02X\n", imageDat[valid_size-2], imageDat[valid_size-1]);  // Should be FF D9

}
Porting ioLibrary
The basic code for operating the W55RP20 chip was sourced from the official WIZnet SDK repository:
WIZnet-PICO-C GitHub Repository.
The primary modification involved refactoring the buffer allocation in the w5x00_spi.c file. This change was made to optimize memory management and ensure compatibility with the project’s requirements, particularly when handling large image data from the Arducam module.
By refining the buffer allocation, the integration between the W55RP20 and the SPI-based Arducam module is streamlined, enhancing overall performance and reliability.
As mentioned earlier, this project uses only one socket for communication. This design choice allows for allocating a larger buffer size to both TX (transmit) and RX (receive) operations, aiming to maximize data throughput and enhance transmission performance.
Webserver implementation
To accommodate the unique requirements of this project, the webserver code was customized and organized within the Port folder.
The primary changes were made in the httpServer and httpUtil files. Additionally, a new file, httpCamera, was introduced to encapsulate functions related to camera capture and data handling.
The logic for handling camera captures was straightforward:
- When the button on the webserver is pressed, a POST request with a CGI parameter is sent to the server.
- The CGI processor code was updated to handle this request, triggering the appropriate camera capture functionality.
uint8_t predefined_set_cgi_processor(uint8_t * uri_name, uint8_t * uri, uint8_t * buf, uint32_t * len)
{
	uint8_t ret = 1;	// ret = 1 means 'uri_name' matched
	uint8_t * resolution;

	if(strcmp((const char *)uri_name, "capture.cgi") == 0)
	{
		camera_flag = 1;
		resolution = set_resolution(uri);
		printf("Selected resolution: %d\r\n", atoi((char *)resolution));

		camera_buf = (uint8_t *)malloc(1024 * 100);
		if (camera_buf == NULL) {
			printf("Error: Failed to allocate memory for camera buffer.\n");
			return 0; // Failure
		}

		//make_cgi_basic_config_response_page(5, device_ip, buf, &len);
		if (http_camera_capture(resolution, camera_buf, len)) {
			printf("Capture successful. Frame size: %d bytes.\n", *len);
		} else {
			printf("Capture failed.\n");
		}
			//ret = HTTP_RESET;

	}

	return ret;
}
In the standard workflow, the http_process_handler is responsible for sending the HTTP response. However, due to the large size of the image buffer being transmitted, the default approach was insufficient for handling the data efficiently.
To address this, a custom function was implemented to manage the transmission of the HTTP response back to the client. This function is optimized for handling large buffers by splitting the data into smaller chunks, ensuring seamless and reliable transmission without overwhelming the system resources.
static void send_http_response_camcgi(uint8_t s, uint8_t * buf, uint8_t * http_body, uint32_t file_len)
{
	uint16_t send_len = 0;

	send_len = sprintf((char *)buf, "HTTP/1.1 200 OK\r\nContent-Type: image/jpeg\r\nContent-Length: %d\r\nCache-Control: no-cache, no-store, must-revalidate\r\nPragma: no-cache\r\nExpires: 0\r\n\r\n", file_len);

	send(s, buf, send_len);

	uint32_t bytes_remaining = file_len;
	uint8_t *ptr = camera_buf;

	int result = 0;
	int retry_count = 0;
	int32_t total_sent = 0;
	while (bytes_remaining > 0) {
		int chunk = (bytes_remaining < 1024 * 8) ? bytes_remaining : 1024 * 8;
		memcpy(buf, ptr, chunk);
		result = send(s, buf, chunk);

		if (result > 0) {
			// Successfully sent the chunk
			total_sent += result;  // Add to the total sent count
			ptr += result;  // Move the pointer forward
			bytes_remaining -= result;  // Decrease the remaining bytes
			retry_count = 0;  // Reset retry count on successful send
		}
		else if (result == SOCK_BUSY) {
			// The socket is busy, retry sending this chunk
			printf("Sock Busy, retry: %d \r\n", retry_count);
			if (++retry_count > 3) {
				printf("Send failed: socket busy after %d retries.\n", 3);

			}
		}
		else if (result == SOCKERR_TIMEOUT) {
			// Handle timeout
			printf("Send failed: socket timeout.\n");

		}
		else if (result == SOCKERR_SOCKSTATUS) {
			// Socket not in the correct state
			printf("Send failed: socket not in the correct state.\n");

		}
		else {
			// Other errors
			printf("Send failed: error code %d.\n", result);

		}

	printf("Total sent:%d\r\n", total_sent);
	}
	if (camera_buf != NULL) {
       	free(camera_buf);
       	camera_buf = NULL;
       	printf("Camera buffer freed.\n");
  	} else {
       	printf("Camera buffer is not allocated.\n");
 	}

}
To handle the transmission of high-resolution images, memory was dynamically allocated for a 100 KB buffer. This size was determined through trial and error to ensure it could accommodate the largest expected image without causing resource issues.
The transmission process involves:
- Sending a customized HTTP header first to establish the response.
- Dividing the image buffer into 8 KB chunks, which are then sequentially placed into the W5500 buffer for transmission.
Project Demonstration
The results of this implementation can be seen in the video below, where high-resolution images are captured, processed, and transmitted seamlessly via a webserver.
Results & Future plans
In this proof-of-concept (POC) project, the focus was primarily on demonstrating the integration of a webserver and an SPI camera module on a single chip. While camera settings and advanced features were not the primary focus, this project successfully showcases the feasibility of capturing and transmitting images efficiently.
Planned Improvements:
For future iterations, the following enhancements are planned:
Dual-Core Operation:
- Utilize dual-core functionality, dedicating one core to camera operations and the other to networking tasks for improved performance.
Enhanced Camera Settings and Image Processing:
- Explore advanced camera configurations such as light mode, contrast, and compression for better image quality and customization.
Live Streaming:
- Add a dedicated page to enable real-time video streaming for a more interactive and dynamic user experience.
Thank you for following along with this project! Stay tuned for future updates as we continue to expand and improve upon this exciting integration of webserver and camera technology.


