
Hydrophonics system
This year I have been seen a lot of hydroponic systems, so I decided I would make my own.

WIZnet - WizFi360-EVB-Pico
x 1

DFRobot - Gravity: DHT11 Temperature Humidity Sensor For Arduino
x 1
Temperature and Humidity sensor
Home Assistant Core Team and Community - Home Assistant
x 1
While browsing YouTube I have been seen a lot of hydrophobic systems recently so I decided to create my own.
What is hydroponics?
Hydroponics is greek and means watergrowing. It is exactly what it sound like, instead of soil you have the plants grow in water, where you supply the plants with a nutrient solution. That means that you need less water to grow than traditional farming, around one third of the water is needed. Hydroponics is also far more effective than traditional farming. One big advantage is that because you don't need soil, the system is lighter therefor you can grow plants vertically and in layers stacked upon each other. Another advantage with that is that you can grown in your apartment where it is warm and with help of a little artificial lighting you can harvest whatever you want all year round. There are a bunch of different systems for hydroponics that differentiate on how they supply the water to the plants.
I decided to built a NFT system (Nutrient Film Technique). The NFT system is by far the most common system because of its simpleness and efficiency. It works by watering the roots of your plants constantly, but it is just a small stream of constant flowing water so that the roots can take up as much oxygen as needed. That makes it very effective but also easy to built because the roots aren't fully submerged in water.
The Construction
Thoughts behind the structure
I began by measuring the length of my windowsill, a little bit over a meter. All hydrophobic systems I saw online were to bulky or where using the American pipes which have to be glued to each other. In Europe I have almost never seen one of these so I had to figure out another way. I thought that I could drill a bunch of holes in a larger pipe where I place sponges with seeds, with a pump I pump water up to one end of the system and with the help of gravity it flows to the other side. There I lead the water with adapter into a smaller pipe where I lead the water into a bucket where it will get pumped into the system again. That means that I don't have to connect the system to a water source but can just refill it every couple of weeks.
With the help of the WizFi360-EVB-Pico (I will call the board just pico in this guide because it is shorter and therefor easier to read) from Wiznet I can monitor temperature and humidity and be able to control the pump using Home Assistant.
Shopping
So I went to my local hardware store and picked up a PVC pipe with the thickness of 70mm, two 90 degree 45 mm bent pipes and a smaller 45mm one and a 70mm to 45mm adapter. I also bought some sponge so that the plants had a place to grab unto.
All the other parts can be found in the Hardware component section at the top.
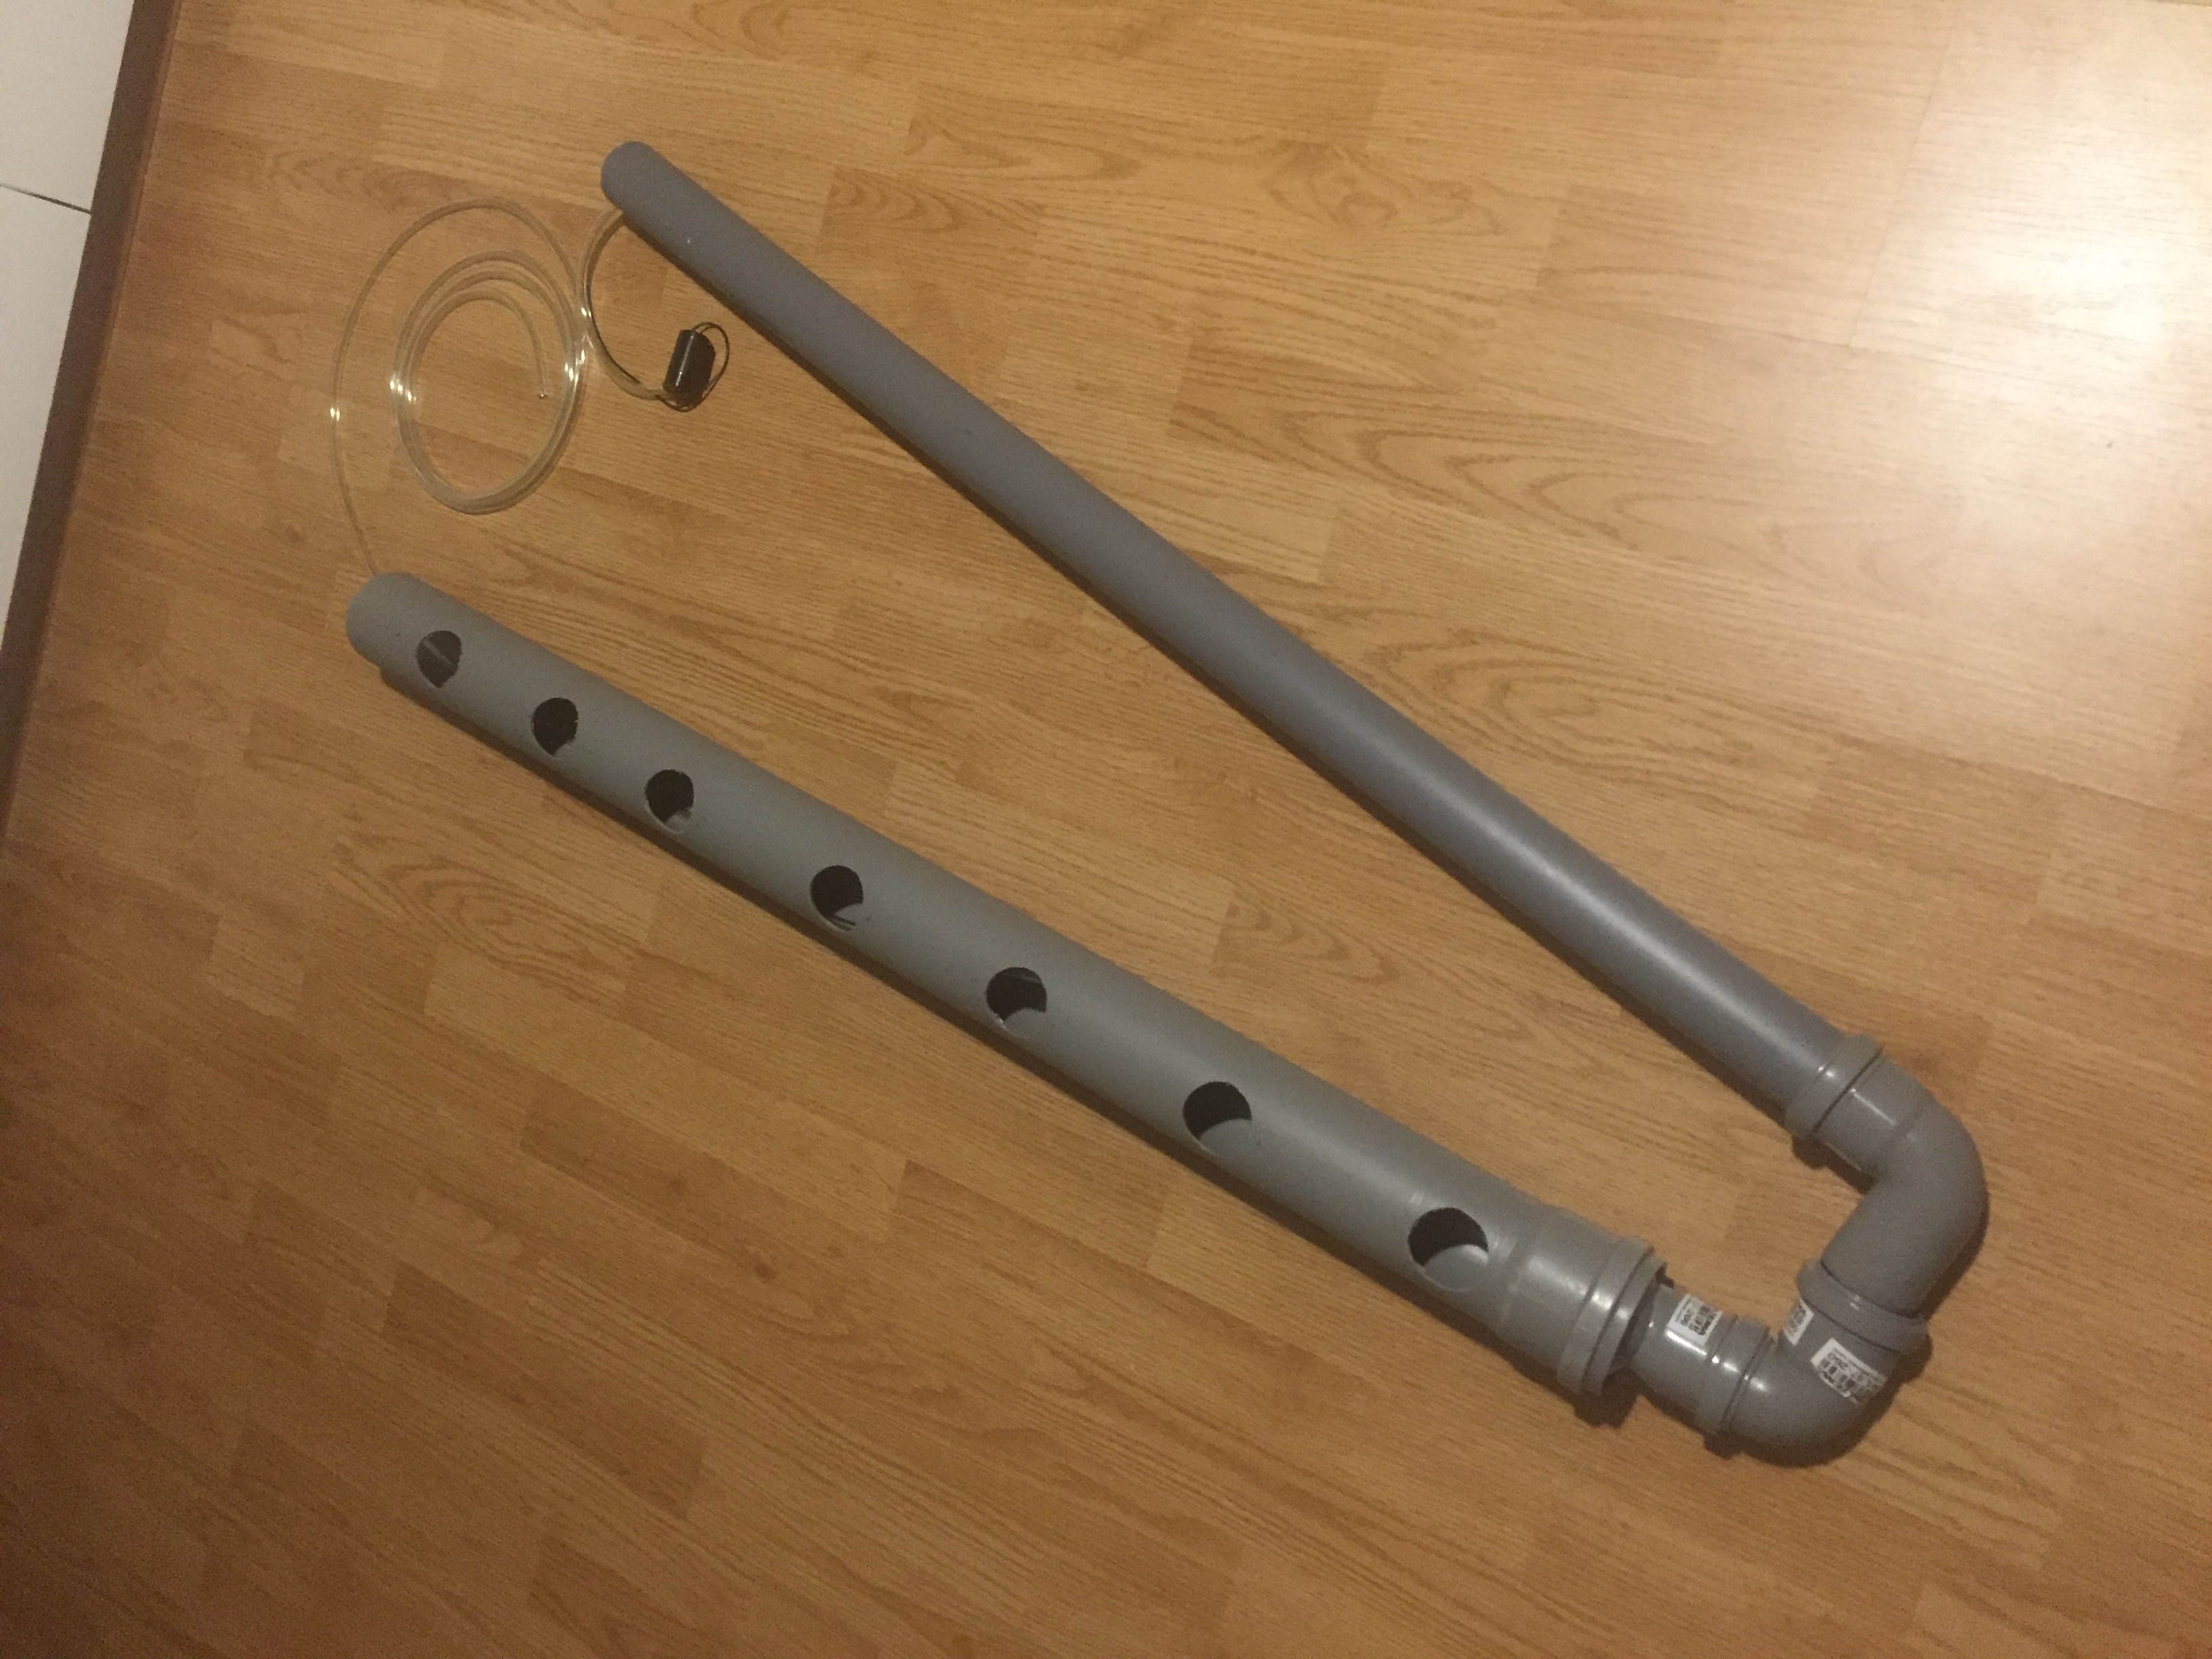
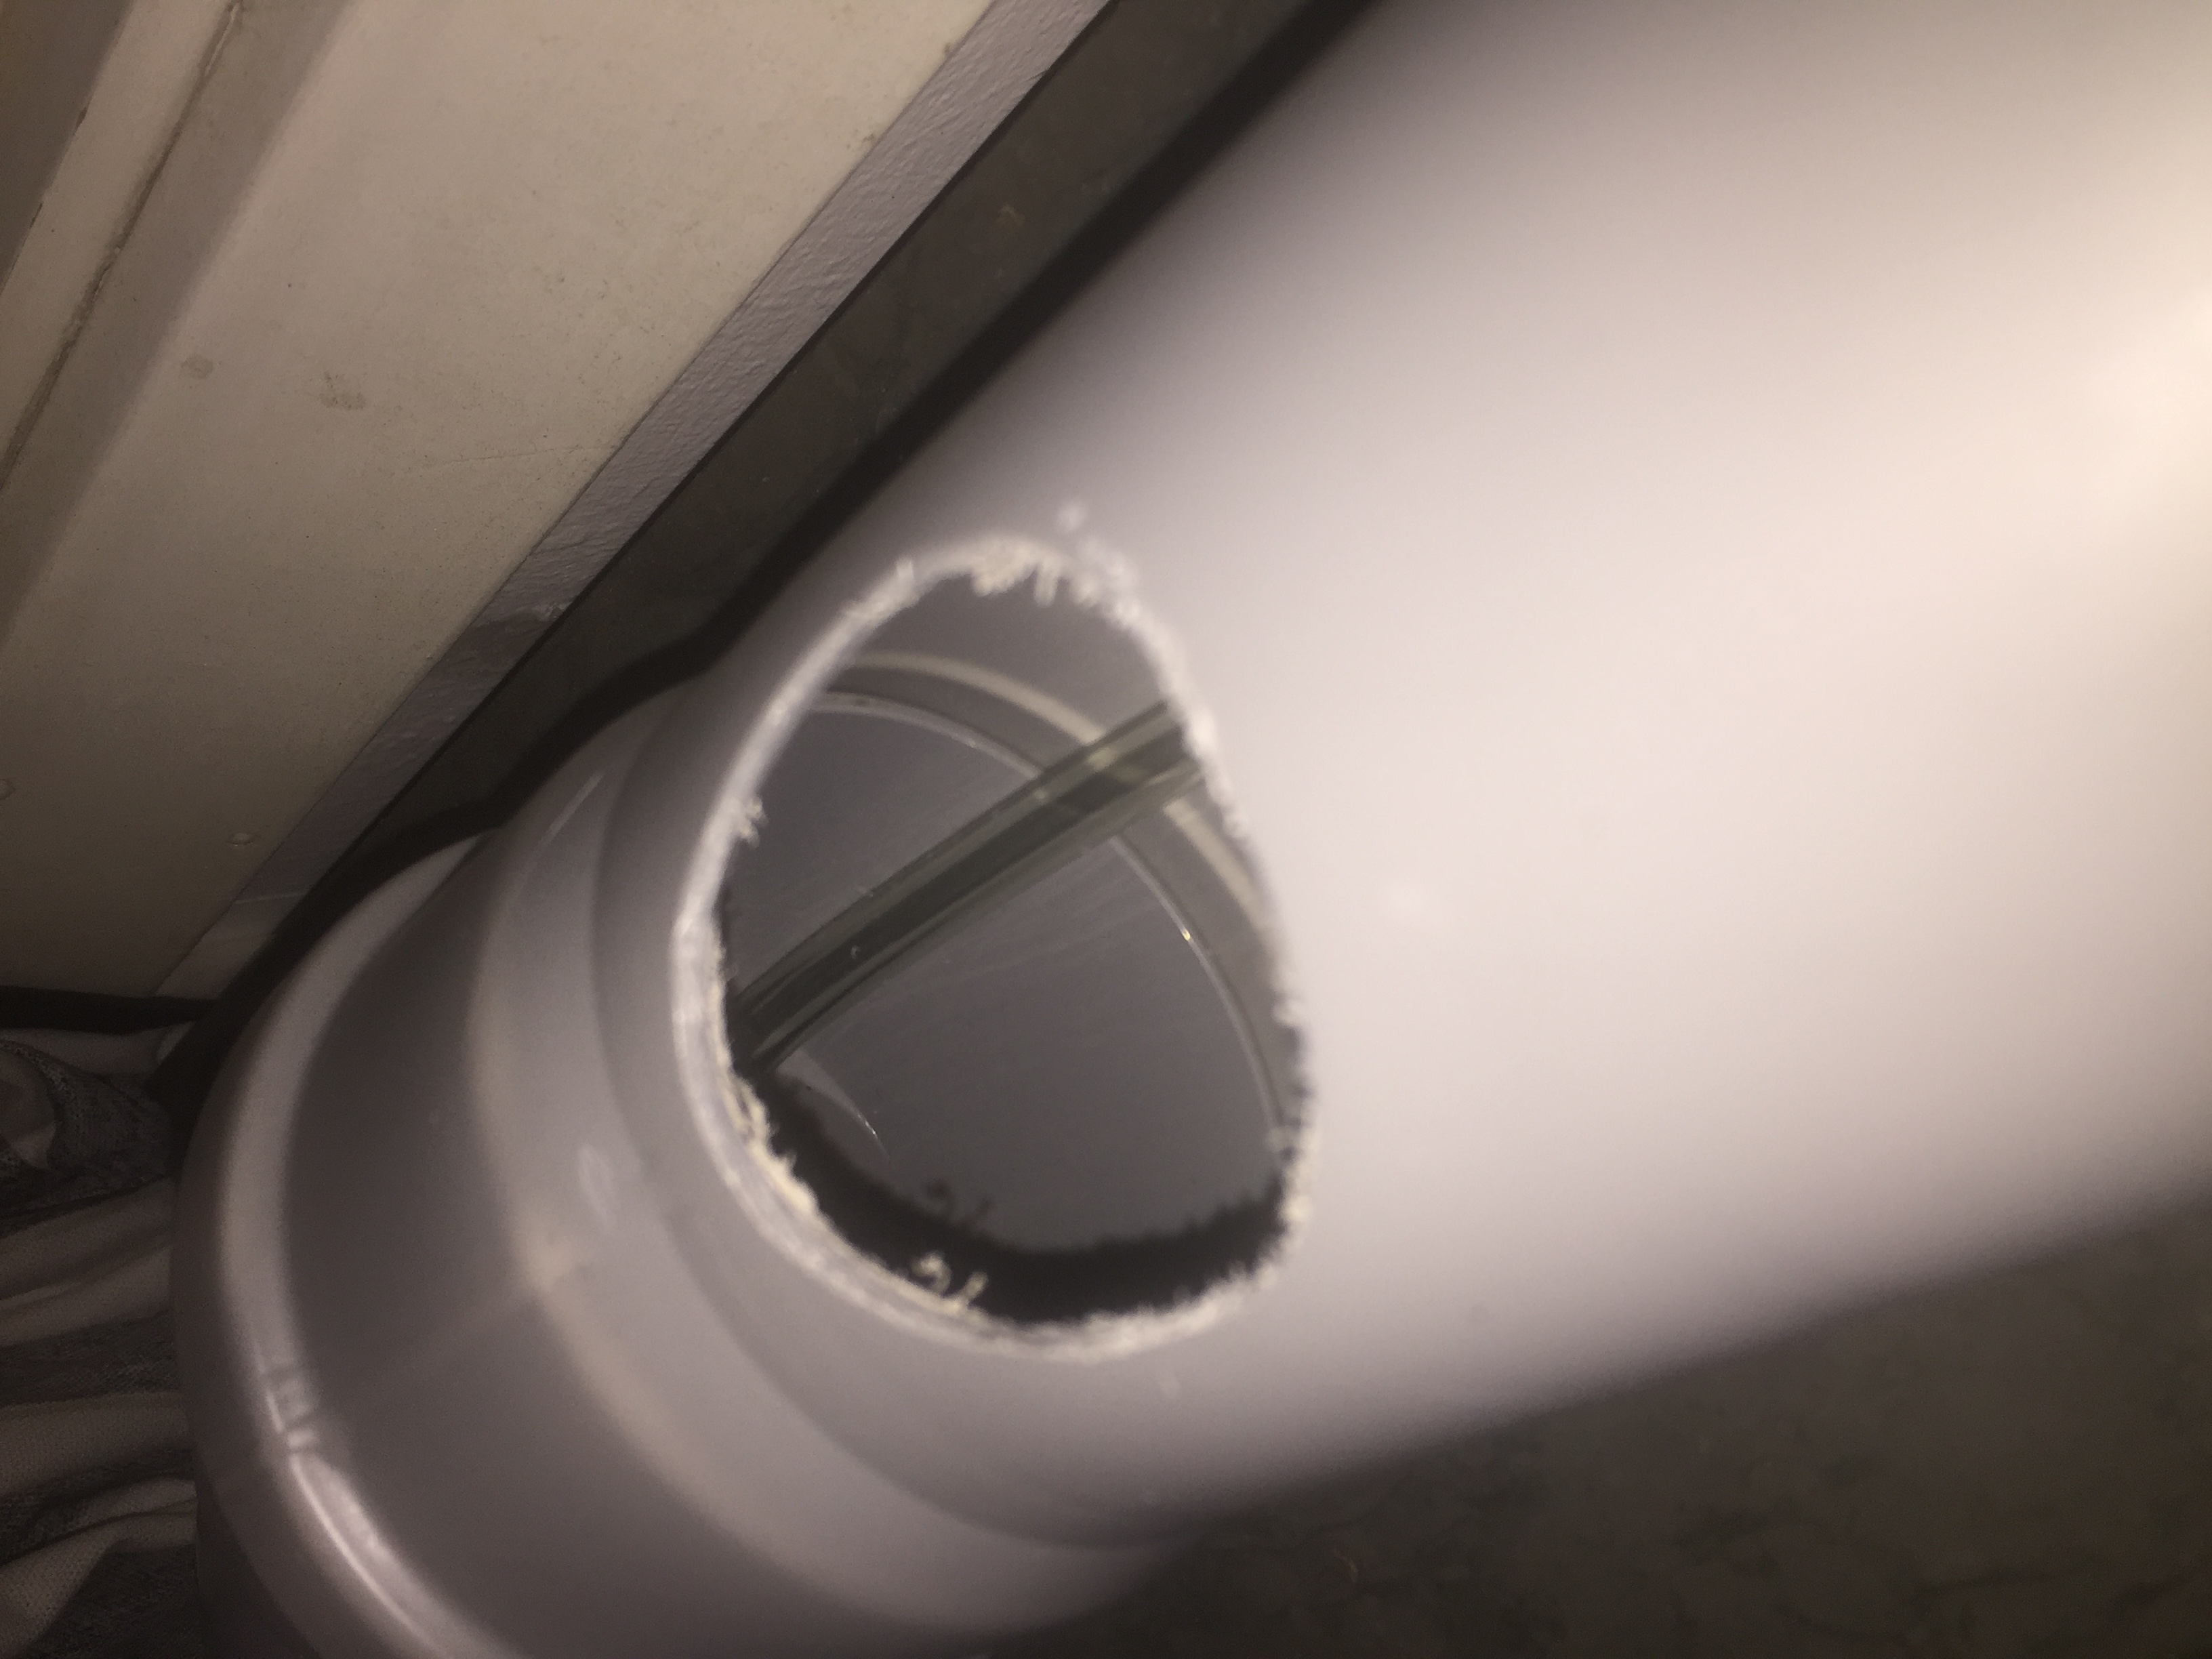
Drilling holes
I began by drilling six 45mm holes with a distance of 135mm, from the middle of each hole to the other, into the 70mm thick pipe. I did this with a 45mm hole drill. I choose a small size so that the plants would have enough space to grow out while keeping the area sunlight could light the water small to prevent the growing of algae.
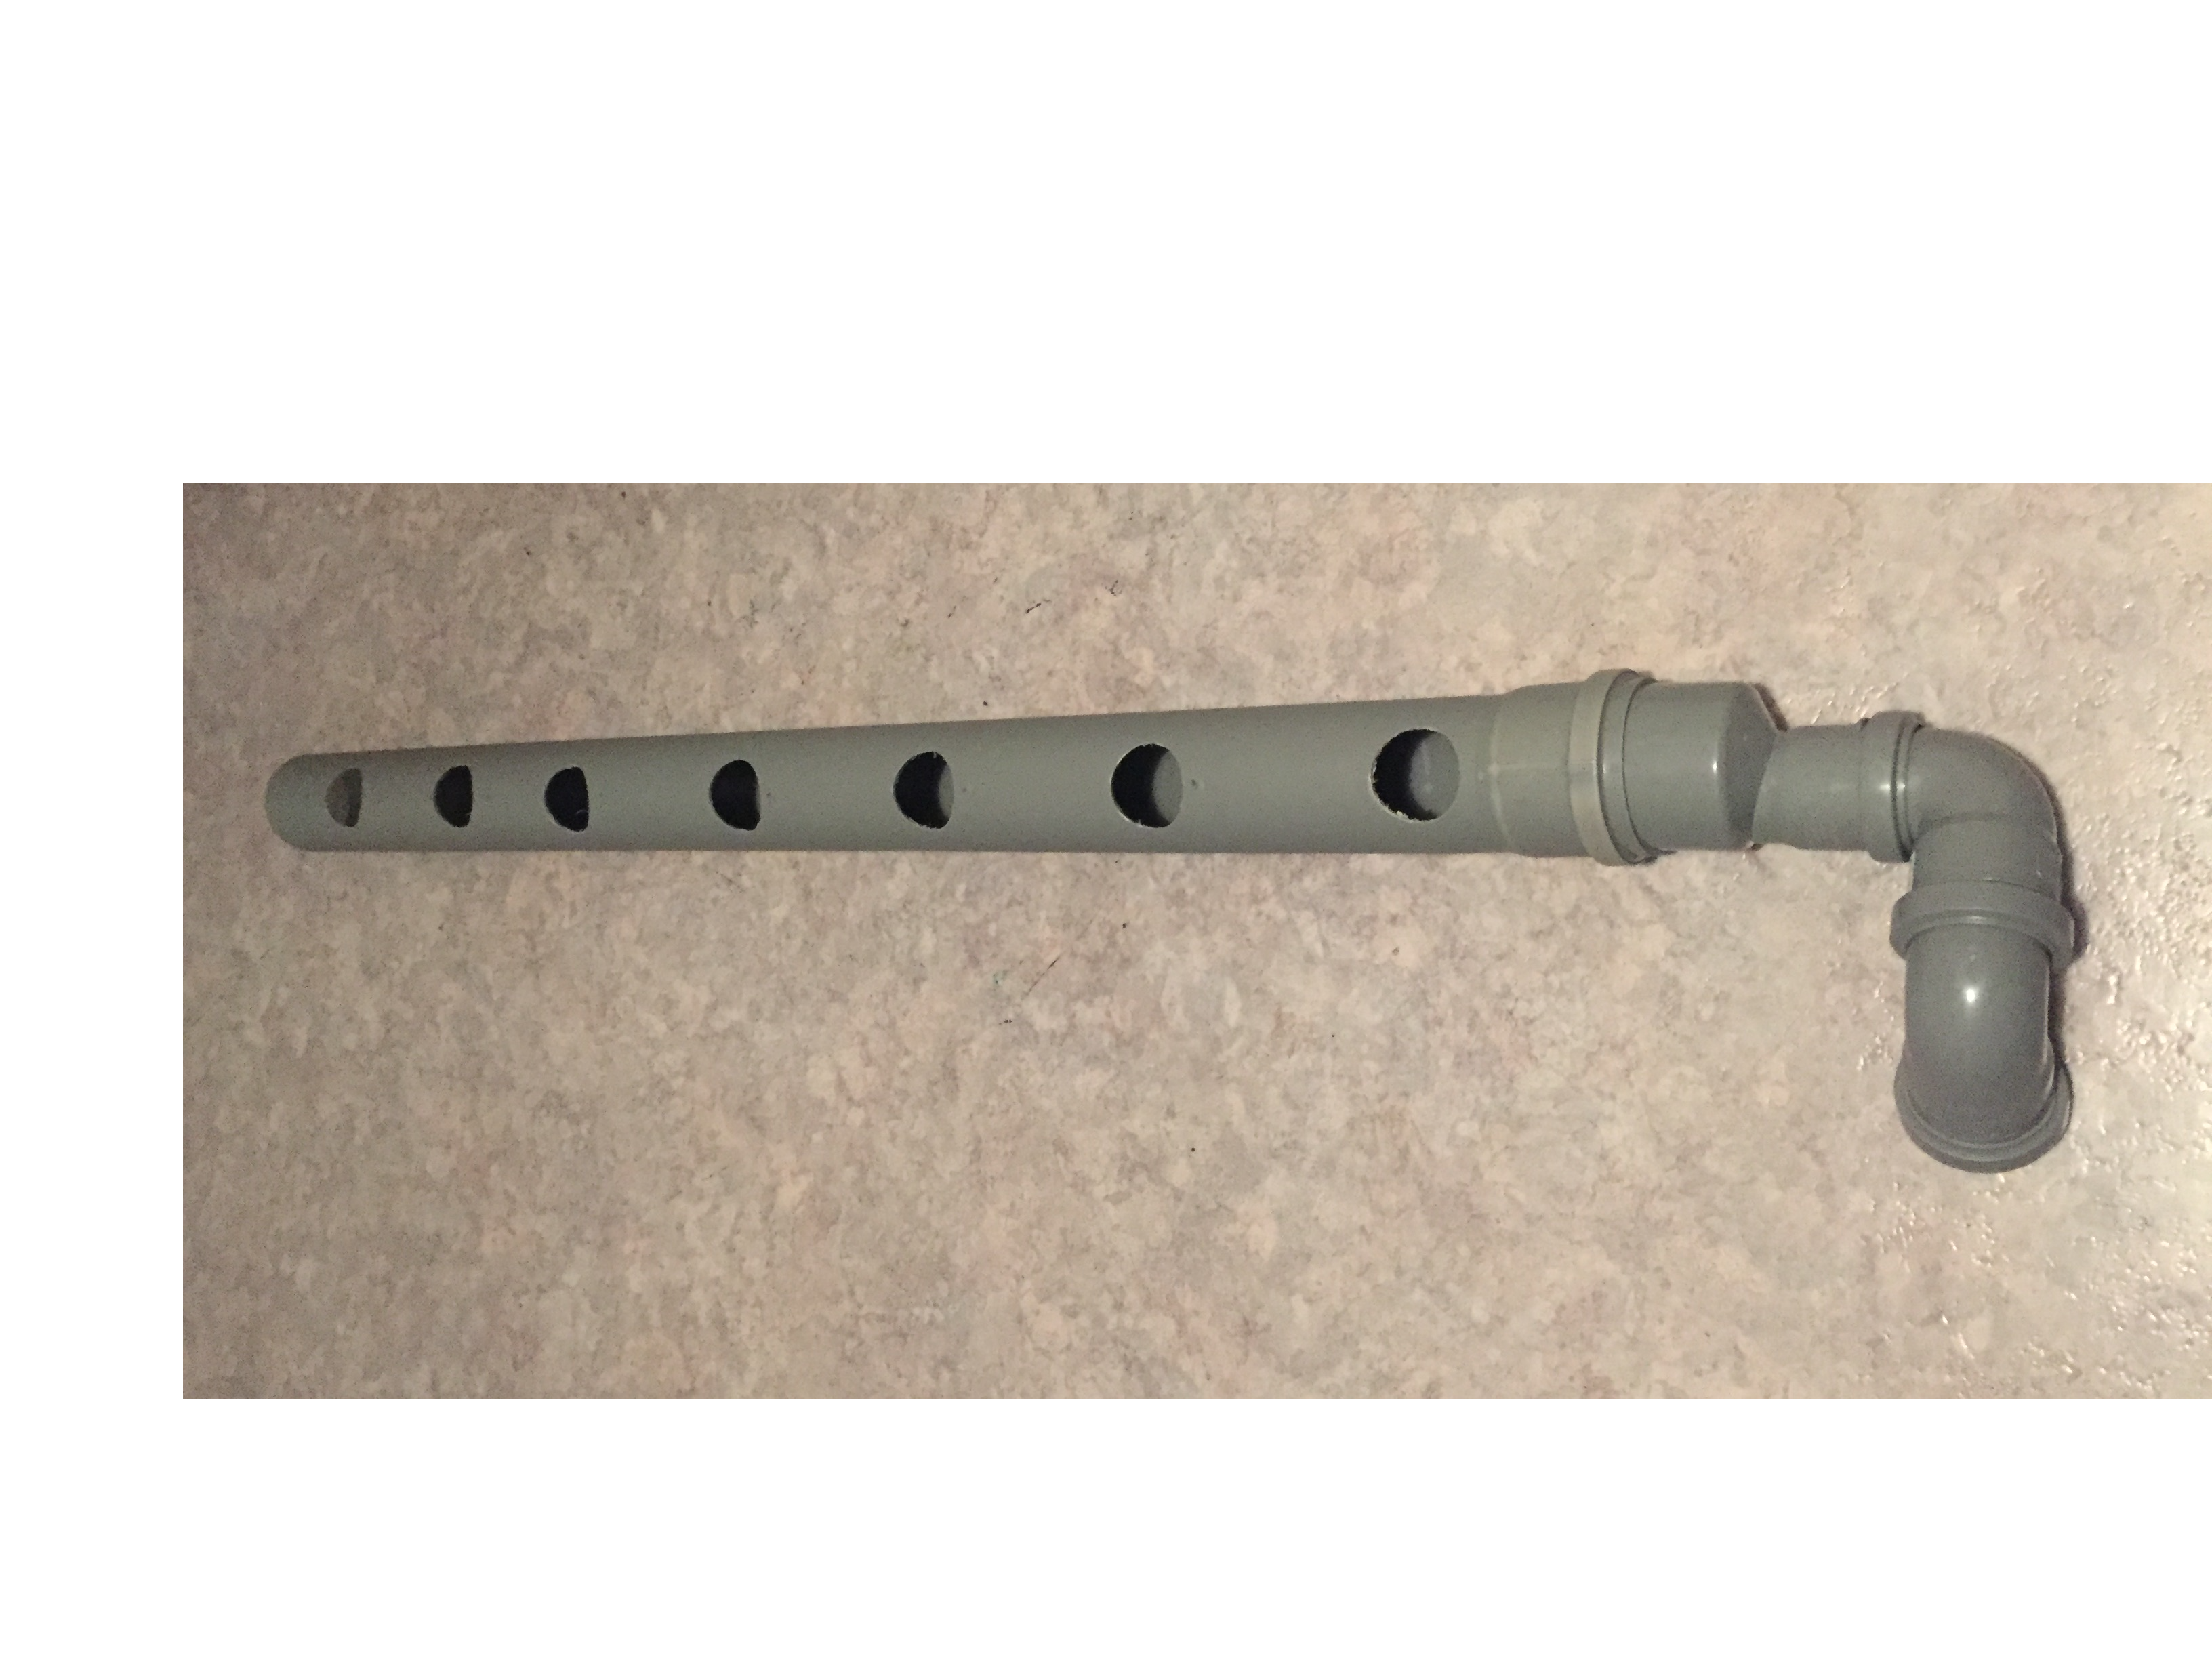
Connecting the pipes together
The idea is to pump the water in on one side of the 70mm pipe and then lead it back through the 45mm pipe into a bucket. So I connected the "female" side of the 70mm pipe to the 70 to 45mm adapter. Then I stuck a 90 degree angled pipe into the adapter, and in the 90 degree angled pipe I put another 90 degree angled pipe. Into the 90 degree angle I put a pipe that would lead all the way into the bucket. So I put it together like this: 70mm pipe 1m, 70 to 45mm adapter, 45mm 90 degree angle, 45mm 90 degree angle, 40mm pipe 1,3m , bucket or as shown in the picture:
Electric stuff
The electric diagram for this project is simple (Schematics are in the document section at the bottom). I hooked up the DHT 11 to GND and VCC aswell as Data to 25 GPIO. Another GPIO pin (27) was connected to the 5V input of the pump (if you are using a stronger pump than I am using you will have to use a relay, the diagram for that is in the document section) aswell as the GND to GND. The Pico is powered through the micro USB port but if you have another power source like a battery you can hook the 5V input of the battery to pin 39, VSYS and GND to pin 38. I used jumper wires to connect everything because it is easier to add new stuff easier but you can solder everything on the pico directly if you want. Then I put all the electronics into a drywall case, it is "waterproof" and mounted in the bucket so that no water gets in touch with the electronics.
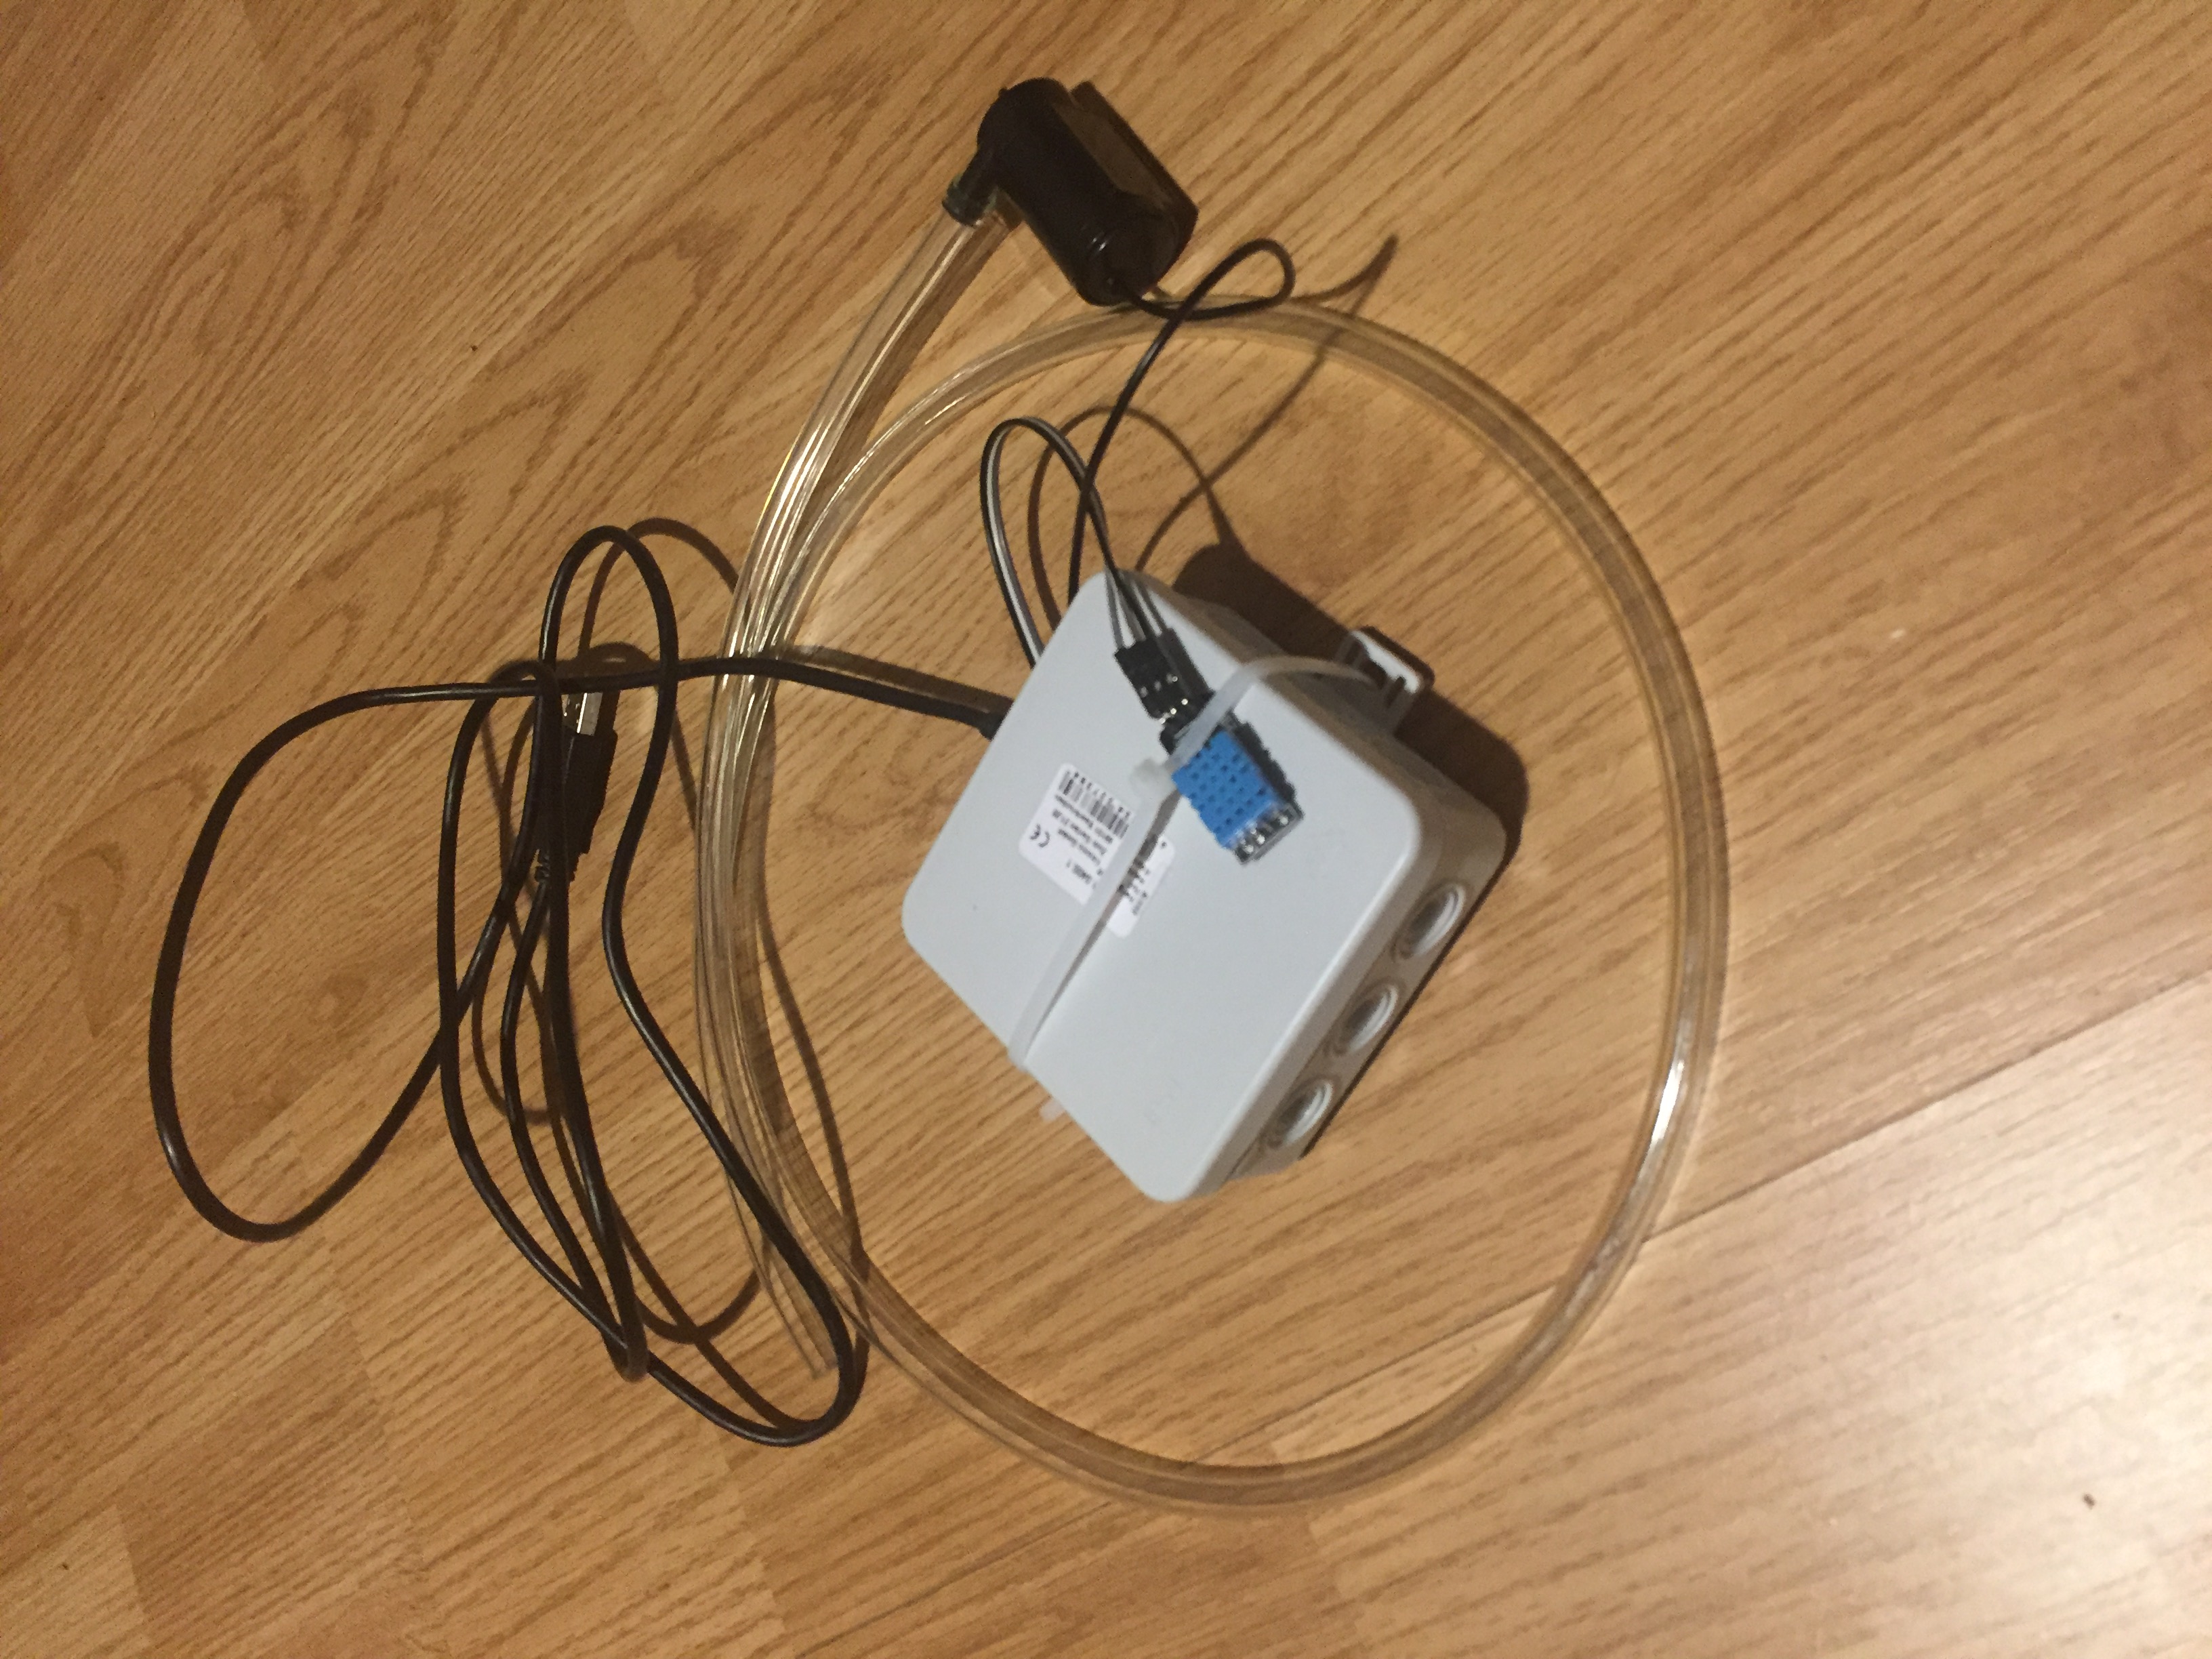
The tube for the pump is inside the pipes to avoid sunlight getting in touch with the water.
The Software Part
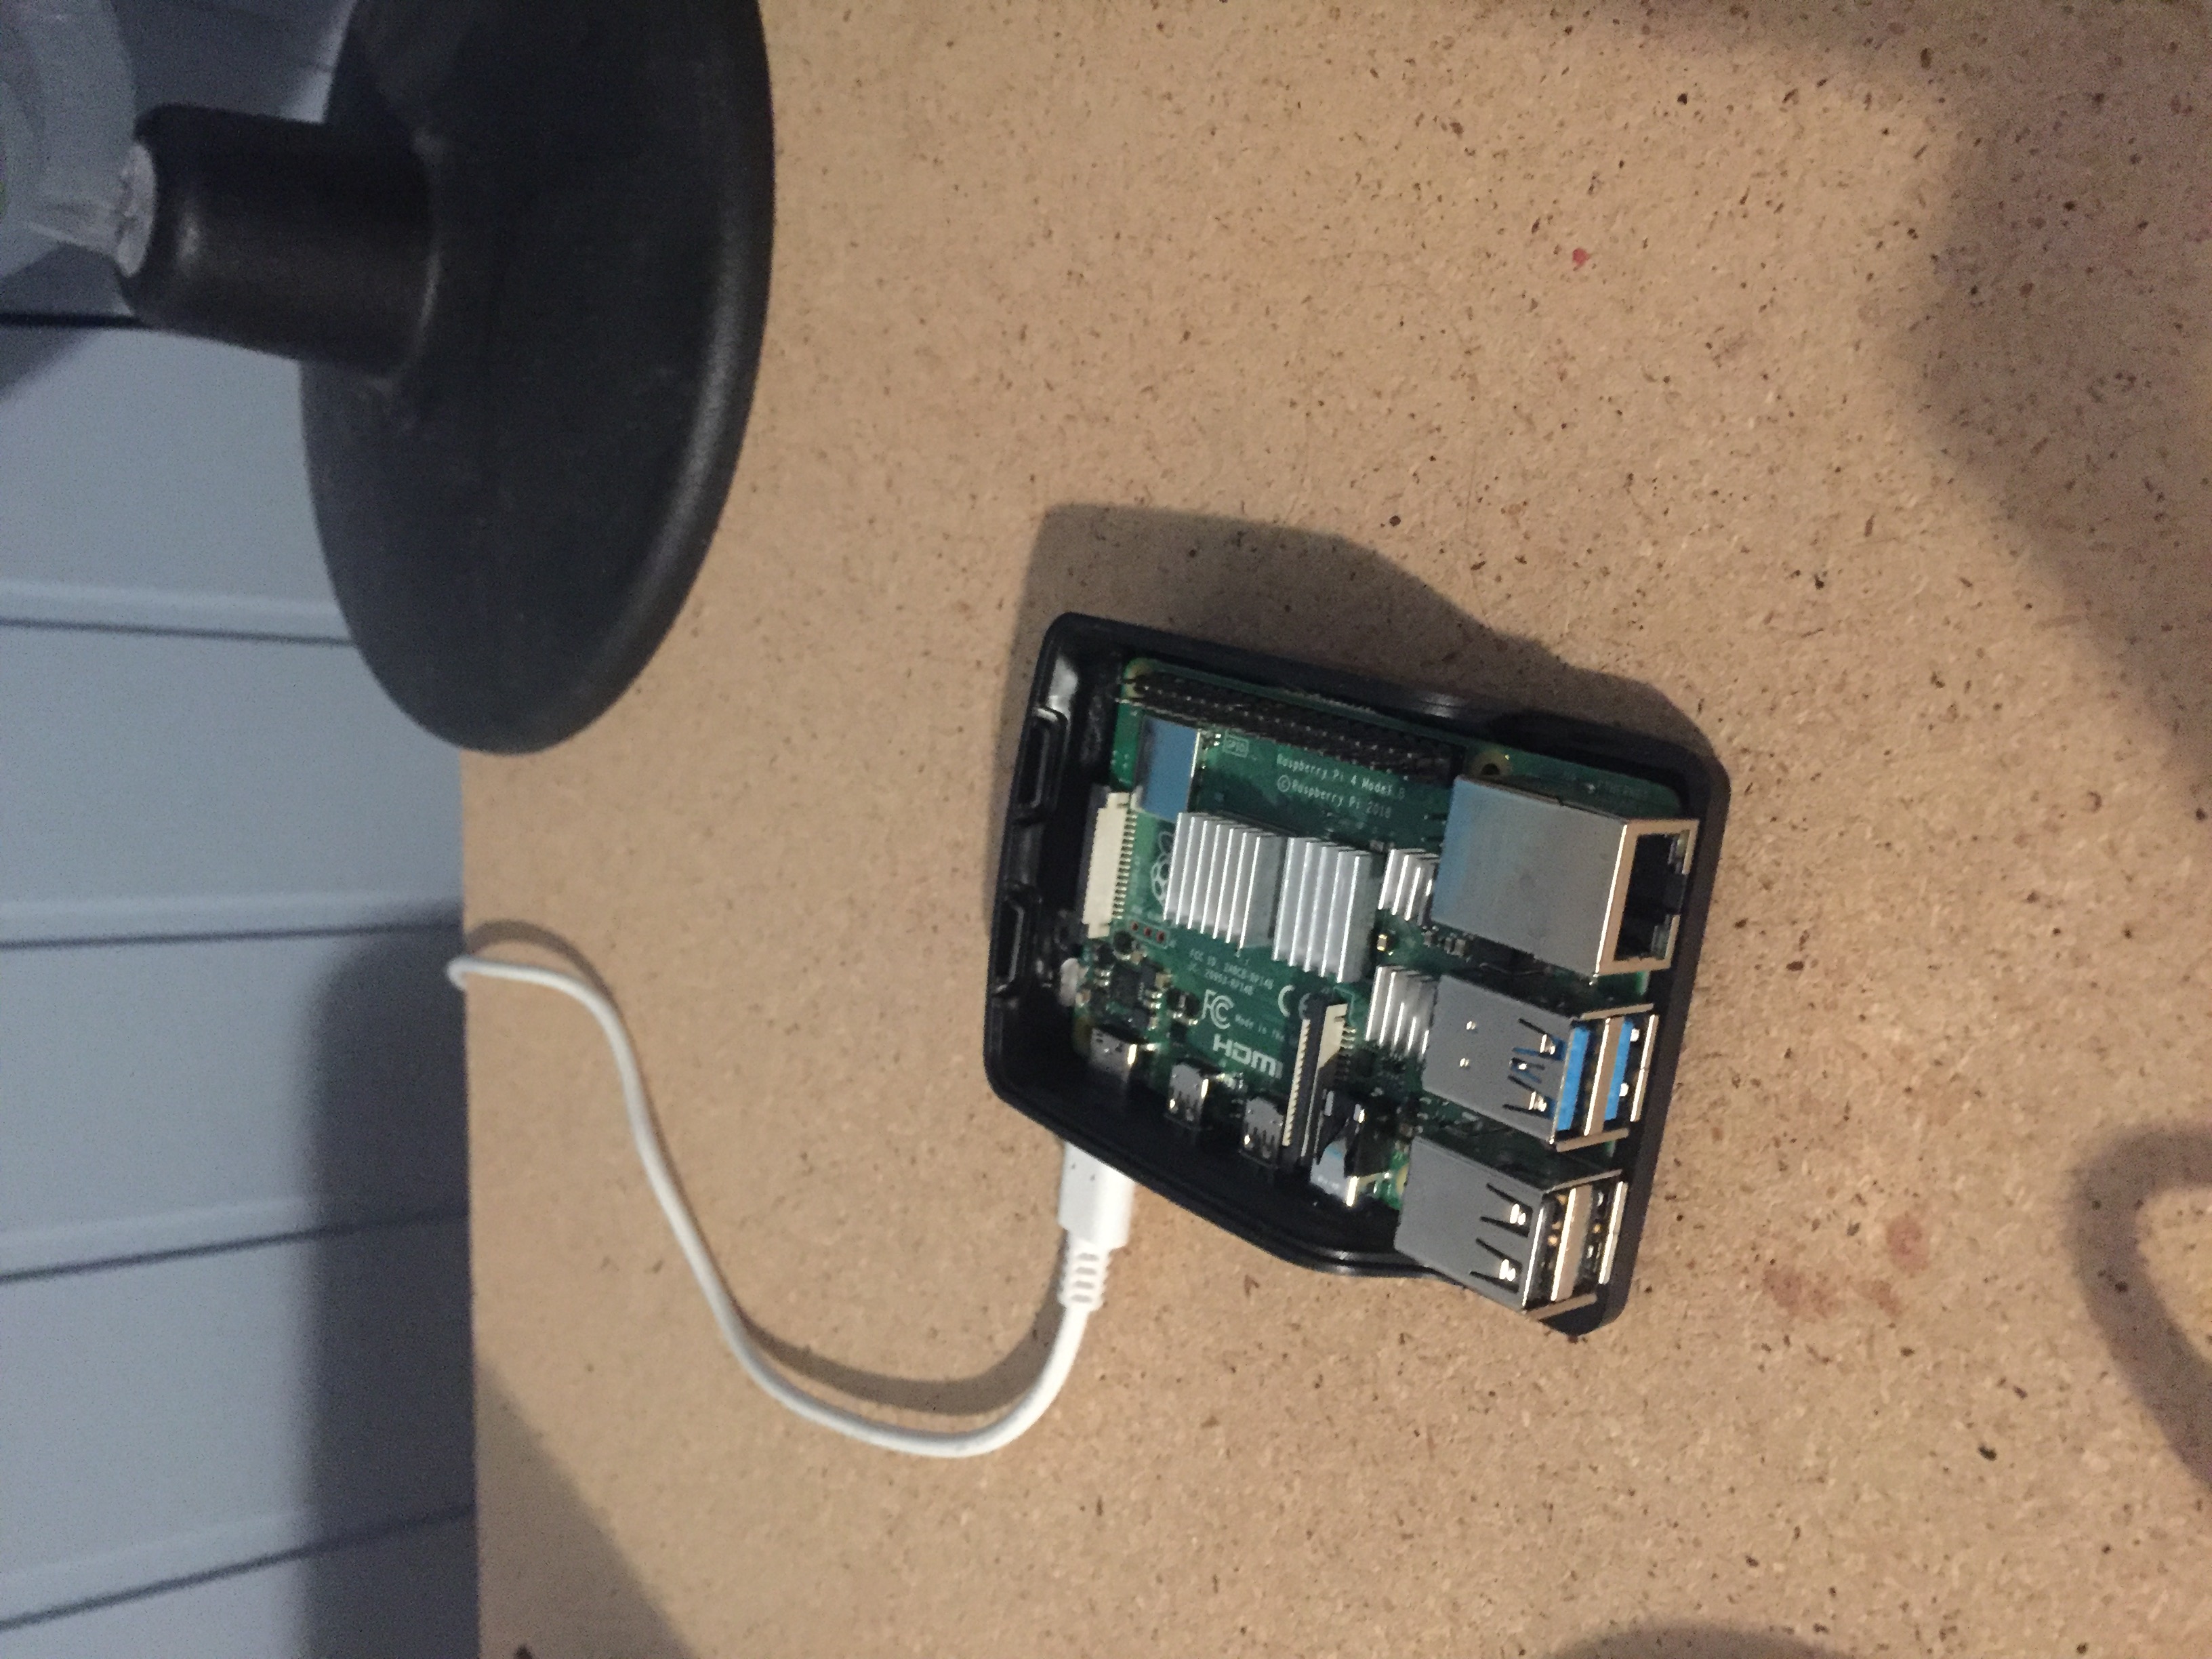
The idea was to connect the Pico to a hub via WiFi and then send the data to a Webserver to control everything. For this Home Assistant and ESPHome is used. ESPHome is the software on the Pico which sents the data to a hub running Home Assistant. For those who don't know what home assistant is, it is an open source software for home automation and monitoring. Home Assistans runs on a local server unlike most brand options giving you more freedom configuring it as-well as some privacy. As hub the pico sends data to, I am using a Raspberry Pi 4, a Raspberry Pi is a small singel board computer, it isn't quite powerful enough to run Call of Duty with high resolution but it is enough for running some software.
Setting up home assistant
To install home assistant onto your Raspberry Pi you will need a decently sized micro sd card (around 32GB). Home assistant will be copied onto the sd card in the form of a image. To upload this image to the sd card we need to install Raspberry Pi imager which can be downloaded here: https://www.raspberrypi.com/software/. To install the program just press the download button for your operating system and follow the instructions.
Once Raspberry Pi imager is installed insert your micro sd card into your computer. Then open Raspberry Pi imager there press on "Choose OS" and select "Other specific-purpose image" there you will have to select "Home assistants and Home automation". Now choose Home Assistant and select the image for your Raspberry Pi. Then press on "SD card" and choose the sd card you will use, make sure to select the right one because all data on it will be wiped. Depending on if you are using ethernet or wifi you will have to proceed different, to open the Advanced settings press "Ctrl + Shift + X " together. You will be asked if you want to fill the Wifi credentials automatically, decide yourself. In the advanced settings you can set up different stuff, I would recommend choosing a account name as well as a strong password. If you are using Wifi you will also have to choose your "Wifi-Land" if you don't want to commit a crime (some countries) and want some chance of your Pi connecting to your Wifi. Then press save and press "Write to sd card", you may have to write your computers password and username in a pop up message of your computer, after that it will start writing, you can see the progress in percent at the bottom of the application. After writing it will confirm that everything is correctly written to the sd card. When everything is complete (it will show a message that it is done) take the sd card out of your computer and put it in the sd slot of your Raspberry Pi. Then you want to connect the Pi to a power outlet and to ethernet if you choose do do so, then it will start booting.
After a few minutes you will need to open your browsers panel, there search for your a new device called Raspberry Pi and write the IP adress down. Then go to http://X.X.X.X:8123 replace the X with the Pi's IP. On the website you will be asked to create a new user, choose a strong password and write it down somewhere. Then you will have to choose your location, because you run it local you don't have to have any big privacy concerns with that but if you don't want to you can choose a random location, but you won't be able to use some features. If you have any trouble go to the official documentation (https://www.home-assistant.io/getting-started/onboarding/).
ESPHome
ESPHome is the program running on the Pico, but to work we will also have to install ESPHome in Home Assistant. To install ESPHome in Home Assistance go to the "Supervisor" section and search for ESPHome and click on "Install". It will take a couple of minutes to install so be patient. When it is installed press "Start" and then press "Open Web UI". The error message "502, Bad Gateway" will pop up when it isn't done yet so if this happens wait a little longer and then refresh the webpage. If you had problems go to the official documentation of ESPHome (https://esphome.io/guides/getting_started_hassio.html) for help
The ESPHome webpage will be simple but with a big "Add new device"-botton in the middle. To create a new device for your Pico just follow the instructions. When asked what board choose "rpi-pico-w". If you want to explore how to program the Pico using ESPHome, you can learn that here: https://esphome.io/index.html just find the component you are using in there huge amount of supported components and you will get a bunch of information. The RP2040 chip is new to the supported chips so there isn't any documentation on the website yet but maybe when you are reading this there is one, if they add documentation on the website please post a link in the comments. Otherwise you can use the GitHub documentation https://github.com/esphome/esphome/pull/3284 if you need help, there you can also ask for support: https://github.com/esphome/feature-requests/issues/1924. The code I used can be found in the documentation section, please remember to change your Wifi credentials.
esphome:
  name: rpi-pico-w

rp2040:
  board: rpipicow
  framework:
    platform_version: https://github.com/maxgerhardt/platform-raspberrypi.git

wifi:
  ssid: REPLACEMEPLEASE
  password: REPLACEMEPLEASE

logger:
api:
ota:

output:
  - platform: gpio
    pin: 25
    id: 'generic_out'
switch:
  - platform: output
    name: "Pump"
    output: 'generic_out'

sensor:
  - platform: dht
    pin: 27
    temperature:
      name: "Temperature Hydrophonics"
    humidity:
      name: "Humidity Hydrophonics"
    update_interval: 60s
    model: DHT11
When it is uploaded you can add the device in Home Assistant. Home Assistant usually finds ESPHome devices automatically but if not go back to the Home Assistant webpage and press the "Add Integration", then search for ESPHome and enter the hostname of the device. If you need any help read the official documentation (https://esphome.io/guides/getting_started_hassio.html) it is probably easier to understand even if I tried my hardest to make this guide as easy to read as possible.
After following everything you should be able to see your device in the Home Assistant Dashboard. Everything is now set up but you can dive deeper if you want into Home Assistant. The Home Assistant Dashboard is very intuitive but it may take some time to find where everything is the first time, because Home Assistant is so big and complex I can't write about everything you can do with it so I will link you to the official website, it will be able to help you understand every aspect of Home Assistant (https://www.home-assistant.io)
Getting the system started
The last step is to start the system, that means planting seeds aswell as filling the system with water.
Seeds and planting
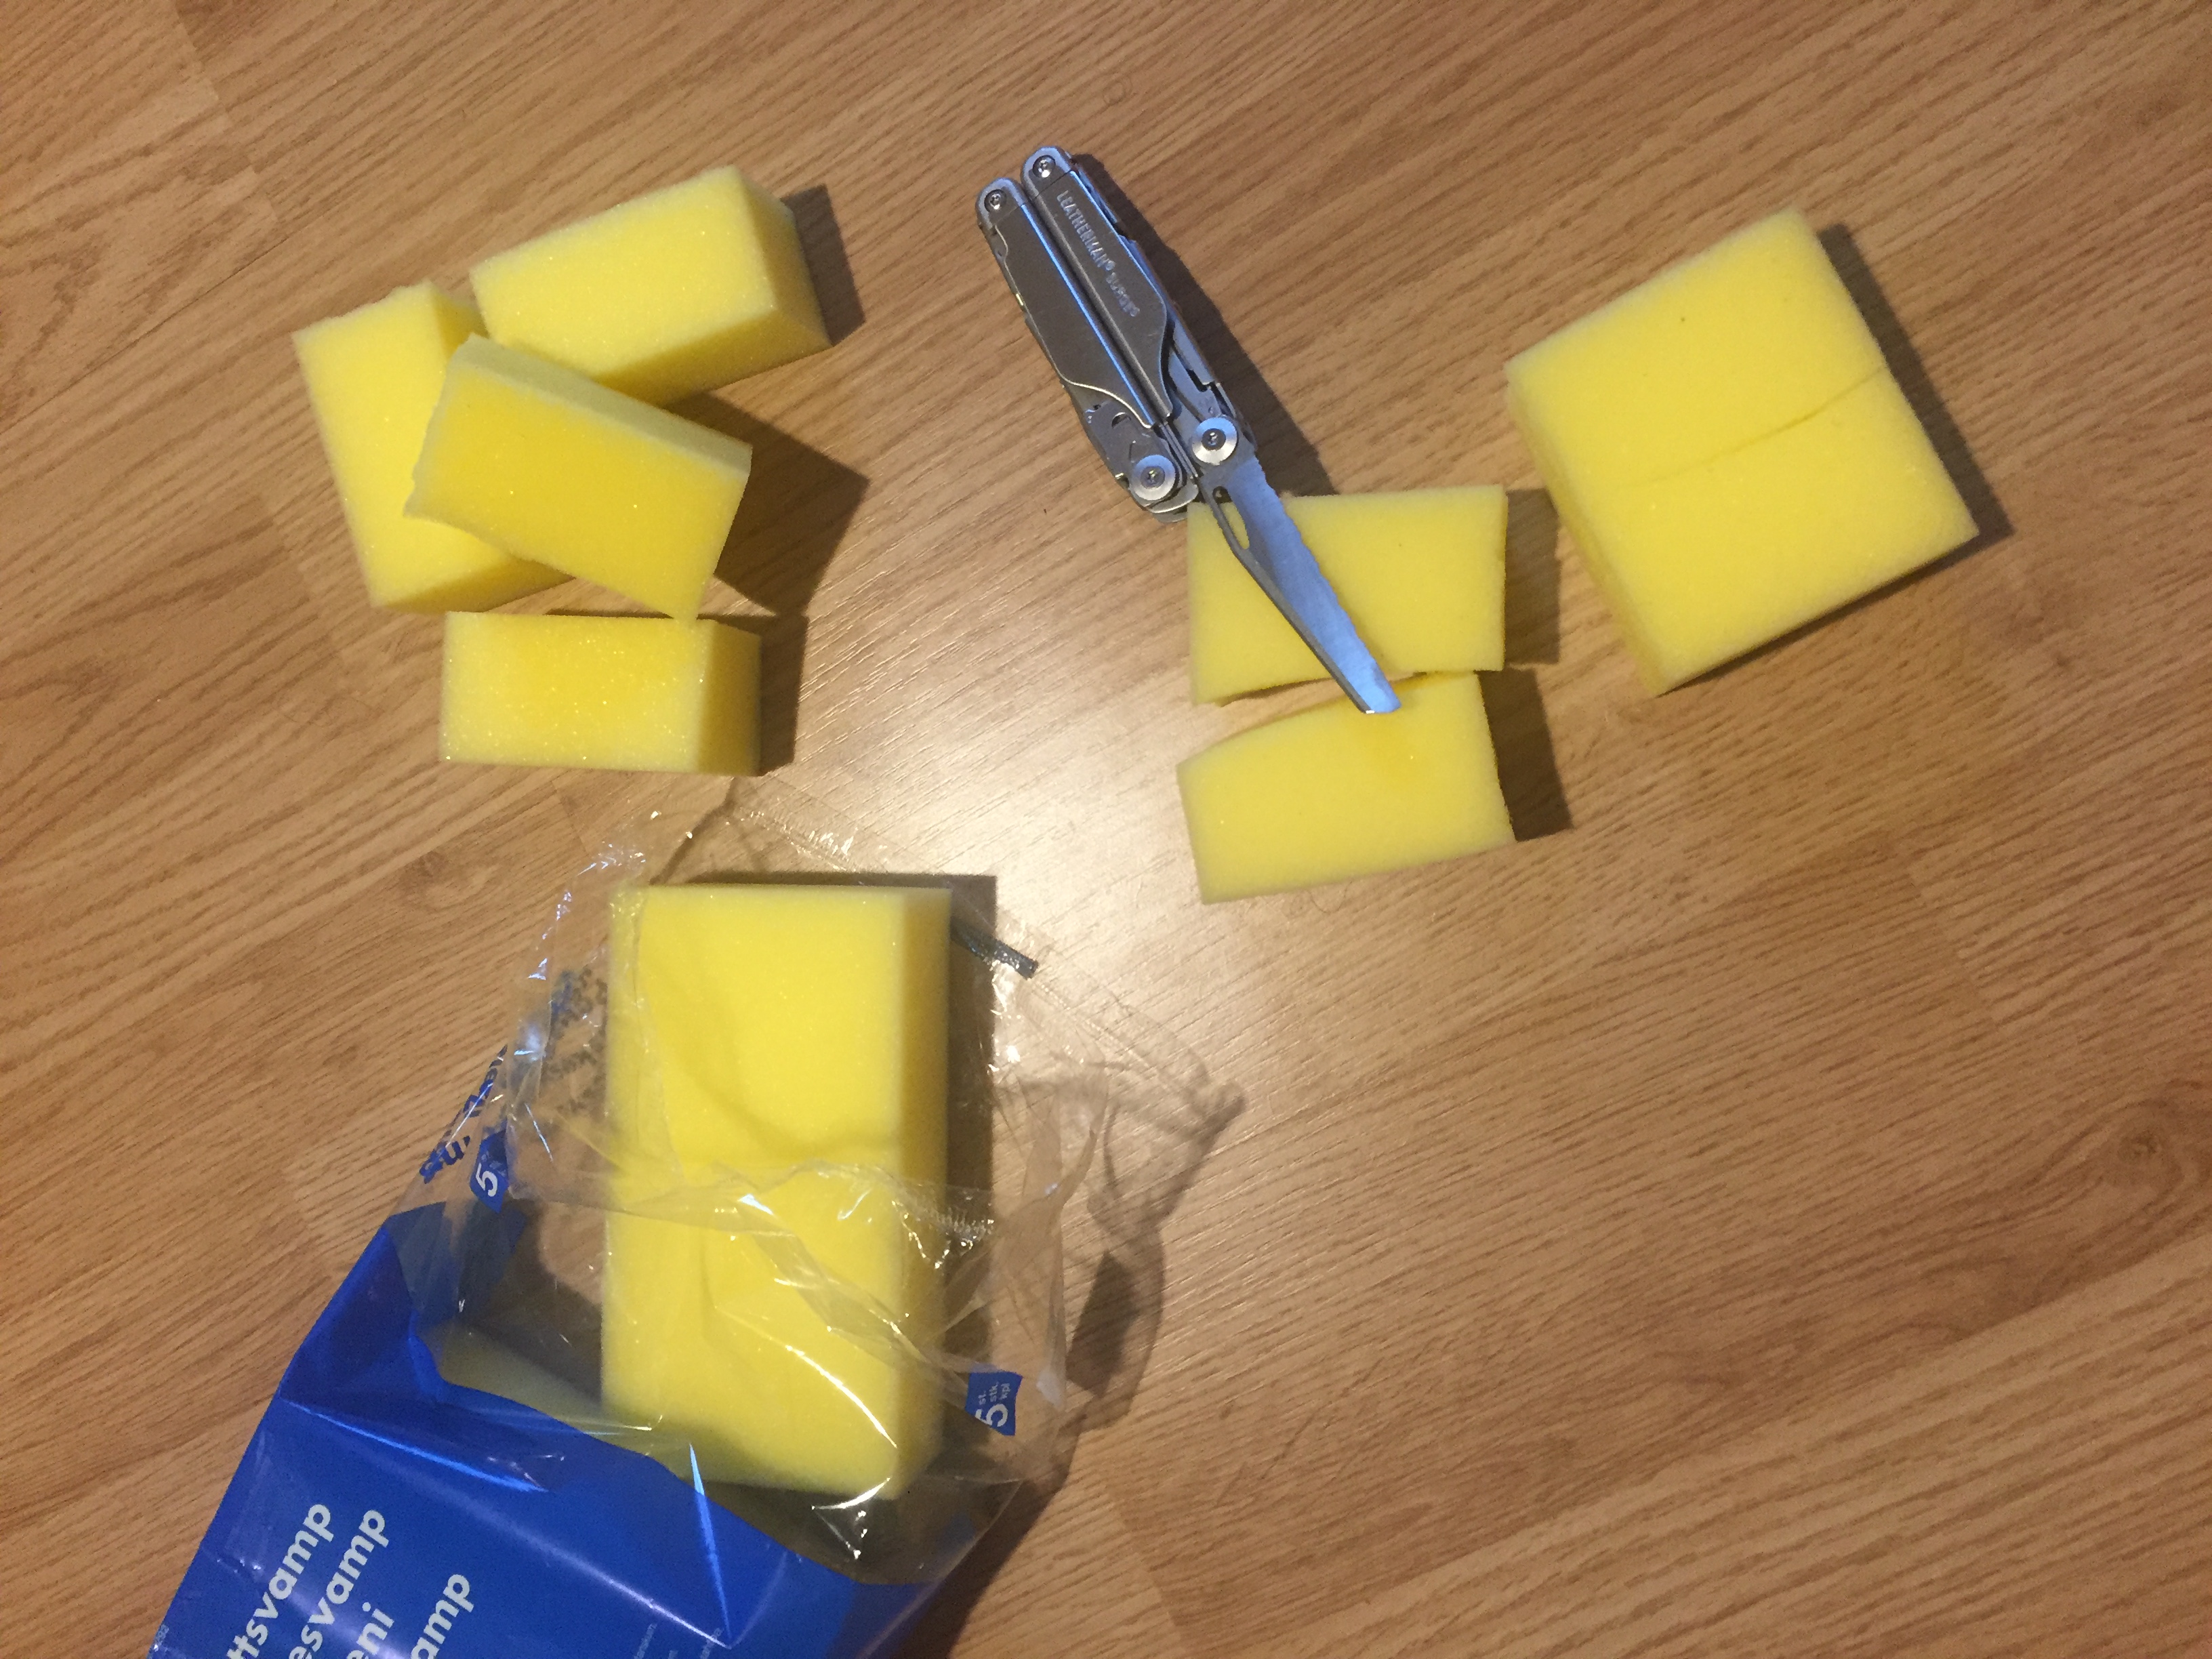
Now that everything is ready get to buy the seeds of your choice. But be careful, not every plant is logically or possible to grow in a hydrophobic system (cactus, banana tree, melons, ect.) but there are some very recommended plants. Sallat, tomatoes, strawberries, spices like basilica or peppers are good choices but in the end it comes to what you want to grow and experiment with.
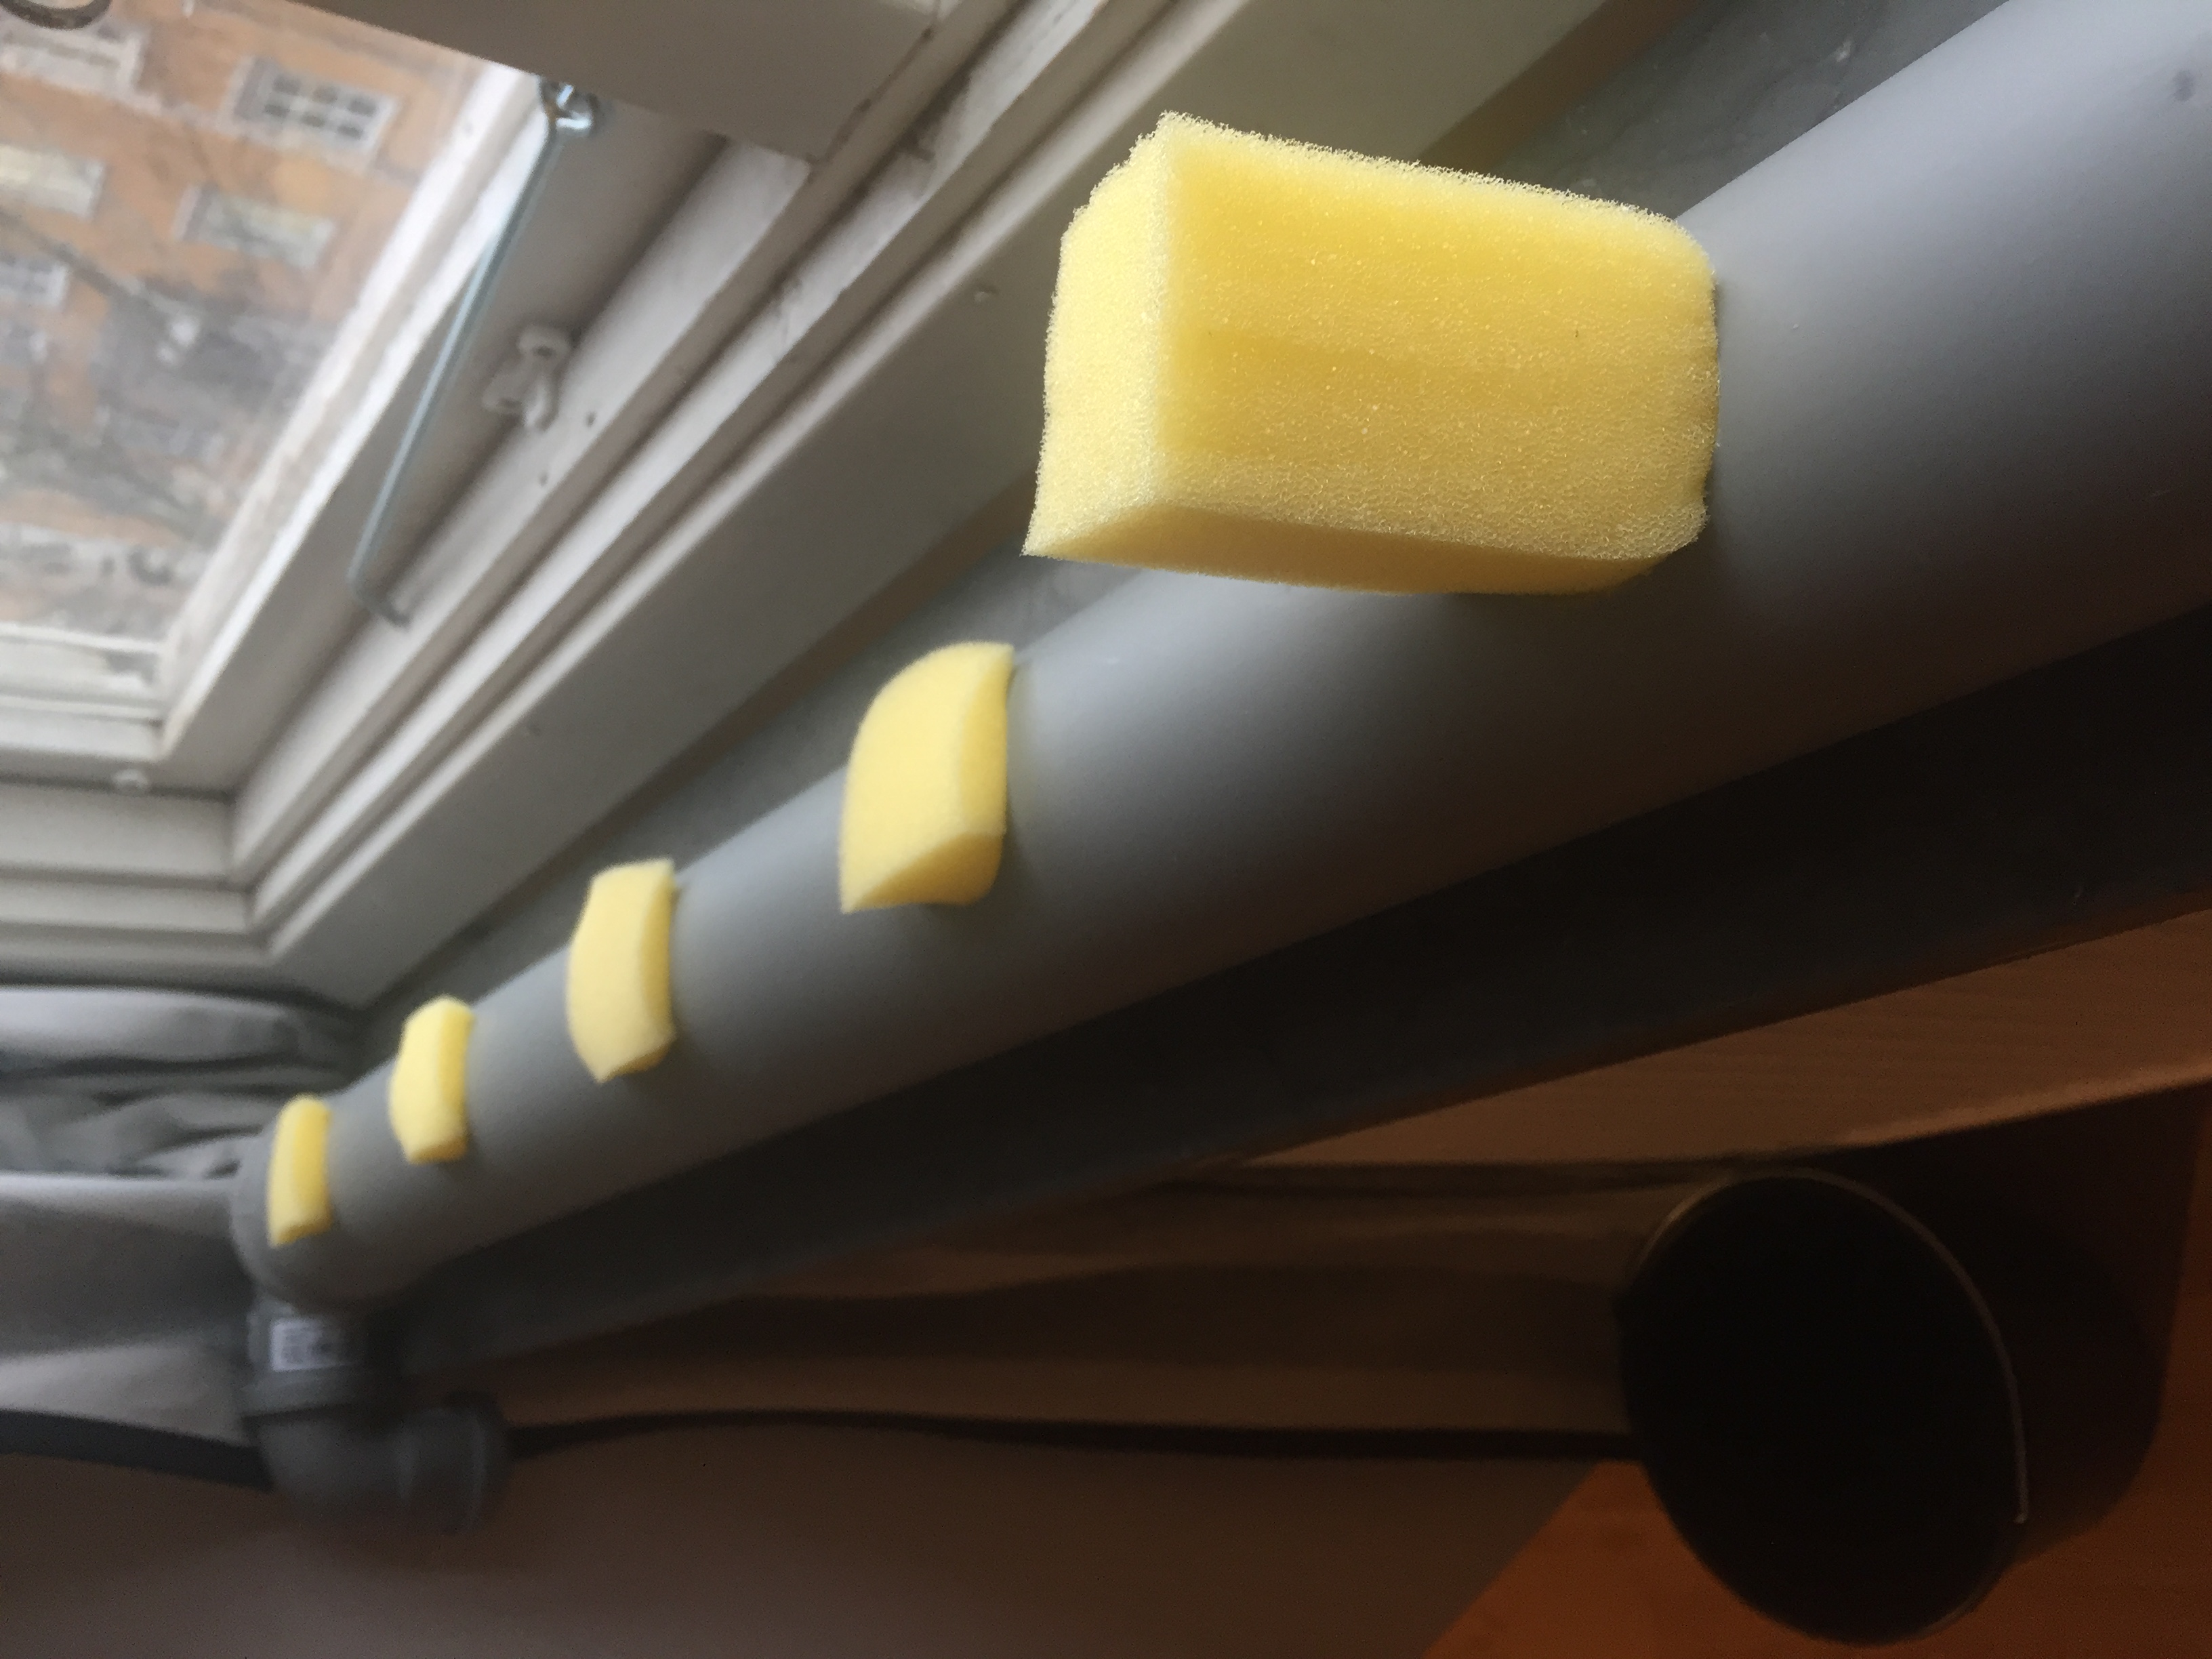
The seeds are placed in sponges. The sponges I got are quite big so I cut them into four smaller ones. These are placed in the holes of 75mm pipe. Then I make a small cut/hole and place one seed into each sponge.
Last steps and powering
There are two steps left until it is done, filling the system with water and powering the pump. The filling of the system is straight forward, fill the bucket with around 2 liters of water as well as the specified amount of nutrient fluid for 2 liters (you will find it on the back of the bottle). Then just mix it a little bit.
With the hardware and software set up and the seeds planted as well as the bucket filled with water, than the only step left is powering the pump. For that open Home Assistant there the first page that pops up is the Dashboard, there just click on the switch for the pump. You will see if everything works if the pump powers on. If not look if everything has power and if the electrical connections are good, then follow the steps and look if you can find your mistake. If you can't find any look on the ESPHome documentation as well as the Home Assistant Documentation.
Final thoughts
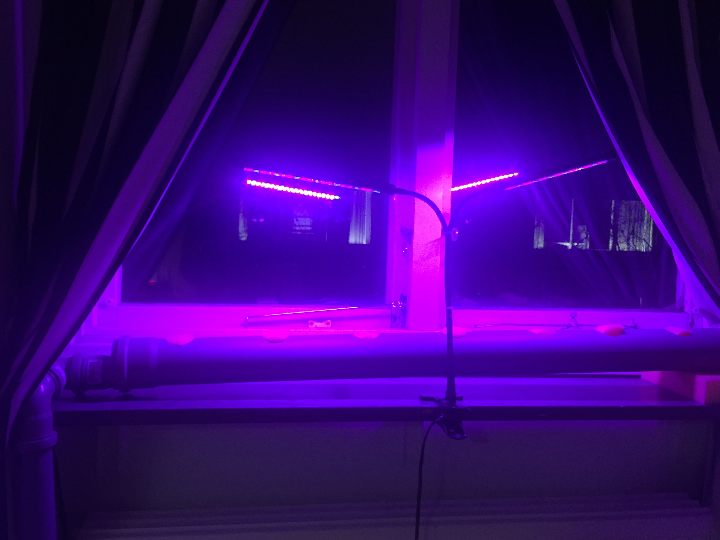
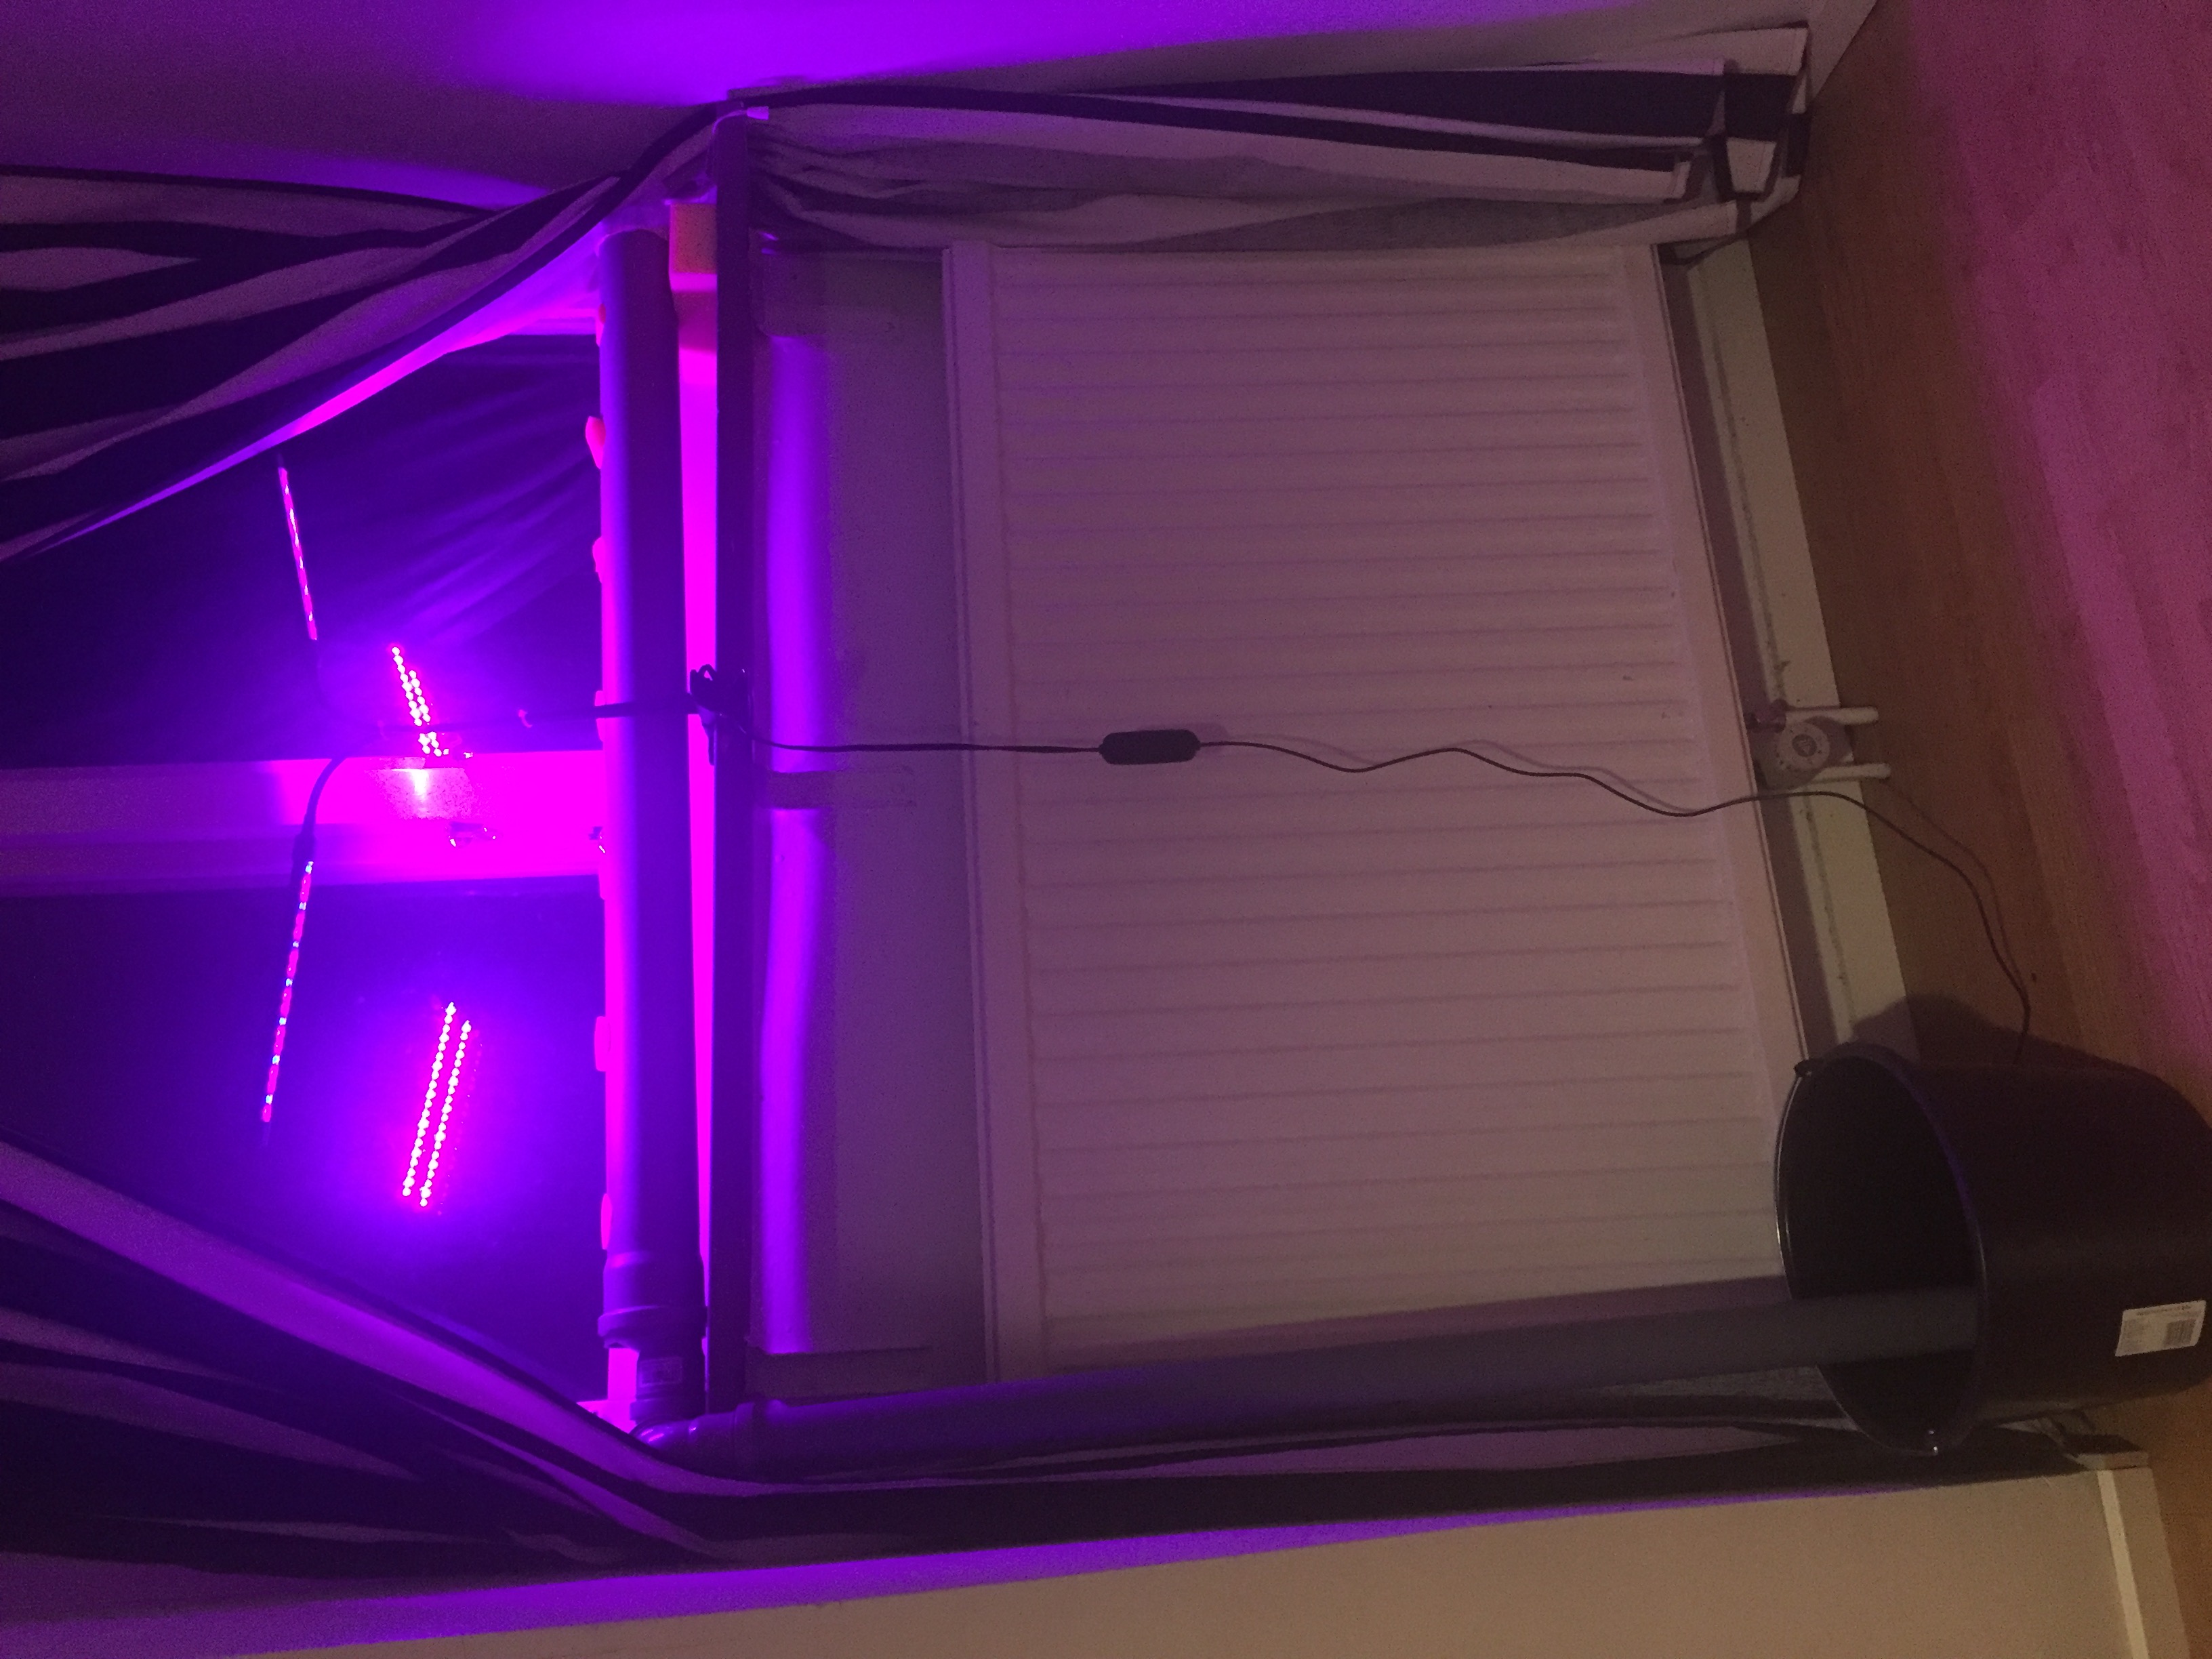
With this project I have had lots of fun but I have some changes to it that I want to make like installing a pump that is a little stronger. I also have gotten my hands on one of these plant lights, it is obnoxious but I have gotten used to it, at least I wake up in the morning in time. My plants haven't grown yet but we will see what happens.
P.S. : Dear Wiznet Team, the components haven't been added, I don't know if it is manually or a system. Thanks
-
Code for the Raspberry Pi Pico

-
Schematics without relay
-
Schematics with relay