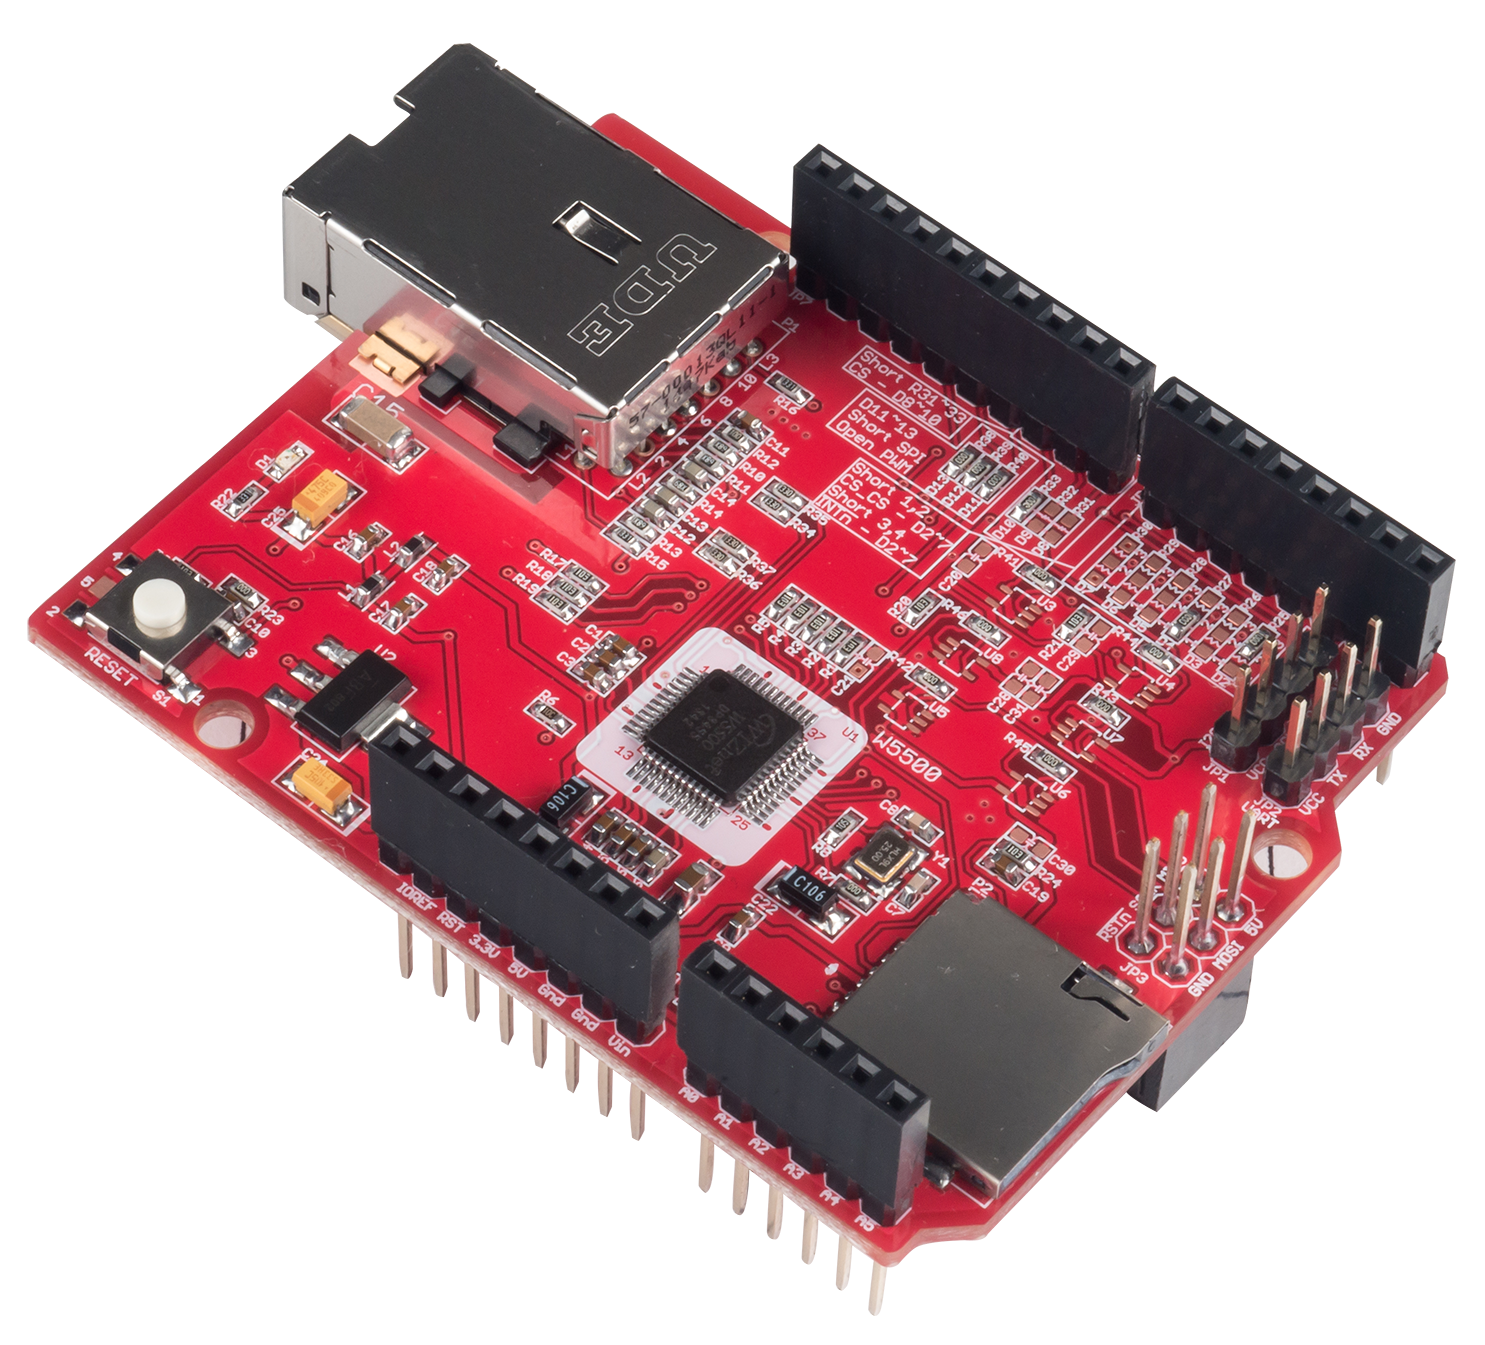
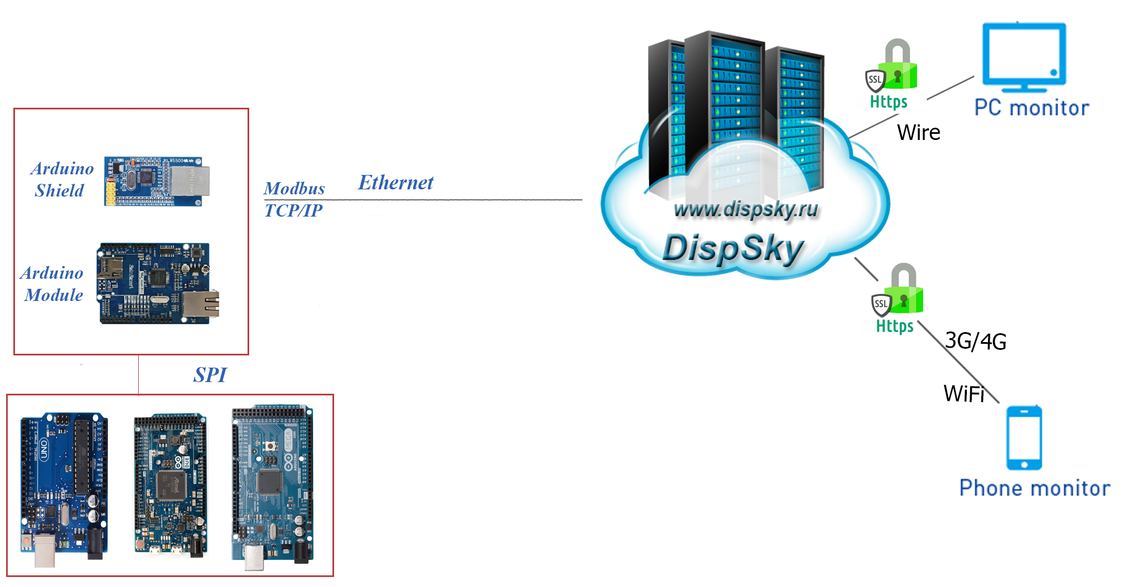
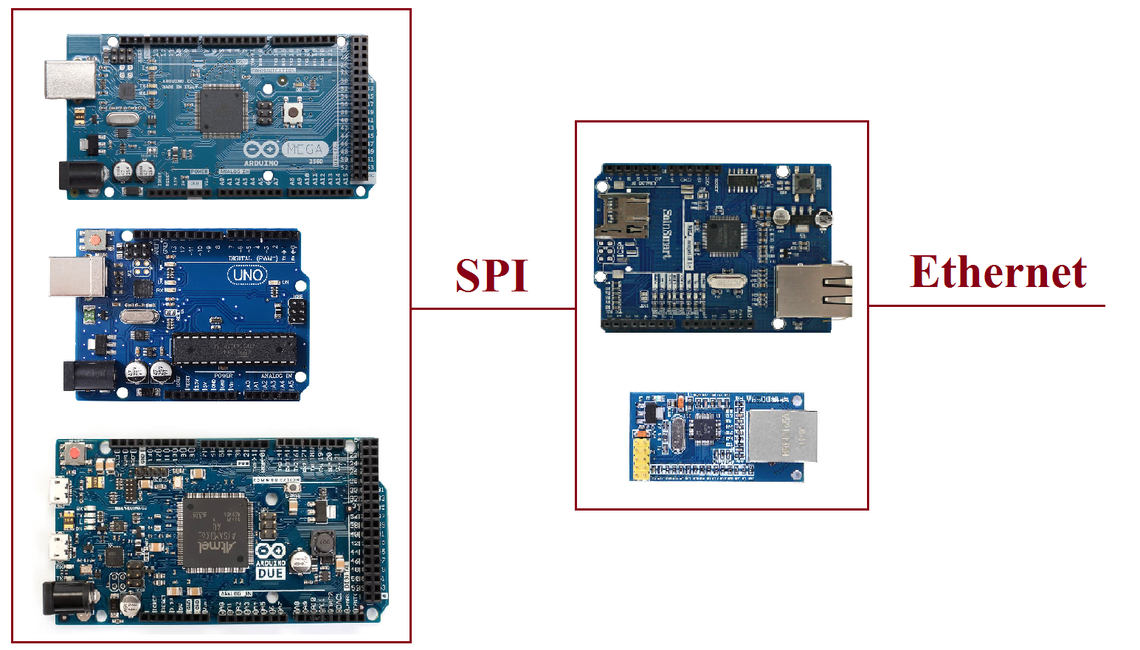
To connect Arduino boards to the DispSky cloud complex, Ethernet shields and modules based on W5100, W5200, W5500 chips are used.
To connect Arduino boards to the DispSky complex, you need:
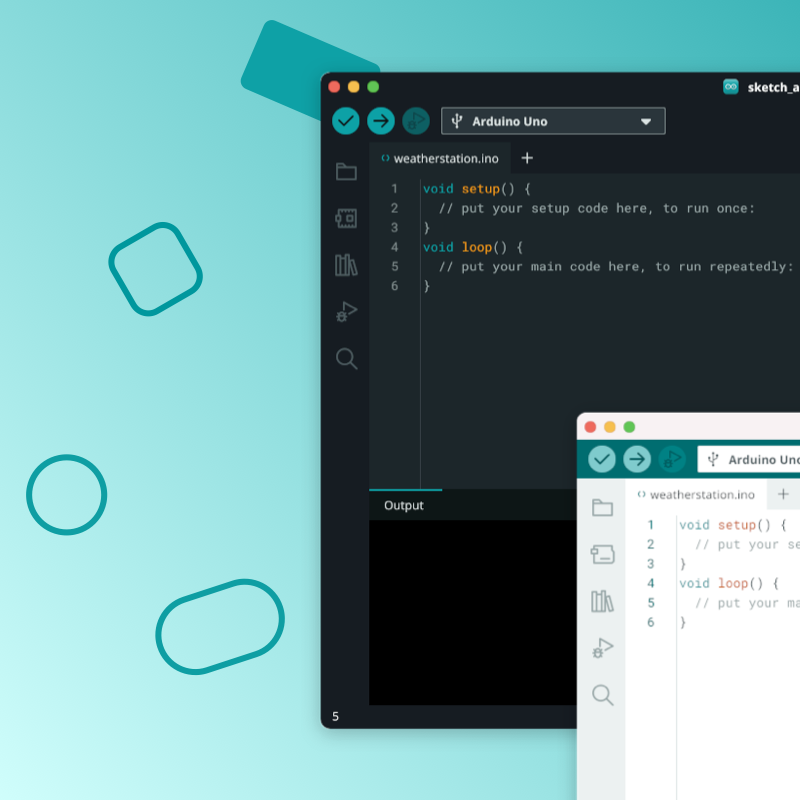
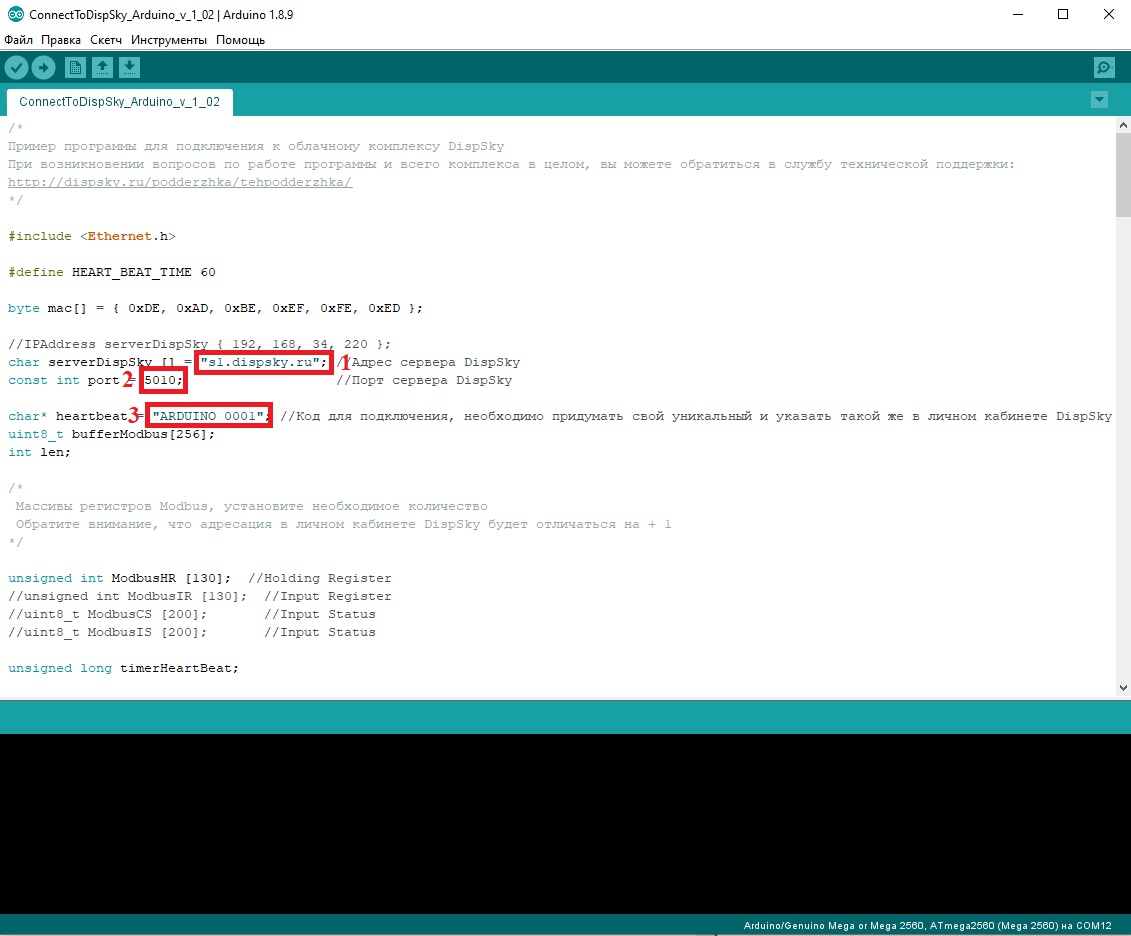
For the Arduino board:Connect an Ethernet shield to your board, or connect an Ethernet module to your board via the SPI interface.Download the example?sketch ?and open it with the Arduino IDE:
Specify the address of the DispSky server "s1.dispsky.ru"
Specify the port of the DispSky server "5010"
Come up with your own unique code consisting of any 12 ASCII characters
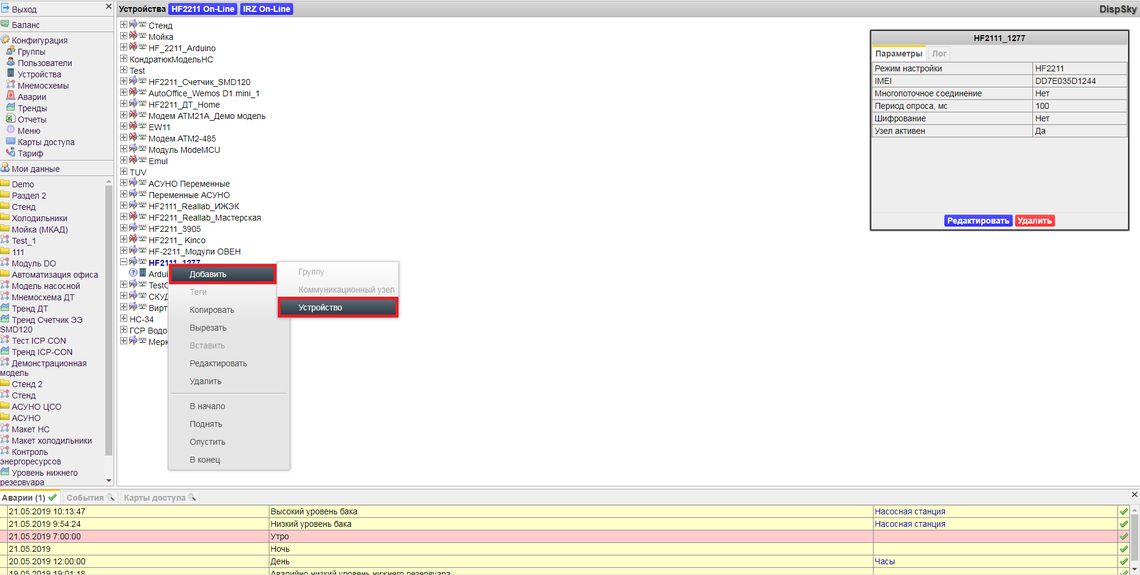
Generate the firmware and place it in the microcontroller.In the DispSky personal account:Add a node (To do this, right-click on the free area of ??the "devices" field):
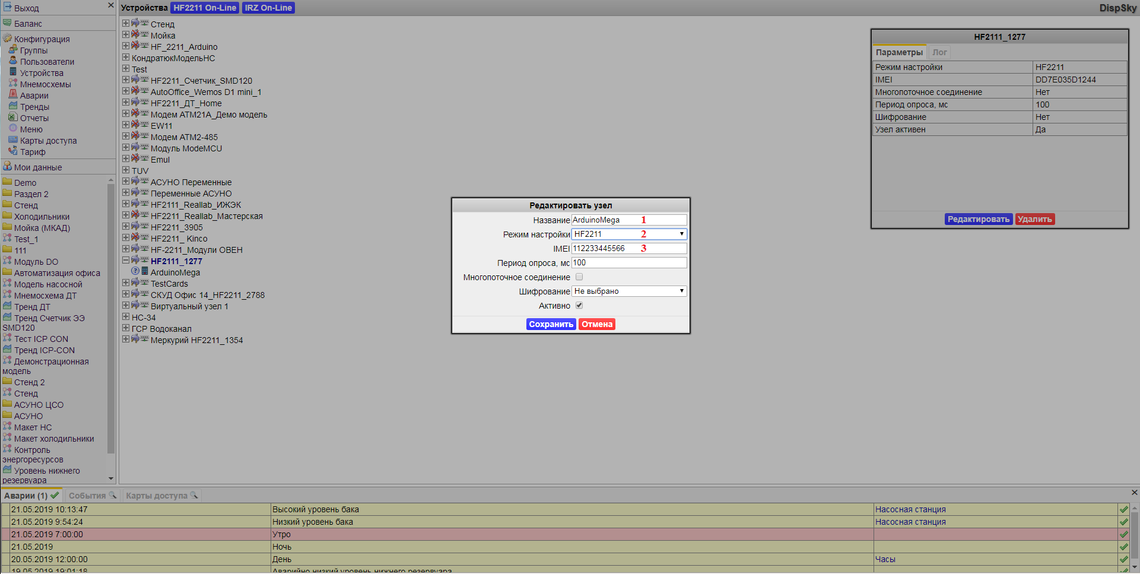
In the window that opens, enter the connection parameters:
Enter the node name.
Select the tuning mode - HF2211.
Enter the 12 digit code you provided in the Arduino sketch.
After selecting all the options to save the settings, click "Save".Add Device:
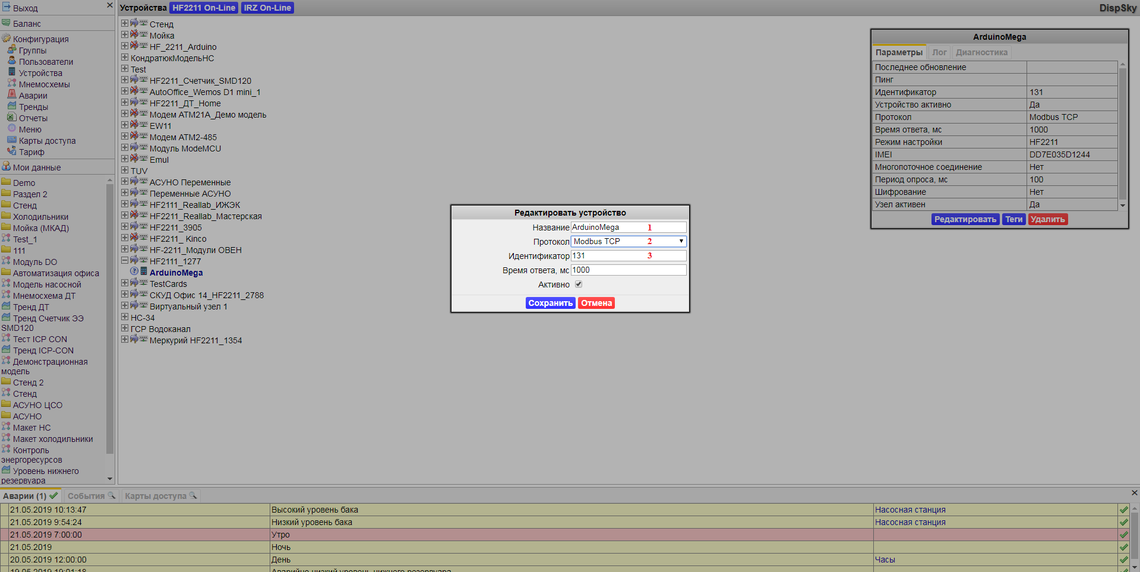
In the window that opens, enter the device parameters:
Enter a device name.
Select Modbus TCP protocol.
Think up and enter an identifier for the device.
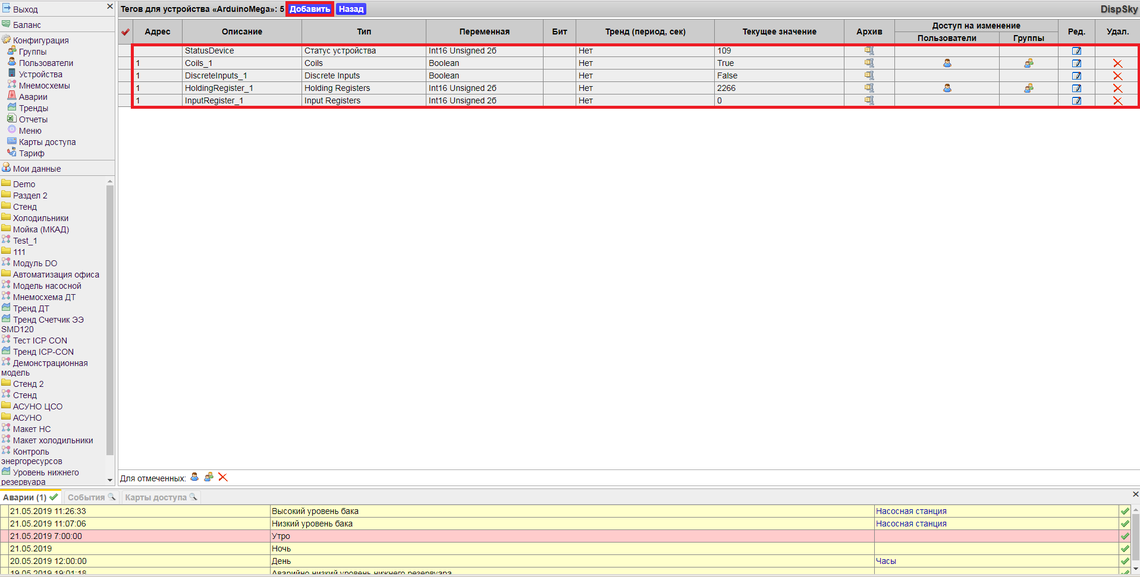
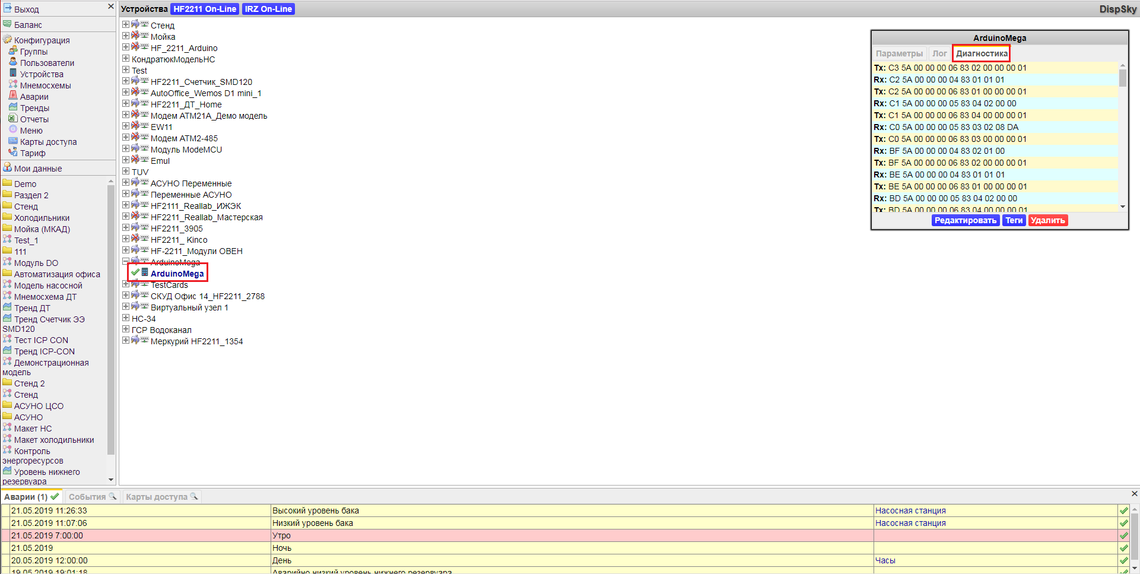
After selecting all the parameters to save the settings, click "Save"The added device will appear in the device tree.?A green checkbox means that the settings have been correctly made and the device is connected to the DispSky complex.Next, go to view the registers available on the Arduino board by clicking on the "Tags" button:
To add tags, click the Add button and enter register parameters.In the example sketch, registers of types Coils and Discrete Inputs are available at addresses 1 - 200, as well as Holding Registers and Input Registers at addresses 1 - 130, you can reduce or increase their number, depending on the need and the availability of free memory.?Please note that the register addresses in the sketch arrays and in the DispSky personal account differ by + 1. Youcan control the data transfer in the connection settings by selecting the "Diagnostics" tab
We sent a verification link to your address. Open it to activate your account, then log in.
Accounts from this email provider are reviewed by an administrator after verification. Approval usually takes one business day.
Already have an account?
Reset your password
Enter your email address. If it belongs to an account, we'll send a link to set a new password. Members who joined before the site update use this to set their password.
Check your email
If an account uses that address, we sent a link to set a new password. The link works once and expires in 30 minutes.