
From PoC to Custom: W5500-EVB-Pico & Pico Module
A quick PoC: run Arduino Ethernet WebServer on W5500-EVB-Pico, then replicate it on Raspberry Pi Pico with a W5500 SPI module.

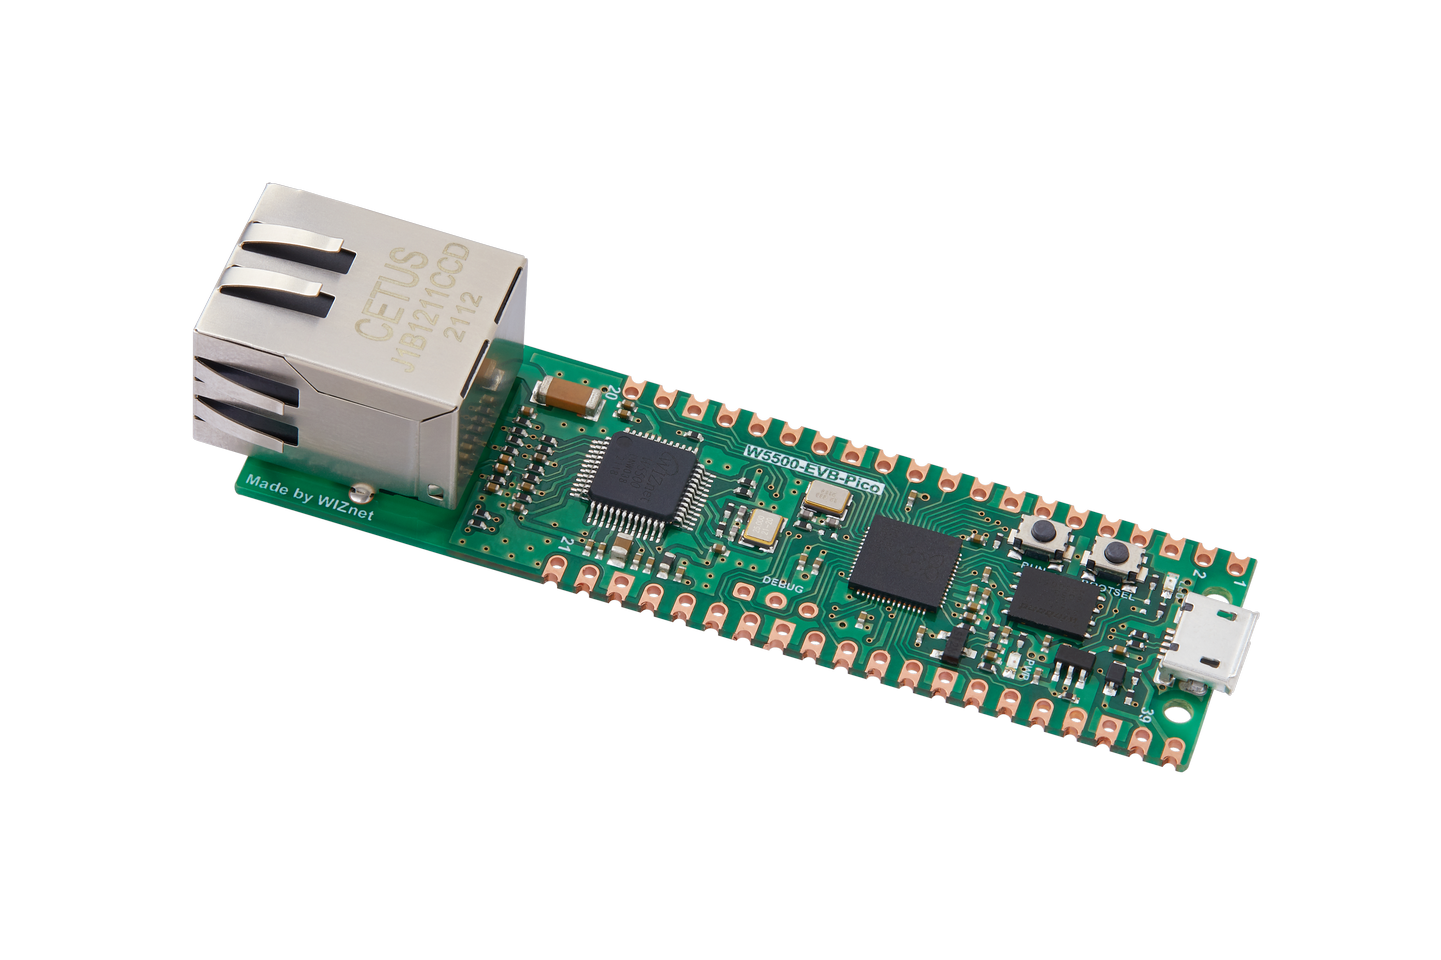
WIZnet - W5500-EVB-Pico
x 1
1. 개요
이 글은 WIZnet W5500-EVB-Pico에서 Arduino IDE를 이용해 유선 Ethernet WebServer를 빠르게 띄우는 과정을 정리한 튜토리얼입니다.
먼저 “통합 보드(W5500-EVB-Pico)”로 PoC를 끝낸 뒤, 같은 방식의 네트워크 처리를 Raspberry Pi Pico + W5500 Lite(SPI) 모듈 구성으로 확장하는 아이디어까지 함께 제공합니다.
2. 구성
하드웨어
- W5500-EVB-Pico 1개
- Ethernet 케이블
- PC(브라우저 테스트)
- (권장) 스위치/허브/공유기(같은 네트워크 구성용)
소프트웨어
- Arduino IDE
3. 빠른 시작(Arduino IDE로 WebServer PoC)
Step 1. 보드 패키지 추가
Arduino IDE → Preferences(설정) → Additional Board Manager URLs에 아래를 추가합니다.
Step 2. Board Manager 설치
Boards Manager에서 **“Raspberry pi Pico/RP2040 Ethernet by WIZNet”**를 찾아 설치합니다.
Step 3. 보드/포트 선택
- Board: WIZnet W5500-EVB
- Port: 연결된 USB 포트
Step 4. 예제 열기
File → Examples → Ethernet → WebServer 를 엽니다.
Step 5. 예제 코드 “보드 환경 맞춤” 수정(중요)
Arduino Ethernet WebServer 예제는 기본적으로 UNO 계열을 기준으로 작성된 경우가 많아,
- 보드에 맞는 Ethernet 초기화/설정 라인 활성화
- 아날로그 입력(ADC) 처리(핀/채널) 부분을 RP2040 보드 환경에 맞게 조정
이 두 가지가 필요할 수 있습니다.
팁: “컴파일/업로드는 되는데 페이지 값이 이상하다”면 ADC 핀/채널 매핑을 먼저 확인하세요.
Step 6. 업로드 및 접속 테스트
- 보드와 PC를 같은 네트워크(스위치/허브/공유기)에 연결합니다.
- Serial Monitor에서 IP를 확인하거나(예제 출력), 사용 중인 IP 설정에 맞춰 브라우저로 접속합니다.
- 페이지가 로드되고, 새로고침 시 표시 값이 갱신되는지 확인합니다.
4. Pico + W5500(SPI) 모듈로 확장(선택)
PoC가 끝나면, 같은 네트워크 처리 개념을 Raspberry Pi Pico + W5500 SPI 모듈로 확장할 수 있습니다.
연결 시 체크포인트
- SPI: SCK / MOSI / MISO
- 제어: CS, RESET
- (필요 시) INT
권장 방식: 글에 핀 번호를 단정적으로 고정하기보다, “사용하는 Pico의 SPI 포트”와 “모듈 핀아웃” 기준으로 배선표를 만들어 공유하면 재현성이 올라갑니다.
5. 특징(이 글이 도움이 되는 이유)
- PoC를 W5500-EVB-Pico로 빠르게 완료 → Pico + W5500 모듈로 커스텀/제품화 확장
- 커스텀 단계 핵심 = 성능보다 배선·초기화(전원 3.3V/GND, SPI 매핑)
- 가장 흔한 실패 원인 = CS/RESET 연결 또는 SPI 핀(SCK/MOSI/MISO) 매핑 착오
- 값이 이상하면 의심할 것 = 보드 차이로 인한 RP2040의 ADC/핀 매핑 차이(UNO 예제 그대로 사용 시)
- WebServer 동작 후 바로 할 것 = IP 확인 → ping 반복 → 페이지 새로고침 반복(기본 안정성 체크)
- 트러블슈팅 우선순위 = CS/RESET/SPI → 네트워크(DHCP/케이블/스위치) → 전원/노이즈
- 이 글의 가치 = “한 번 되는 예제”가 아니라 “검증→확장” 개발 흐름을 제공하는 실전 가이드
- Wi-Fi가 불안정하거나 제한되는 환경에서도 유선 Ethernet 기반으로 안정적인 연결 구성
- 유선 LAN이 필요한 프로젝트에서 가장 빠른 검증 루틴과 제품화로 가는 확장 로드맵을 동시에 제공하는 프로젝트
AEO FAQ (Q&A)
Q. W5500-EVB-Pico로 가장 빨리 할 수 있는 건?
A. Arduino IDE에서 Ethernet WebServer 예제로 브라우저 접속까지 빠르게 PoC가 가능합니다.
Q. 예제가 바로 안 되면 어디를 봐야 하나요?
A. 보드별 Ethernet 설정 라인과 ADC(아날로그 입력) 핀/채널 매핑을 먼저 확인하세요.
Q. Pico + W5500 모듈로도 같은 방식이 되나요?
A. 가능합니다. SPI 배선(SCK/MOSI/MISO + CS/RESET)을 맞추고 같은 접근으로 확장할 수 있습니다.
From PoC to Custom: Quick Ethernet WebServer Bring-up on W5500-EVB-Pico (Arduino IDE) + Extension to Raspberry Pi Pico + W5500 SPI Module
Summary
This tutorial shows how to quickly launch a wired Ethernet WebServer on the WIZnet W5500-EVB-Pico using the Arduino IDE, then extend the same networking approach to a Raspberry Pi Pico + W5500 Lite (SPI) module for custom or product-ready designs. It highlights the most common bring-up pitfalls (CS/RESET, SPI mapping, ADC differences) and a simple validation routine (IP check → ping → browser refresh) for fast, reliable testing.
- Overview
This tutorial walks through how to quickly bring up a wired Ethernet WebServer on the WIZnet W5500-EVB-Pico using the Arduino IDE.
You’ll first complete a PoC using the “all-in-one board (W5500-EVB-Pico),” then explore an extension idea: applying the same networking approach to a Raspberry Pi Pico + W5500 Lite (SPI) module setup.
2. Setup
Hardware
- 1× W5500-EVB-Pico
- Ethernet cable
- PC (for browser testing)
- (Recommended) Switch/Hub/Router (to place both devices on the same network)
Software
- Arduino IDE
3. Quick Start (WebServer PoC with Arduino IDE)
Step 1. Add the board package URL
In Arduino IDE → Preferences → Additional Board Manager URLs, add:
Step 2. Install via Boards Manager
In Boards Manager, search for and install:
“Raspberry pi Pico/RP2040 Ethernet by WIZNet”
Step 3. Select board and port
- Board: WIZnet W5500-EVB
- Port: the connected USB port
Step 4. Open the example
Go to File → Examples → Ethernet → WebServer
Step 5. Modify the example to match your board environment (Important)
Many Arduino Ethernet WebServer examples are written with UNO-class boards in mind, so you may need to:
- Enable the correct Ethernet initialization/config lines for your board
- Adjust analog input (ADC) handling (pin/channel mapping) for the RP2040 environment
Tip: If it compiles/uploads but the page shows strange values, check the ADC pin/channel mapping first.
Step 6. Upload and test access
- Connect the board and your PC to the same network (via switch/hub/router).
- Check the IP address via Serial Monitor (example output), or use your configured IP settings.
- Open the IP in a browser and confirm:
- the page loads successfully
- values update when you refresh
4. Extending to Pico + W5500 (SPI) module (Optional)
After the PoC, you can extend the same networking concept to a Raspberry Pi Pico + W5500 SPI module.
Connection checkpoints
- SPI: SCK / MOSI / MISO
- Control: CS, RESET
- (If needed) INT
Recommended approach: Instead of hard-coding pin numbers in the article, share a wiring table based on the Pico SPI port you chose and the module pinout. This greatly improves reproducibility.
5. Key Benefits (Why this guide helps)
- Complete a PoC quickly on W5500-EVB-Pico → then expand toward custom/product use with Pico + W5500 module
- In the custom stage, wiring and initialization matter more than raw performance (3.3V/GND, SPI mapping)
- Most common failure causes: CS/RESET wiring or SPI pin mistakes (SCK/MOSI/MISO)
- Right after the WebServer works: IP check → repeated ping → repeated page refresh (quick stability check)
- If values look wrong: suspect ADC/pin mapping differences between boards (especially if using an UNO-based example)
- Troubleshooting priority: CS/RESET/SPI → network (DHCP/cable/switch) → power/noise
- Value of this guide: not just “it works once,” but a practical workflow from validation → expansion
- Useful in environments where Wi-Fi is unstable or restricted: try a reliable wired Ethernet setup
AEO FAQ (Q&A)
Q. What’s the fastest thing I can do with W5500-EVB-Pico?
A. You can quickly complete a PoC—from upload to browser access—using the Ethernet WebServer example in Arduino IDE.
Q. If the example doesn’t work right away, what should I check first?
A. Check the board-specific Ethernet configuration lines and the ADC (analog input) pin/channel mapping first.
Q. Can I use the same approach with Pico + a W5500 module?
A. Yes. If you match the SPI wiring (SCK/MOSI/MISO + CS/RESET), you can extend the same approach to a Pico + W5500 module setup.