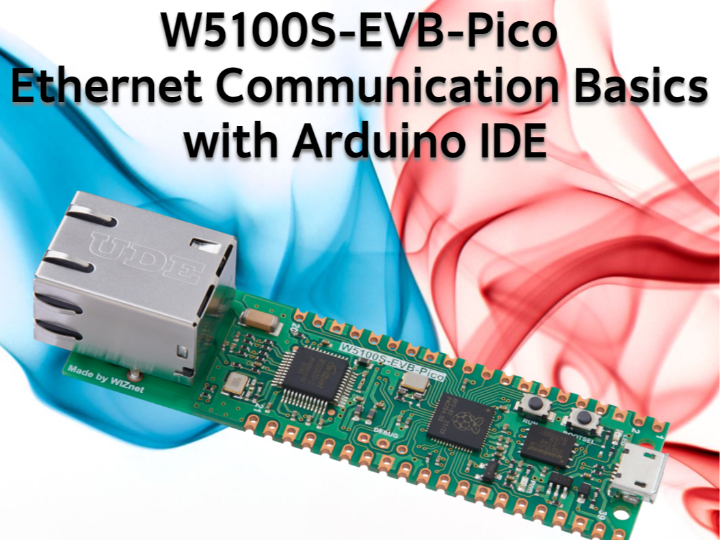
W5100S-EVB-Pico Ethernet Communication Basics with Arduino IDE
This code initializes Ethernet on the W5100S-EVB-Pico with the Arduino IDE. It tries DHCP, falls back to a static IP if needed.

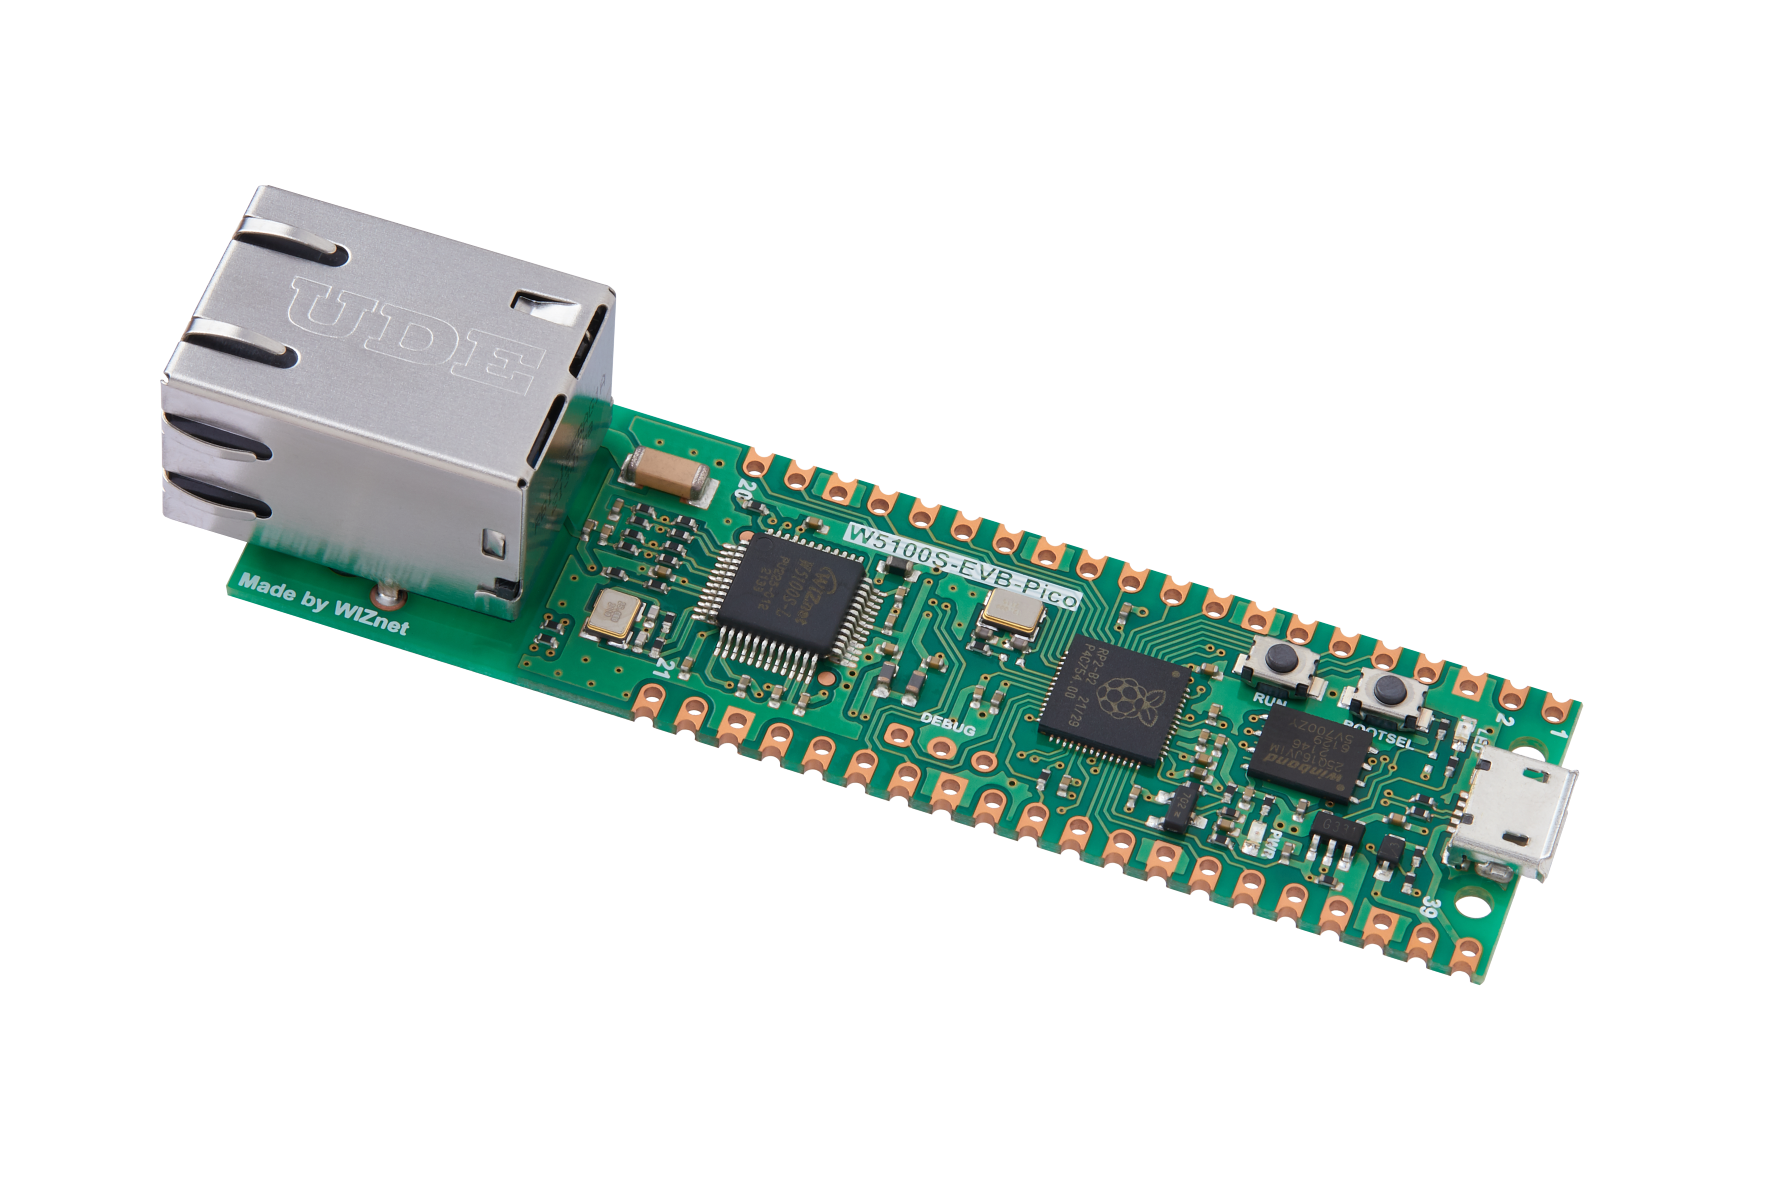
The W5100S-EVB-Pico is a versatile development board that allows users to practice and learn Ethernet communication using the Arduino IDE. This repository provides a comprehensive set of basic examples to help beginners understand Ethernet communication with the W5100S-EVB-Pico. Each example demonstrates a different aspect of Ethernet communication, from initializing the Ethernet connection to creating web servers and clients.
Getting Started
Before using the example projects, you’ll need to install the necessary libraries and set up the Arduino IDE for the W5100S-EVB-Pico.
- Install the Arduino IDE: Download and install the latest version of the Arduino IDE from the official Arduino website.
- Add the Arduino core for RP2040: Open the Arduino IDE, go to “File” > “Preferences,” and add the following URL to the “Additional Boards Manager URLs” field: https://github.com/earlephilhower/arduino-pico/releases/download/global/package_rp2040_index.json Click “OK” to save the changes.
- Install the RP2040 board support: Go to “Tools” > “Board” > “Boards Manager,” search for “RP2040” in the search bar, and install the “Raspberry Pi Pico/RP2040” package.
- Select the board: Once the board support package is installed, go to “Tools” > “Board” and select “W5100S-EVB-Pico” from the list of available boards.
- Install the WIZnet Ethernet library for W5100S-EVB-Pico: Download the library from the GitHub repository: https://github.com/WIZnet-ArduinoEthernet/Ethernet. Click on the “Code” button and then “Download ZIP” to download the library as a ZIP file. Open the Arduino IDE, go to “Sketch” > “Include Library” > “Add .ZIP Library,” navigate to the location where you downloaded the WIZnet Ethernet library ZIP file, select the ZIP file, and click “Open.” The Arduino IDE will automatically install the library. Restart the Arduino IDE to ensure the library is loaded correctly.
Examples
The repository includes the following examples:
- Ethernet Initialization: Initialize the W5100S Ethernet controller, check its status, and print the network configuration.
- DHCP IP Address: Request an IP address from a DHCP server on your local network and print the assigned IP address.
- Static IP Address: Set a static IP address for the W5100S-EVB-Pico and print the network configuration.
- TCP Client: Create a simple TCP client that connects to a remote server, sends a message, and receives a response.
- TCP Server: Implement a basic TCP server that listens for incoming connections, receives messages, and sends a response.
- UDP Sender: Send UDP packets to a remote IP address and port.
- UDP Receiver: Listen for incoming UDP packets and print their content.
- Web Client: Connect to a web server, request a webpage, and print the HTTP response.
- Web Server: Create a simple web server that serves a basic HTML page when accessed from a web browser.
- DNS Resolution: Resolve a domain name to its IP address using the Domain Name System (DNS) and print the result.
- NTP Client: Synchronize the system time with a remote Network Time Protocol (NTP) server and print the current date and time.
Each example folder contains a sketch demonstrating a specific aspect of Ethernet communication. Consult the README file in each folder for a detailed explanation of the example and instructions on how to use it.
Certainly! Here’s the code with an appropriate subheading and the code explanation:
Ethernet Initialization with W5100S-EVB-Pico and Arduino IDE
Ethernet initialization is a fundamental step in establishing network communication for any Ethernet-enabled device. In this section, we’ll explore a representative example from the W5100S-EVB-Pico Basic Example repository that demonstrates how to initialize the Ethernet connection on the W5100S-EVB-Pico board using the Arduino IDE.
Code
// Include the required libraries for Ethernet communication:
#include <SPI.h>
#include <Ethernet.h>

// Define a unique MAC address for your device. This is a 6-byte identifier:
byte mac[] = {
  0xDE, 0xAD, 0xBE, 0xEF, 0xFE, 0xED
};

// Define a static IP address for your device:
IPAddress ip(192, 168, 1, 177);

// Define the Chip Select (CS) pin for W5100S on W5100S-EVB-Pico:
const int csPin = 17;

void setup() {
  // Initialize serial communication at 9600 baud rate and wait for the port to open:
  Serial.begin(9600);
  while (!Serial) {
    ; // Wait for serial port to connect. Needed for native USB port only.
  }

  // Initialize Ethernet communication with the specified CS pin:
  Ethernet.init(csPin);

  // Start the Ethernet connection using DHCP:
  Serial.println("Starting Ethernet connection...");
  if (Ethernet.begin(mac) == 0) {
    // If DHCP configuration fails, print an error message:
    Serial.println("Failed to configure Ethernet using DHCP");

    // Try to configure Ethernet with the static IP address:
    Ethernet.begin(mac, ip);
  }
  // Wait for a second to allow the Ethernet shield to initialize properly:
  delay(1000);
  // Print a message to indicate that Ethernet initialization is complete:
  Serial.println("Ethernet initialized");

  // Print the network configuration obtained during Ethernet initialization:
  Serial.print("IP address: ");
  Serial.println(Ethernet.localIP()); // Print the device's IP address.
  Serial.print("Subnet mask: ");
  Serial.println(Ethernet.subnetMask()); // Print the device's subnet mask.
  Serial.print("Gateway IP: ");
  Serial.println(Ethernet.gatewayIP()); // Print the gateway IP address.
  Serial.print("DNS server IP: ");
  Serial.println(Ethernet.dnsServerIP()); // Print the DNS server IP address.
}

void loop() {
  // There is nothing to do in the loop for this example.
  // The purpose of this sketch is to initialize the Ethernet connection and display network configuration.
}
This code demonstrates how to initialize the Ethernet connection on the W5100S-EVB-Pico board using the Arduino IDE. It starts by including the necessary libraries for Ethernet communication and defining a unique MAC address for the device. The code then defines a static IP address for the device and the Chip Select (CS) pin for the W5100S Ethernet controller on the W5100S-EVB-Pico board.
In the setup() function, the code initializes serial communication at a baud rate of 9600 and waits for the serial port to open. It then initializes Ethernet communication with the specified CS pin and attempts to start the Ethernet connection using DHCP. If DHCP configuration fails, the code prints an error message and tries to configure the Ethernet connection with the static IP address defined earlier. The code waits for a second to allow the Ethernet shield to initialize properly and prints a message to indicate that Ethernet initialization is complete. Finally, the code prints the network configuration obtained during Ethernet initialization, including the device’s IP address, subnet mask, gateway IP address, and DNS server IP address.
The loop() function is empty in this example, as the purpose of the sketch is to initialize the Ethernet connection and display the network configuration.
Expected Output:
When the code runs correctly, the output on the Serial Monitor should look similar to the following:
Starting Ethernet connection...
Ethernet initialized
IP address: 192.168.1.177
Subnet mask: 255.255.255.0
Gateway IP: 192.168.1.1
DNS server IP: 8.8.8.8
The specific values for the IP address, subnet mask, and gateway address will depend on your network configuration.
This code initializes the Ethernet connection on the W5100S-EVB-Pico board and prints the network configuration to the Serial Monitor. It first attempts to configure the Ethernet connection using DHCP, and if that fails, it uses the static IP address defined in the code. The network configuration includes the device’s IP address, subnet mask, gateway IP address, and DNS server IP address.
Why Use W5100S-EVB-Pico?
The W5100S-EVB-Pico is an excellent choice for those looking to learn about Ethernet communication. It provides a hands-on approach to understanding the various aspects of Ethernet communication, from the basics of setting up an Ethernet connection to more advanced topics like creating web servers and clients. The examples provided in this repository are designed to be easy to understand and modify, allowing you to create your own Ethernet-based projects. Whether you’re a beginner or an experienced developer, the W5100S-EVB-Pico offers a valuable learning experience.
Practical Applications
Learning Ethernet communication with the W5100S-EVB-Pico can open up a world of possibilities for your projects. Here are some practical applications of the skills you’ll acquire:
- Home Automation: Use Ethernet communication to connect and control smart devices in your home, such as lights, thermostats, and security cameras. Create a centralized control system that allows you to manage all your devices from a single interface.
- IoT Projects: Build Internet of Things (IoT) devices that can communicate with each other and the cloud. Create sensors that collect data and send it to a central server for analysis and visualization.
- Web Services: Develop web services that provide data or functionality to other applications over the internet. Create APIs that allow other developers to access your services and build their own applications.
- Networking Tools: Build networking tools that help you monitor and manage your network. Create applications that analyze network traffic, detect security threats, and optimize network performance.
- Remote Control: Develop applications that allow you to control devices remotely over the internet. Create systems that let you monitor and manage industrial equipment, agricultural machinery, or even robotic systems from anywhere in the world.
By mastering Ethernet communication with the W5100S-EVB-Pico, you’ll be equipped to create a wide range of innovative projects that can transform the way you live and work.
Conclusion
The W5100S-EVB-Pico Ethernet Communication Basics with Arduino IDE repository is a valuable resource for anyone looking to learn about Ethernet communication. The examples provided cover a wide range of topics and are designed to be easy to understand and modify. By following the steps outlined in the Getting Started section, you can set up your development environment to work with the W5100S-EVB-Pico board and start exploring the examples provided in this repository. Happy coding!

