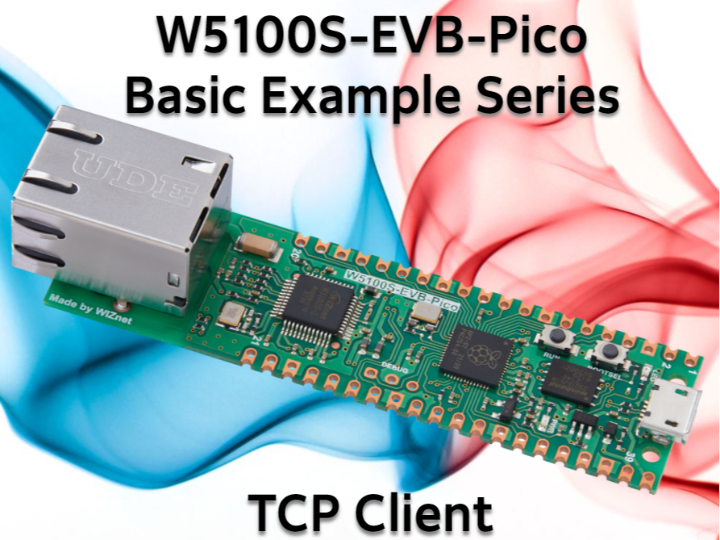
W5100S-EVB-Pico: Unleashing the Power of the TCP Client
Explore IoT with the W5100S-EVB-Pico board & Arduino IDE. Set up a TCP client, connect to a server, exchange messages, & monitor responses.

In an ever-increasing digital age, the ability to proficiently navigate the terrain of embedded systems and Ethernet communication is invaluable. Today, we delve into the art of creating a simple yet efficient TCP client using the W5100S-EVB-Pico with the Arduino IDE, unlocking the potential for reliable and effective server-client communication.
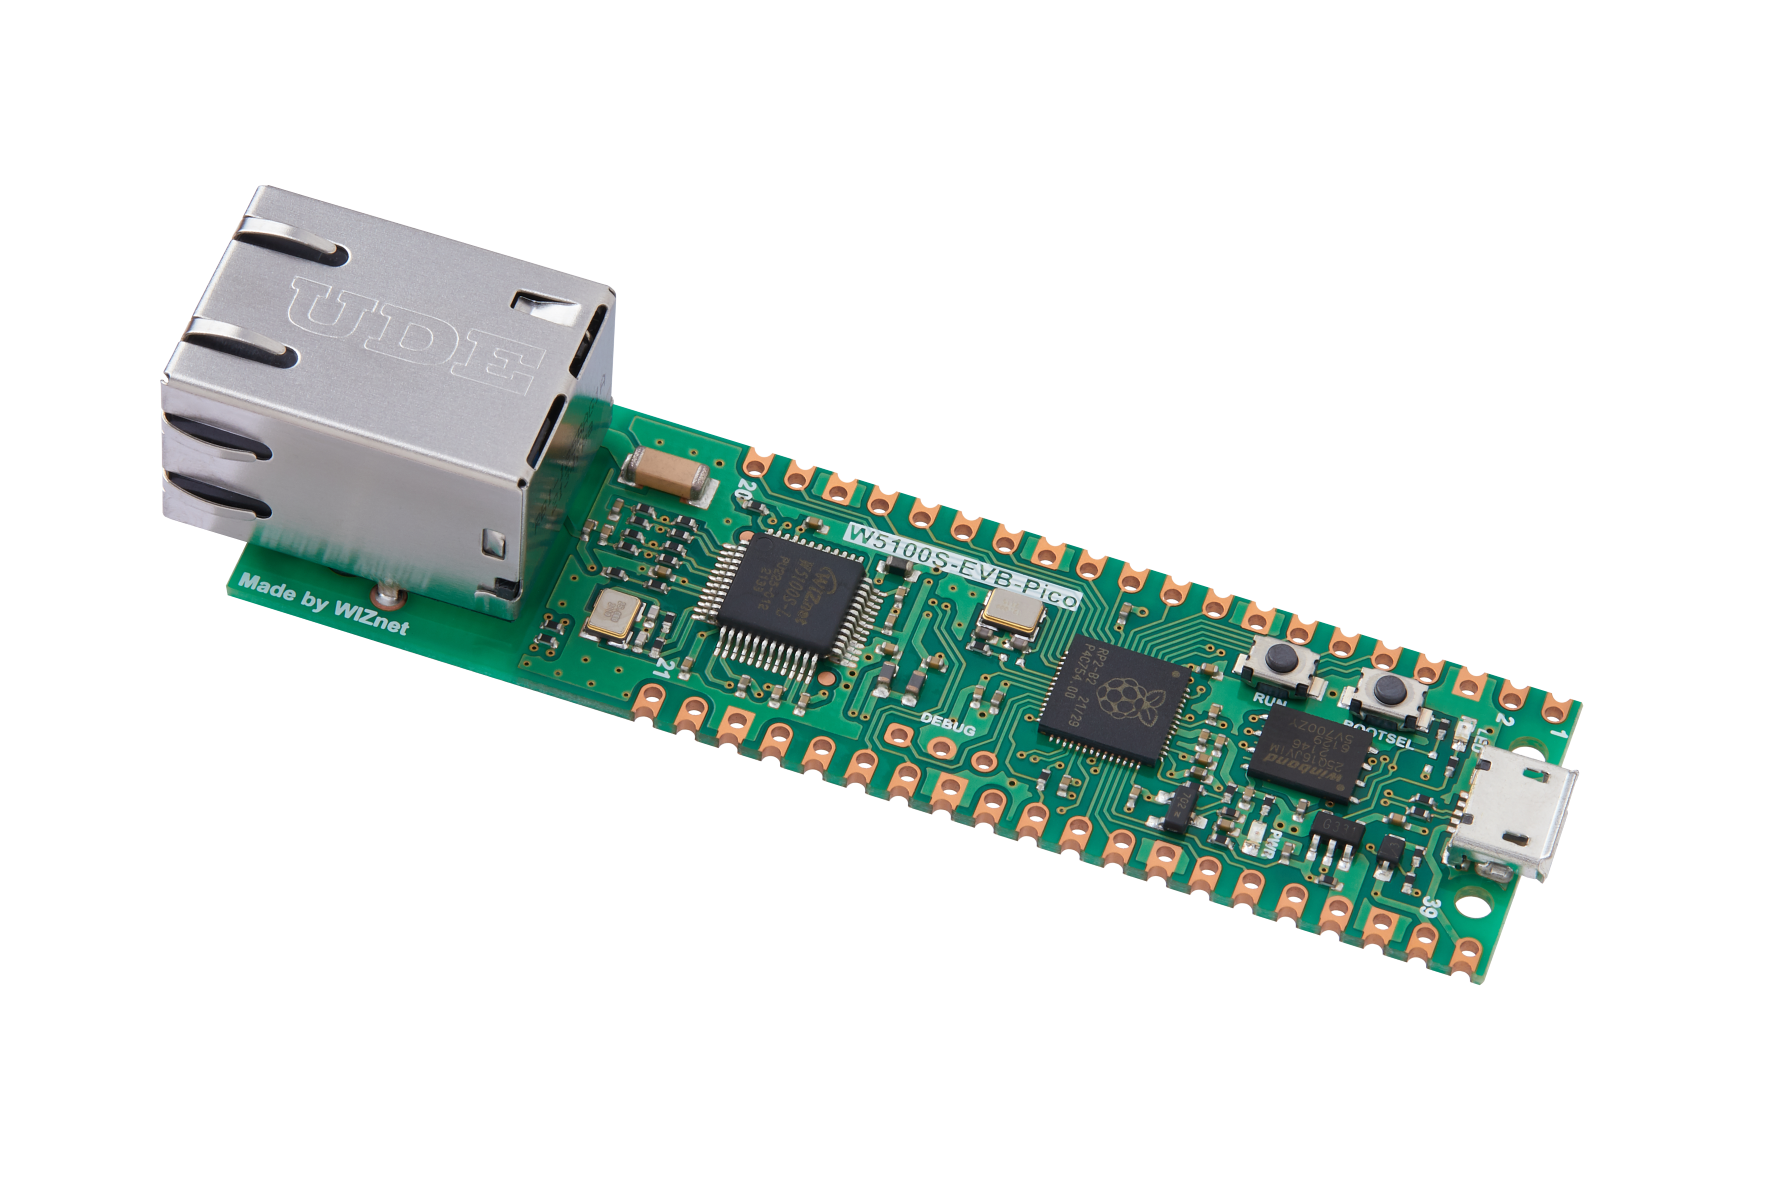
The W5100S-EVB-Pico board, a versatile solution for IoT applications, enables developers to send a message to a remote server and receive any responses, effortlessly paving the way for seamless communication. What's more, the Arduino IDE software makes it all possible with its accessible, user-friendly interface.
Gearing Up
To get started with the TCP Client example, you'll need a few things:
- A W5100S-EVB-Pico board
- The Arduino IDE installed on your computer
- An Ethernet cable
- A remote server to connect to
The Configuration
Before proceeding, you need to set up your Arduino IDE with the W5100S-EVB-Pico board and the required libraries. Following the steps outlined in the main repository's README should get you up to speed. Then, open the TCP Client example code in the Arduino IDE.
You'll need to update the serverIP and serverPort variables in the code with the relevant information about your remote server, i.e., its IP address and port number.
Let the Magic Begin
Once you've completed the setup, connect your W5100S-EVB-Pico board to your local network using an Ethernet cable. Compile and upload the code to your W5100S-EVB-Pico board.
Next, open the Serial Monitor in the Arduino IDE and set the baud rate to 9600. This stage is crucial as it allows you to monitor the exchange between your client (the W5100S-EVB-Pico board) and the server.
Code
#include <SPI.h>
#include <Ethernet.h>

// Enter a MAC address for your controller below.
byte mac[] = {
  0xDE, 0xAD, 0xBE, 0xEF, 0xFE, 0xED
};

IPAddress serverIP(192, 168, 0, 2); // IP address of the remote server
const int serverPort = 80; // The port number for the remote server

const int csPin = 17; // Chip Select (CS) pin for W5100S on W5100S-EVB-Pico

EthernetClient client;
bool messageSent = false;

void setup() {
  // Open the serial communications and wait for port to open:
  Serial.begin(9600);
  while (!Serial) {
    ; // wait for serial port to connect. Needed for native USB port only
  }

  // Initialize Ethernet with the CS pin:
  Ethernet.init(csPin);

  // Start the Ethernet connection using DHCP:
  Serial.println("Attempting to obtain IP address using DHCP...");
  if (Ethernet.begin(mac) == 0) {
    Serial.println("Failed to obtain IP address using DHCP");
  } else {
    // Print the obtained IP address:
    Serial.print("Successfully obtained IP address: ");
    Serial.println(Ethernet.localIP());
  }

  // Connect to the remote server:
  Serial.println("Connecting to remote server...");
  if (client.connect(serverIP, serverPort)) {
    Serial.println("Connected to the server");
  } else {
    Serial.println("Failed to connect to the server");
  }
}

void loop() {
  // If the client is connected, send a message to the server once
  if (client.connected()) {
    if (!messageSent) {
      client.println("Hello, Server!");
      messageSent = true;
      Serial.println("Message sent to server.");
    }

    // Wait for a response from the server
    if (client.available()) {
      char c = client.read();
      Serial.print("Received from server: ");
      Serial.println(c);
    }
  } else {
    Serial.println("Client disconnected.");
    client.stop();
    delay(5000); // Wait for 5 seconds before attempting to reconnect
    client.connect(serverIP, serverPort); // Attempt to reconnect
    messageSent = false; // Reset messageSent flag
  }
}
Seeing is Believing
Once everything is set, watch as your W5100S-EVB-Pico board connects to the server, sends a welcome "Hello, Server!" message, and receives responses. The console output will look similar to this:
Attempting to obtain IP address using DHCP...
Successfully obtained IP address: 192.168.1.123
Connecting to remote server...
Connected to the server
Message sent to server.
Received from server: H
Received from server: e
Received from server: l
Received from server: l
Received from server: o
This real-time output reflects the TCP client's successful execution, demonstrating the W5100S-EVB-Pico's capabilities for seamless communication.
Remember...
Ensure your W5100S-EVB-Pico is connected to your local network and that the remote server is running and accessible. This example assumes that your remote server is configured to accept incoming TCP connections and respond to the received messages.
Harnessing the W5100S-EVB-Pico board's capabilities via the TCP Client example showcases the potential of IoT in network communications. Whether you are a seasoned programmer or a beginner exploring the world of IoT, this user-friendly and efficient solution will empower your journey into the exciting world of Ethernet communication.

