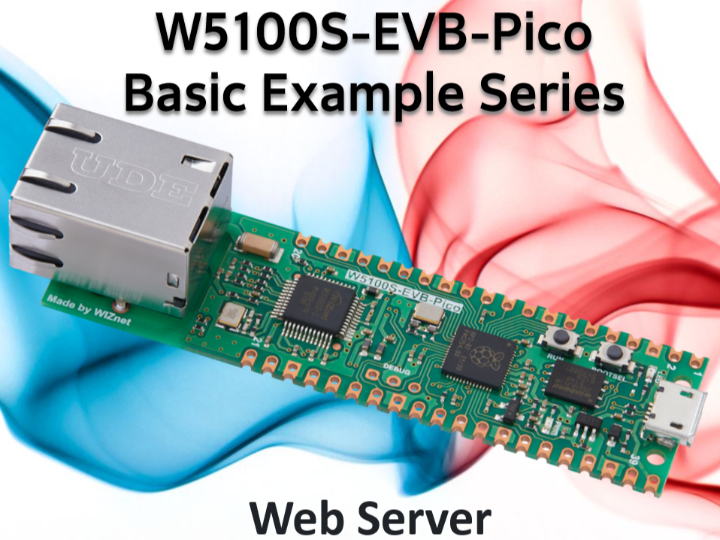
Unleashing a Basic Web Server with the W5100S-EVB-Pico Board
Create a basic web server using W5100S-EVB-Pico & Arduino IDE. Upload code, check IP in Serial Monitor, and access page via a browser.

Navigating the vast waters of network configurations can seem intimidating, especially when you're aiming to establish a web server. Fear not, the powerful W5100S-EVB-Pico board, paired with the versatile Arduino IDE, can simplify this process. This guide will lead you through the creation of a rudimentary web server that serves a basic HTML page upon a web browser's request.
What You Need
- A W5100S-EVB-Pico board
- The Arduino IDE
- The WIZnet Ethernet Library for W5100S-EVB-Pico
- Raspberry Pi Pico/RP2040 Board Support Package
Set It Up
Connect the W5100S-EVB-Pico board to your computer. Then, open the Arduino IDE and adjust the board settings to "Raspberry Pi Pico/RP2040". Remember to select the appropriate port for your board.
Bring Your Web Server to Life
The next step is to breathe life into your web server. To do this, upload the provided example code onto your W5100S-EVB-Pico board. When you've completed this, head over to the Arduino IDE's Serial Monitor (you'll find it under Tools > Serial Monitor). Here, you should see an IP address that the board acquired through DHCP.
To witness your handiwork, fire up a web browser on a device that's on the same network as the W5100S-EVB-Pico board. Enter the IP address from the Serial Monitor into your browser's address bar. There it is! You should now see the elementary HTML page that your web server is serving.
Code
#include <SPI.h>
#include <Ethernet.h>

// Enter a MAC address for your controller below.
byte mac[] = {
  0xDE, 0xAD, 0xBE, 0xEF, 0xFE, 0xED
};

const int csPin = 17; // Chip Select (CS) pin for W5100S on W5100S-EVB-Pico

EthernetServer server(80); // Create an instance of the server on port 80 (HTTP)

void setup() {
  // Open the serial communications and wait for port to open:
  Serial.begin(9600);
  while (!Serial) {
    ; // wait for serial port to connect. Needed for native USB port only
  }

  // Initialize Ethernet with the CS pin:
  Ethernet.init(csPin);

  // Start the Ethernet connection using DHCP:
  Serial.println("Attempting to obtain IP address using DHCP...");
  if (Ethernet.begin(mac) == 0) {
    Serial.println("Failed to obtain IP address using DHCP");
  } else {
    // Print the obtained IP address:
    Serial.print("Successfully obtained IP address: ");
    Serial.println(Ethernet.localIP());
  }

  // Start the server:
  server.begin();
  Serial.println("Web server started. Listening for incoming connections...");
}

void loop() {
  // Listen for incoming clients
  EthernetClient client = server.available();
  if (client) {
    Serial.println("New client connected");

    // An HTTP request ends with a blank line
    bool currentLineIsBlank = true;

    while (client.connected()) {
      if (client.available()) {
        char c = client.read();
        Serial.write(c);

        // If you've gotten to the end of the line (received a newline character) and the line is blank, the HTTP request has ended
        if (c == '\n' && currentLineIsBlank) {
          // Send a standard HTTP response header
          client.println("HTTP/1.1 200 OK");
          client.println("Content-Type: text/html");
          client.println("Connection: close");
          client.println();

          // Send the HTML page
          client.println("<!DOCTYPE HTML>");
          client.println("<html>");
          client.println("<head><title>W5100S-EVB-Pico Web Server</title></head>");
          client.println("<body><h1>Hello from the W5100S-EVB-Pico Web Server!</h1></body>");
          client.println("</html>");

          break;
        }

        if (c == '\n') {
          // You're starting a new line
          currentLineIsBlank = true;
        } else if (c != '\r') {
          // You've gotten a character on the current line
          currentLineIsBlank = false;
        }
      }
    }

    // Give the web browser time to receive the data
    delay(1);

    // Close the connection:
    client.stop();
    Serial.println("Client disconnected");
  }
}
Example Output
Attempting to obtain IP address using DHCP...
Successfully obtained IP address: 192.168.1.100
Web server started. Listening for incoming connections...
Points to Remember
For the smooth functioning of your setup, ensure that your W5100S-EVB-Pico board shares the network with the device you're using to access the server. If your board struggles to fetch an IP address through DHCP, investigate your network connection and confirm your router's setup to allocate IP addresses via DHCP.
The supplied example code serves a basic HTML page. However, don't let that limit your creativity. You can readily modify the code to deliver more intricate webpages or dynamic content.
Embarking on this journey empowers you to set up a working web server with ease. So, why wait? Dive in and start serving your unique content to the world using the W5100S-EVB-Pico board and Arduino IDE.
