
Obtaining an IP address with W5100S-EVB-Pico and Arduino IDE using DHCP
This example demonstrating how to obtain an IP address using DHCP with the W5100S-EVB-Pico board and Arduino IDE.
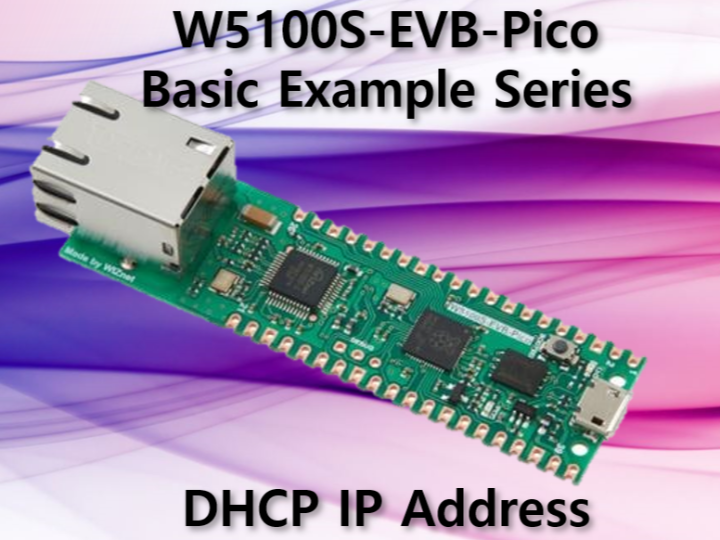

WIZnet - W5100S-EVB-Pico
x 1

Arduino - Arduino IDE
x 1
The W5100S-EVB-Pico board provides an easy way to connect an Arduino project to an Ethernet network. In this tutorial, we will show how to obtain an IP address using the Dynamic Host Configuration Protocol (DHCP) with the W5100S-EVB-Pico board and the Arduino IDE. The example code and README provided in the WIZnet Ethernet library will be used as a reference.
Requirements
- W5100S-EVB-Pico board
- Arduino IDE with W5100S-EVB-Pico board support and the WIZnet Ethernet library installed
- A DHCP server or router for IP address assignment
Steps
- Connect the W5100S-EVB-Pico board to the computer using a USB cable.
- Open the Arduino IDE and select the "W5100S-EVB-Pico" board from the "Tools" > "Board" menu.
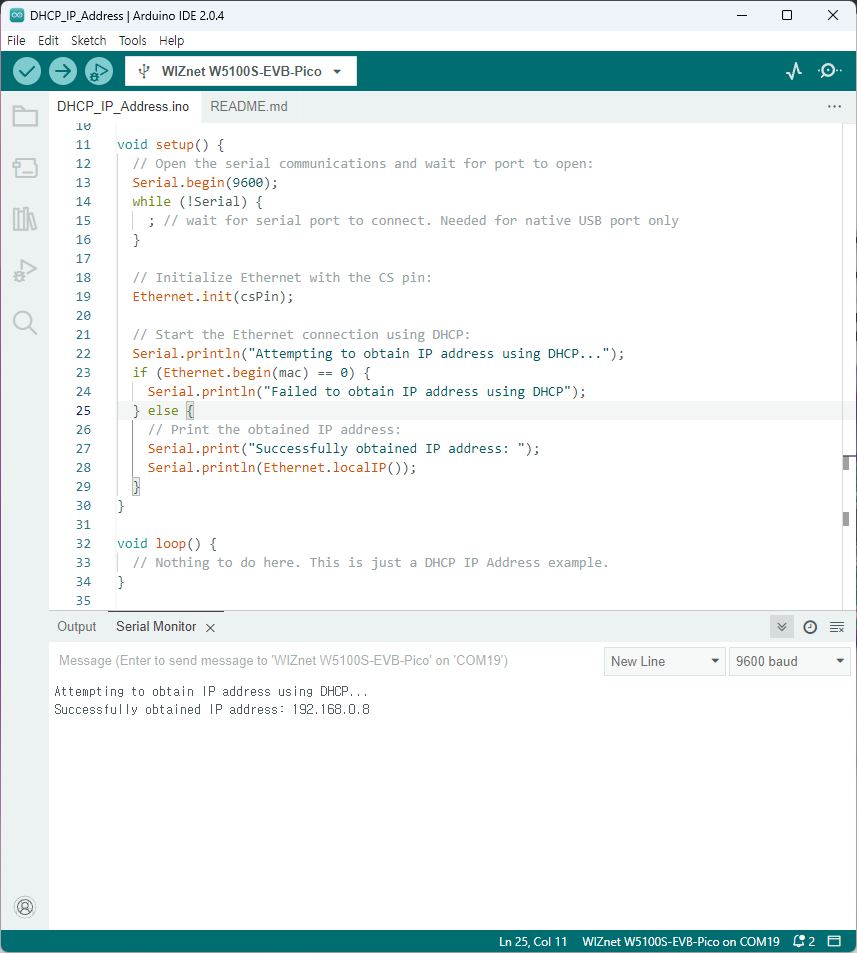
- Open the "DHCP_IP_Address" sketch provided in the WIZnet Ethernet library.
- In the sketch, the line Ethernet.init(csPin); initializes the Ethernet library and configures the chip select (CS) pin for the W5100S Ethernet controller on the W5100S-EVB-Pico board. The csPin variable is set to 17, which is the appropriate chip select pin for the W5100S Ethernet controller on the W5100S-EVB-Pico board.
- Upload the sketch to the W5100S-EVB-Pico board.
- Open the Serial Monitor in the Arduino IDE by going to "Tools" > "Serial Monitor."
- Set the baud rate to 9600 in the Serial Monitor.
- The sketch will attempt to obtain an IP address using DHCP. If successful, the IP address will be printed to the Serial Monitor.
Usage
1. Open the Serial Monitor in the Arduino IDE by going to "Tools" > "Serial Monitor."
2. Set the baud rate to 9600 in the Serial Monitor.
3. The sketch will attempt to obtain an IP address using DHCP. If successful, the IP address will be printed to the Serial Monitor.
Code
#include <SPI.h> // Include the SPI library (used for communication between the microcontroller and the W5100S chip)
#include <Ethernet.h> // Include the Ethernet library

// Enter a MAC address for your controller below.
byte mac[] = {
  0xDE, 0xAD, 0xBE, 0xEF, 0xFE, 0xED
};

const int csPin = 17; // Chip Select (CS) pin for W5100S on W5100S-EVB-Pico

void setup() {
  // Open the serial communications and wait for port to open:
  Serial.begin(9600);
  while (!Serial) {
    ; // wait for serial port to connect. Needed for native USB port only
  }

  // Initialize Ethernet with the CS pin:
  Ethernet.init(csPin);

  // Start the Ethernet connection using DHCP:
  Serial.println("Attempting to obtain IP address using DHCP...");
  if (Ethernet.begin(mac) == 0) {
    Serial.println("Failed to obtain IP address using DHCP");
  } else {
    // Print the obtained IP address:
    Serial.print("Successfully obtained IP address: ");
    Serial.println(Ethernet.localIP());
  }
}

void loop() {
  // Nothing to do here. This is just a DHCP IP Address example.
}
Explanation
The code initializes the Ethernet library and obtains an IP address using DHCP. The code includes the required libraries for Ethernet communication, defines a unique MAC address, and defines the Chip Select (CS) pin for the W5100S Ethernet controller on the W5100S-EVB-Pico board. In the setup function, the serial communication is opened, and the Ethernet library is initialized with the specified CS pin. Then the Ethernet connection is started using DHCP to obtain an IP address. If DHCP configuration fails, the code will print an error message. If DHCP configuration is successful, the code will print the obtained IP address. In the loop function, there is nothing to do, as this is just a DHCP IP Address example.
Example Output
The output on the Serial Monitor should look similar to the following:
Attempting to obtain IP address using DHCP...
Successfully obtained IP address: 192.168.1.177
Result
Conclusion
Obtaining an IP address using DHCP with the W5100S-EVB-Pico board and the Arduino IDE is a simple process. By using the WIZnet Ethernet library, the required libraries for Ethernet communication and the code for obtaining an IP address using DHCP are already provided. This example serves as a starting point for learning how to use DHCP with the W5100S-EVB-Pico board in the Arduino IDE. Further Ethernet functionality, such as creating web servers or clients, and working with TCP/UDP sockets can be added to the code to create more advanced projects.
-
DHCP_IP_Address
W5100S-EVB-Pico DHCP IP Address Example with Arduino IDE
