Mastering Packet Transmission with the W5100S-EVB-Pico UDP Sender
Learn to build a fast and efficient UDP sender with the W5100S-EVB-Pico board and Arduino IDE. Perfect for real-time network communication!

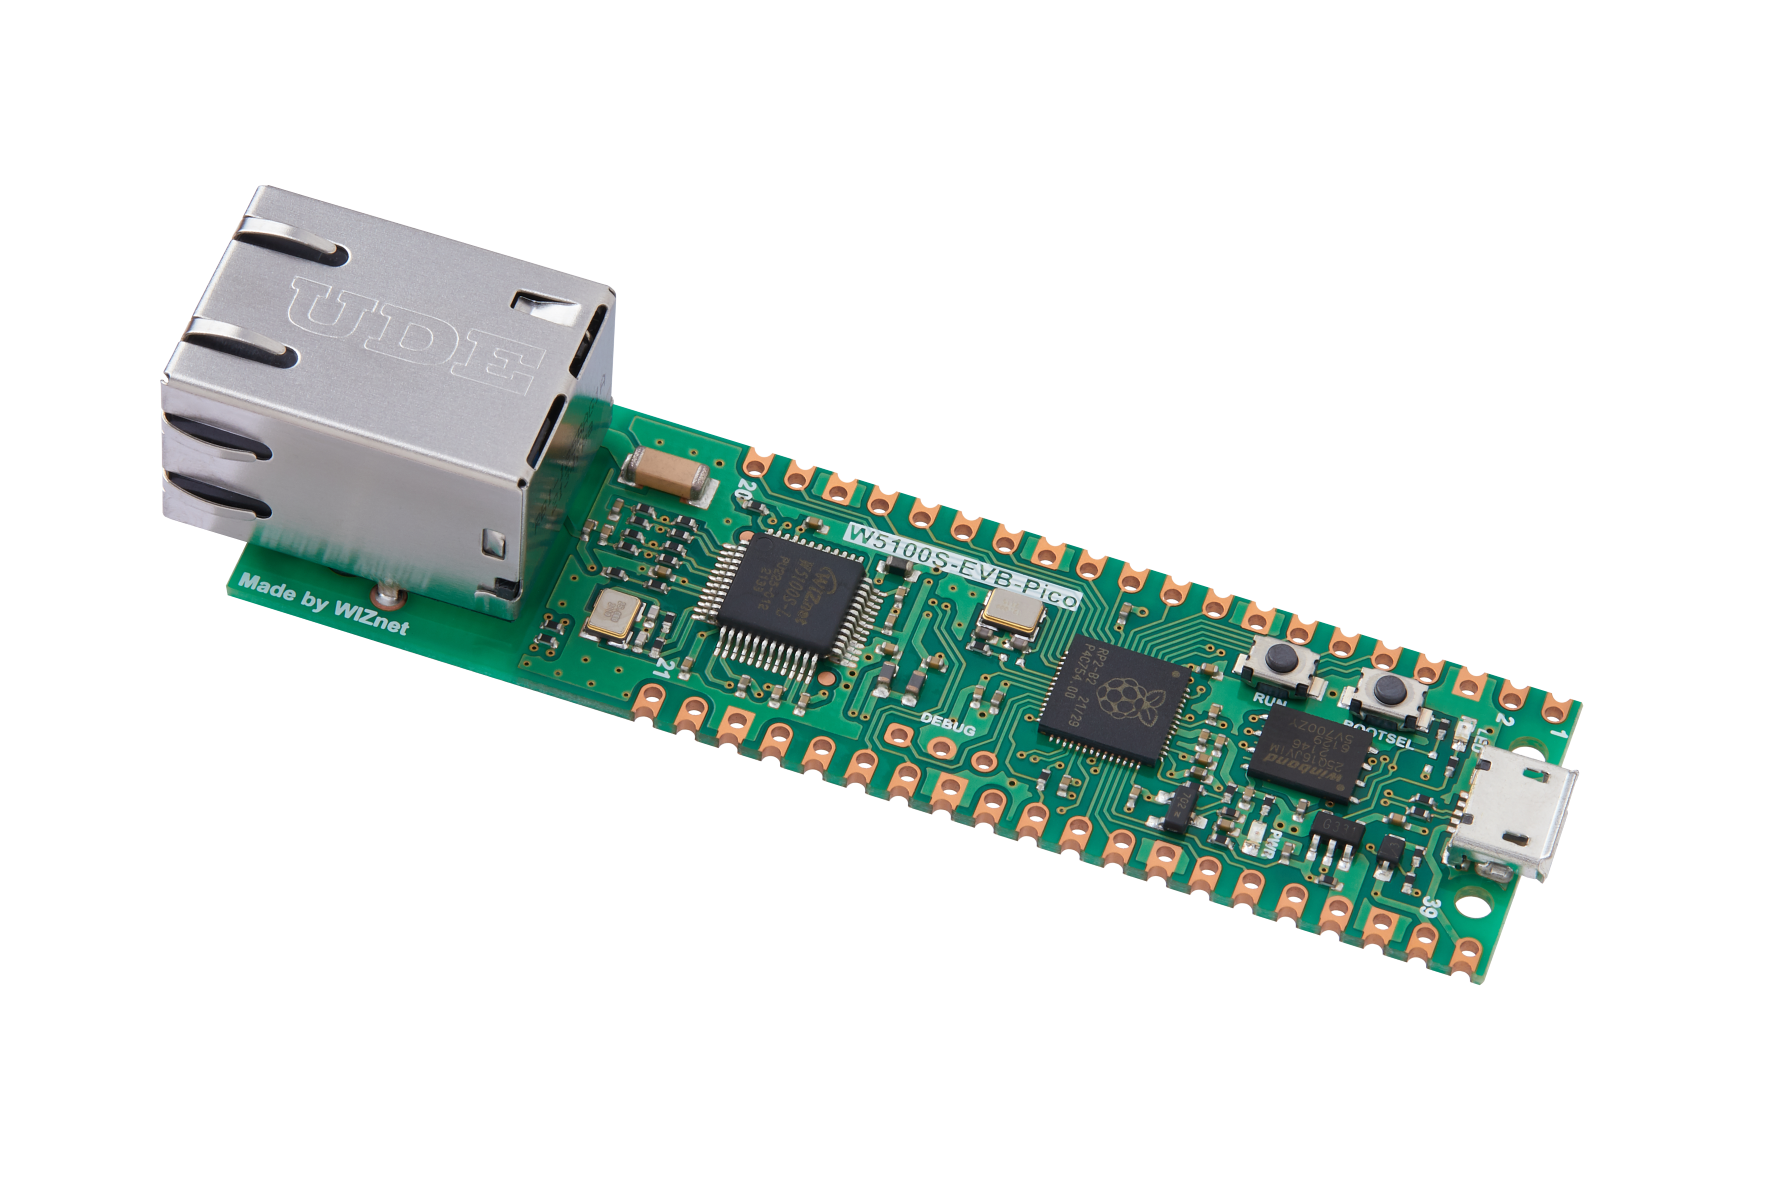
Welcome to the world of User Datagram Protocol (UDP) – a network communication method that prides itself on speed and efficiency. With the ability to send packets over the network without establishing a direct connection between the sender and receiver, UDP simplifies network communication while saving valuable resources. And now, we introduce you to a device that can seamlessly fit into this ecosystem - the W5100S-EVB-Pico board.
Let's delve into the specifics of creating a UDP sender using the W5100S-EVB-Pico board paired with the power of the Arduino IDE. However, bear in mind that while UDP outpaces TCP in terms of speed and resource consumption, it lacks guaranteed delivery of packets or their sequential order. But worry not, for in many use-cases, especially where real-time interaction is paramount, the trade-off is absolutely worth it.
The Essentials
To get started with this exciting journey, you need to have a few items at your disposal:
- The W5100S-EVB-Pico board,
- Arduino IDE,
- WIZnet Ethernet library for W5100S-EVB-Pico, and
- A device or application acting as a UDP receiver, listening on a specified remote IP address and port.
Setting the Stage
Once you have the essentials covered, the setup process is straightforward:
- Install the WIZnet Ethernet library for W5100S-EVB-Pico in the Arduino IDE.
- Connect your W5100S-EVB-Pico board to your computer.
- Open the provided example in the Arduino IDE.
- Configure the remoteIP variable to match the IP address of your intended UDP receiver.
- Set the remotePort variable to the port number of the UDP receiver.
- Upload the sketch to your W5100S-EVB-Pico board. And voila, the setup is complete!
Code
#include <SPI.h>
#include <Ethernet.h>
#include <EthernetUdp.h>

// Enter a MAC address for your controller below.
byte mac[] = {
  0xDE, 0xAD, 0xBE, 0xEF, 0xFE, 0xED
};

const int csPin = 17; // Chip Select (CS) pin for W5100S on W5100S-EVB-Pico
const int localPort = 8888; // Local port to listen on
const int remotePort = 9999; // Remote port to send to

char packetBuffer[UDP_TX_PACKET_MAX_SIZE]; // Buffer to hold incoming packets

IPAddress remoteIP(192, 168, 0, 2); // Remote IP address to send UDP packets to

EthernetUDP Udp;

void setup() {
  // Open the serial communications and wait for port to open:
  Serial.begin(9600);
  while (!Serial) {
    ; // wait for serial port to connect. Needed for native USB port only
  }

  // Initialize Ethernet with the CS pin:
  Ethernet.init(csPin);

  // Start the Ethernet connection using DHCP:
  Serial.println("Attempting to obtain IP address using DHCP...");
  if (Ethernet.begin(mac) == 0) {
    Serial.println("Failed to obtain IP address using DHCP");
  } else {
    // Print the obtained IP address:
    Serial.print("Successfully obtained IP address: ");
    Serial.println(Ethernet.localIP());
  }

  // Initialize the UDP instance and start listening on the local port
  Udp.begin(localPort);
}

void loop() {
  // Send a UDP packet to the remote IP and port
  Udp.beginPacket(remoteIP, remotePort);
  Udp.write("Hello, UDP Receiver!");
  Udp.endPacket();

  // Wait for a while before sending the next packet
  delay(2000);
}
Implementing UDP Transmission
Post-setup, you can monitor the process as follows:
- Open the Serial Monitor in your Arduino IDE.
- The sketch will start by attempting to obtain an IP address using DHCP. Once successful, this IP address will be displayed in the Serial Monitor.
- Every two seconds, the sketch will dispatch a "Hello, UDP Receiver!" message to the specified remote IP address and port.
The Serial Monitor will not display the sent messages, but it will show you the IP address obtained through DHCP.
In Action
Attempting to obtain IP address using DHCP...
Successfully obtained IP address: 192.168.1.100
The output in the Serial Monitor will show the obtained IP address. The "Hello, UDP Receiver!" message will be sent to the specified remote IP and port every 2 seconds, but this will not be displayed in the Serial Monitor.
A Friendly Reminder
Ensure that your remote device or application (acting as a UDP receiver) is correctly configured to listen for incoming packets on the specified IP address and port. While this example focuses on sending UDP packets, remember that to receive and process incoming packets, you will need to implement a UDP receiver.
In essence, mastering the art of UDP packet transmission with the W5100S-EVB-Pico board opens a myriad of possibilities for efficient, real-time network communication. It's time to leap forward into the fast-paced realm of UDP!

