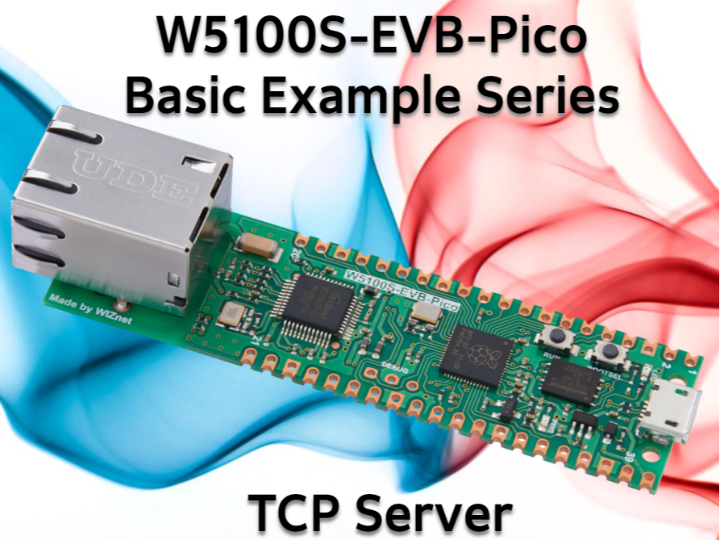
Dive into TCP Server Creation with the W5100S-EVB-Pico Board
Using the W5100S-EVB-Pico and Arduino IDE, easily set up a TCP server, monitor incoming client messages and respond with a friendly hello.

Unravel the power of the W5100S-EVB-Pico, a board that's blazing trails in the world of IoT, as we walk through the creation of a TCP server using the Arduino IDE. This potent combination simplifies server-client communication, as the server not only listens for incoming connections but also sends warm welcomes with a "Hello, Client!" message to each new connection.
Your Toolbox
Before we dive in, ensure you're equipped with the following:
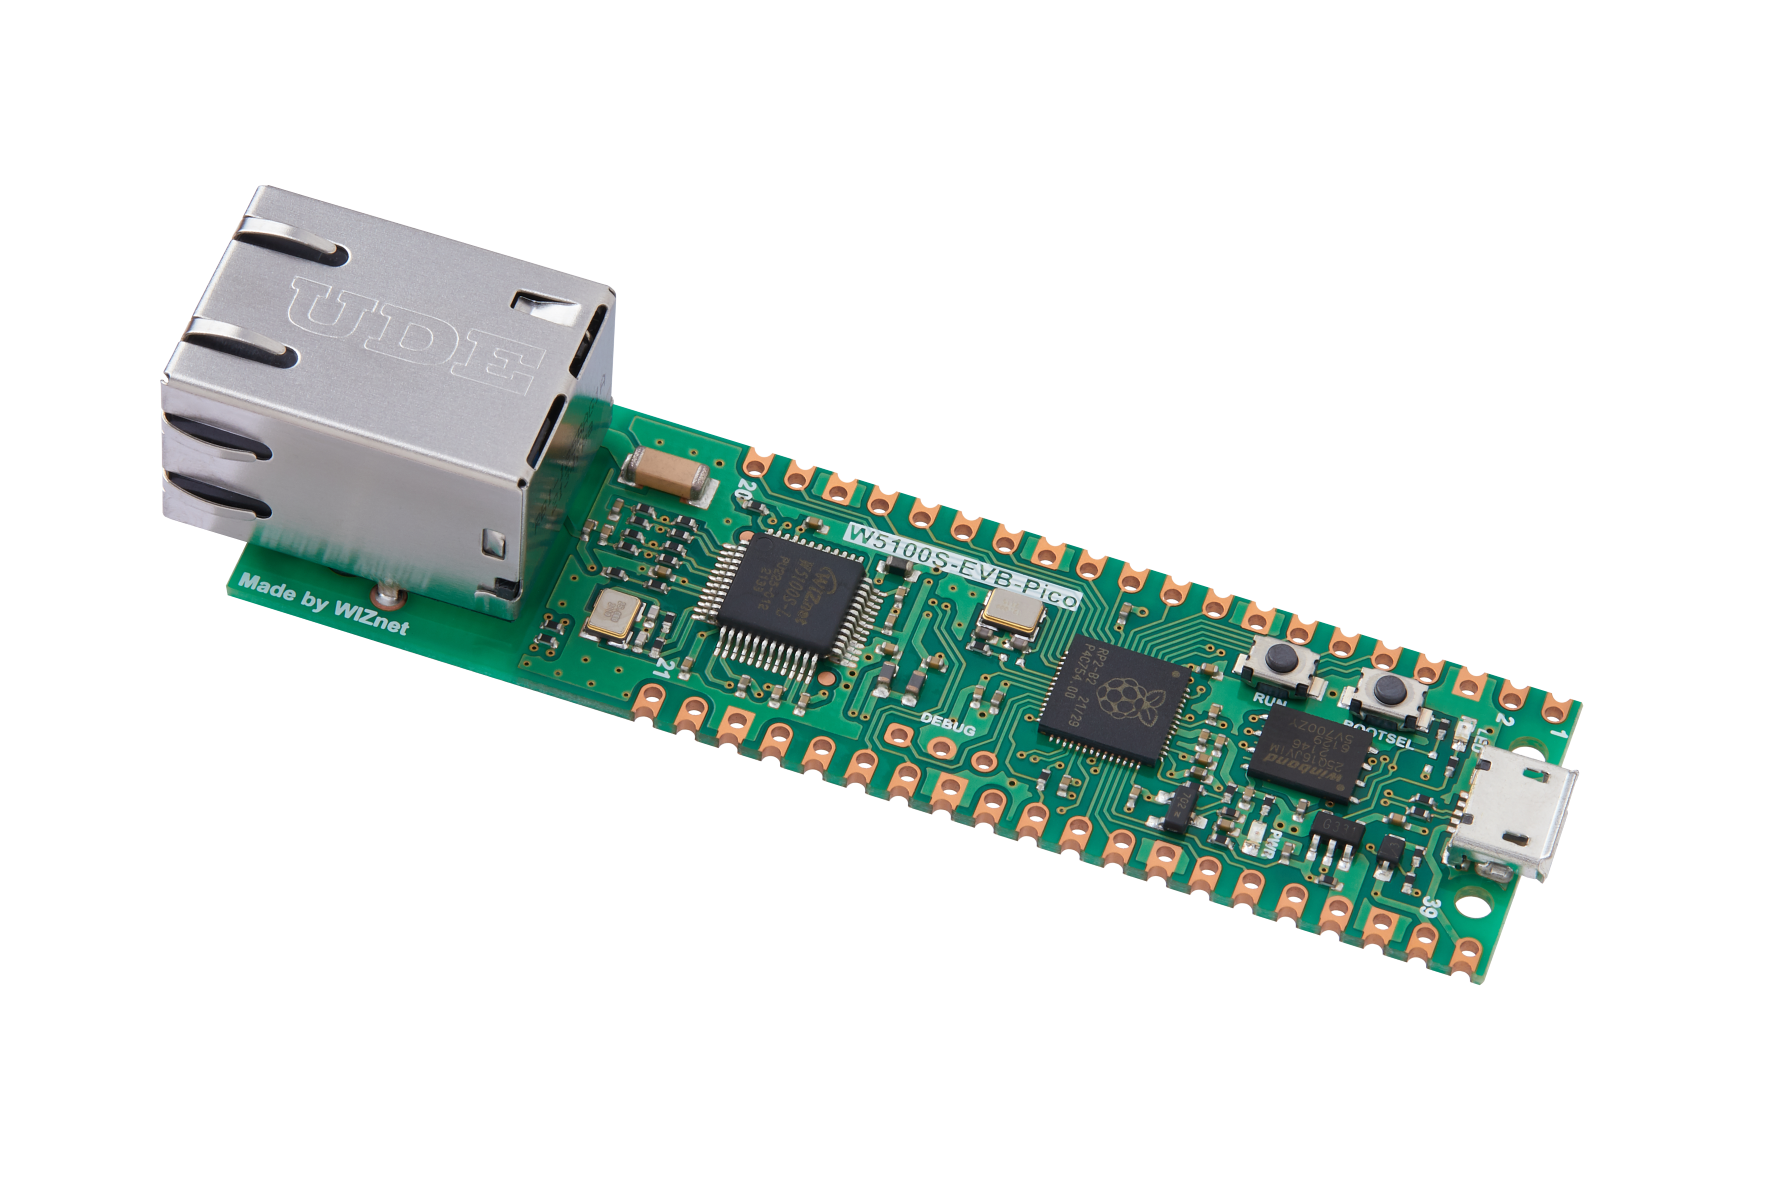
- A W5100S-EVB-Pico board
- The Arduino IDE installed on your computer
- An Ethernet cable
- Setting the Stage
Firstly, configure your Arduino IDE to work with the W5100S-EVB-Pico board, as elaborated in the main repository's README. Once your IDE is up and running with the necessary libraries, load up the TCP Server example code within the IDE.
Ready, Set, Connect!
Connect your W5100S-EVB-Pico board to your local network using an Ethernet cable. Now it's time to compile and upload the code to your board. Subsequently, open the Serial Monitor within the Arduino IDE and set the baud rate to 9600, ensuring a smooth communication channel.
Code
#include <SPI.h>
#include <Ethernet.h>

// Enter a MAC address for your controller below.
byte mac[] = {
  0xDE, 0xAD, 0xBE, 0xEF, 0xFE, 0xED
};

const int csPin = 17; // Chip Select (CS) pin for W5100S on W5100S-EVB-Pico
const int serverPort = 80; // The port number on which the server will listen for incoming connections

EthernetServer server(serverPort);

void setup() {
  // Open the serial communications and wait for port to open:
  Serial.begin(9600);
  while (!Serial) {
    ; // wait for serial port to connect. Needed for native USB port only
  }

  // Initialize Ethernet with the CS pin:
  Ethernet.init(csPin);

  // Start the Ethernet connection using DHCP:
  Serial.println("Attempting to obtain IP address using DHCP...");
  if (Ethernet.begin(mac) == 0) {
    Serial.println("Failed to obtain IP address using DHCP");
  } else {
    // Print the obtained IP address:
    Serial.print("Successfully obtained IP address: ");
    Serial.println(Ethernet.localIP());
  }

  // Start the server:
  server.begin();
  Serial.print("Server started on port ");
  Serial.println(serverPort);
}

void loop() {
  // Listen for incoming clients
  EthernetClient client = server.available();
  if (client) {
    Serial.println("New client connected");
    // Read the data from the client
    while (client.connected()) {
      if (client.available()) {
        char c = client.read();
        Serial.print("Received from client: ");
        Serial.println(c);

        // Send a response to the client
        client.println("Hello, Client!");
      }
    }
    // Close the connection:
    client.stop();
    Serial.println("Client disconnected");
  }
}
In Action
As the W5100S-EVB-Pico springs into action as a server, it listens for incoming connections, reads messages from clients, and responds to each. The output on your Serial Monitor will look something like this:
Attempting to obtain IP address using DHCP...
Successfully obtained IP address: 192.168.1.123
Server started on port 80
New client connected
Received from client: H
Received from client: e
Received from client: l
Received from client: l
Received from client: o
Client disconnected
Keep in Mind…
Ensure your W5100S-EVB-Pico is connected to your local network and your network permits incoming connections on the specified port. Test your server by connecting to it using a TCP client, perhaps even the one created in the TCP Client example!
The beauty of this example lies in the uncomplicated code, which serves as a strong foundation for understanding the power and functionality of TCP servers within IoT applications. Harnessing the W5100S-EVB-Pico and Arduino IDE, you can unlock new levels of network communications, whether you're a seasoned programmer or a novice in the realm of IoT. Now, go ahead and explore this exciting technology, and let your ideas transform into reality!

